 By
By Chapter 1:
Display data in a Form
We’ll create an app that shows information about your favorite movie. We’ll use data bindings to display data from a dictionary into Anvil components.
Step 2: Add components to your form
We’ll build our UI by dragging-and-dropping components from the Toolbox into the page.
We want to display the movie name, the year it was released, the name of the director, and a summary of the movie’s plot.
Add eight Labels ![]() , four for the titles of what we’re displaying and four for the values to display. We’ll also add a Label into the title slot.
, four for the titles of what we’re displaying and four for the values to display. We’ll also add a Label into the title slot.
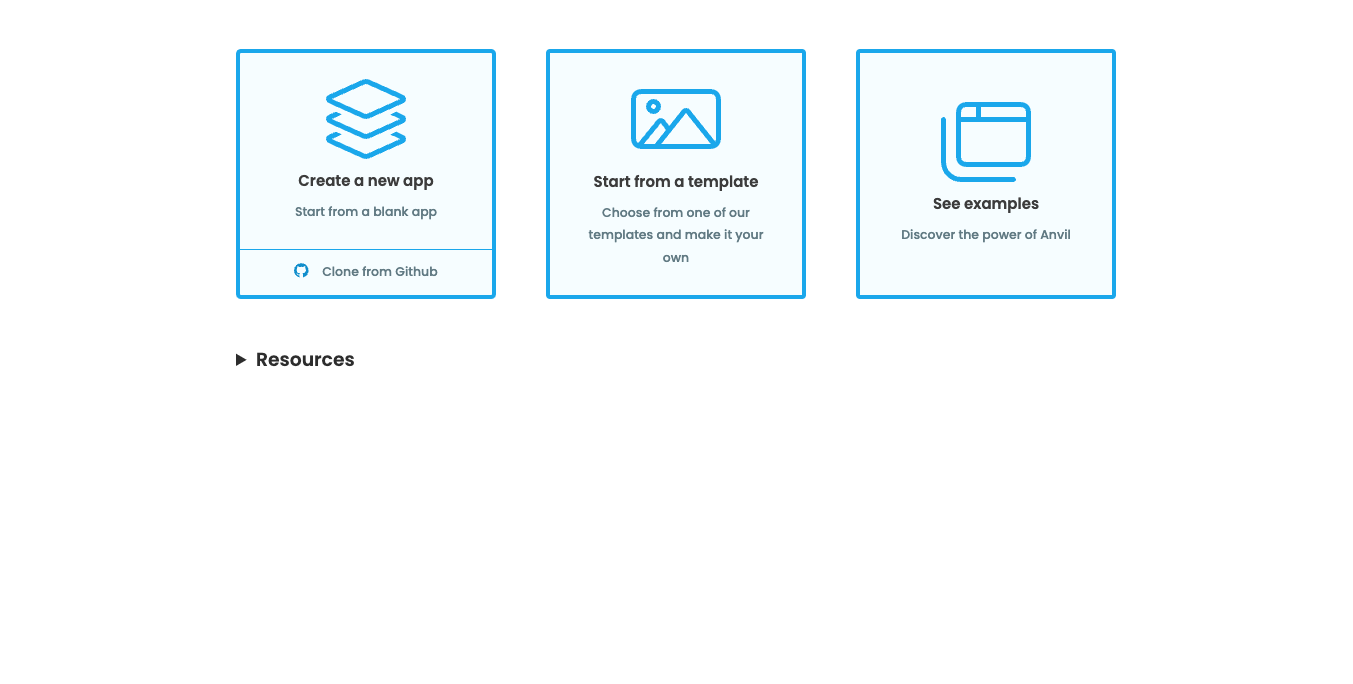
The app should look something like this:

Step 3: Initialize data sources
The next step is setting up our data source.
Every Anvil component and Form has an item property, meant specifically for storing data of any kind. Our data source will be a dictionary that we’ll store in the item property of our Form.
Let’s go to the Editor’s Code view and create this dictionary in the __init__ function of the form:
class Form1(Form1Template):
    def __init__(self, **properties):
        self.item = {
            'movie_name': 'Back to the Future',
            'year': 1985,
            'director': 'Robert Zemeckis',
            'summary': 'Doc Brown invents a nuclear powered time machine, which Marty McFly '
                       'then uses to nearly erase himself from existence.'
        }

        # Set Form properties and Data Bindings.
        super().__init__(**properties)
Note that the dictionary is created before the call to super().__init__. This is because the data bindings are processed in that call, so our data source (the self.item dictionary) must be set up before that.
Step 4: Set up data bindings
Now we need to tell Anvil what data to associate with which components (e.g. the data bindings). We’ll bind the data from our self.item dictionary to the text property of the Labels we just added.
To set up a data binding, click on the component that you want to have Anvil automatically set. I’ll start with the label that will hold the name of the movie.
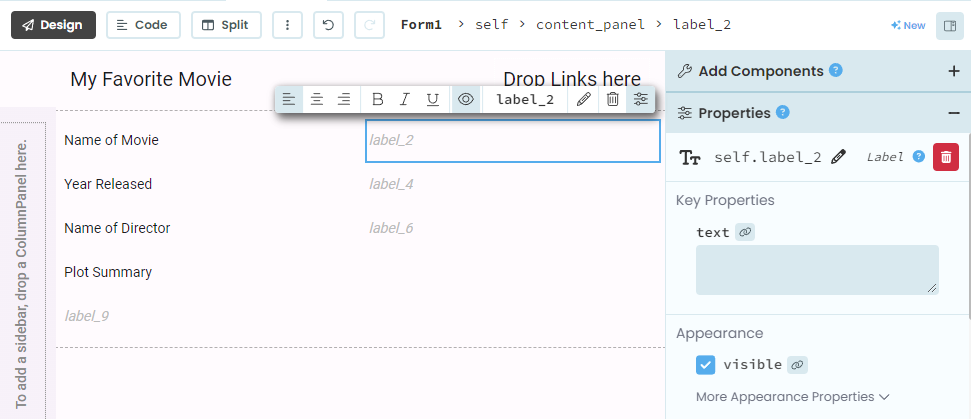
You can find the text property at the top of the Properties Panel. We could type something in there but that would then always show that text. Instead, click the link icon to the right of the text property. This will cause the display to change and the link icon to turn blue, indicating that the data binding is active.
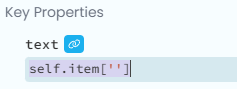
Set this data binding to the movie_name key of our dictionary:
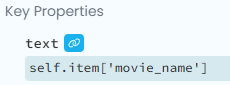
We’ll now do the same for the other labels, using self.item['year'] for the year the movie was released, self.item['director'] for the director’s name, and self.item['summary'] for the plot summary.
After those are set up, we can double check that the data bindings are correct by looking at the Form’s Data Binding summary. You can find this by selecting your Form and scrolling to the bottom of the Properties Panel.
Step 5: Run the app
Your data bindings are all set! We’ve told the components which variables to pull data from to populate their text properties.
Run the app now and see the information about your movie displayed in the Form. We didn’t need to use any code to set the text properties of any of the Labels, they were all set through the data bindings we set up in the Labels’ text properties.
In chapter two, we’ll look at how to add edit functionality to our app.