 By
By Chapter 3:
Store data in Data Table
We can now edit our favorite movie data, but because it’s stored in a dictionary, it won’t persist when the app is re-run. Because of this, you’ll usually want to store data in a database when using data bindings.
In this chapter, we’ll change our app to store the movie data in a Data Table so that edits to the data will persist between runs of the app. Data Tables are an out-of-the-box option for data storage in Anvil, and they’re backed by PostgreSQL.
Step 1: Create a Data Table
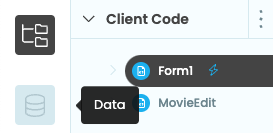
In the Sidebar Menu, choose Data ![]() to open up your app’s Data Tables.
to open up your app’s Data Tables.
Next, click ‘+ Add Table’ to add a new Data Table to the app. Name the table ‘movies’.
With the new table selected, you’ll see the interface for editing the Data Table. We’ll set up our Data Table with 4 columns. We need to add the following columns:
movie_name(a text column)year(a number column)director(a text column)summary(a text column).
We can now copy the data from the self.item dictionary and add it to our table.

Notice that we’ve used the same names for the columns as we used for the self.item keys, so that we do not need to change our data bindings.
Step 2: Configure the Data Table
Data tables live on the server, which is a secure and trusted environment. Client Forms and client code run in the user’s web browser, which the user has access to. Sufficiently motivated and knowledgeable users can modify the client code of any web app to make it do anything they’d like it to do, including removing any security checks you might put into client code.
By default Anvil Data Tables are only accessible from server code because this is the most secure option. You can see that in the Data Table interface:
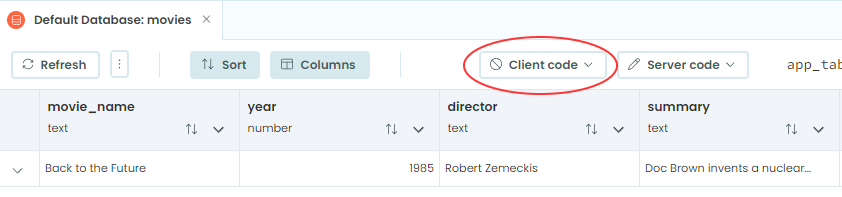
You have two other options for client code. You can give client code read access (client code can search this table) or full access (client code can search, edit, and delete). Read access is appropriate for tables where there are no access restrictions needed on who can see data in the table. Full access is almost never appropriate for client code since it allows sufficiently motivated users to bypass all your security restrictions and all your validation code.
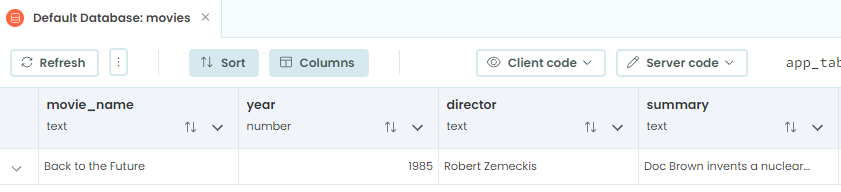
We’re going to use read access for our table since we only have the one row that we want all the users to be able to read. After making that change the configuration should look like this:
Step 3: Read from the Data Table
Now we need to change Form1 to use the movies Data Table as the source for self.item instead of our dictionary.
We can access any Data Table with app_tables.<data-table-name>. Since our table only has one row, we want to get the first row from the Data Table into self.item in the __init__ function for Form1.
class Form1(Form1Template):
    def __init__(self, **properties):
        self.item = app_tables.movies.search()[0]

        # Set Form properties and Data Bindings.
        super().__init__(**properties)
What app_tables.movies.search() returns looks a lot like a Python list, so we can use standard list indexing to pull the first item out of the list. What’s stored in the list are data table rows, which look enough like Python dictionaries to be used in self.item with data bindings.
You should now be able to run the app and see the information from the data table showing on the main page of your app.
We’re now displaying data from our data table, but editing doesn’t yet work. That’s our next step to fix.