
How to use Anvil’s open-source App Server on Linode
Introduction
Anvil is a platform for building full-stack web apps with nothing but Python. No need to wrestle with JS, HTML, CSS, Python, SQL and all their frameworks – just build it all in Python.
Anvil also offers one-click deployment to the cloud. Cloud deployment is, in the vast majority of scenarios, the quickest and easiest way to get apps up and running. However, we understand that there are scenarios in which you require your app to be deployed to your own server. To deploy your app to your own server, Anvil provides the open source Anvil App Server.
In this guide, we will demonstrate how to deploy an Anvil app to Linode. We will start by creating an environment on your server and installing the Anvil App Server. Then, we will configure our domain name for the server. Next, we will clone your Anvil app from the Anvil editor. We will then run your Anvil app and access it via your domain.
Prerequisites
Initial Server Setup
For this guide, we will use a Linode with a fresh Ubuntu 20.04 server install.
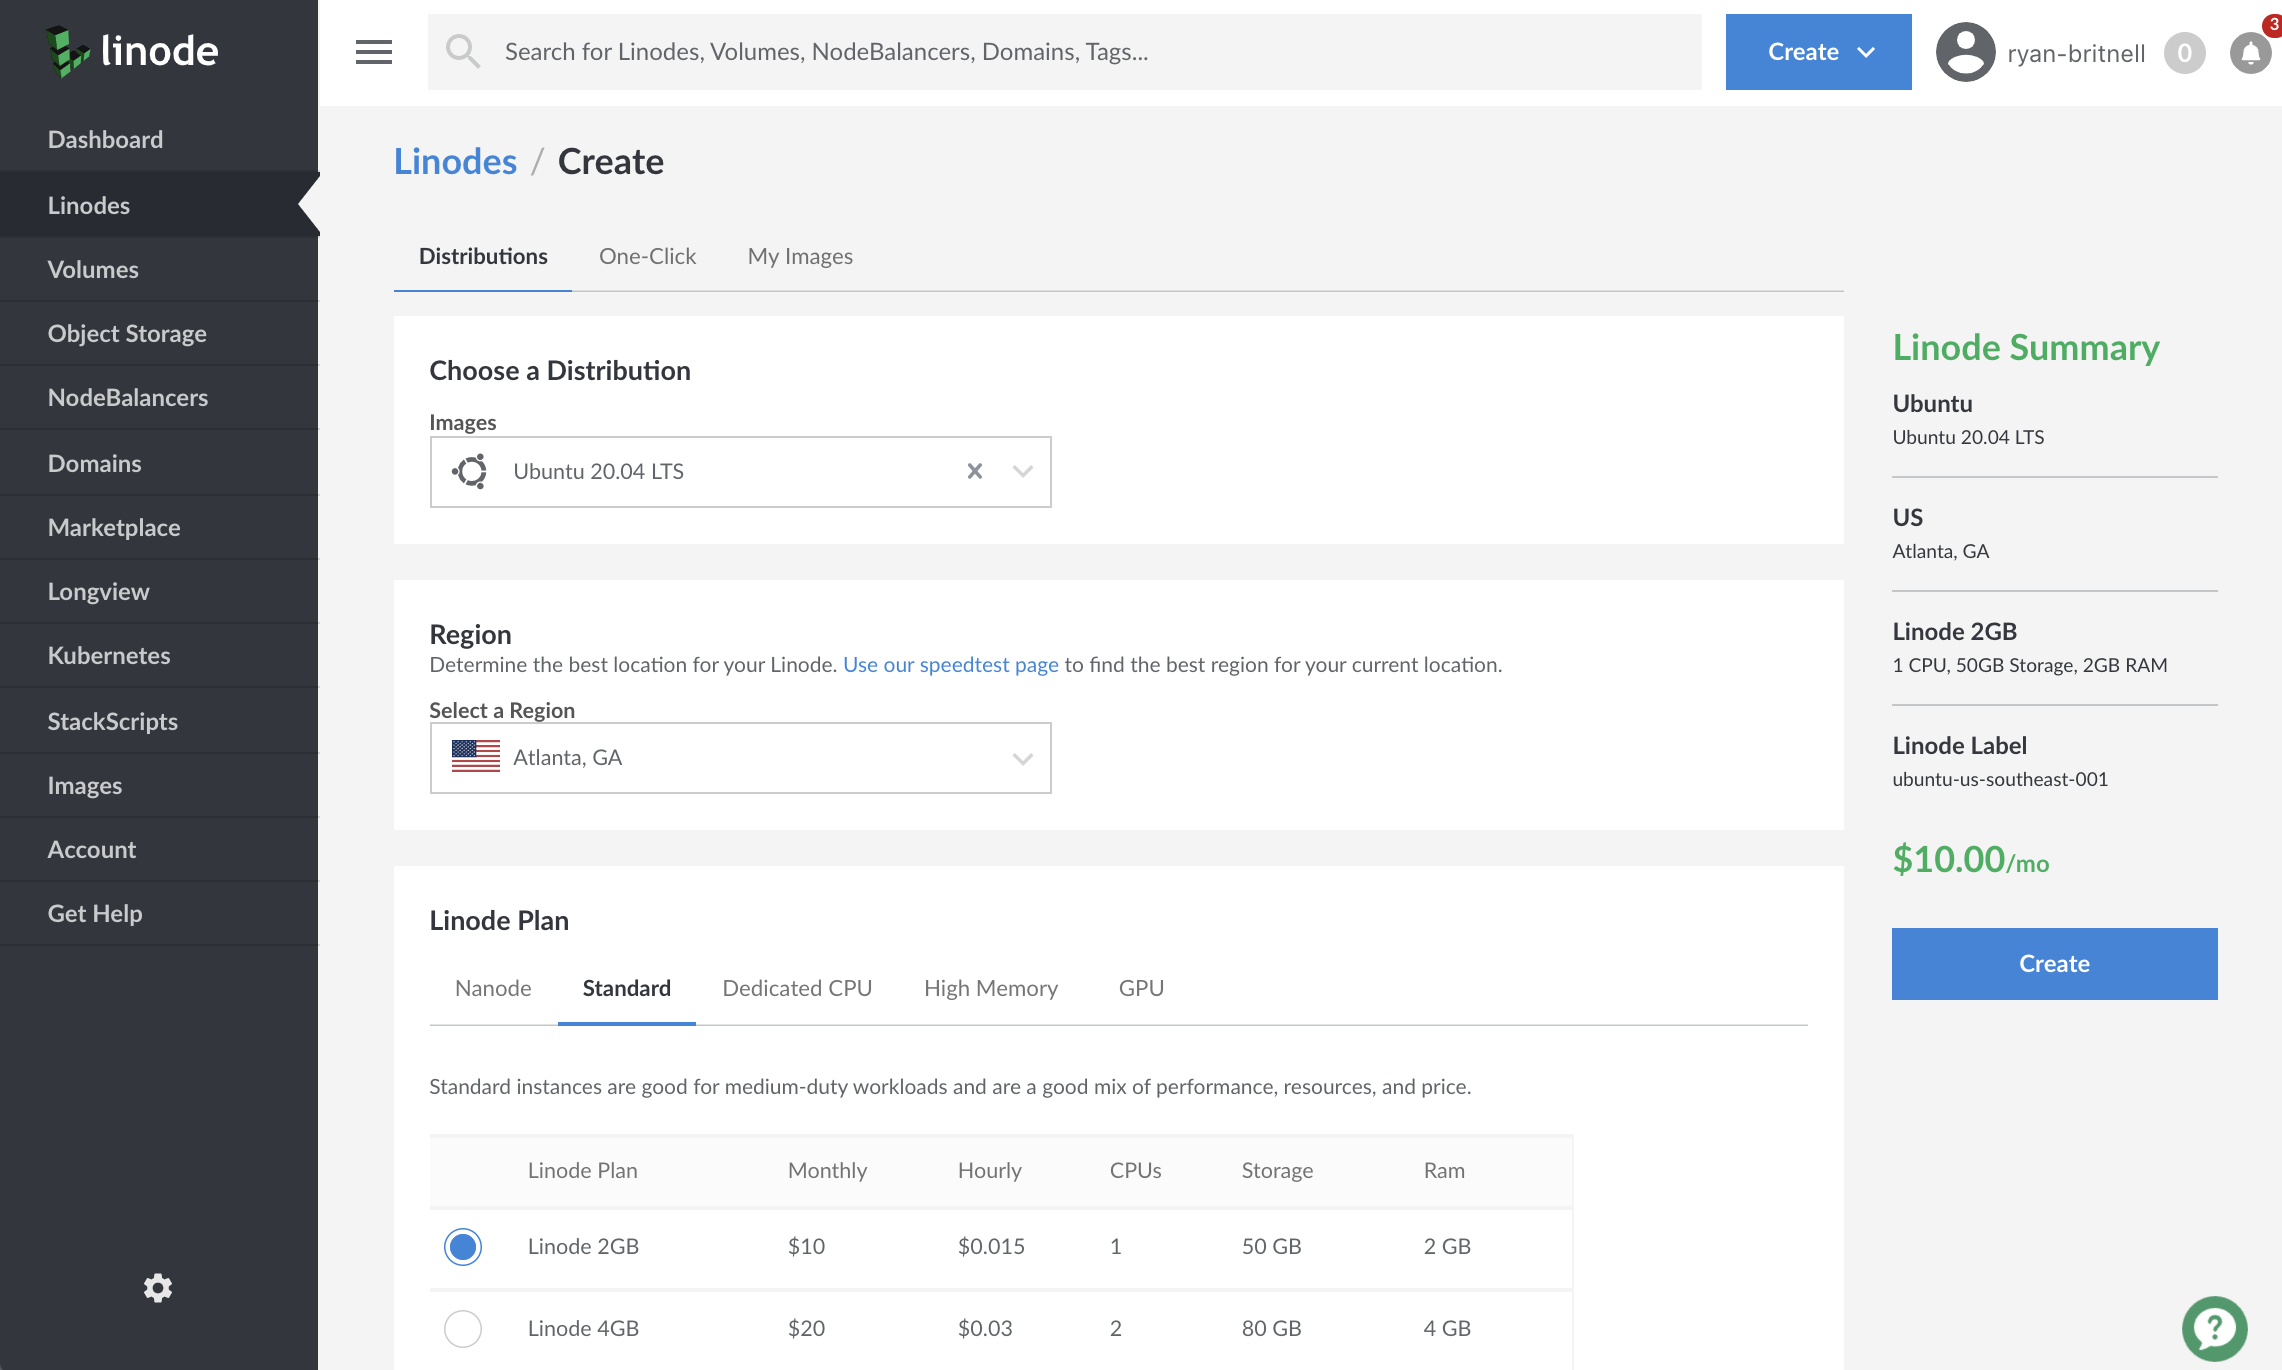
On this server we are using Python version 3.8.2, although any Python version >=2.7 or >=3.7 will work with the Anvil App Server.
Creating a non-root user
We need a non-root user that has sudo privileges to run our server. I’m going to create myself as a user:
~# adduser ryanYou will be asked a few questions like the users full name and account password.
Admin privileges
Your non-root user will require superuser privileges. To grant superuser privileges, we can run the following command:
~# usermod -aG sudo ryanThat command adds our new user to the sudo group. Members of the sudo group can add sudo before commands to run them with superuser privileges.
Updating the server package list
Before we switch to using our new user, there are a few commands we need to run as root.
To start, we are going to run:
~# apt-get updateThis updates the package list on my server. For more information on apt-get update, there is a good summary provided here.
Installing the Java virtual machine and Python virtual environment package
Next, we need to install the Java virtual machine for the Anvil App Server and the Python venv (virtual environment) package. On our Linode instance, we can run:
~# apt-get install python3-venv openjdk-8-jdkAllowing our user to create a service on 443
On many Linux systems unprivileged users cannot create services on port 443. This is a somewhat archaic restriction, and there are a few ways around it. The simplest is to turn it off, with the commands:
~# echo 'net.ipv4.ip_unprivileged_port_start=0' > /etc/sysctl.d/50-unprivileged-ports.conf
~# sysctl --system
(There are all sorts of other configurations you can use for HTTPS; see the README file for all the gory details.)
We have now installed and configured everything we need as the root user. It’s time to switch to the user we created earlier and install the App Server in a virtual environment in their home directory.
Creating your virtual environment
Let’s start by switching to the user we created earlier:
~# su ryanWe are going to start by creating a virtual environment for the Anvil Standalone Runtime to be contained in. The directory I’m creating my environment in is my users home directory. To navigate there we can run:
~$ cd ~We create a Python virtual environment by running:
~$ python3 -m venv envCreating a virtual environment provides us with an isolated environment separate from any other apps we may install or develop on this server. Our virtual environment will contain the Anvil App Server, its dependencies and any other Python packages we want to install for our Anvil app.
To activate our virtual environment, we run the following command:
~$ source env/bin/activateWe are now ready to install the Anvil App Server, along with its dependencies and packages.
Installing the Anvil App Server
Next we are going to install the Anvil App Server. The Anvil app server is available on PyPI, so we can install it with pip:
(env) ~$ pip install anvil-app-serverIf you want to use additional Python packages (e.g. numpy, pandas) in your app’s server-side code, you should make sure these are installed too!
Now the Anvil App Server is installed, let’s configure our domain name.
Adding your own domain name
To set up a domain name, we first need to purchase a domain name from a domain name registrar.
Once we have purchased the domain name, we need to update the nameservers used by the domain registrar to use Linode instead. Each registrar should have documentation on how to change your domain’s name servers.
Linodes nameservers can be found in Linodes DNS manager guide. For this guide I’m going to update the nameservers of my domain name registrar to:
- Ns1.linode.com
- Ns2.linode.com
- Ns3.linode.com
- Ns4.linode.com
- Ns5.linode.com
Now our nameservers are configured, we can add a new domain in the Domains section of the Linodes Cloud Manager. Start by selecting the Add a Domain button and entering your domain name, administrator’s email address and any relevant tags for the domain.
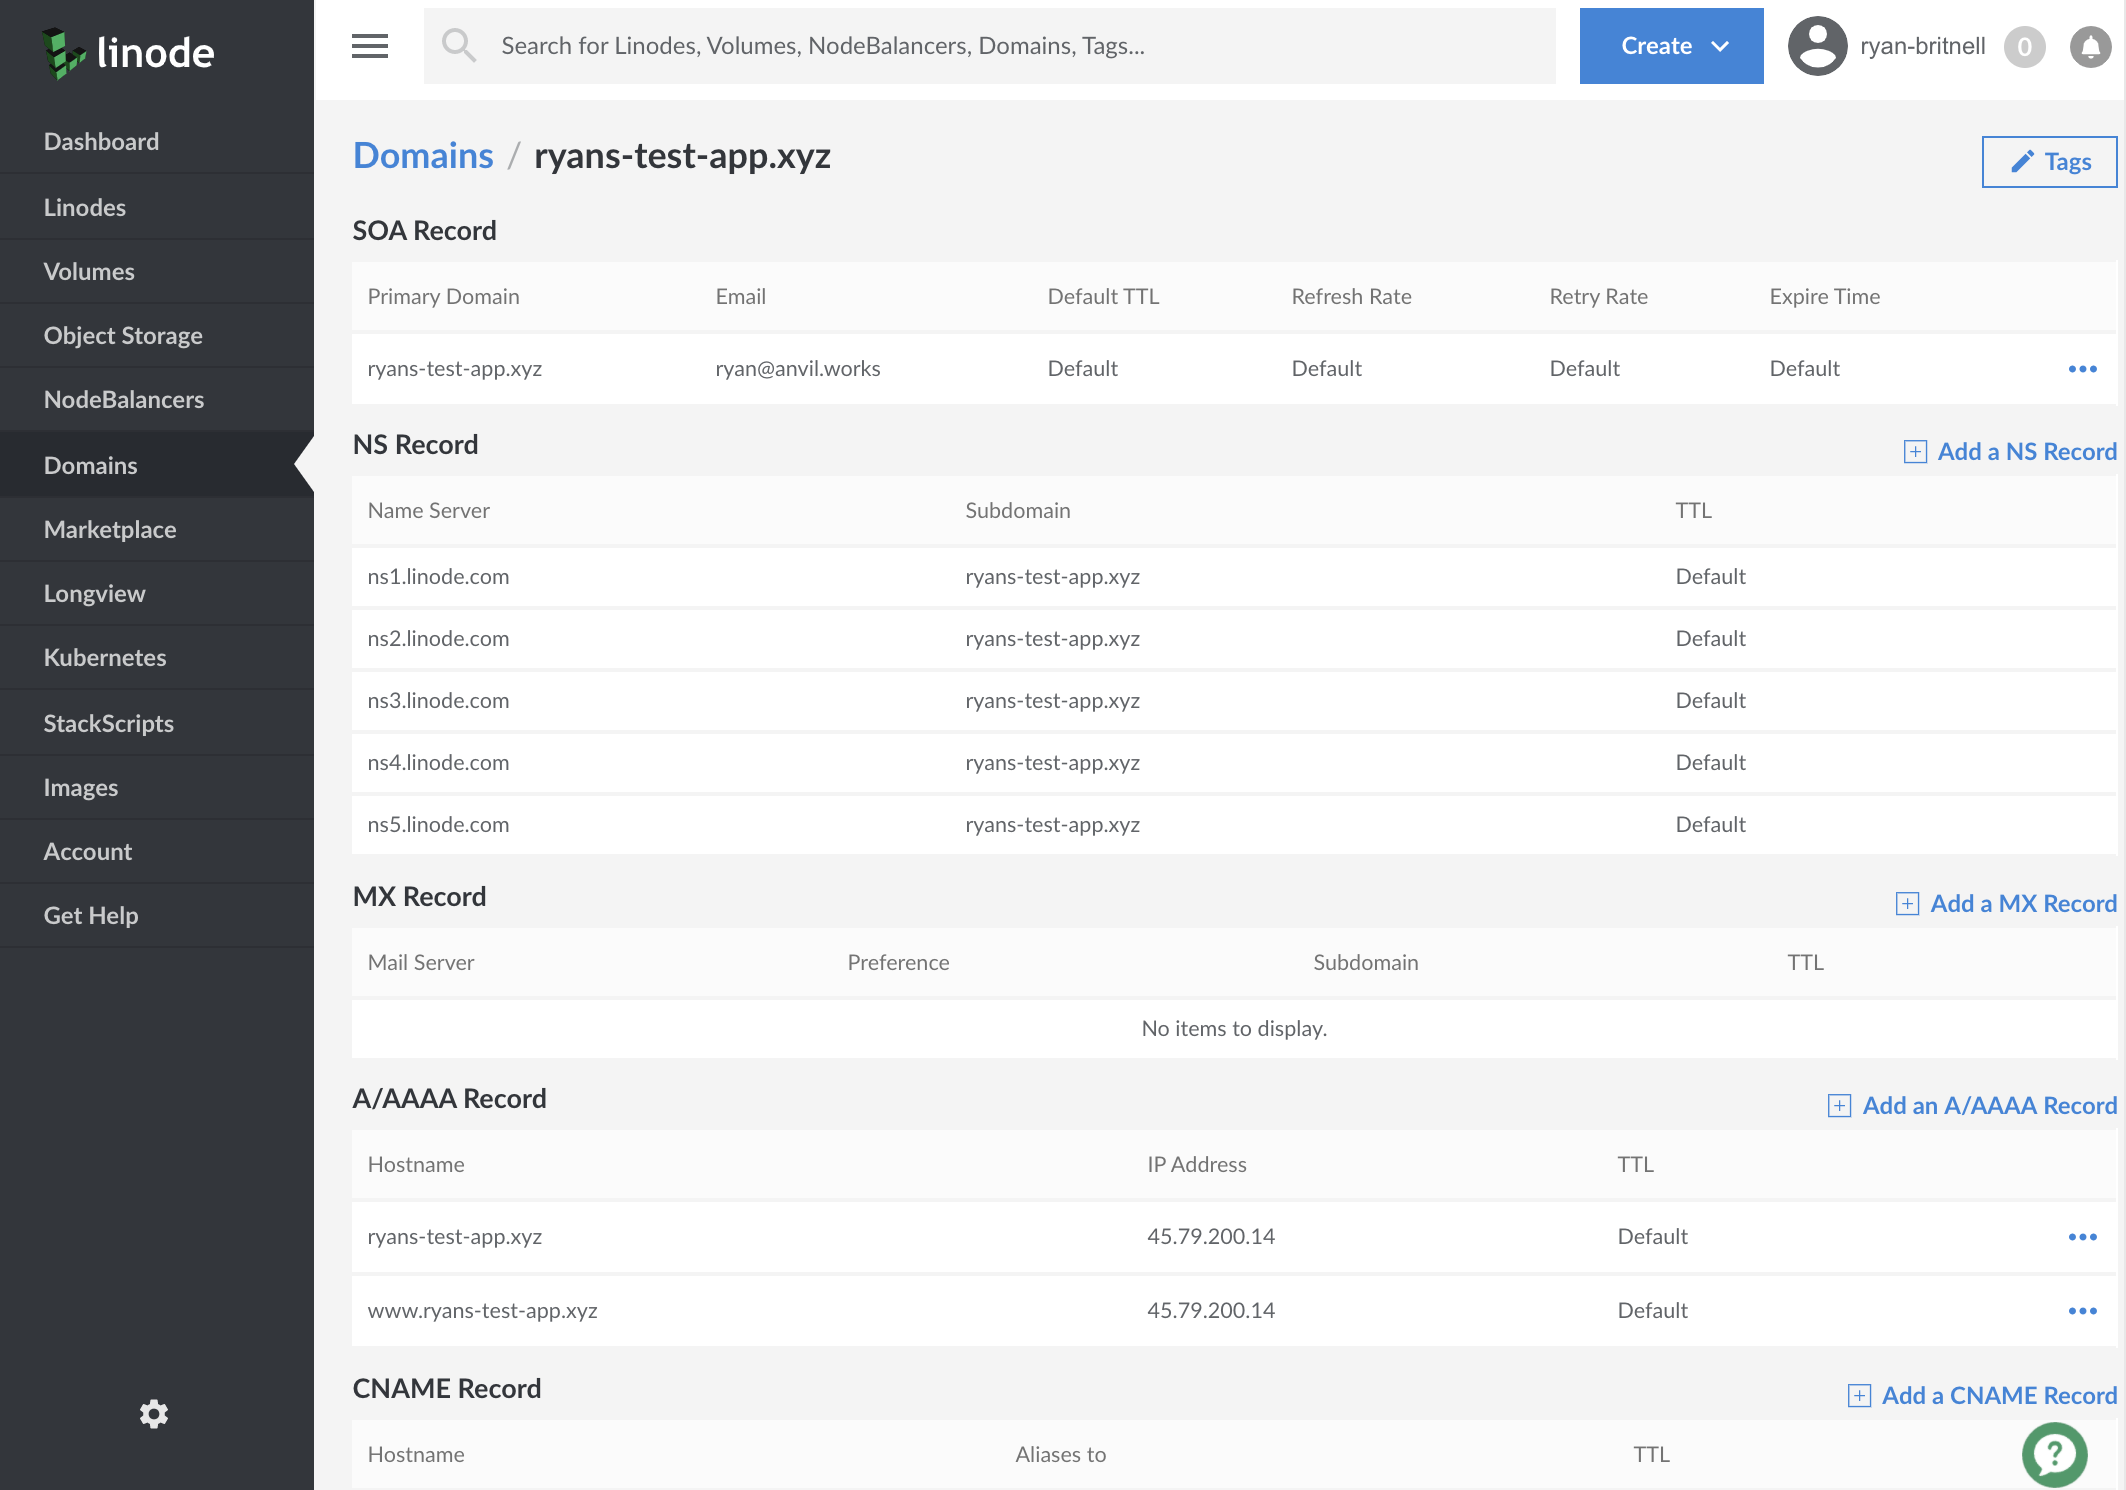
Our next step is to create the type A DNS records required by Anvil, this can be done in the A/AAAA Record section. For this guide I’m going to add two A type DNS records.
| Type | Hostname | IP Address | TTL |
|---|---|---|---|
| A | www.ryans-test-app.xyz | server_IP | Default |
| A | @ | server_IP | Default |
Here is an example of what my DNS records look like:
Once the changes have been made, we’re ready to start the app server.
Adding your Anvil app
Creating an Anvil App
For this guide, we are going to use the News Aggregator app from one of our tutorials. If you already have an Anvil app you want to deploy to this server, you can skip straight to Cloning your app to the server with git.
Click this link to clone the finished News Aggregator app to your Anvil account; you’ll need to sign up for a free Anvil account if you don’t have one yet.
Cloning your app to the server with git
For this example, I will be cloning the News Aggregator app from my Anvil account to my Linode instance.
Each Anvil app is represented by a Git repository. If we click the Clone with Git button in the Version History dialog, we can see the command to clone our desired app onto our server.
Paste the command into the command line window to clone the desired app onto your server. It will look something like this:
# Clone your Anvil app onto your machine
$ git clone ssh://ryan%40anvil.works@anvil.works:2222/AOYS4NM7A3XTUODP.git CRUDnewsappwalkthrough
You will be asked for your Anvil account password to clone the app.
Alternatively, you can set up an SSH key for your server and add it to your anvil app settings by following this guide.
When cloned, the Git repository will be placed in a directory named using the app’s package name. The example above would clone the app into a directory named CRUDnewsappwalkthrough.
Make our app accessible to the world!
Now it’s time to deploy our app to our Anvil App Server for the whole world to access. The best part is, with the Anvil App Server, we can do it all with one command:
(env)$ anvil-app-server --app CRUDnewsappwalkthrough --origin https://ryans-test-app.xyz/Thanks to Anvil’s built-in integration with Let’s Encrypt, we can specify an https:// origin, and Anvil will take care of the rest.
Let’s Encrypt enforces rate limits for certificates. To avoid exceeding these limits while you are testing your setup, you can deploy your app with the --letsencrypt-staging flag. This flag produces an invalid ‘staging’ certificate that is not subject to rate limits.
Once you are finished testing your deployment, simply remove the flag to deploy with a production certificate.
We can now browse to our app via our domain and it’s ready to go!
Edit your app
Once you’ve launched the web server with the anvil-app-server command, you can simply refresh your browser to see changes you make locally - there’s no need to restart the web server!
Do you still have questions?
Our Community Forum is full of helpful information and Anvil experts.