
The Anvil Editor
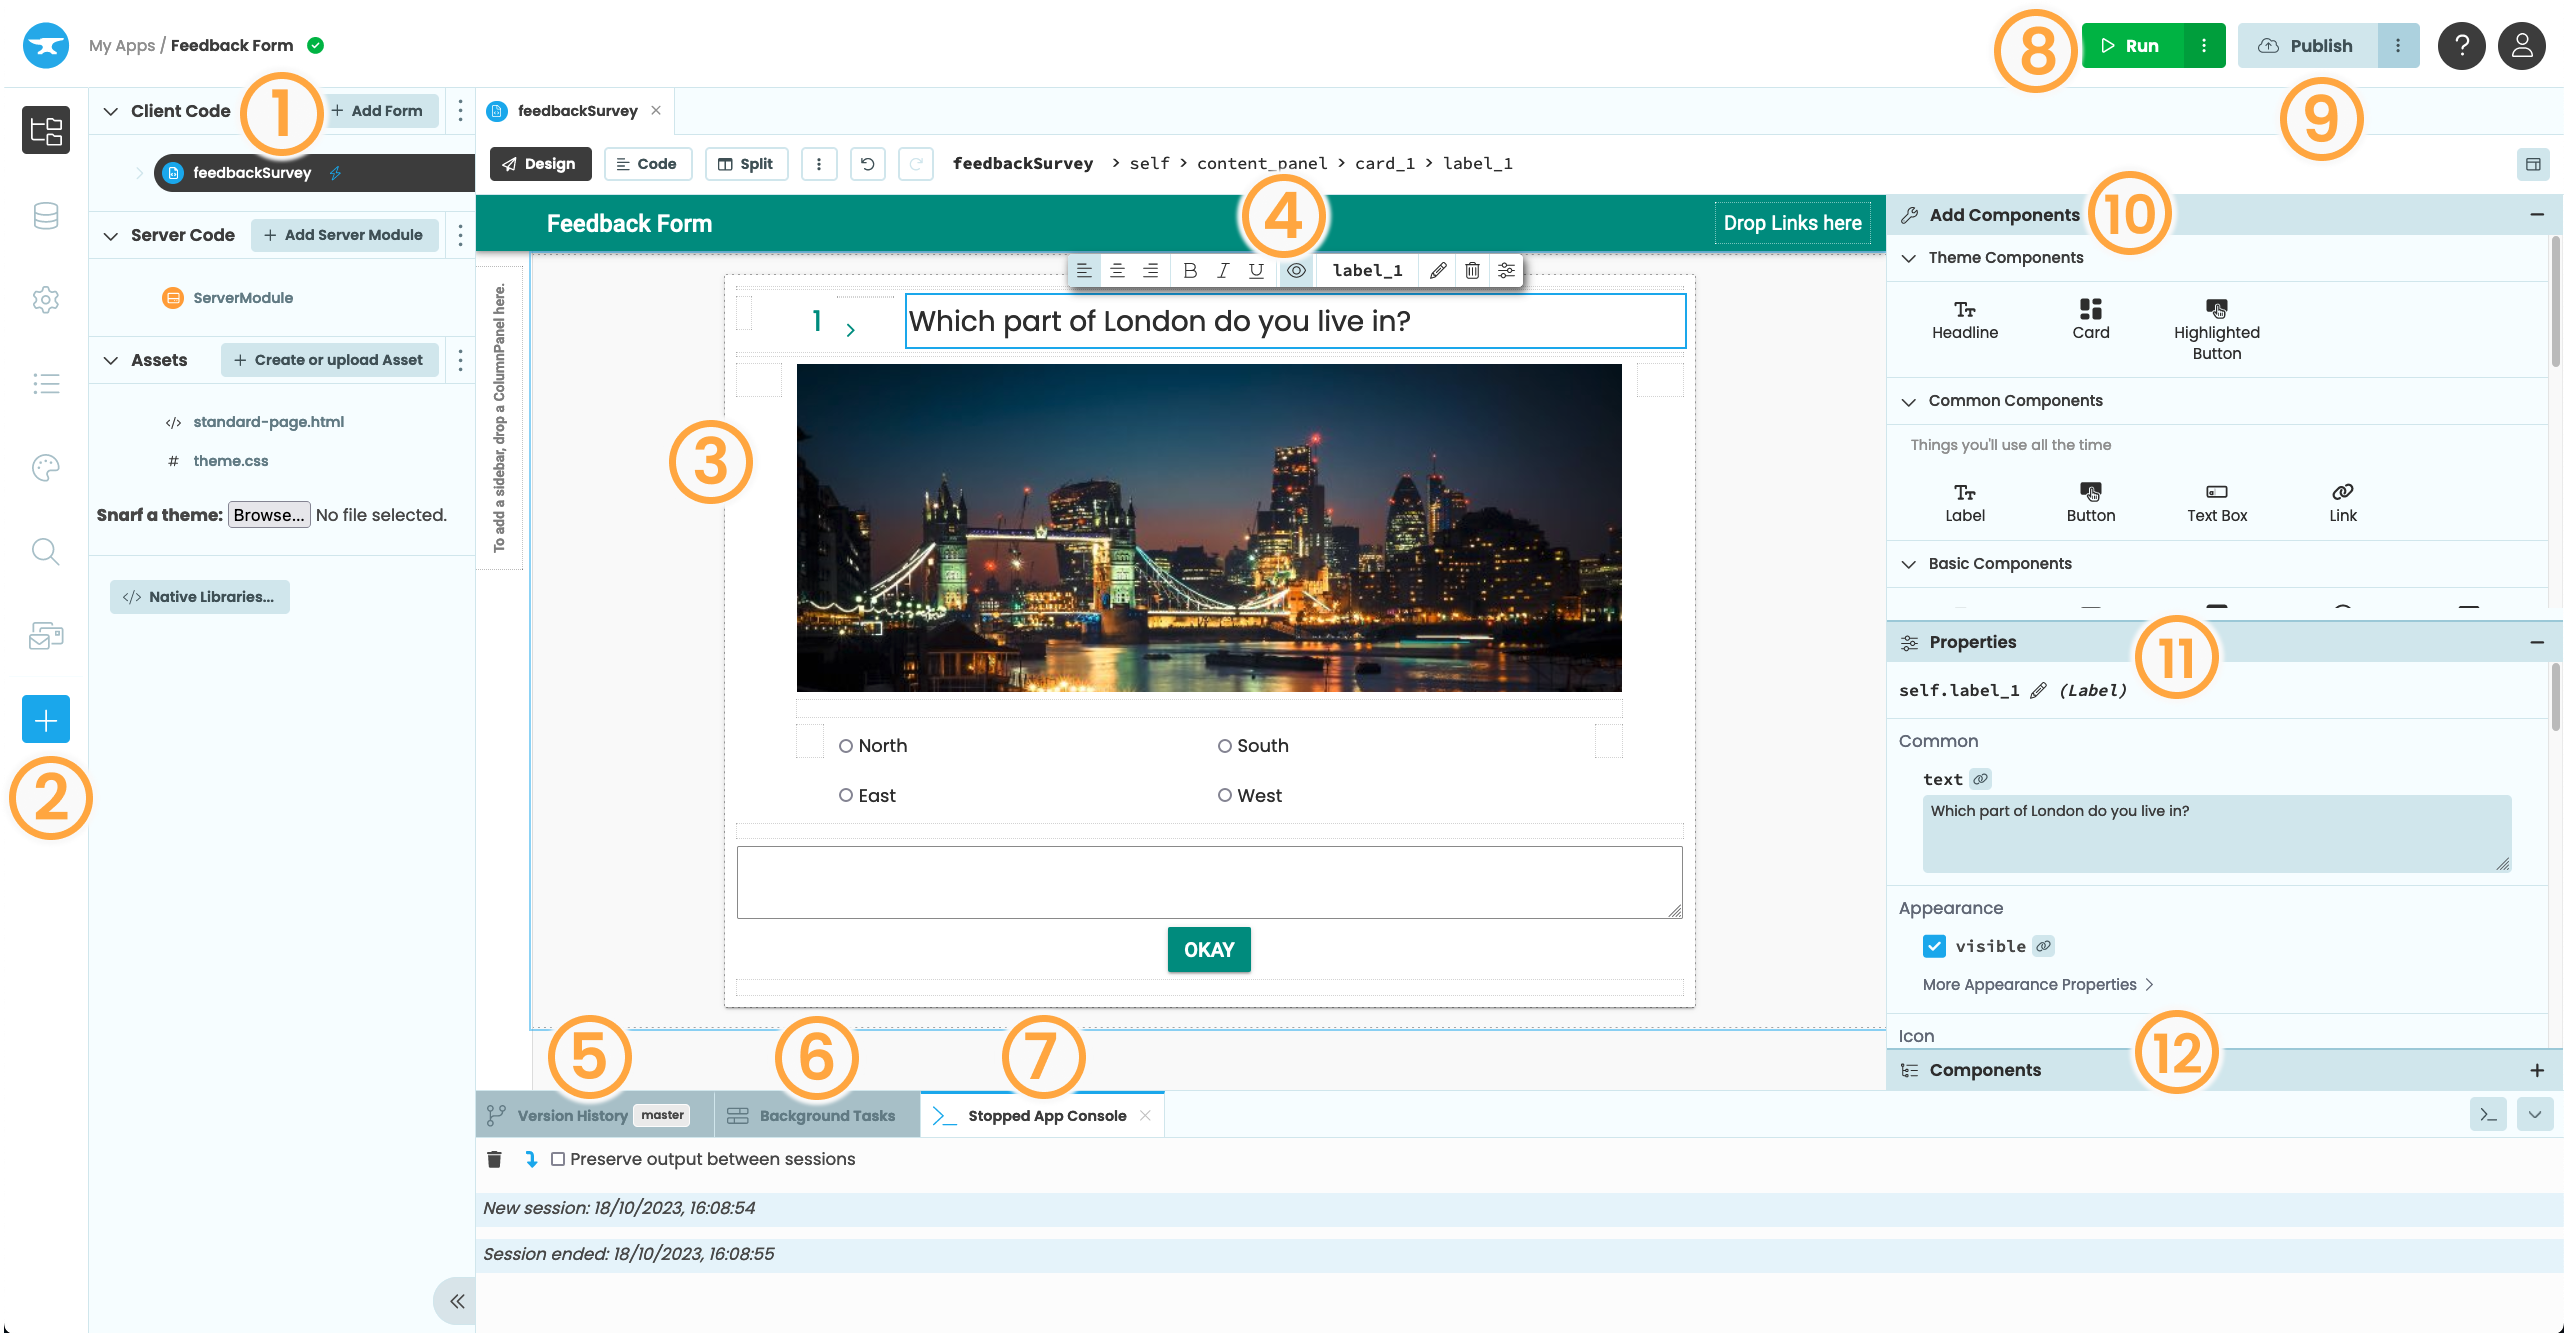
This is a picture of the Anvil Editor, with the most important parts labelled:
The Anvil Editor
- The App Browser is open by default and can be found by clicking the App button in the Sidebar Menu. It lets you select which part of your app you are editing:
- Client code (user interfaces and Python code that runs in the web browser)
- Server code (code that runs in a server-side Python environment)
- Assets (HTML, CSS and other uploaded files for your app. Editing these assets is entirely optional.)
- The Sidebar Menu is where you configure your application, find your apps logs, and add pre-built libraries and integrations like Data Tables, User management, etc.
- The Form Editor displays what your user interface will look like, and lets you drag and drop components to create your UI. The Form Editor has three modes:
- The Object Palette lets you quickly and easily edit your component’s most commonly edited properties
- The Version History Panel displays your app’s commit history and allows you to create new branches and clone your app with Git.
- The Background Tasks Panel shows any running background tasks.
- The App Console will appear after running your app. It shows the app’s output from
printstatements and exceptions. - The Run Button runs the app in the Editor and shows the App Console (shortcut:
Ctrl-Enter). Clicking the dots menu gives you the option to run the app in split view or in a new window. - The Publish Button allows you to publish your app publicly or privately. Here, you can add and configure environments for your app.
- The Toolbox is where you pick new components to add to your UI.
- The Properties Panel lets you configure the component you have selected in the Form Editor. (You can select components by clicking on them.)
- The Component Tree shows the hierarchy of components within the current Form and let’s you move components in the Form
Sidebar Menu
The Sidebar Menu contains more options for building and configuring your app.
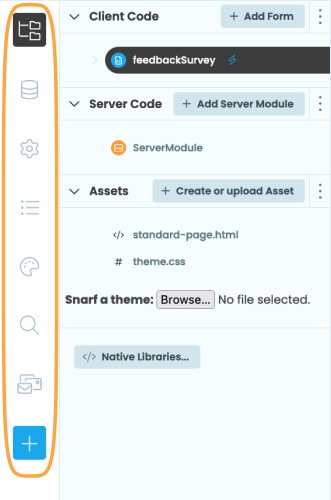
The Sidebar Menu
These are the options given in the Sidebar Menu:
- App: The default view. Shows the App Browser.
- Data: Add and configure Data Tables and Databases
- Settings: Configure settings for your app:
- General: Change the name, description and logo of your app
- Python versions: Choose the version of Python running on the server.
- Dependencies: Add other apps to use as libraries or configure your app to use as a library
- Data Tables: Configure settings for Data Tables
- Collaboration: Configure sharing and cloning of your app
- App logs: Get a log of exceptions and
print()ed output from your app, split by user session and a list of current and past background tasks - Theme: Change the app’s colour scheme and add CSS roles to style components
- Search: Search through your app
Clicking the blue plus button  brings up a menu to add more features to your app, including the Email service, the Users service, the Uplink, App Secrets and built-in integrations. Selecting a feature will add it to the Sidebar Menu. It will also automatically add all the necessary imports to your code.

Add a Feature Menu
To remove a feature, right click over its corresponding icon in the Sidebar Menu and select ‘Remove Service’. This will also remove all the imports that are no longer necessary from your code.
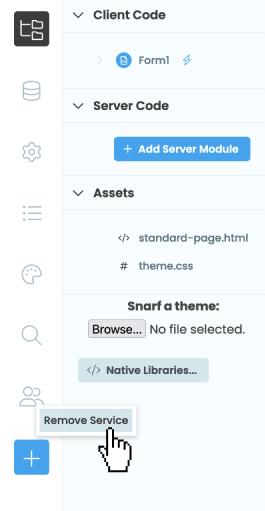
Removing a Feature
The App Browser
The App Browser can be found by clicking ![]() . It lists the main parts of your app:
. It lists the main parts of your app:
- Client code - the Forms, Modules and Packages that define your app’s UI design and client-side behaviour
- Server code - the Server Modules that run secure server-side Python
- Assets - the HTML, CSS and other uploaded files for your app

The App Browser
You can add Forms, Server Modules, Modules, Folders and Services to your app by clicking on + Add Form or the dots menu.
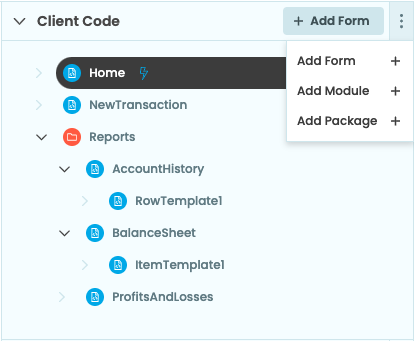
Click the … button to add more.
You can also use the dots next to existing Forms and Packages to add new ones as well as to delete and rename things. For Forms and Modules, this menu also allows to choose what runs when your app starts. Forms have a few other options: you can duplicate them, or click ‘use as component’ to make them appear in the Toolbox as Custom Components:
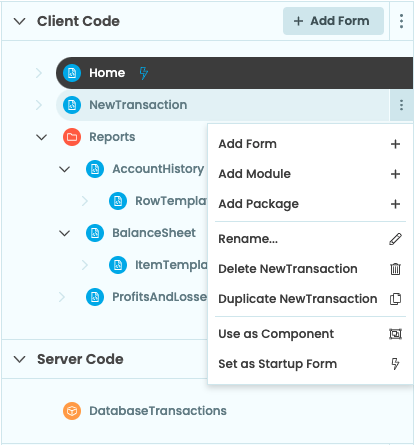
Click the … button for config.
Bottom Panel
App Console
The App Console will appear after you run your app. It shows the output of print statements within your app. It also shows tracebacks from unhandled exceptions,
and (occasionally) messages from the Anvil system about your app.
Output from Server Modules will appear with an orange border on the left-hand margin, while output from Client Forms and Modules will appear with a blue border.

The App Console showing printed output from the client
Exceptions will show a traceback - if the exception occurred on the server, the traceback will still show the whole call stack as if the code ran on the same machine. Clicking a link in the traceback will take you to the problematic line of code in the Code View.
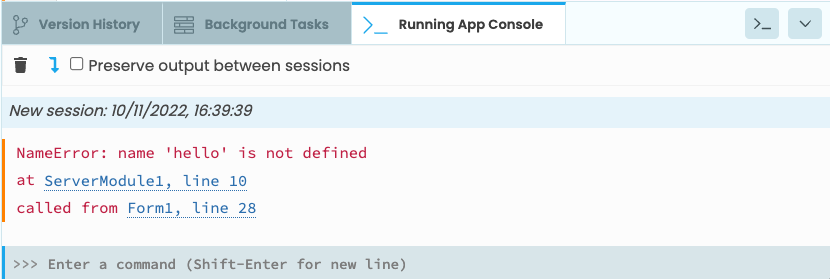
The App Console showing an exception traceback coming from the server
Background Tasks
Click on the Background Tasks tab to see the tasks that are currently running.
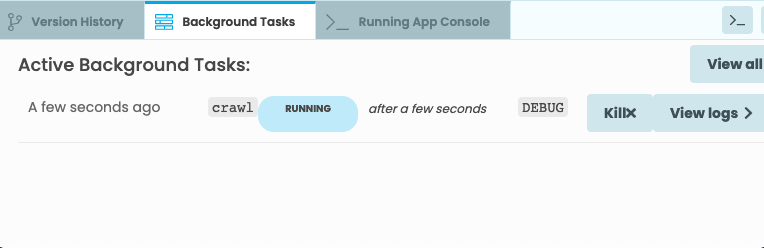
Background Tasks in the Bottom Panel
Version History
The Version History tab shows recent changes to your app and allows you to add and switch branches as well as clone your app with Git.
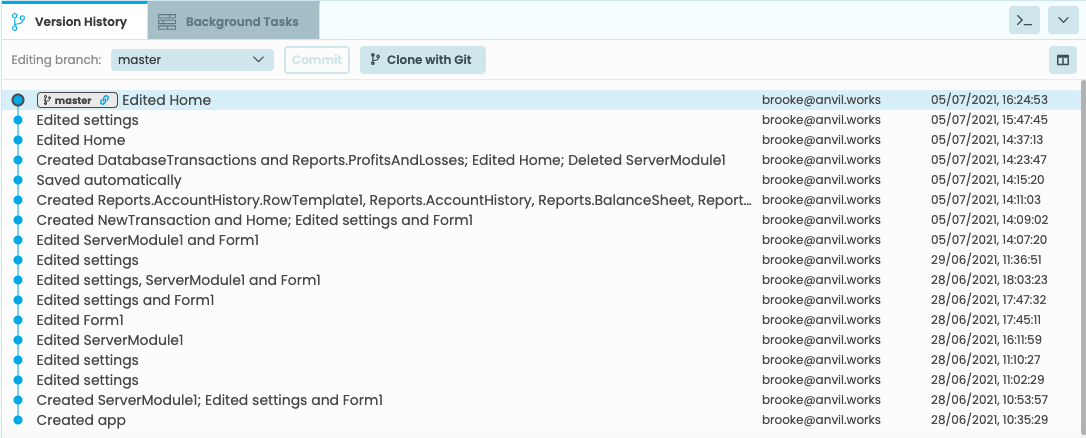
Version History in the Bottom Panel
Designer Output
When in the design view, the Designer Output Console will appear if there are any component errors or a custom component prints something to the console.
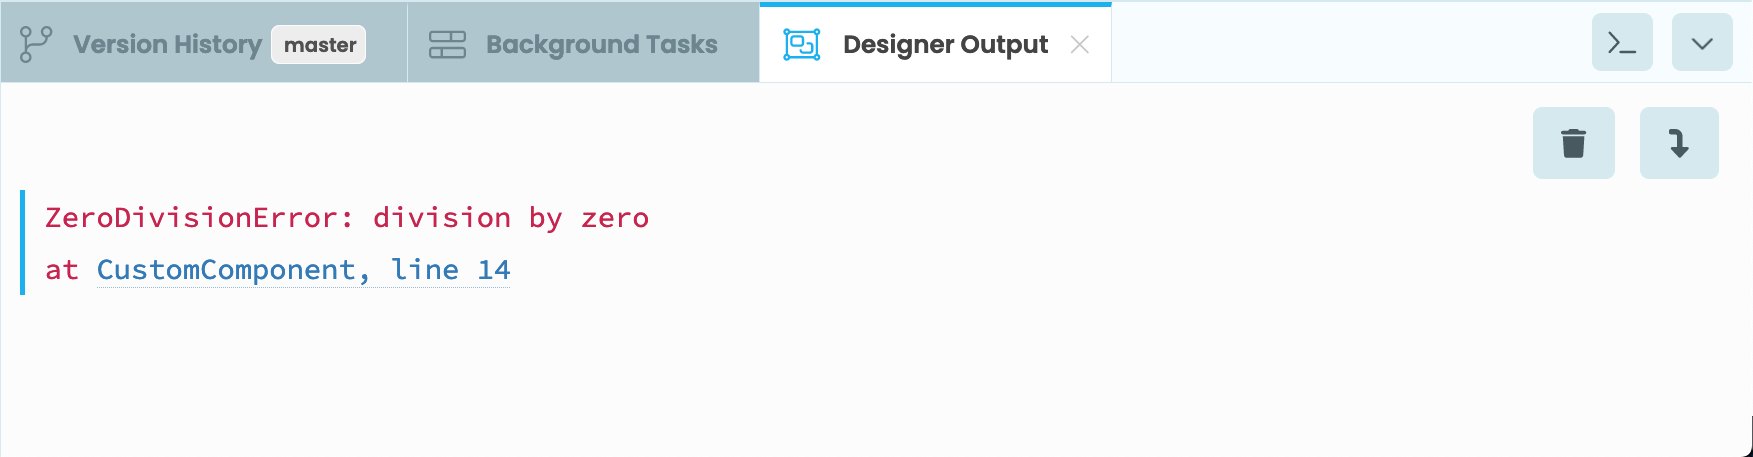
Designer Output in the Bottom Panel
Server Console
To launch a server console, click the button in the top right. This will bring up a REPL where you can connect directly to your chosen Python environment on the server.
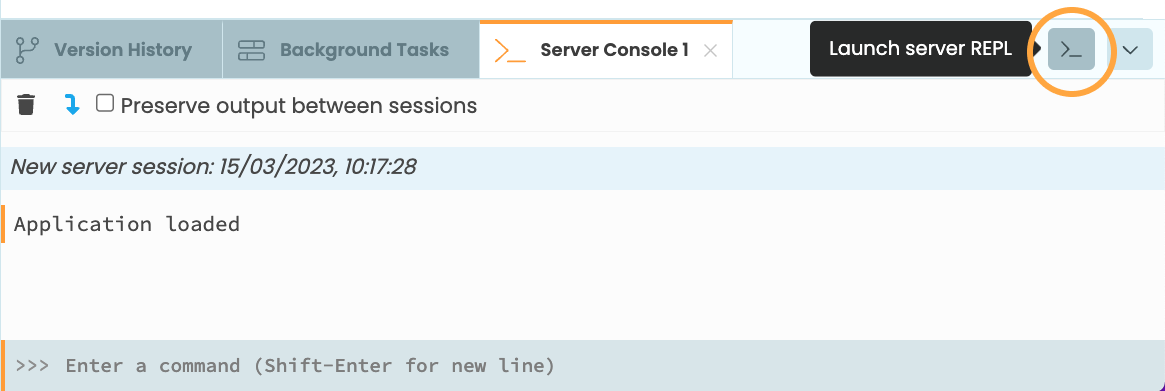
Launching a Server REPL
Zen Mode and Quick Switcher
Activating Zen mode maximises an editor tab and simplifies the IDE view so that you can focus on your code. You can activate Zen mode by:
- Using
Alt+Shift+Zon Windows orOption+Shift+Zon Mac - Double clicking on a tab in the tab bar
- Right clicking on the active tab
You can use the quick switcher to easily jump between tabs or files without using your mouse, which is particularly helpful while in Zen mode. Press Ctrl+P (or Cmd+P on Mac) to open it, then press it again to cycle through files.
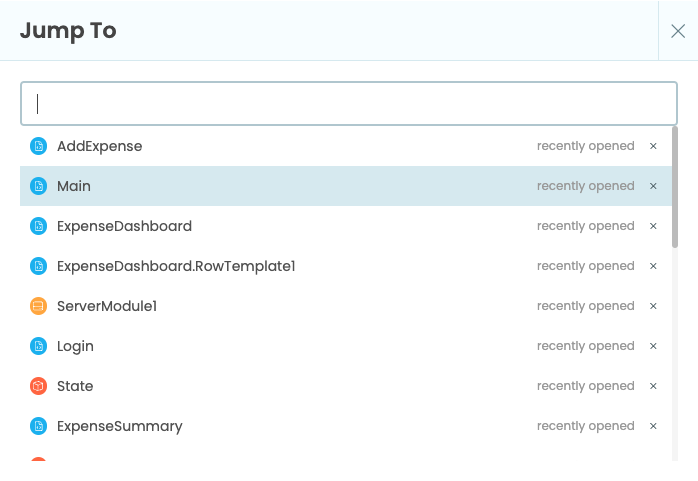
The quick switcher
Linting and Formatting
The Anvil Editor has Ruff linting and formatting built in. The linter shows warnings in your code as a yellow squiggly line. If you hover over the highlighted code, you’ll see more information about the warning in a tooltip.
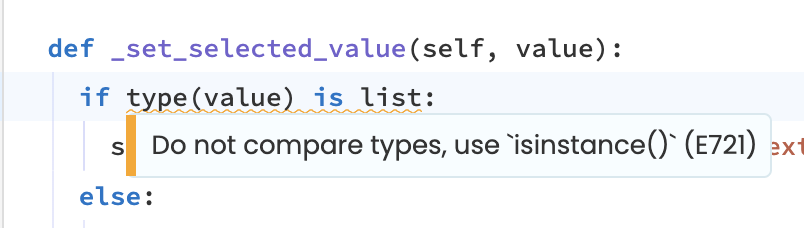
A warning from the Ruff linter
You can auto-format your code using Alt+Shift+F on Windows or Option+Shift+F on Mac.
The Ruff linter is also configurable. You can configure the linter per app by:
- Opening your app locally
- Creating a
pyproject.tomlorruff.tomlfile in the root directory - Adding your preferred configuration (see the Ruff documentation for details)
- Pushing your changes back to Anvil
Code Styles
Anvil apps use Python code on client and server side. The Editor uses different visual styles for client and server code.
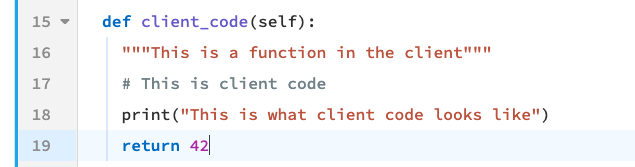
A function written on the client.
The code editor has a blue bar on the left margin.
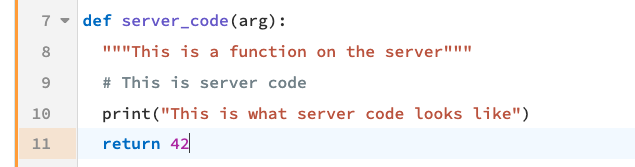
A function written on the server.
The code editor has an orange bar on the left margin.
In Modules, code is styled like client code. Module code can be run on both client and server.
In this documentation, client and server code are styled as follows:
def client_code():
  """This is a function in the client"""
  # This is client code
  print("This is what client code looks like")
def server_code():
"""This is a function on the server"""
# This is server code
print("This is what server code looks like")Deleting Apps
To delete an app, go to Settings, by pressing on the gear button of the Sidebar Menu. Click on Delete app, under the Manage this App section.
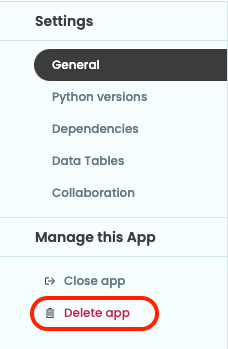
Delete app option
You can also delete an app from the Start Page. Find the app in the ‘My Apps’ list and hover over it to reveal the delete button.
Once you click on one of the delete buttons, this pop-up will appear:
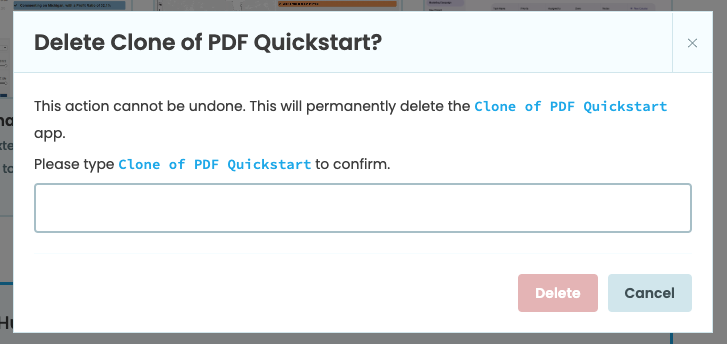
Delete App pop-up
You’ll need to type in the name of the app to confirm you want to delete your app then press the delete button. Once this is done, your app will be permanently deleted.
Do you still have questions?
Our Community Forum is full of helpful information and Anvil experts.