
Upload a large file directly to Amazon S3
Normally, if you’re uploading a file into an Anvil app, you would capture the file with a FileLoader component, then pass the resulting Media object as an argument to a Server Function, then store that Media in a Data Table.
But if your file is many gigabytes in size, you might see timeouts while uploading, or exceed the storage limits of your Data Tables. Instead, it makes sense to store giant files directly in a cloud storage service, such as Amazon S3.
This guide will show you how to use the uppy.io JavaScript widget and Amazon boto3 library to upload files from Anvil directly to an S3 bucket.
1. Set up an S3 bucket
If you don’t already have an S3 bucket, you’ll need to set one up. You can find a get started guide here: Getting Started with Amazon S3.
Your S3 bucket will need to have cross-origin access enabled. The following cross-origin policy is sufficient to allow uploads from browsers – you can paste it into the CORS policy text box in the S3 console:
[{"AllowedHeaders": ["content-type"], "AllowedMethods": ["POST", "PUT"], "AllowedOrigins": ["*"], "ExposeHeaders": []}]You’ll also need an AWS Access Key and a Secret Access Key that has permission to write to your S3 bucket.
Save your access keys in your app’s App Secrets. Store the AWS access key ID in a secret named aws_key_id and the secret key in a secret named aws_secret_key.
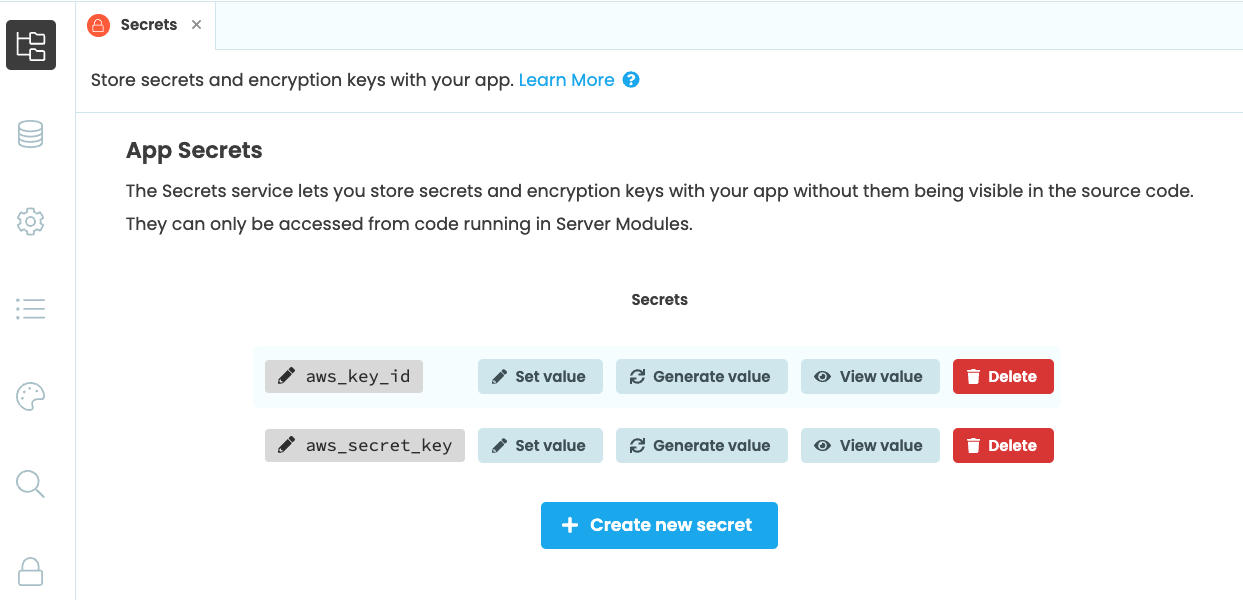
The AWS keys added as app secrets to the app
2. Add the Uppy widget to the app
Uppy is a third-party JavaScript that displays a form where users can drag and drop files to upload to S3. We can add the widget to an Anvil app using Native Libraries and the anvil.js module.
First, add the following line to your app’s Native Libraries:
<link href="https://releases.transloadit.com/uppy/v3.3.1/uppy.min.css" rel="stylesheet">Next, go to the Design View of your Form, add a ColumnPanel, and name it uppy_target. This is where the Uppy widget will go.
Switch to Code View and add the following import statements to your Form’s code:
from anvil.js import window, import_from, get_dom_node
import anvil.js
We’ll need to set up two functions for the Uppy widget to use:
-
get_upload_parameterswill return AWS credentials from a Server Module that will give Uppy temporary permission to access the S3 bucket. -
on_completewill be called by Uppy when the upload completes, whether or not it’s successful.
For now, the functions won’t do anything, but we’ll fix that in Steps 3 and 4.
  def get_upload_parameters(self, file_descr):
    # This function is called to get the pre-signed URL
    # for the S3 upload.
    pass


  def on_complete(self, result, *args):
    # This function is called when the upload is finished,
    # successful or not.
    pass
Next, in the Form’s __init__ method, add the following code:
    mod = anvil.js.import_from("https://releases.transloadit.com/uppy/v3.3.1/uppy.min.mjs")
    self.uppy = mod.Uppy().use(mod.Dashboard, {
      'inline': True,
      'target': get_dom_node(self.uppy_target)
    })
    self.uppy.use(mod.AwsS3, {
      'getUploadParameters': self.get_upload_parameters
    })
    self.uppy.on('complete', self.on_complete)
If you run the app now, you’ll see an empty Uppy uploader. Nothing will happen if you try to upload a file because we haven’t set up the get_upload_parameters function yet. In the next step, we’ll use boto3 to return the AWS credentials we need.
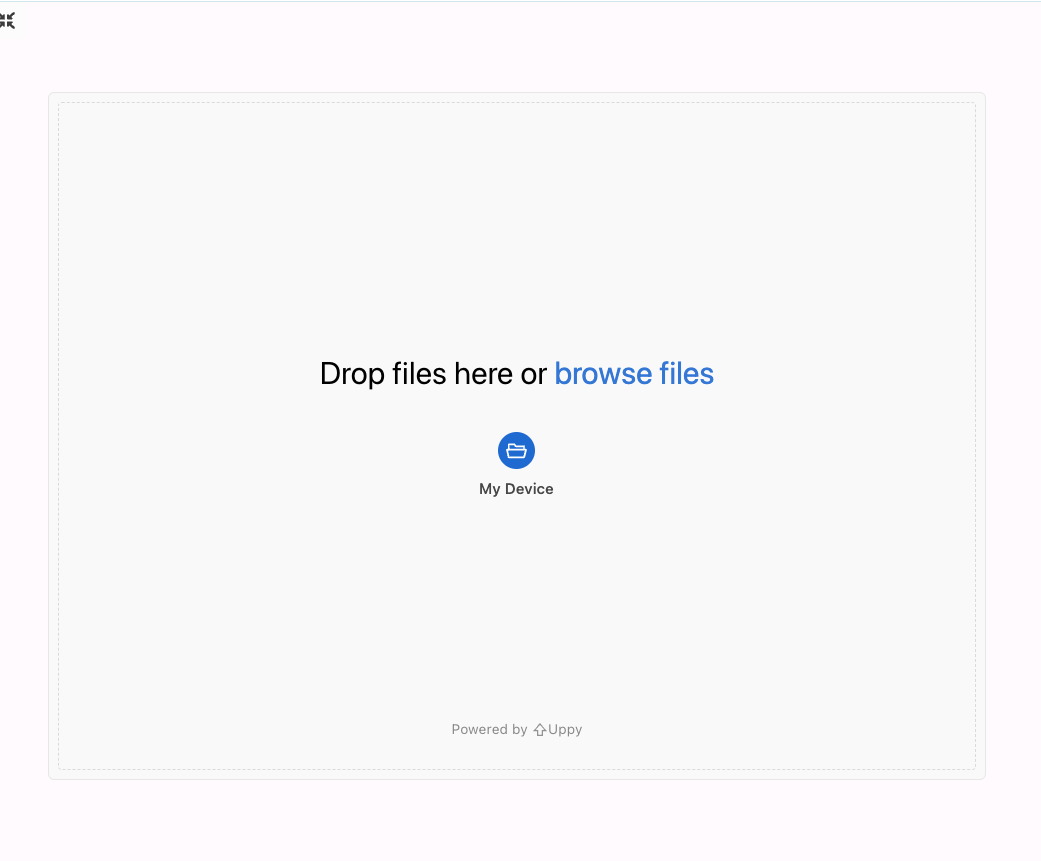
The Uppy widget in a running app
3. Get a presigned URL from S3 using boto3
The AWS access key you set up in Step 1 will provide access to S3, but it’s a powerful credential for this very reason. We don’t want to expose it to the client and give anyone unlimited access to our S3.
Instead, we can generate a presigned URL, which grants temporary access to upload one file to the target S3 bucket. We can use the boto3 library from a Server Module to generate the presigned URL.
In a Server Module, add the required import statements and set up variables for your S3 bucket and AWS region:
import boto3, string
from datetime import datetime
from random import SystemRandom

BUCKET_NAME="anvil-upload-demo" # Replace with your S3 bucket name
REGION_NAME="eu-west-2" # Replace with your AWS region
Next, you’ll need to create a function to generate the presigned URL and make it callable from the client. This function will be called in the get_upload_parameters function we created in the previous step:
@anvil.server.callable
def get_presigned_url(filename, content_type):
  s3_client = boto3.client(
      's3',
      aws_access_key_id=anvil.secrets.get_secret('aws_key_id'),
      aws_secret_access_key=anvil.secrets.get_secret('aws_secret_key'),
      region_name=REGION_NAME
  )

  # Because the filename is user-supplied, we use the current date and a random string to ensure
  # a unique filename for each upload
  random_string = ''.join(SystemRandom().choice(string.ascii_uppercase + string.digits) for _ in range(10))
  filename_to_upload = f"{datetime.now().isoformat()}-{random_string}-{filename}"

  r = s3_client.generate_presigned_post(BUCKET_NAME, filename_to_upload)

  # Return the data in the format Uppy needs
  return {
    'url': r['url'],
    'fields': r['fields'],
    'method': 'POST'
  }
4. Provide the presigned URL to Uppy
When Uppy is ready to upload a file, it will call the get_upload_parameters function. We can now change the function so that it calls the get_presigned_url server function and returns the results (the pre-signed URL and associated data) to Uppy.
Because we’re using this function as a callback from Javascript, we need to add the @anvil.js.report_exceptions decorator. This makes sure that if the code throws an exception, it appears correctly in the Anvil console.
Go back to your Form’s client code and update get_upload_parameters:
  @anvil.js.report_exceptions
  def get_upload_parameters(self, file_descr):
    return anvil.server.call('get_presigned_url', file_descr['name'], file_descr['type'])
Provided you’ve configured your bucket and access keys correctly, you should now be able to upload files to S3.
Optionally, you can configure the on_complete function to report feedback from Uppy. We can add this to an alert to display to the user:
  @anvil.js.report_exceptions
  def on_complete(self, result, *args):
    successful = result['successful']
    failed = result['failed']
    alert(f"{len(successful)} succeeded, {len(failed)} failed")
You can clone the sample app here (you’ll need your own S3 bucket and access keys for it to work):
Do you still have questions?
Our Community Forum is full of helpful information and Anvil experts.