 By
By Chapter 5:
Send Emails
We’ll use the Email Service to send you an email each time someone leaves feedback.
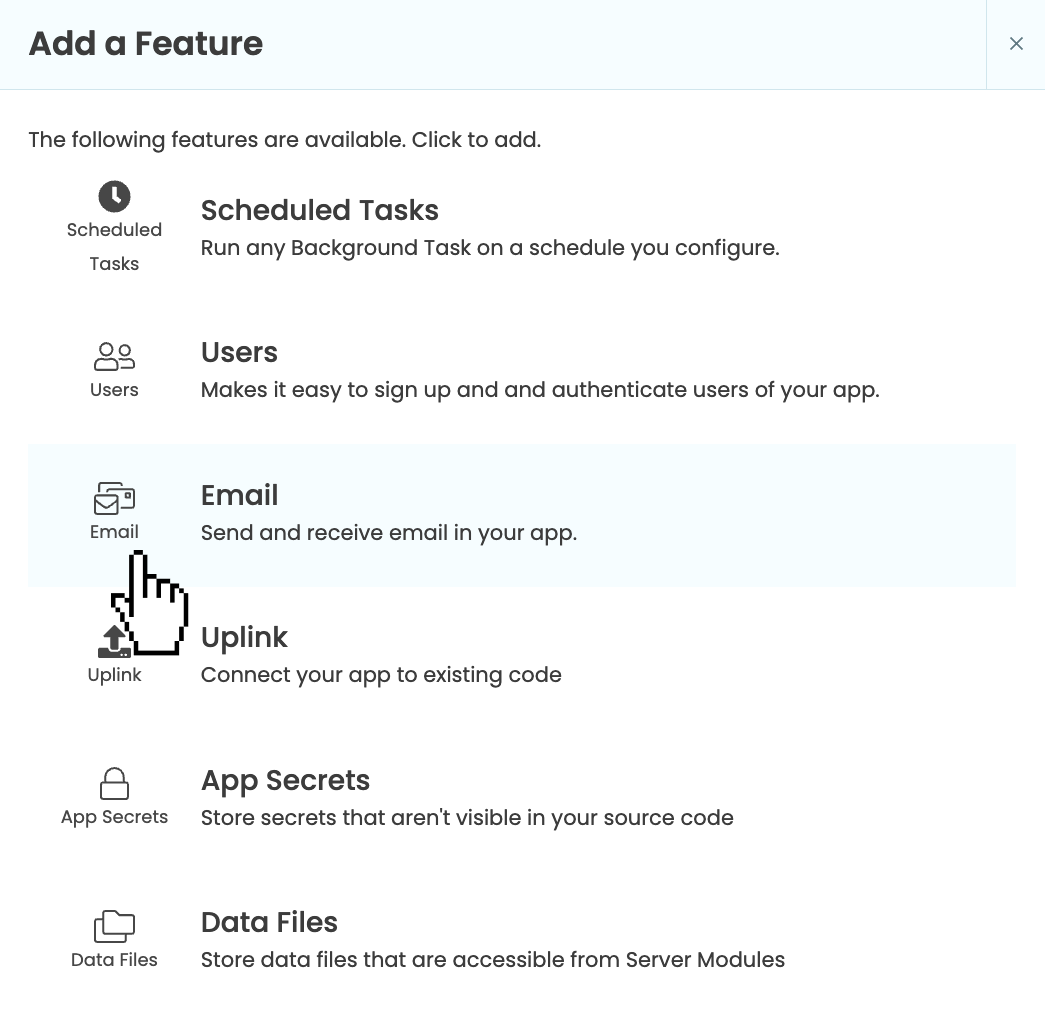
Step 1: Add the Email Service
Let’s start by adding the Email Service to our app. Select the blue ‘+’ button in the sidebar menu to open the list of available services. Then, click on the ‘Email’.
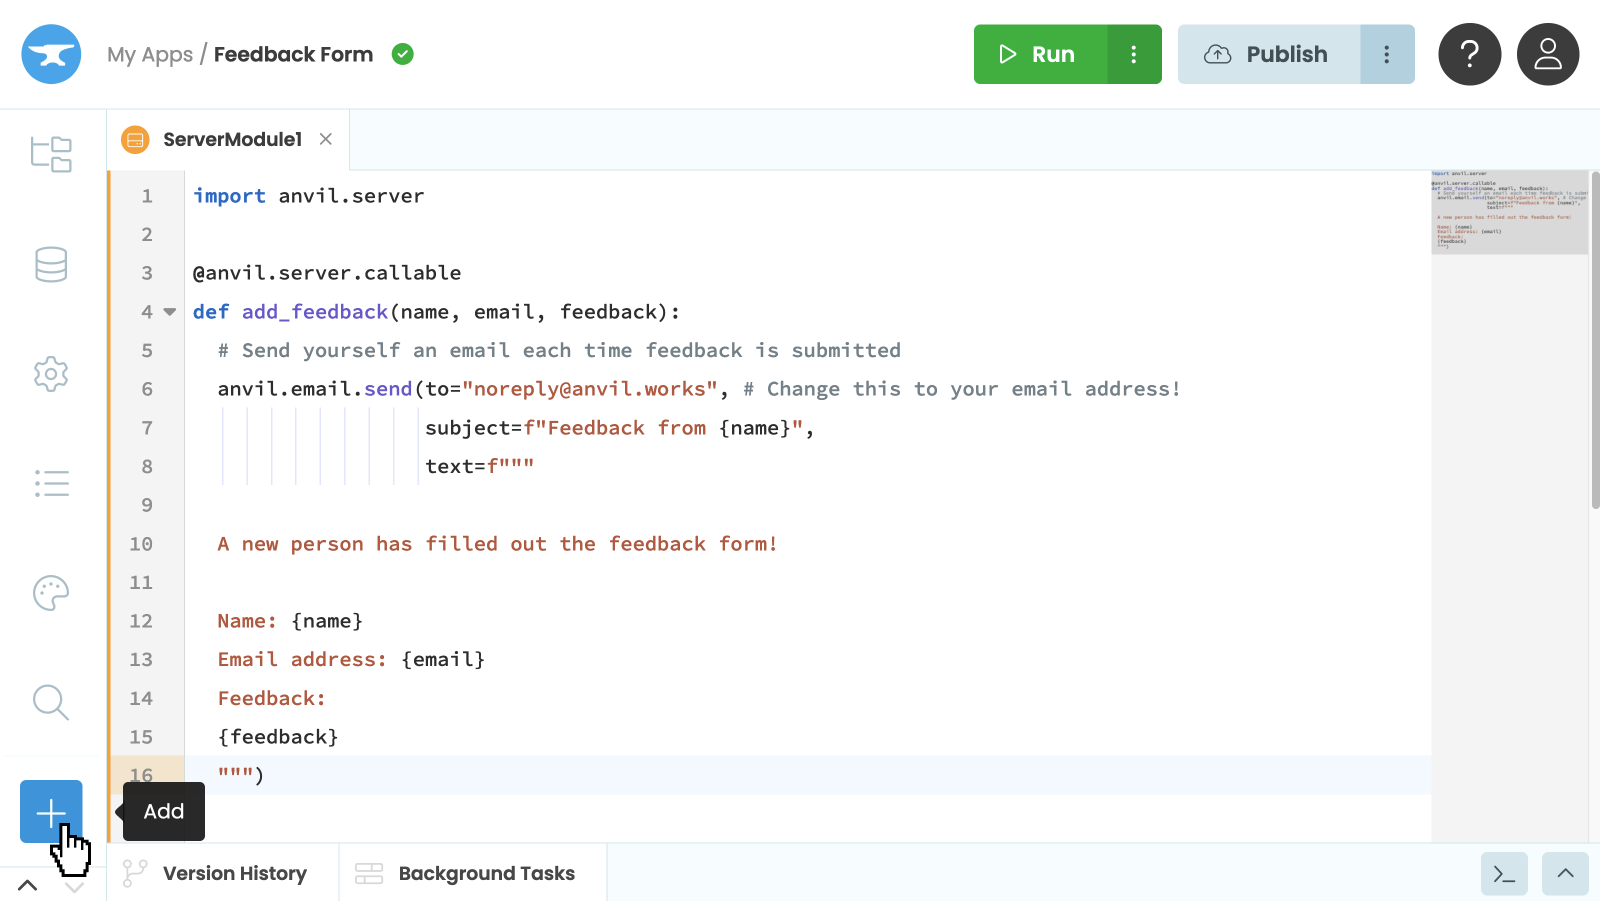
Add a service
Select the Email Service
Now you’ve enabled the Email Service, you can send an email just by calling anvil.email.send.
Step 2: Call the send function
Go to your Server Module, and modify your add_feedback function to look like this. Remember to change the address to your email address! We added this function in Chapter 3.
@anvil.server.callable
def add_feedback(name, email, feedback):
  app_tables.feedback.add_row(
    name=name,
    email=email,
    feedback=feedback,
    created=datetime.now()
  )
  # Send yourself an email each time feedback is submitted
  anvil.email.send(#to="noreply@anvil.works", # Change this to your email address!
                   subject=f"Feedback from {name}",
                   text=f"""
  A new person has filled out the feedback form!

  Name: {name}
  Email address: {email}
  Feedback:
  {feedback}
""")Step 3: Test your function
We’ll test our add_feedback function using Anvil’s built-in REPL. On the right of the editor’s Bottom Panel, select the “Launch Server REPL” button ![]() .
.
This will open a server console which is a Python interpreter, very similar to what you’d use on your own machine. To test our function, we’ll import the function from our server module and then run our function feeding it some dummy data:
from .ServerModule1 import add_feedback
add_feedback("Ryan", "test@email.com", "Anvil is super cool!")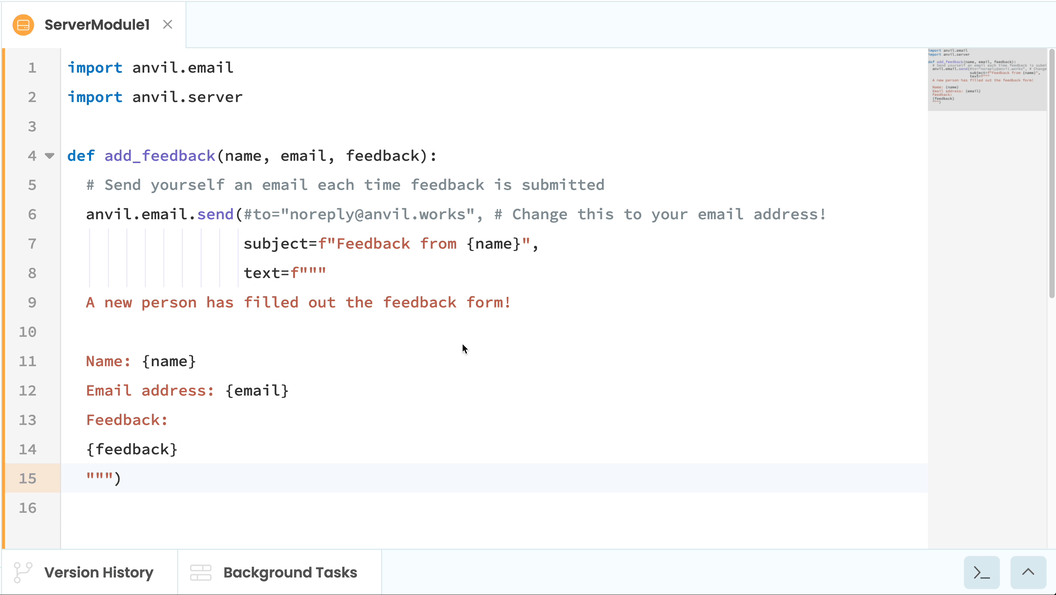
You’ll notice Anvil’s built-in autocomplete helping you find the server module and function.
Hit enter and you’ll see a new row of feedback appear in your Data Table. An email will also be sent to the address you registered with on Anvil!
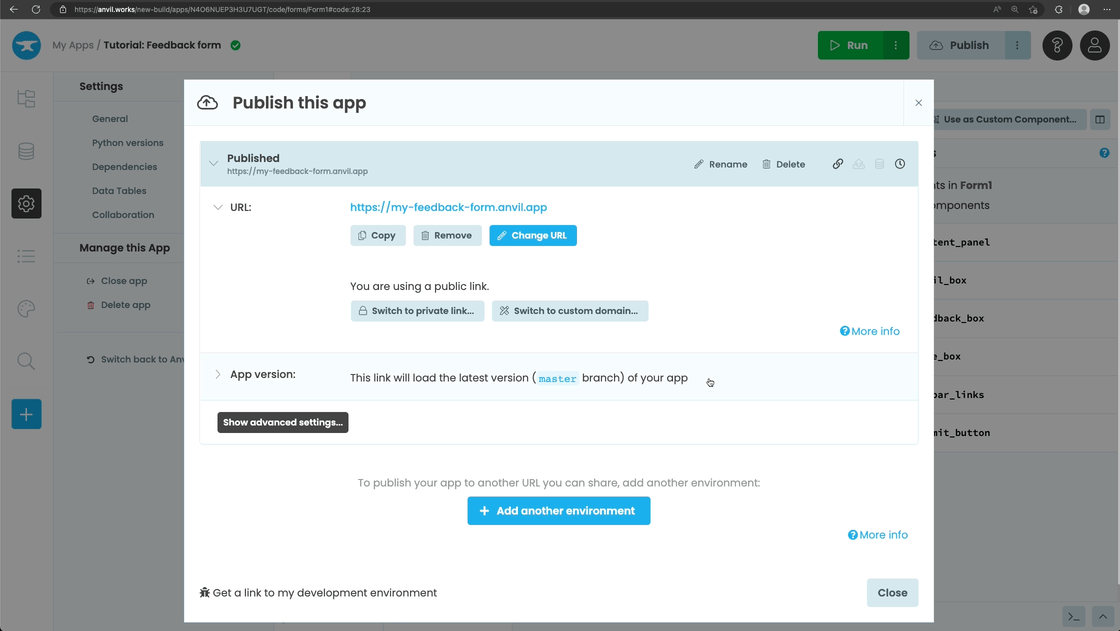
Step 4: Publish your app
You can easily publish you app online for anyone to use. Click the ‘Publish’ button at the top right of the editor, then select ‘Publish this app’ and use the public URL provided or enter your own.

The publish button highlighted at the top of the Editor
Fill in a name, email address, and some feedback and click Submit. You’ll receive an email letting you know someone has filled out your feedback form.
Using the deployed app
And that’s it. You’ve just built a working database-backed feedback app in Anvil.
You can also use the following link to clone the finished app and explore it yourself:
In the next section, you can challenge yourself to reinforce what you’ve learnt and learn more!
If you’d rather not try the challenge, check out the below section to see what’s next.
What next?
Head to the Anvil Learning Centre for more tutorials, or head to our examples page to see how to build some complex apps in Anvil.
Build Database-Backed Apps
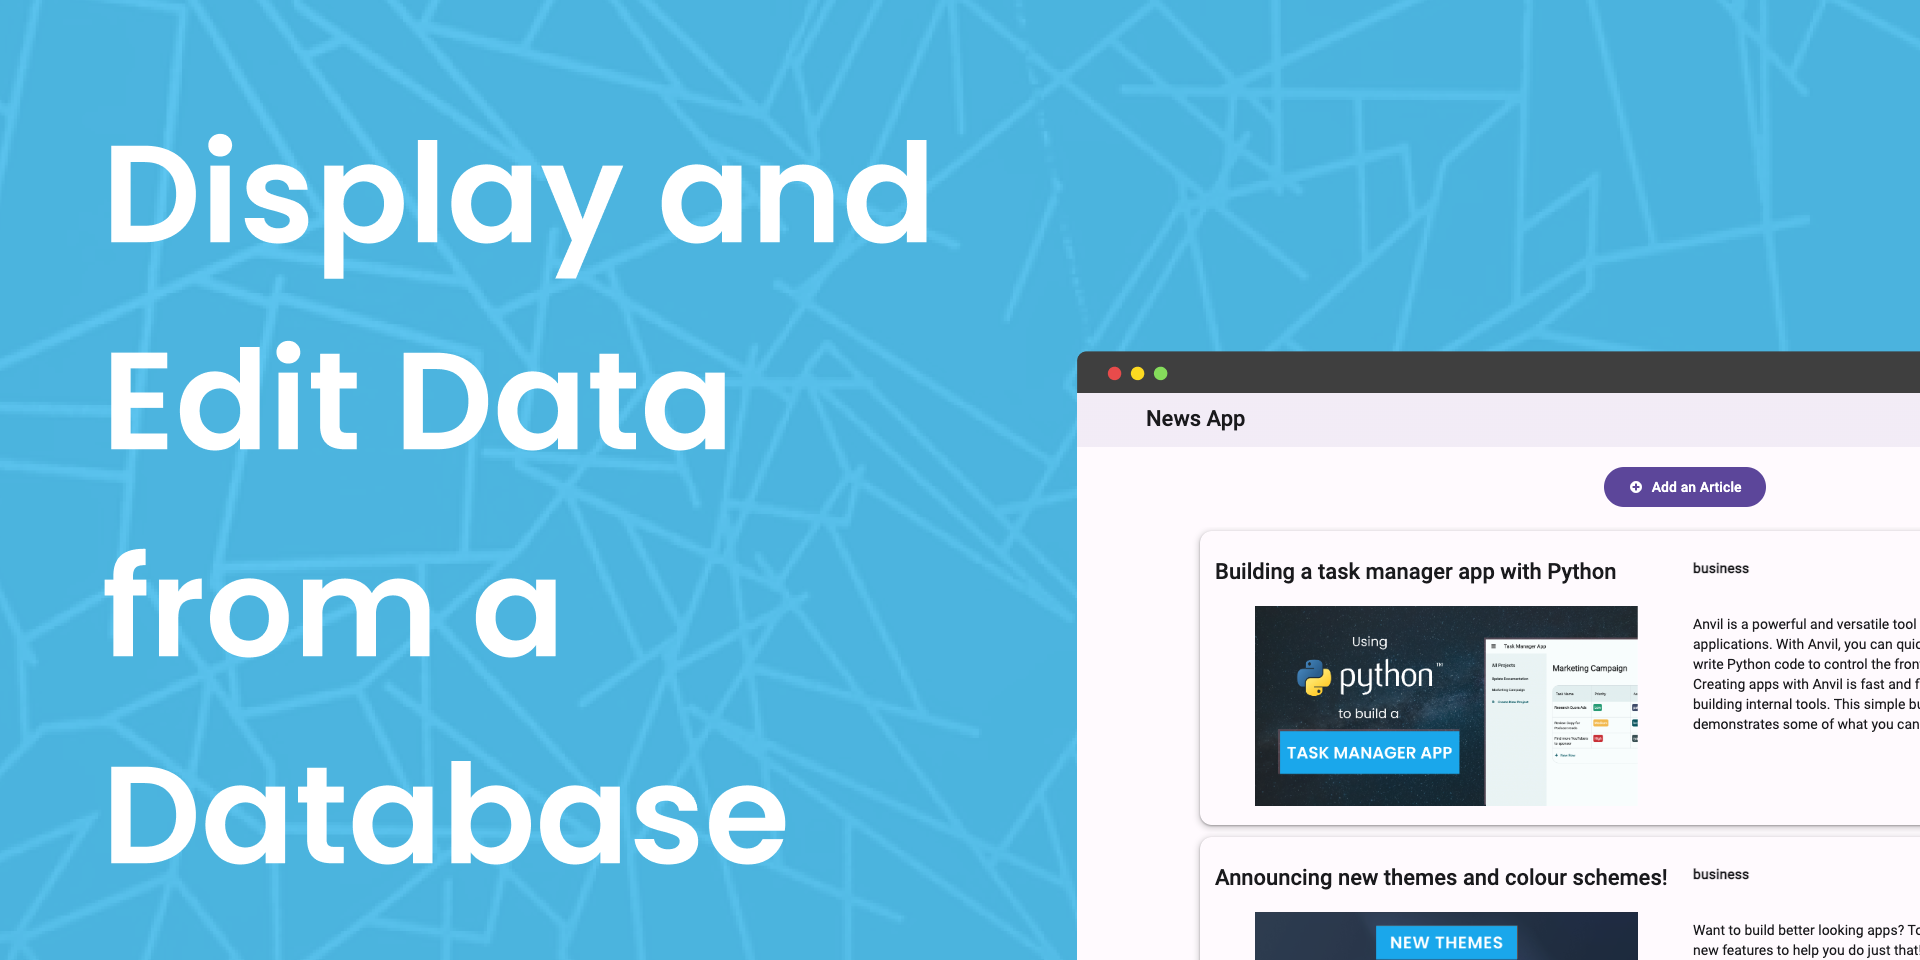
In this tutorial, you’ll learn how to do all of those things and more in Anvil.
Deploy data science to the web with Deepnote
Generate PDF Invoices with Python
See a large-scale ticketing system, built with Anvil