
Sending and Receiving Email in your Apps
Enabling the Email Service
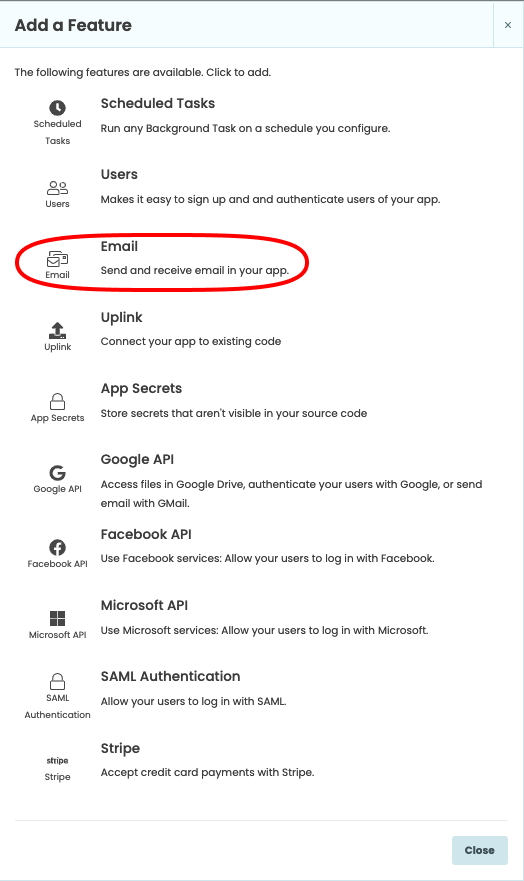
To enable the Email Service, click the blue plus button  in the Sidebar Menu, then choose Email.
Sending Email
To send an email, use the anvil.email.send() function, passing in data as keyword parameters. This can only be called
from a Server Module.
See the API docs for anvil.email.send() for the full list of parameters.
anvil.email.send(
  to="customer@example.com",
  from_address="support",
  from_name="MyApp Support",
  subject="Welcome to MyApp",
  html="<h1>Welcome!</h1>"
)
Receiving Email
To receive emails to your app, register a server function to handle incoming messages using the @anvil.email.handle_message
decorator. Any emails sent to anything@YOUR_APP_ID.anvil.app (or anything@YOUR_CUSTOM_DOMAIN) will be passed to the decorated function.
This example stores incoming email messages and attachments in Data Tables and sends a reply to each message.
@anvil.email.handle_message
def handle_incoming_emails(msg):

  msg.reply(text="Thank you for your message.")

  msg_row = app_tables.received_messages.add_row(
              from_addr=msg.envelope.from_address,
              to=msg.envelope.recipient,
              text=msg.text,
              html=msg.html
            )
  for a in msg.attachments:
    app_tables.attachments.add_row(
      message=msg_row,
      attachment=a
    )
The msg argument is of type anvil.email.Message. See the API docs for full details of the Message object.
Addressees
The msg.addressees object contains all the parsed addressees of the message. This saves you from having to parse addresses like "John.Doe <john.doe@domain.com>" manually. The addressees object has three attributes:
from_address- A parsed address from the FROM header.to_addresses- A list of parsed addresses from the TO headers.cc_addresses- A list of parsed addresses from the CC headers.
Parsed addresses have three attributes:
address- The plain email address of this addressee, e.g.john.doe@domain.com.name- The display name of this addressee, e.g.John Doe.raw_value- A single string containing both address and display name, e.g.John Doe <john.doe@domain.com>.
In the following example, we use the parsed name of the sender to greet them by name in the reply.
  @anvil.email.handle_message
  def handle_incoming_emails(msg):

    msg.reply(text=f"Hi {msg.addressees.from_address.name}, thank you for your message.")
Rejecting email
To reject an incoming email, raise an anvil.email.DeliveryFailure exception. This will return an SMTP failure response, which will usually cause a “bounce” email to be sent to the original sender.
You may specify a message, which will usually appear in that “bounce” email
You may also supply an SMTP error code, which suggests whether the sending mail server should reattempt delivery later. The default error code is 554 (a permanent error).
  @anvil.email.handle_message
  def handle_incoming_emails(msg):

    raise anvil.email.DeliveryFailure("Delivery failed, try again later", 451)
If your messaging handling function raises an error, Anvil will generate a temporary SMTP error code (451), which invites the sending system to try delivering that message again later.
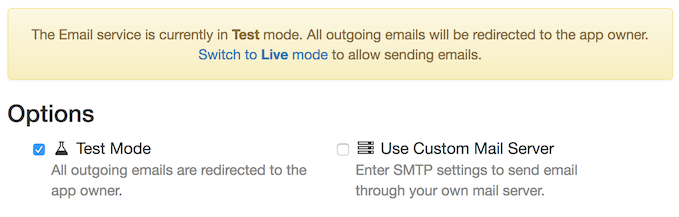
Test Mode
When test mode is enabled, all outgoing email will be sent to the owner of the app instead of the specified recipients. This allows you to test changes to your app without accidentally emailing your real users.
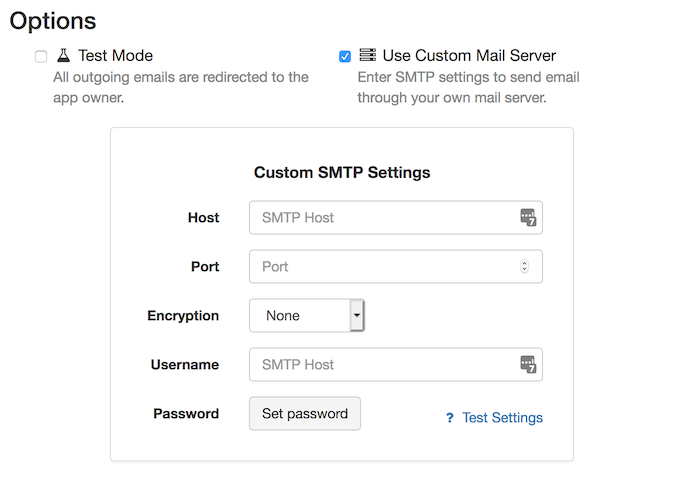
Custom Mail Server
You can configure the Email Service to use your own SMTP server if you wish. Simply tick “Use Custom Mail Server”, then enter your SMTP connection settings. The password will be encrypted and stored using the same mechanism as used by the Secrets Service. After entering the settings, click “Test settings” to check that they work.
Email sent through a custom SMTP server does not count towards your monthly quota.
Quotas
Outgoing email is subject to a monthly quota, depending on your account plan.
If you exceed your monthly quota, all outgoing emails will be re-routed to the app owner, just like in Test Mode. Your monthly quota resets on the 1st of each month.
Email sent through a custom SMTP server does not count towards your monthly quota.
Do you still have questions?
Our Community Forum is full of helpful information and Anvil experts.