 By
By Chapter 3:
Draw images
In this chapter, we’ll look at how to draw images on the Canvas.
Step 1 - Adding images to assets
Before we can draw images on the Canvas, we need to add those images to our app’s assets. We’ll use these images (available from the free mining icon set):


In the Assets section of the IDE, click the three dots and choose Add Asset. Do this for each of the four icons.Here’s a demonstration for one of them:
Uploading the icons to the app as asset files
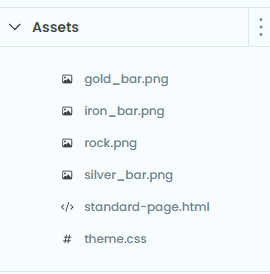
When you’re done, all four icons should show in the Assets section:
Step 2 - Loading images
Now we need to load the images so we can draw them.
Images in Anvil are handled as Media objects. We only need to load each Media object once in order to be able to draw it on the Canvas in as many locations as we want. We’ll build a dictionary of these objects in the __init__ function:
    def __init__(self, **properties):
        # Set Form properties and Data Bindings.
        super().__init__(**properties)

        self.images = {
            'gold': URLMedia('_/theme/gold_bar.png'),
            'silver': URLMedia('_/theme/silver_bar.png'),
            'iron': URLMedia('_/theme/iron_bar.png'),
            'rock': URLMedia('_/theme/rock.png'),
        }

        ...
To get the URL to pass into the URLMedia object, use the Copy Asset Path option next to the image in the Assets section:
Copying and pasting the path for an asset file
Step 3 - Drawing images in the reset handler
Since we’ll now be drawing the new images to the Canvas, we can remove the functionality for drawing squares and circles. We should remove the add_square and add_circle buttons from the UI and change self.model in the init to be an empty list for now.
Now we must change both our model and our reset handler to draw the images on the Canvas. For the model, we need to both know that we are drawing an image, and which image we are drawing. We’ll use the type field of the model to tell us which image needs to be drawn:
        self.model = [
            {'type': 'gold', 'x': 100, 'y': 100}
        ]
Now the reset handler needs to handle drawing the image. We use the Canvas’s draw_image function to draw the image at the desired coordinates when we find that the type is one of our images. We use continue after drawing the image since none of the code following that is needed for images.
    def canvas_1_reset(self, **event_args):
        # Adjust these coordinates if you want the drawing area to not be centered
        self.canvas_offset = (self.canvas_1.get_width() - self.canvas_size)/2
        self.canvas_1.translate(self.canvas_offset, 0)

        # Restrict drawing to the section that we want visible
        self.canvas_1.begin_path()
        self.canvas_1.move_to(0, 0)
        self.canvas_1.line_to(self.canvas_size, 0)
        self.canvas_1.line_to(self.canvas_size,self.canvas_size)
        self.canvas_1.line_to(0, self.canvas_size)
        self.canvas_1.close_path()
        self.canvas_1.clip()

        # Draw the shapes. Some may be out of the clipping area and won't be visible.
        for shape in self.model:
            if shape['type'] in self.images:
                self.canvas_1.draw_image(self.images[shape['type']], shape['x'], shape['y'])
Many times when you are drawing images, you want to draw them in fixed grid positions. This requires converting row and column coordinates to x and y coordinates. A key point to remember is that rows correspond to y coordinates, and columns correspond to x coordinates.
We’ll change our model to draw images on row and column boundaries. We’ll also remember that our image sizes are 32x32. Here’s an example of creating an image at row 5 and column 10.
        self.IMAGE_SIZE = 32
        self.model = [
            {'type': 'gold', 'x': 10 * self.IMAGE_SIZE, 'y': 5 * self.IMAGE_SIZE},
        ]
You can now run the app and see the image drawn at the correct row and column. Changing the row and column in the model will change where the image is drawn:
The gold icon is drawn on the Canvas
Now that we have the ability to draw image objects, let’s modify our code to randomly create a grid of images in our model.
    def __init__(self, **properties):
        # Set Form properties and Data Bindings.
        super().__init__(**properties)

        self.images = {
            'gold': URLMedia('_/theme/gold_bar.png'),
            'silver': URLMedia('_/theme/silver_bar.png'),
            'iron': URLMedia('_/theme/iron_bar.png'),
            'rock': URLMedia('_/theme/rock.png'),
        }

        self.IMAGE_SIZE = 32
        # Start with an empty model
        self.model = []

        self.GRID_COLS = 10
        self.GRID_ROWS = 10
        self.image_types = list(self.images.keys())
        self.num_images = len(self.image_types)

        # Create a random object at each grid location
        for row in range(self.GRID_ROWS):
            for col in range(self.GRID_COLS):
                self.model.append({
                    'type': self.image_types[random.randint(0, self.num_images-1)],
                    'y': row * self.IMAGE_SIZE,
                    'x': col * self.IMAGE_SIZE
                })

        self.canvas_size = self.GRID_COLS * self.IMAGE_SIZE
        self.canvas_1.height = self.canvas_size
        self.canvas_1.reset_context()
Some important changes from the old version of the __init__ function are that we’re now basing the size of the Canvas on the desired number of rows and columns. We also create an empty model list and then append a random image to each location in the grid.
Since the reset handler function already draws based on the model, when we fill out the model the images automatically get drawn in the right spots. When you run this you’ll see a small delay the first time each image is drawn. That’s the delay from Anvil fetching the image from the server. You can avoid this delay by pre-drawing each image once outside the clipping area.
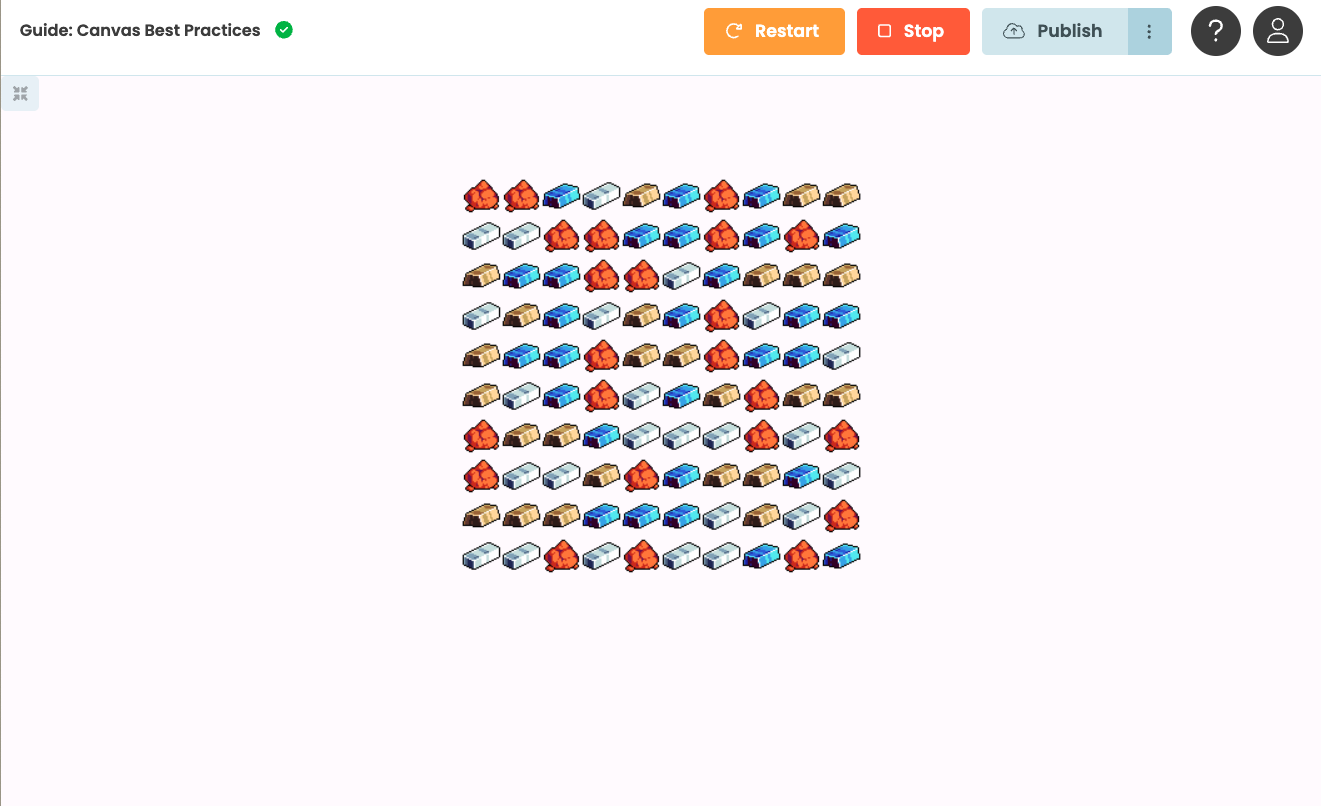
The mining icons randomly drawn on the Canvas
We’ve now learned how to draw images on the Canvas. Next, we’ll look at how to handle mouse clicks on the Canvas.