 By
By Chapter 8:
Access the HTML Canvas
The Anvil Canvas component is implemented using an HTML Canvas element. There are some features of the HTML Canvas that are not exposed through the Anvil component, but you can use the Anvil Javascript bridge to access those. For more details on accessing HTML elements through Python, see the Anvil Javascript docs. See the HTML Canvas docs for details on what can be used through Javascript.
Step 1 - Getting The HTML Canvas Element
All work with the HTML Canvas must happen through the actual HTML element. In Anvil, you can get the HTML element for any component using the anvil.js module. At the top of the Form’s code, import the anvil.js module:
import anvil.jsNow whenever you want to do something directly with the HTML Canvas, use the following code to get it:
html_canvas = anvil.js.get_dom_node(self.canvas_1)Step 2 - Creating Dashed Lines
Creating a dashed line is one of the features of the HTML Canvas that isn’t exposed in Anvil’s component. We’ll use our example of drawing a square from earlier to demonstrate how to draw dashed lines in Anvil:
    html_canvas = anvil.js.get_dom_node(self.canvas_1)
    context = html_canvas.getContext('2d')
    context.setLineDash([5, 15])
With that code in your Canvas reset handler, any calls to stroke() afterward will use the dashed lines.
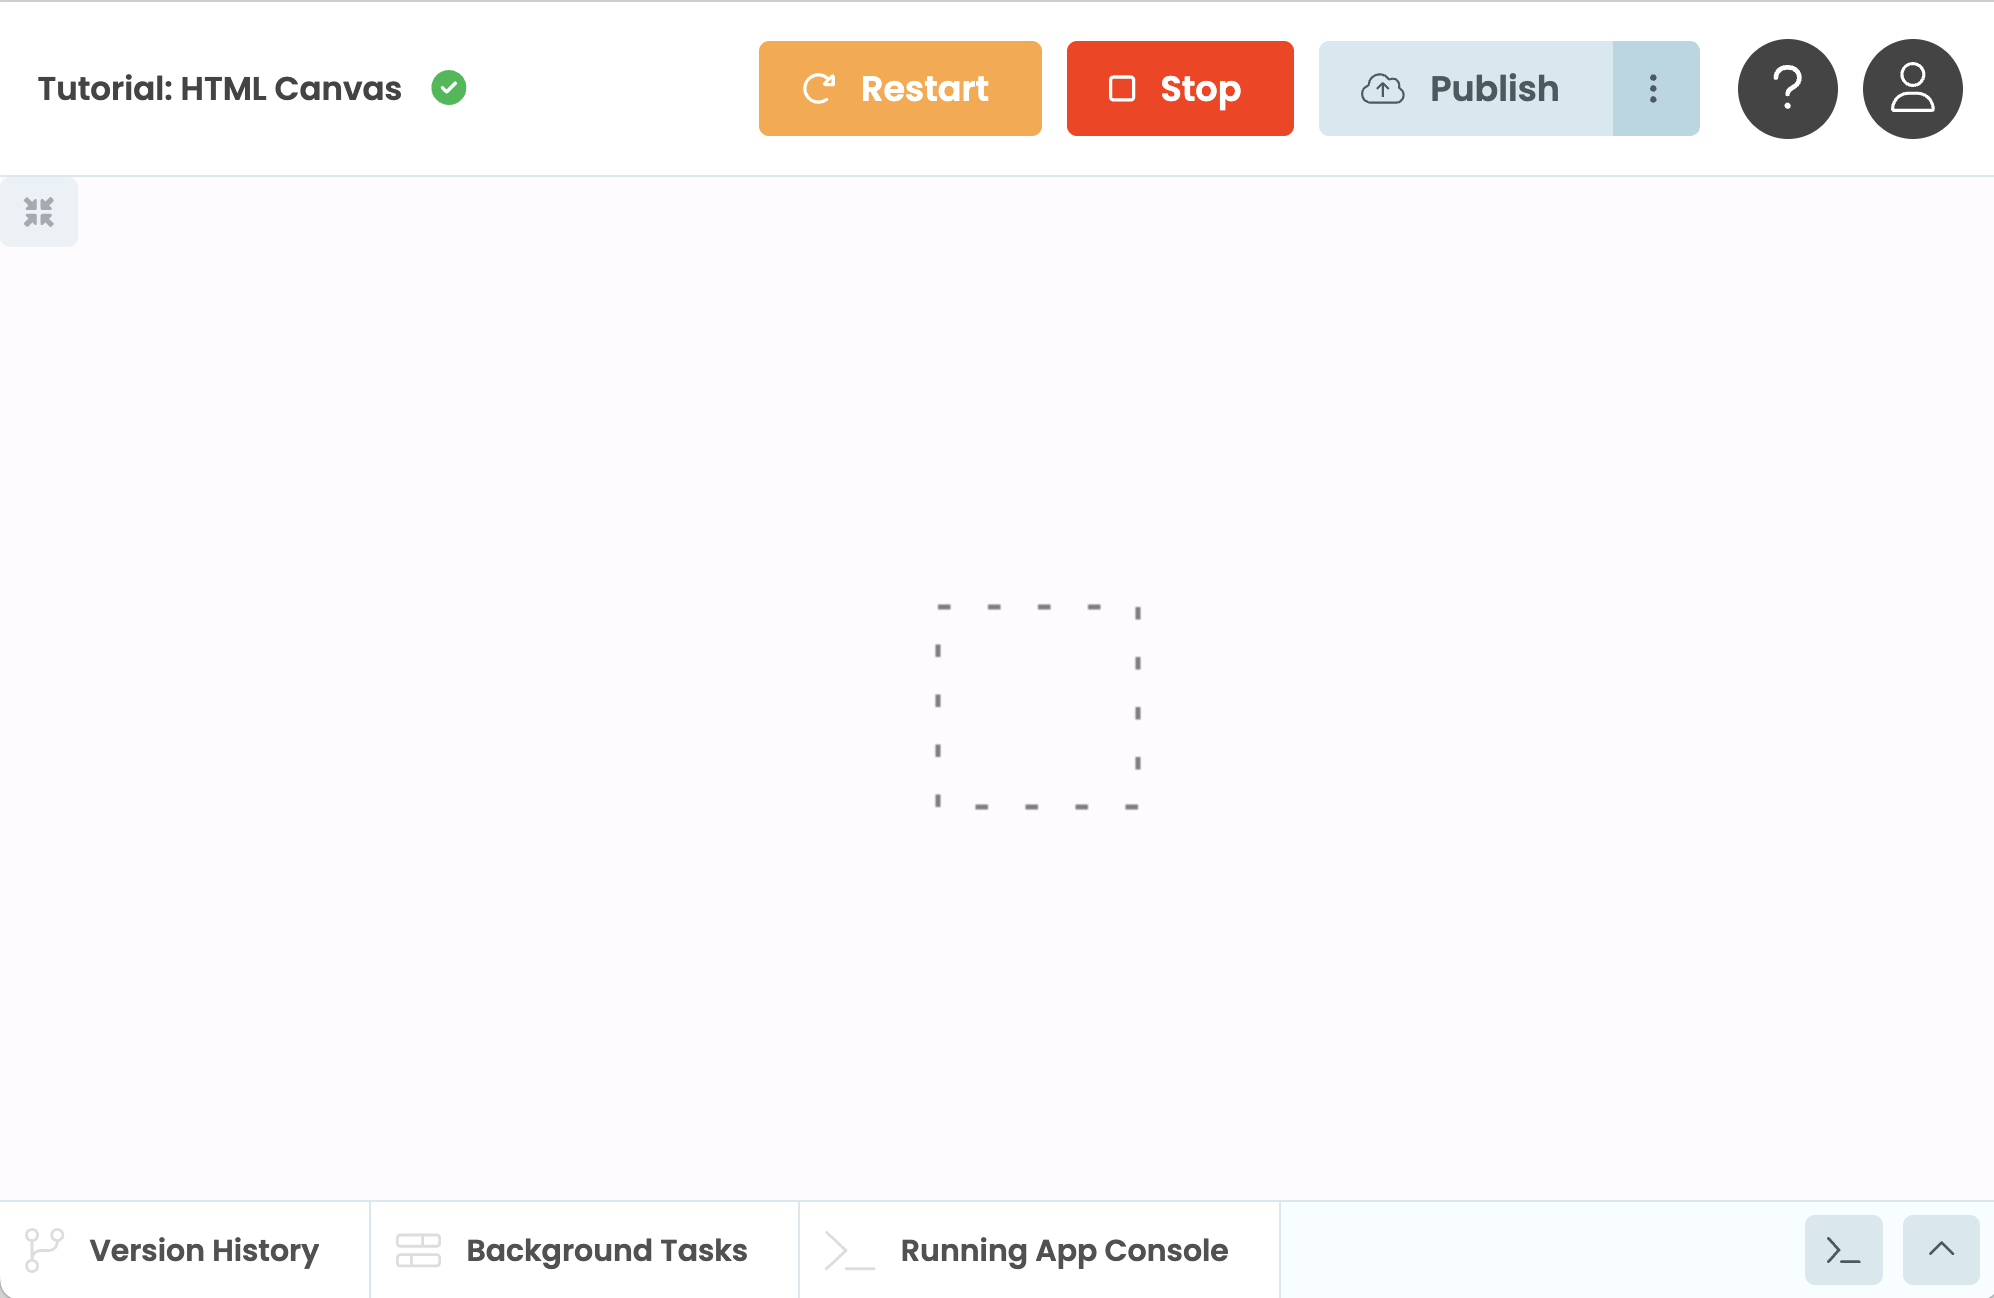
Drawing a square with dashed lines
You can call any HTML Canvas function using the return from anvil.js.get_dom_node(self.canvas_1).
You now have the tools you need to best use the Anvil Canvas component to create various 2D visualizations and interactions.
You can open the source code for the finished app here:
What next?
Head to the Anvil Learning Centre for more tutorials, or head to our examples page to see how to build some complex apps in Anvil.