 By
By Chapter 4:
Handle mouse clicks
You’ll often want the user to be able to click on an object in the Canvas. In this section we’ll give the user the ability to click on an object to delete it.
Step 1 - Adding a mouse_down event handler
The Canvas component has several mouse related events. To detect a click, we want the mouse_down event. Create a mouse_down handler function by going to the bottom of the Properties Panel for the Canvas component:
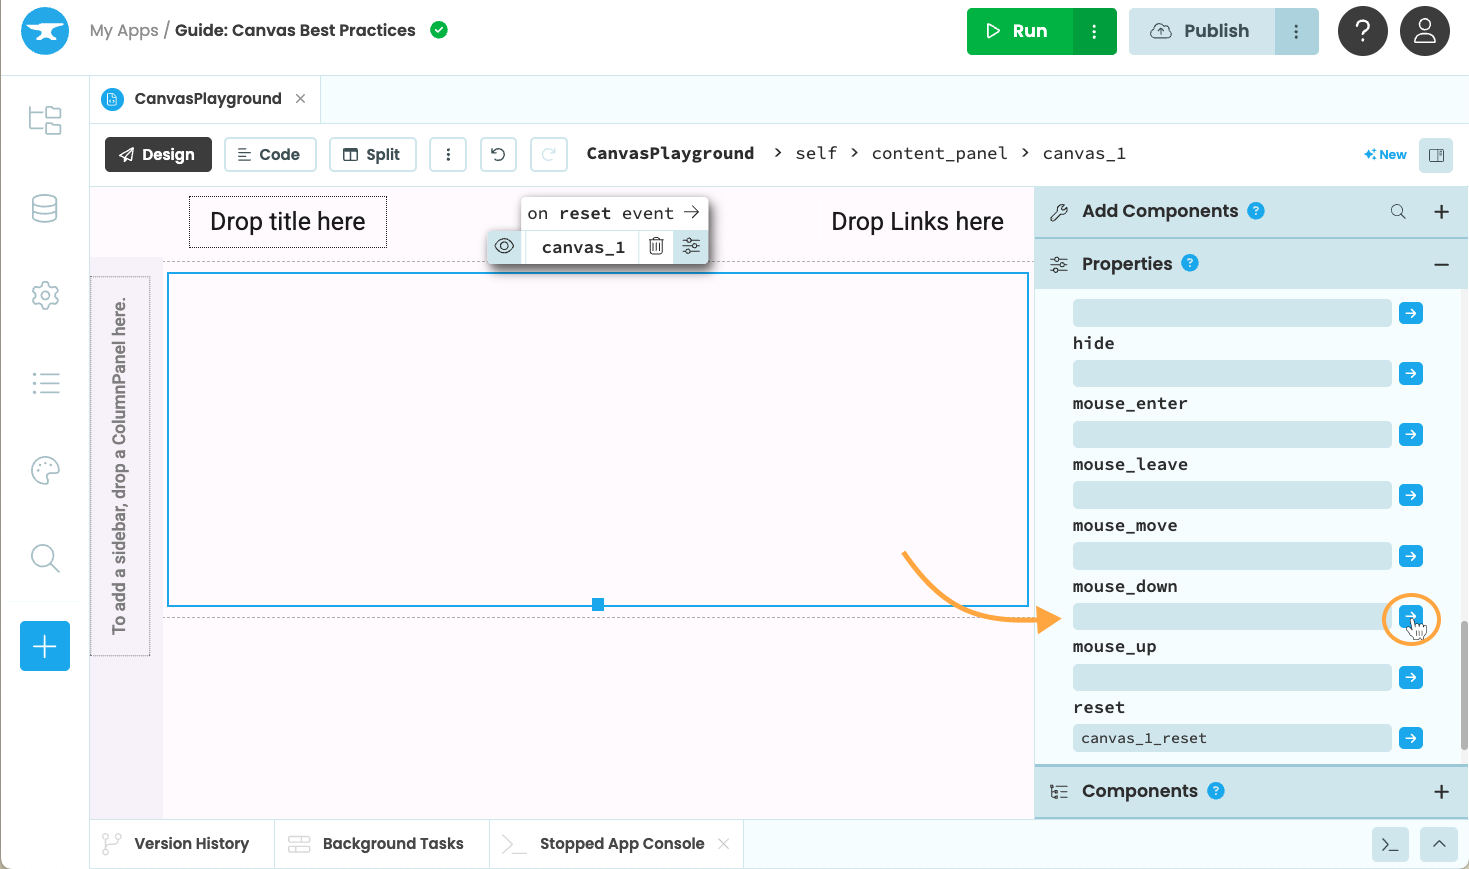
Location of the mouse_down event setter
This handler function will be called every time the user presses a mouse button while the mouse is on the Canvas component.
The mouse_down handler is given the x and y coordinates of the mouse click relative to the upper-left corner of the Canvas. Since our images have coordinates based on the upper left corner of the row and column, we need to convert the x and y coordinates to row and column values, and from there to the x and y of the upper left corner of those row and column values.
Recall also that our drawing in our Canvas has been offset horizontally by self.canvas_offset. We need to take that into account when converting to the column that the user clicked since the mouse coordinates are based on the full width of the Canvas component, not on the smaller width we’re using to draw.
    def canvas_1_mouse_down(self, x, y, button, keys, **event_args):
        row = y // self.IMAGE_SIZE
        col = (x - self.canvas_offset) // self.IMAGE_SIZE
        obj_y = row * self.IMAGE_SIZE
        obj_x = col * self.IMAGE_SIZE
Step 2 - Modifying the model and redrawing the Canvas
Now that we have the correct coordinates for the grid space, we can search the model to see if the user clicked on an image object. If they did, we remove that from the model and redraw the Canvas.
    def canvas_1_mouse_down(self, x, y, button, keys, **event_args):
        row = y // self.IMAGE_SIZE
        col = (x - self.canvas_offset) // self.IMAGE_SIZE
        obj_y = row * self.IMAGE_SIZE
        obj_x = col * self.IMAGE_SIZE

        for shape in self.model:
            if shape['type'] not in self.images:
                continue

            if obj_x == shape['x'] and obj_y == shape['y']:
                self.model.remove(shape)
                self.canvas_1.reset_context()
                break
Step 3 - Distinguishing between mouse buttons
The button parameter of the mouse_down event handler tells you which mouse button was pressed (1 for the left button, 2 for the middle, and 3 for the right). In our case, we want to remove objects only when the left mouse button is clicked.
    def canvas_1_mouse_down(self, x, y, button, keys, **event_args):
        #check if left mouse button was clicked
        if button == 1:
            row = y // self.IMAGE_SIZE
            col = (x - self.canvas_offset) // self.IMAGE_SIZE
            obj_y = row * self.IMAGE_SIZE
            obj_x = col * self.IMAGE_SIZE

            for shape in self.model:
                if shape['type'] not in self.images:
                    continue

                if obj_x == shape['x'] and obj_y == shape['y']:
                    self.model.remove(shape)
                    self.canvas_1.reset_context()
                    break
By using the button parameter you can have different effects for the different mouse buttons.
Now run the app and you can use the left mouse button to delete blocks.
Clicking the icons now deletes them
We’ve now learned how to handle mouse clicks on the Canvas. Next, we’ll look at how to animate the Canvas.