 By
By Create LEGO-style Images with Anvil and OpenAI
What if you could turn any photo into a pixelated portrait made of tiny colored blocks - the kind that looks like it’s built from LEGO bricks?
I built a web app that does exactly that. You upload a photo, wait a few seconds, and get back a 48x48 mosaic that looks like it was built from real LEGO bricks.
The surprising thing wasn’t that it worked, but how quickly it all came together.
Using Anvil, I didn’t need to pick a frontend framework or set up authentication from scratch. Everything runs in Python, and with a little help from OpenAI’s image API, we can turn any photo into a clean LEGO-style mosaic in seconds.
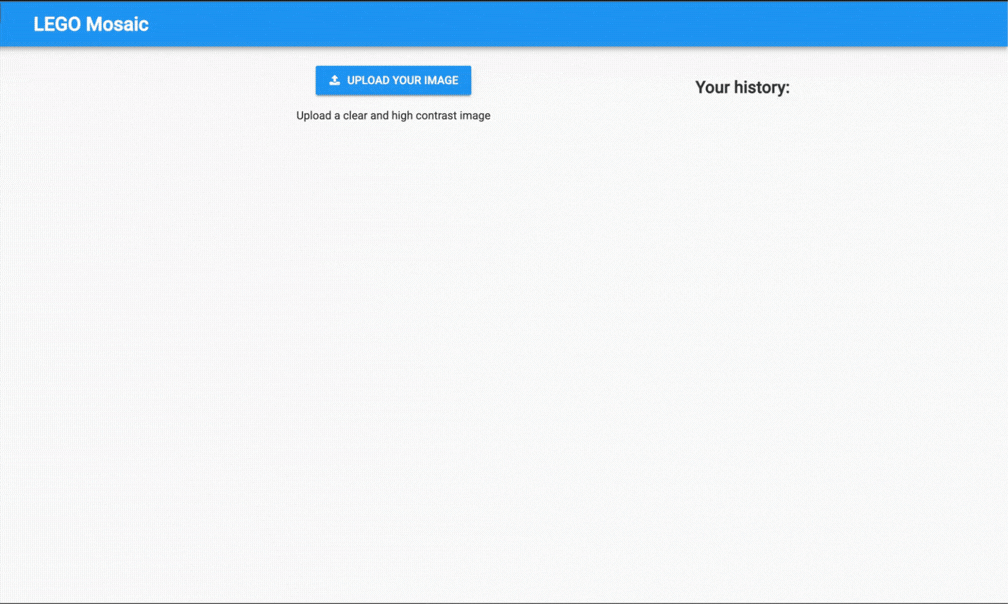
Upload a photo and instantly get a LEGO mosaic version
Now that we’ve established the “what”, let’s get into building. In this post, I’ll walk you through the core parts of building the LEGO Mosaic app:
- Building the UI
- Setting up the Data Table
- Creating the Image Processing Pipeline
- Connecting the Server and Client
- Publishing
- (Optional) Allowing Users to Login
- (Optional) Displaying Previously Generated Images
Grab your favorite photo and let’s turn it into blocks.
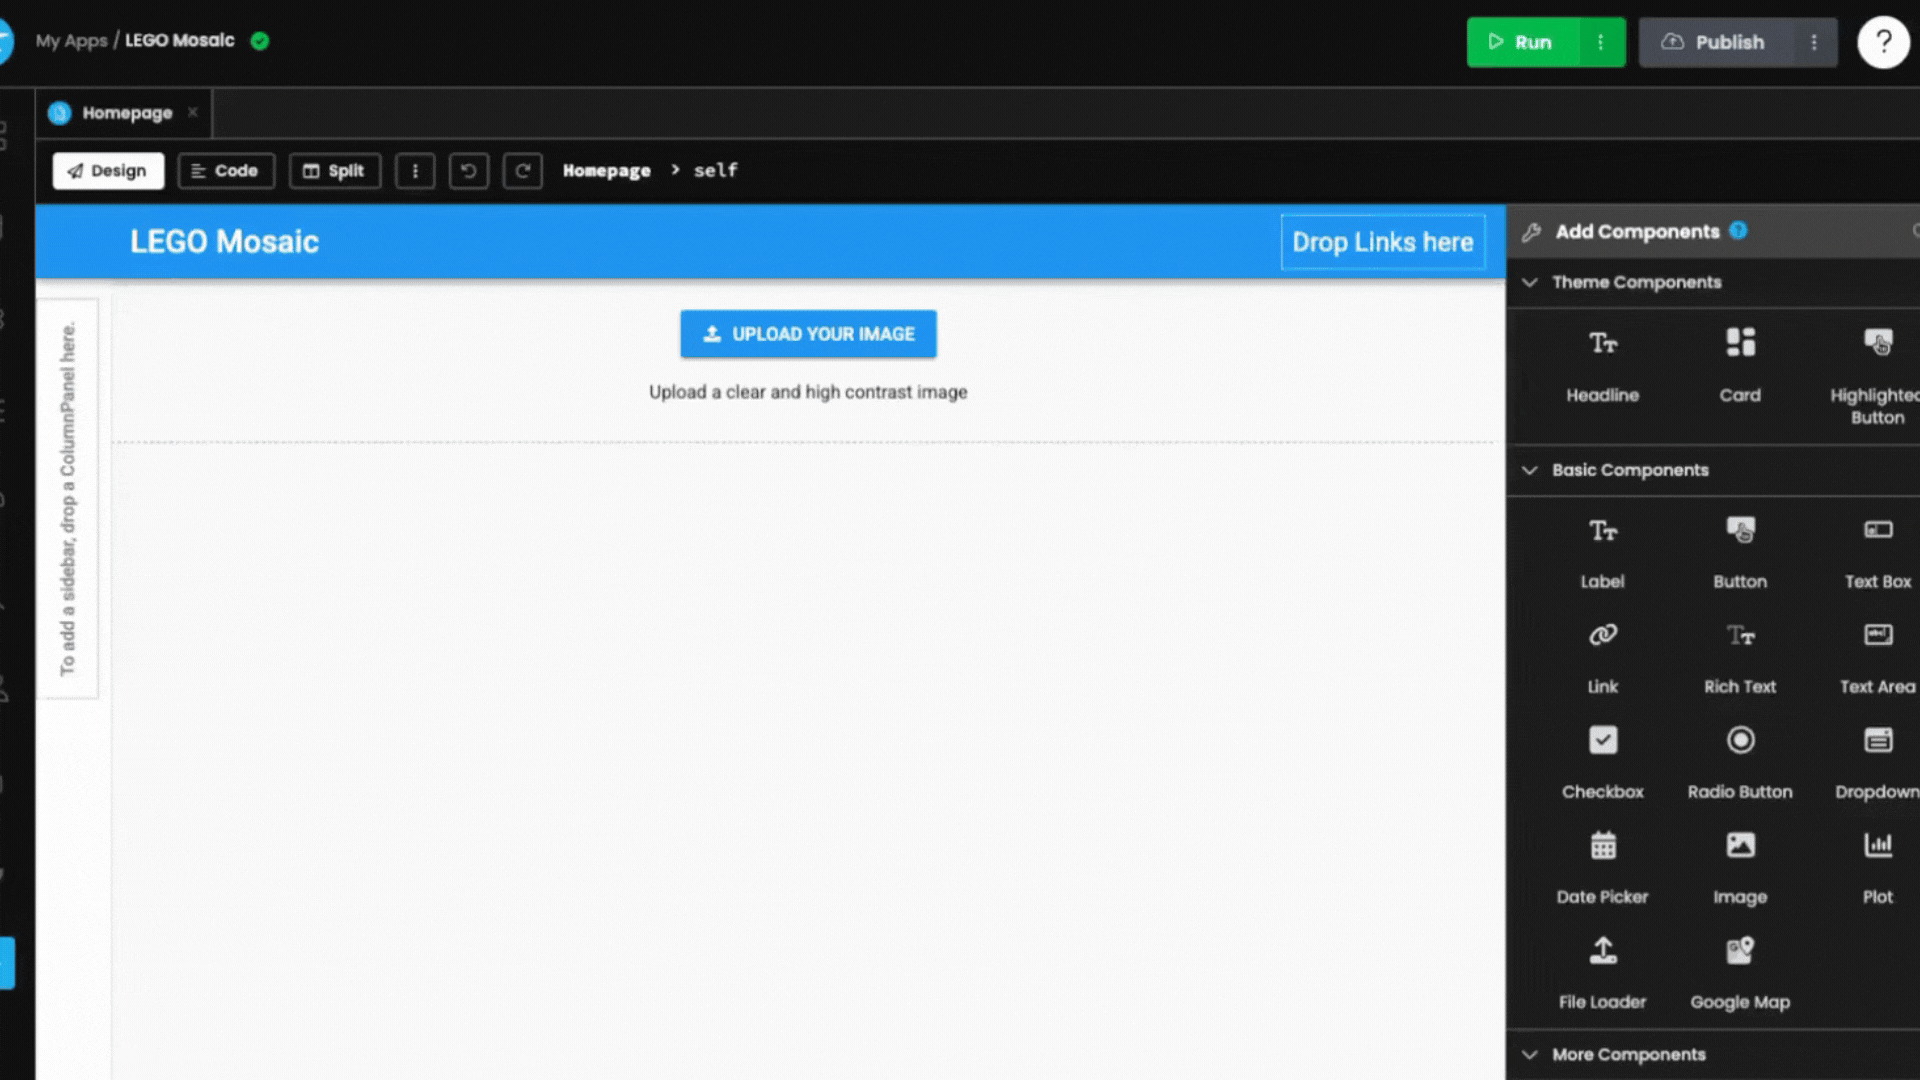
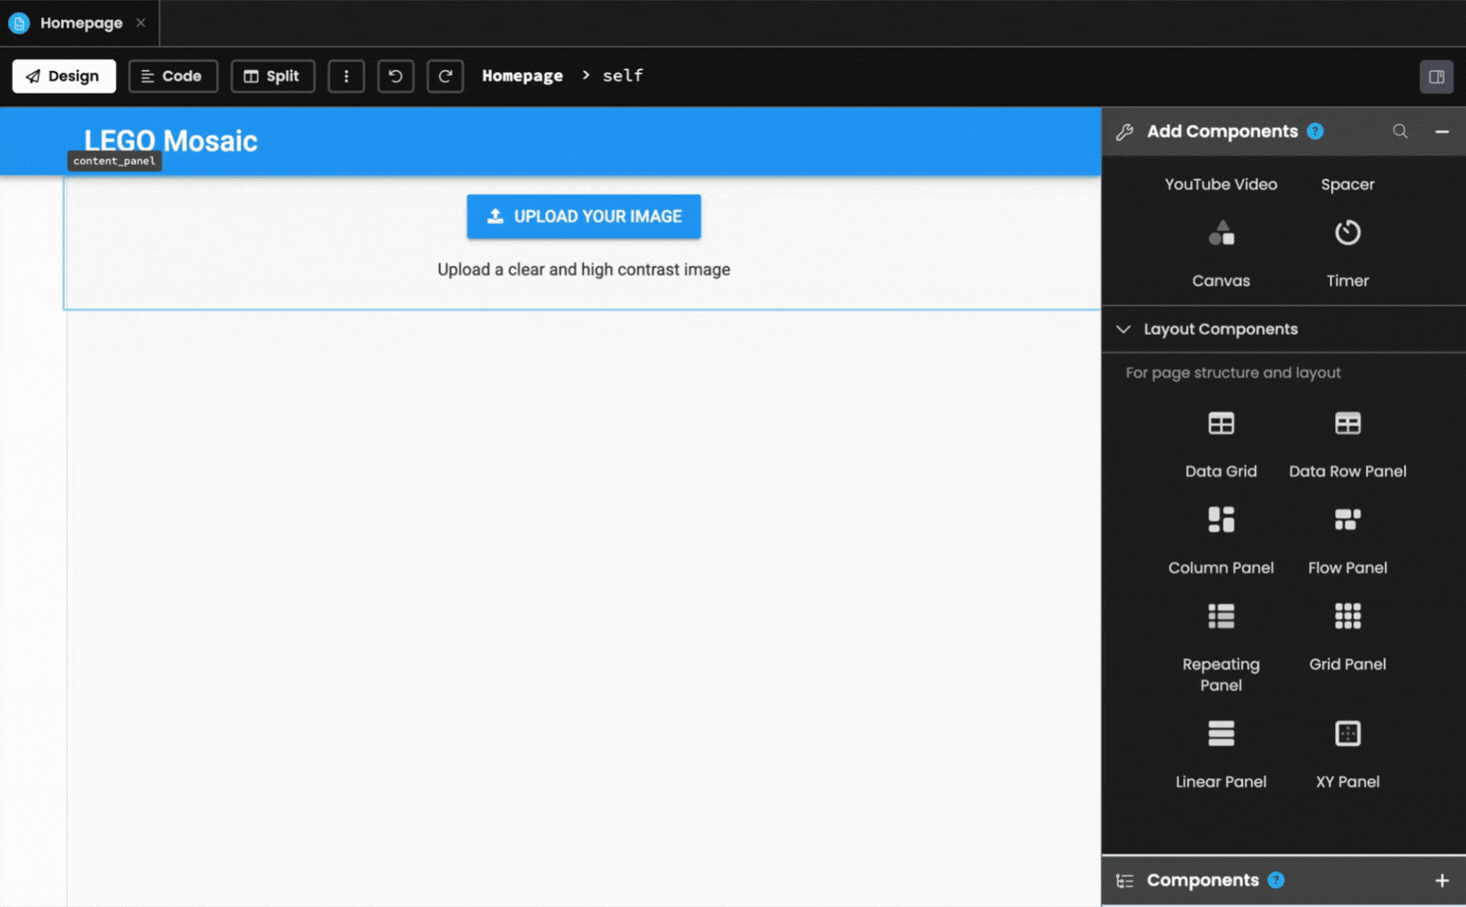
Building the UI
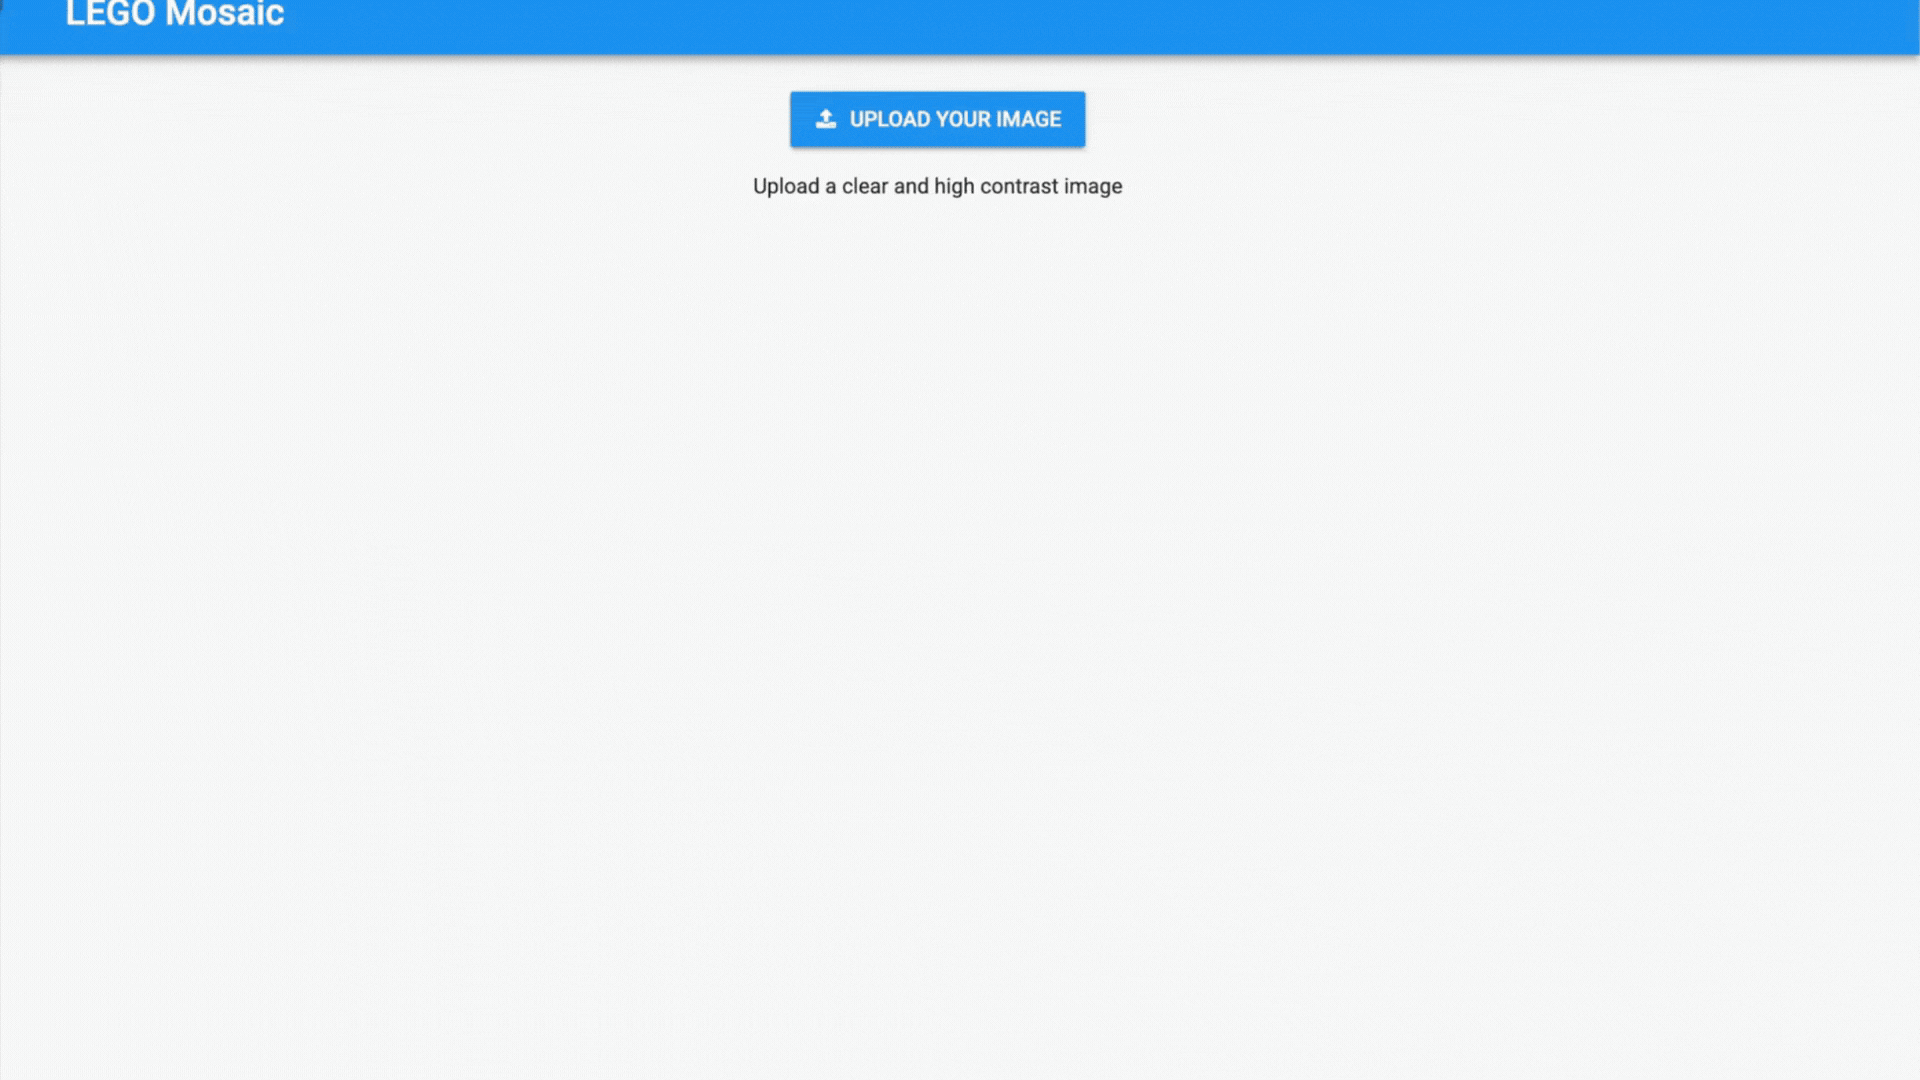
The first thing we need is a clean, simple interface. Anvil’s drag-and-drop editor makes this very easy.
The app’s simple, clean upload interface

Alert showing the generated LEGO mosaic and download option
Setting Up the Homepage
Start by creating a new Form in the Editor called Homepage. This is where users will upload their images.
The Homepage needs:
- A Headline for the title
- FileLoader for the upload button which we’ll rename to
image_uploader - and a Label for the instructions
We’ll also set the image_uploader component to accept only images, so we don’t receive unsupported file types.
This is what the Homepage should look like after:

Built-out Homepage form with all required components
Creating the ImageDisplay Component
When a user uploads an image, we want to show them a preview and let them download the result. To do this, we are going to create a new Form called ImageDisplay. We’ll add the following components to the Form:
When finished, the ImageDisplay Form should look something like this:
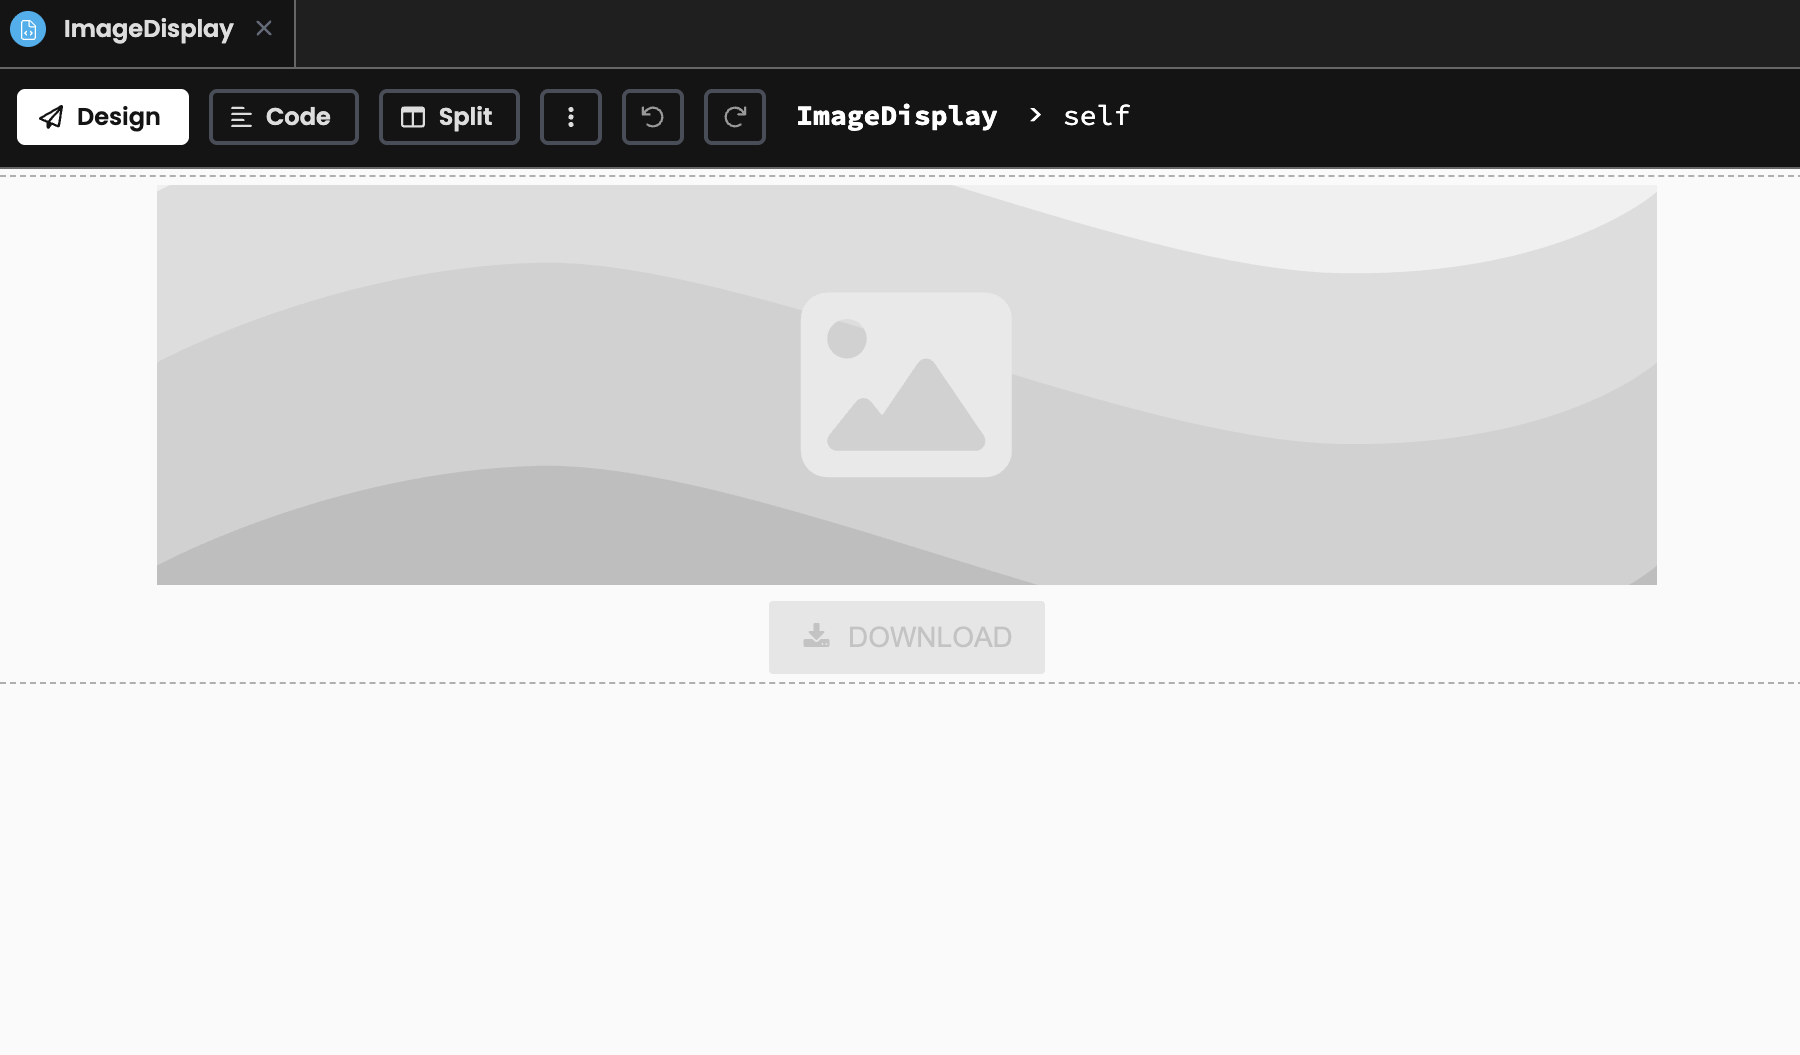
ImageDisplay form layout with preview and download functionality
Connecting Upload to Display
Back in the Homepage, we need to handle when a change occurs (user uploads a file). Anvil makes this very straightforward with Events.
When a user uploads a file, we’ll show them the result in a modal popup. We can do this by opening an Alert with our ImageDisplay as the alert’s content.
@handle("file_uploader", "change")
def image_uploader_change(self, file, **event_args):
    # Show the ImageDisplay component in an alert
    result = alert(
      content=ImageDisplay(item={'file': file}),
      title="Download image",
      large=True,
      dismissible=False
    )

    # Clear the file uploader if the user closes the alert
    if result:
      self.image_uploader.clear()
The dismissible=False is important, we don’t want users to close this alert and lose their result by accident. They have to either download it or explicitly click the “ok”.
Upload event handler in action showing the alert modal
That’s the foundation! Now we need a place to save the generated images so users can view and re-download them later.
Setting Up the Data Table
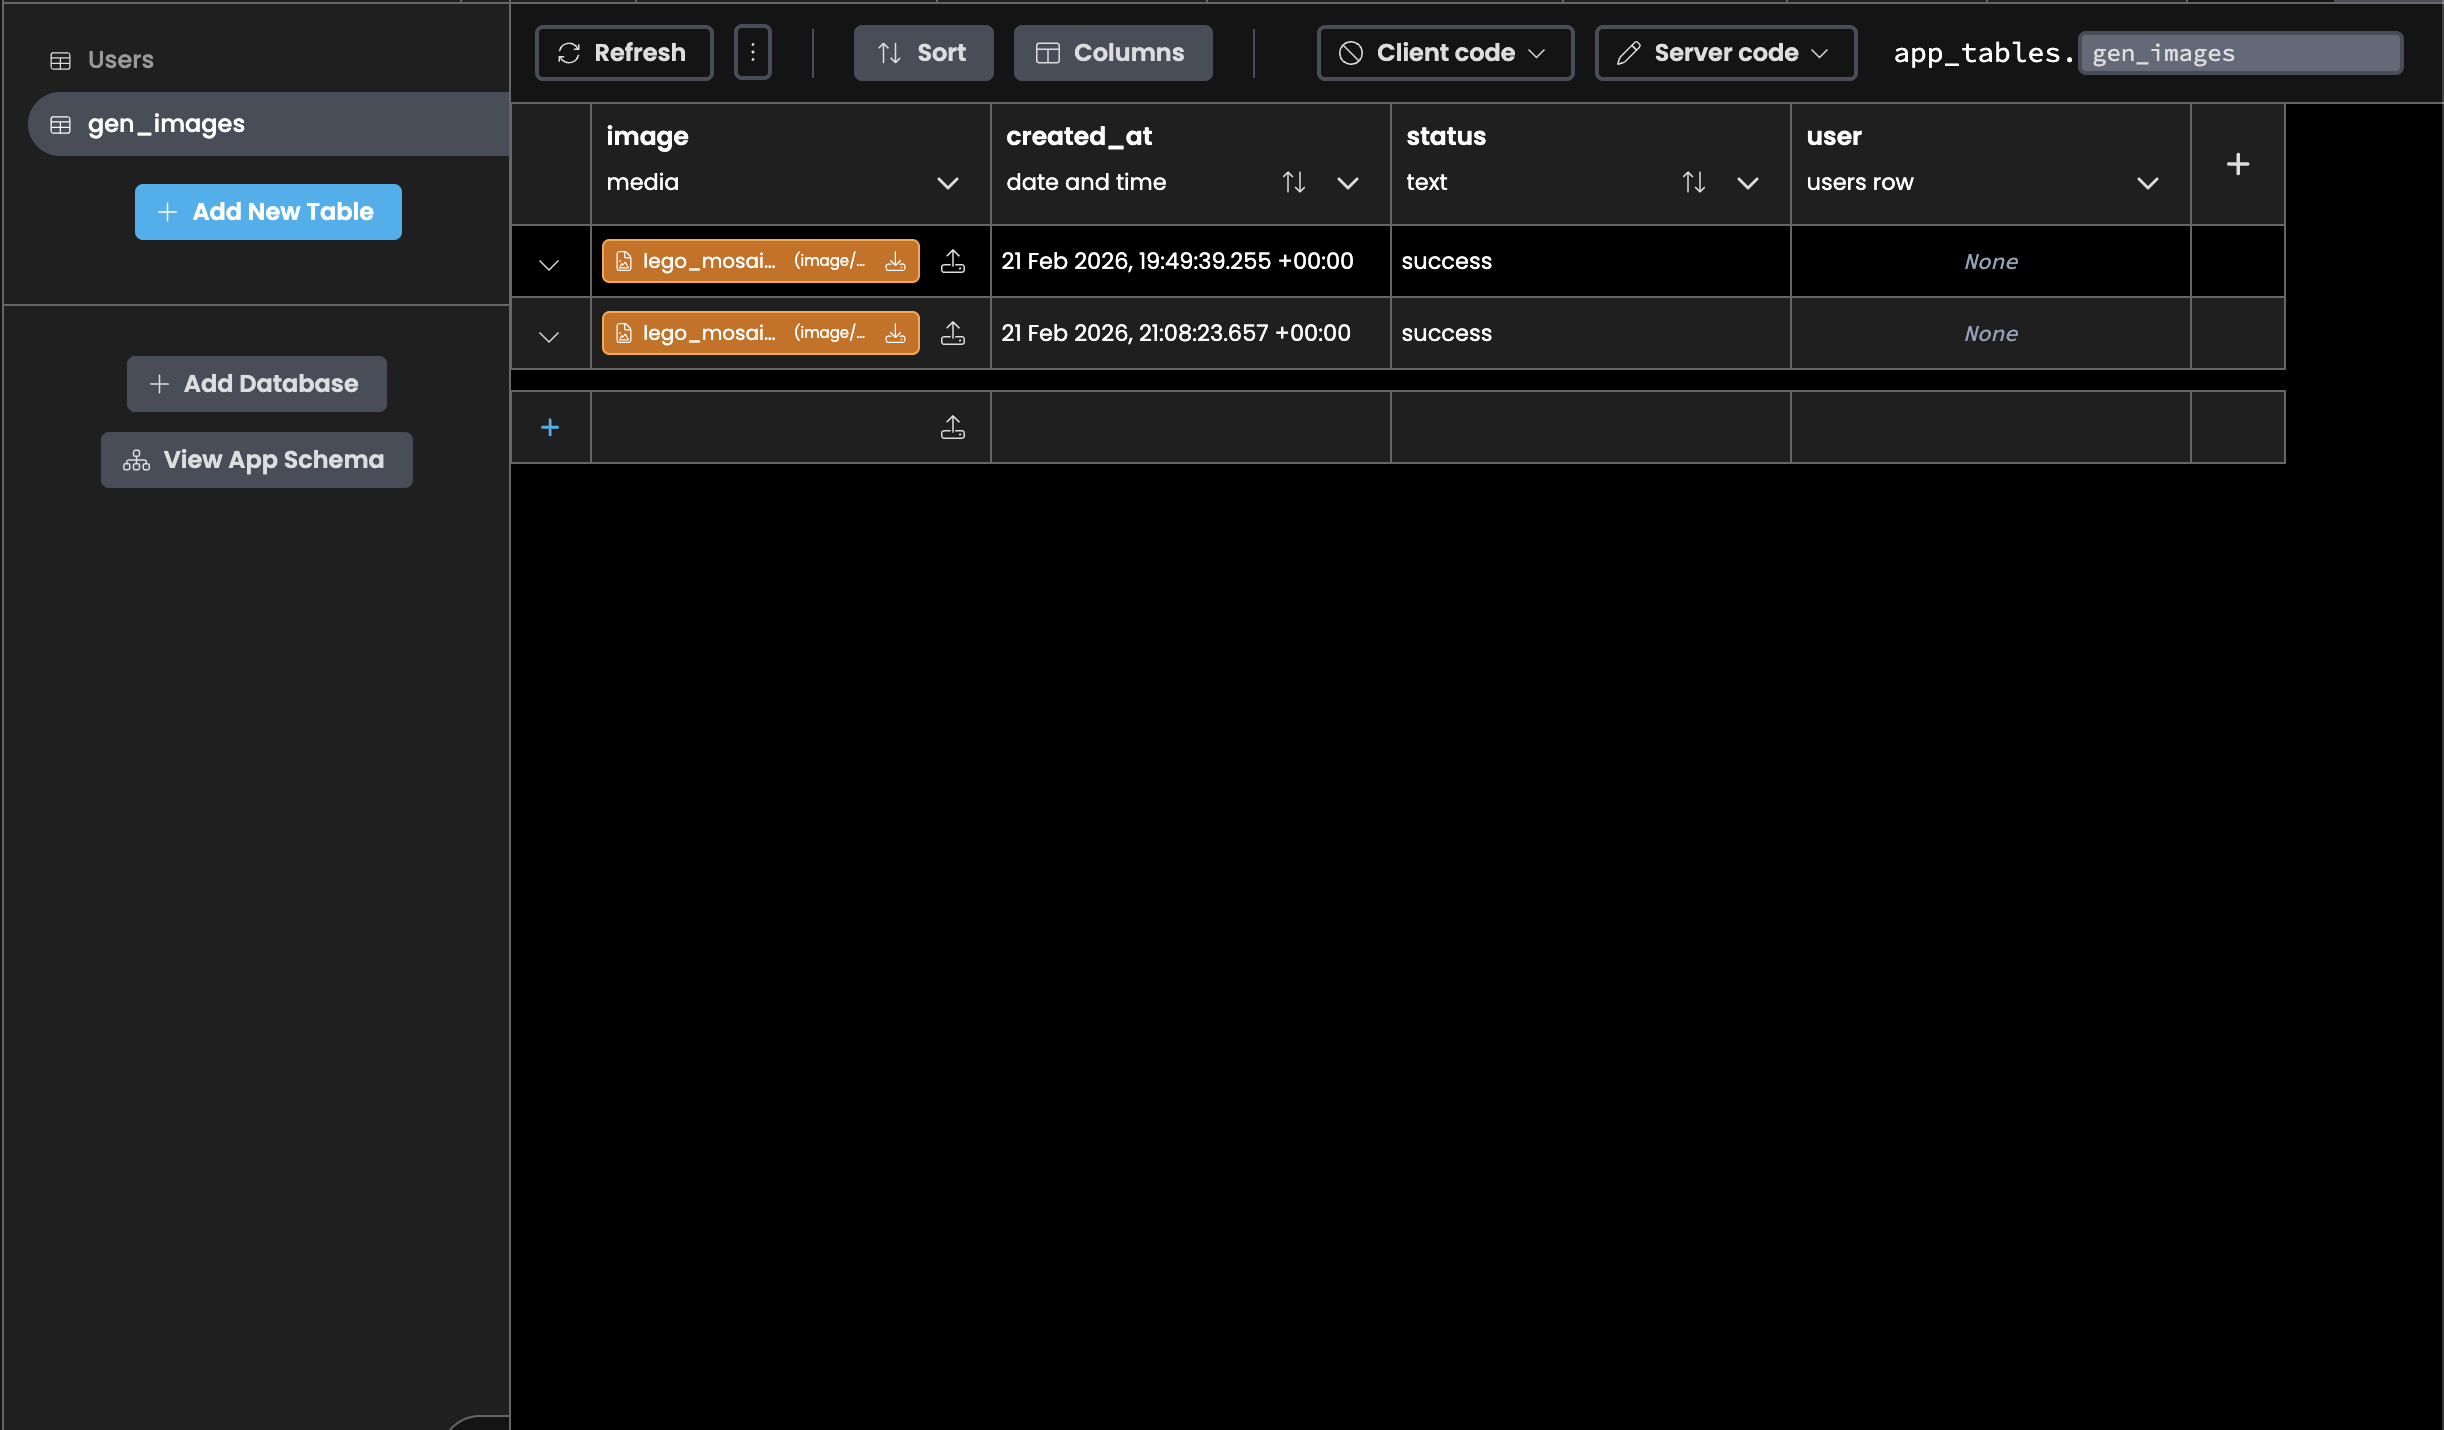
With Anvil’s Data Tables, we’ll create a gen_images table to store our images and a status column to track the progress of our image generation.
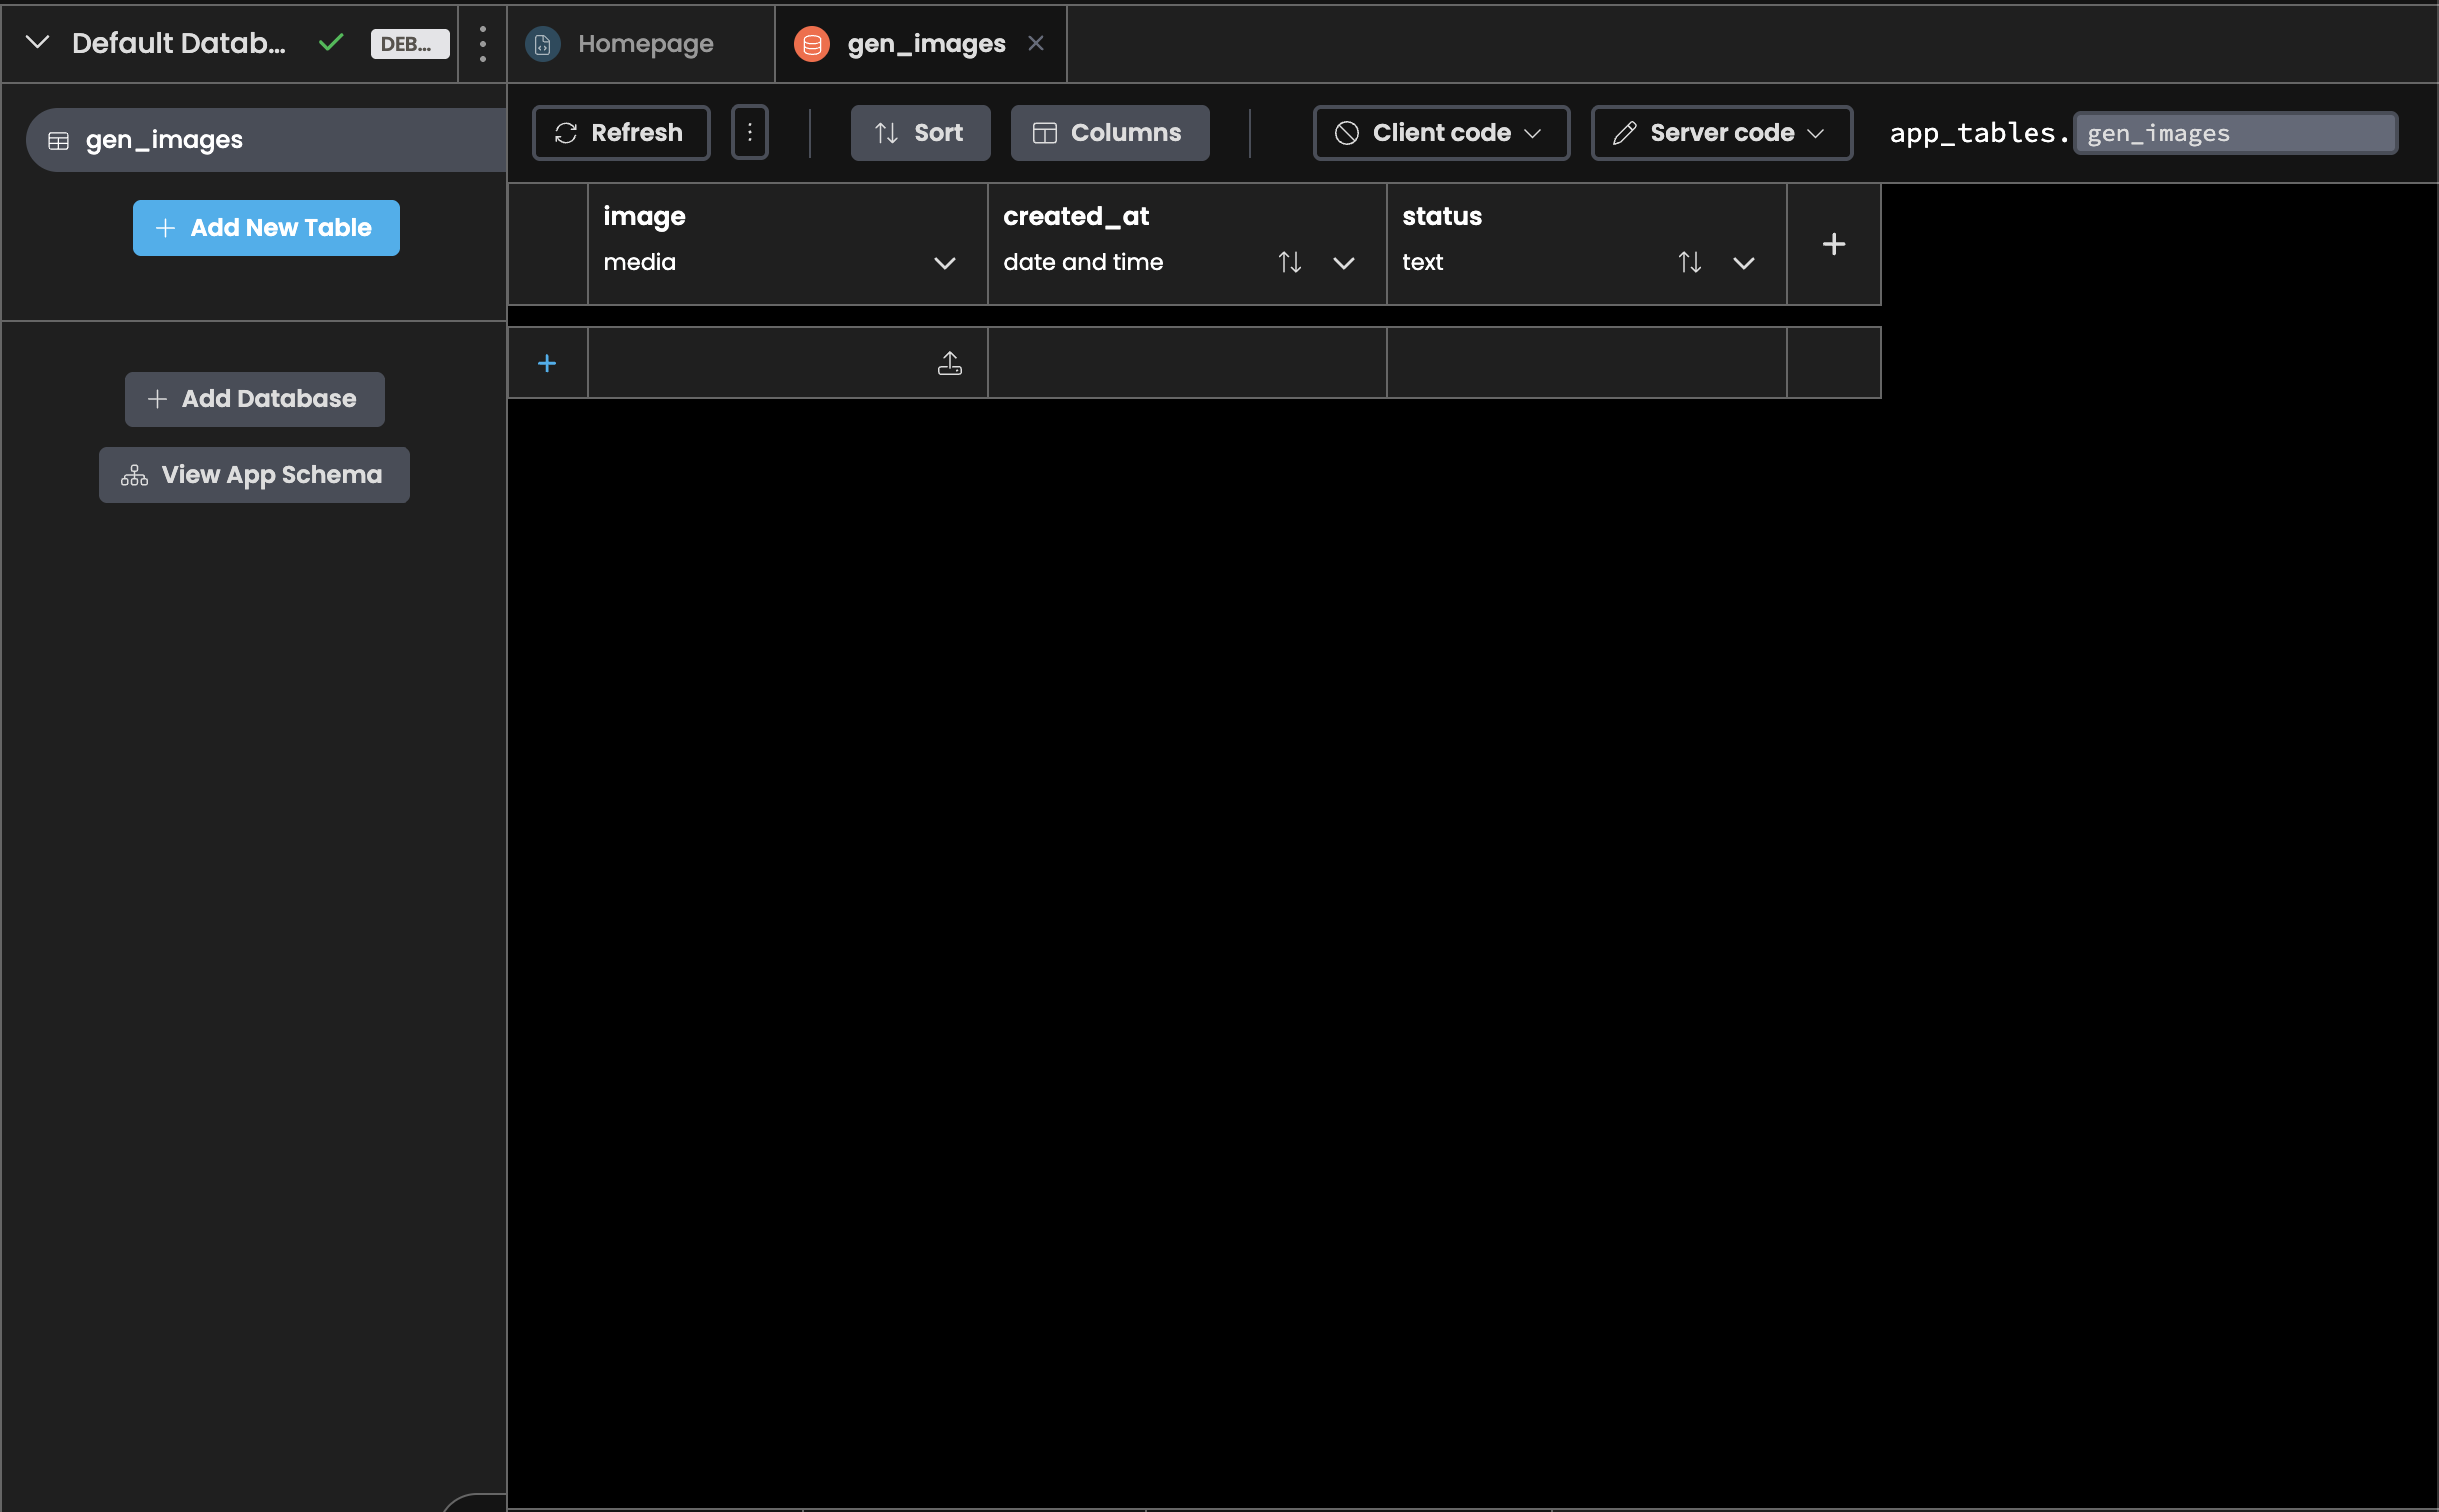
The gen_images Data Table for storing generated images and tracking progress
We’ll insert and update records in this table once we implement the image generation logic in the next section.
Creating the Image Processing Pipeline
It’s time to build our core image processing functionality. Before getting into the code, we need to add some packages:
You can add these packages through your app settings, and once that’s done, we’re ready to set up OpenAI.
Setting Up OpenAI
We’ll use OpenAI’s API to transform our images to LEGO-style images. To do that, grab an OpenAI API key
Then, in Anvil, add a new App Secret called openai_api_key with your key as the value.
We’ll use a Server Module to write our logic. In the server module, initialize the OpenAI client so we can talk to it.
from openai import OpenAI

# Initialize OpenAI client
client = OpenAI(api_key=anvil.secrets.get_secret('openai_api_key'))
Preprocessing the Image
Before sending to OpenAI, we need to optimize the image for cost and quality. To preprocess the image, we need to do two things.
First, we need to crop our image to a square:
def center_crop_square(img):
  """Crop image to square from the center."""
  w, h = img.size
  s = min(w, h)
  left = (w - s) // 2
  top = (h - s) // 2
  return img.crop((left, top, left + s, top + s))
Then, we also need to resize the image and enhance the image for better clarity.
from PIL import Image, ImageEnhance

def preprocess_for_ai(
  img,
  max_side=768,
):
  """Optimize image for OpenAI processing."""
  # Square crop from center
  img = center_crop_square(img.convert("RGBA"))

  # Downscale for speed/cost
  if img.size[0] > max_side:
    img = img.resize((max_side, max_side), resample=Image.Resampling.LANCZOS)

  # Enhance for better AI processing
  img = ImageEnhance.Contrast(img).enhance(1.3)
  img = ImageEnhance.Sharpness(img).enhance(1.2)

  return img
Building the AI Prompt
To generate a convincing LEGO mosaic, we need to be very specific with our instructions. Here’s the full prompt I used:
def prompt_for():
  return """
    Convert this photo into a LEGO Mosaic Maker–style image.

    IMPORTANT:
    - Do NOT render 3D LEGO bricks or studs.
    - Do NOT add plastic texture, shine, or lighting.
    - Flat, 2D square tiles only.
    - Hard-edged grid (48x48).
    - No gradients or shading inside tiles.

    Color constraints:
    - Each block is 100% one solid color - either fully yellow, fully black, fully white, fully light gray, or fully dark gray
    - Each tile/square is EXACTLY ONE solid color from the 5-color palette
    - NO blending or anti-aliasing

    Goal:
    - Maximize recognisability of the image at a distance.
    - Simplify aggressively.
    - Think pixel art, not photography

    No text. No logos. No watermark."""
The key idea is that the more explicit your constraints, the more predictable your results.
Calling OpenAI’s API
Now we use OpenAI’s images.edit API to apply our prompt and generate the LEGO mosaic:
import base64
import io

def generate_lego_mosaic_ai(file):
  """Generate mosaic via OpenAI image editing API."""

  # Read and preprocess the image
  img_bytes = file.get_bytes()
  src = Image.open(io.BytesIO(img_bytes))
  src = preprocess_for_ai(src)

  # Convert to PNG bytes(OpenAI requirement)
  buf = io.BytesIO()
  src.save(buf, format="PNG")
  input_png = buf.getvalue()

  # Call OpenAI's image editing API
  result = client.images.edit(
    model="gpt-image-1",
    image=("input.png", input_png, "image/png"),
    prompt=prompt_for(),
    size="1024x1024"
  )

  # Convert to Anvil BlobMedia
  out_bytes = base64.b64decode(result.data[0].b64_json)
  media = anvil.BlobMedia(
    content_type="image/png",
    content=out_bytes,
    name="lego_mosaic.png"
  )

  return media
Using Background Tasks
Since image generation takes time (often 10-30 seconds), we can’t wait for it to complete in a single server call - the request would timeout. Instead, we use Anvil’s Background Tasks to run the generation asynchronously.
In Anvil, background tasks are built in, so all we need is a decorator.
from datetime import datetime

@anvil.server.background_task
def generate_background_task(file):
  """Background task that generates the LEGO mosaic asynchronously."""

  # Create a database record so task progress can be tracked
  row = app_tables.gen_images.add_row(
    image=None,
    created_at=datetime.now(),
    status="processing",
  )

  try:
    # Generate the image
    media = generate_lego_mosaic_ai(file)

    # Success — update the database record
    row['image'] = media
    row['status'] = "success"

  except Exception as e:
    # Catch any errors (API failures, bad images, etc.)
    print(f"Generation failed: {e}")
    print(f"Error type: {type(e)}")
    import traceback
    print(traceback.format_exc())

    # Mark as failed so client knows to show error message
    row['status'] = "error"

  # Return the Data Table row
  return row
Here’s the callable function that starts the background task:
@anvil.server.callable
def start_image_gen(file):
  """Launch background task and return immediately."""
  task = anvil.server.launch_background_task('generate_background_task', file)
  return task
Now let’s wire that up to the client.
Connecting the Server and Client
With our server logic complete, we need to start our background task from the client to get our result.
We’ll set up our Download button to download the image once it’s clicked.
class ImageDisplay(ImageDisplayTemplate):
  def __init__(self, **properties):
    super().__init__(**properties)
    self.gen_image = None
    self.task = None

    # Listen for when the form becomes visible
    self.add_event_handler('show', self.form_show)

  @handle("download_btn", "click")
  def download_btn_click(self, **event_args):
    """Download the generated image when button is clicked."""
    if self.gen_image:
      anvil.media.download(self.gen_image)
To get updates on our client, we’ll add a Timer to our ImageDisplay Form that polls the background task every 500ms.
When the form becomes visible, we start the background task and enable the timer:
def form_show(self, **event_args):
  """Triggered when component is displayed. Start generation."""
  self.task = anvil.server.call('start_image_gen', self.item['file'])
  if self.task:
    # Enable the timer to start polling
    self.timer_check.interval = 0.5
    Notification("Started image processing...", timeout=None).show()
Next, we check if the task is completed. Once the task completes, we fetch the database row and check its status:
@handle("timer_check", "tick")
def timer_check_tick(self, **event_args):
  # Check if task is completed
  if self.task.is_completed():
    # Task completed — fetch the row
    result = self.task.get_return_value()
    Notification("Your image is being prepared...", timeout=5).show()

    if not result:
      return

    # Stop polling once we have a final result
    self.timer_check.interval = 0
Finally, we display the image if the task is successful or show an error if it’s not:
  def timer_check_tick(self, **event_args):
    if self.task.is_completed():
      # ...Existing code

      # Success — show the image
      if result['status'] == "success":
        Notification("Image generation complete!!!", style="success", timeout=5).show()
        self.gen_image = result['image']
        self.download_btn.enabled = True
        self.image.source = self.gen_image # Set the image component as the generated image

      # Error — show error message
      elif result['status'] == "error":
        self.raise_event('x-close-alert', value=False)
        Notification("Image generation failed. Please try again.", style="danger", timeout=5).show()
That’s the entire flow complete! Now you have an app you can use to generate LEGO-style images of your favorite things.
Fully functional app generating LEGO mosaics from uploaded photos
Publishing
Your app is ready to share with the world. Just click the Publish button at the top of the screen, and Anvil generates a unique public URL instantly. You can send this link to anyone, and they’ll be able to upload photos and start generating LEGO mosaics.
One click to publish and get a shareable URL for your app
At this point, you have a fully working app. Want to take it further? In the next sections, we’ll add user authentication and image history so people can save and revisit their creations.
Allowing Users to Login
Right now, anyone can use the app. But, we want to track who generated which image and let users view their image generation history. Anvil’s built-in Users service makes this simple.
Setting Up the Users Service
First, enable the Users service which will manage our users.
Then, add the following line to the Homepage code:
def __init__(self, **properties):
  # ...Existing code
  anvil.users.login_with_form()
Anvil makes it super easy and straightforward to add user authentication with just one line of code.
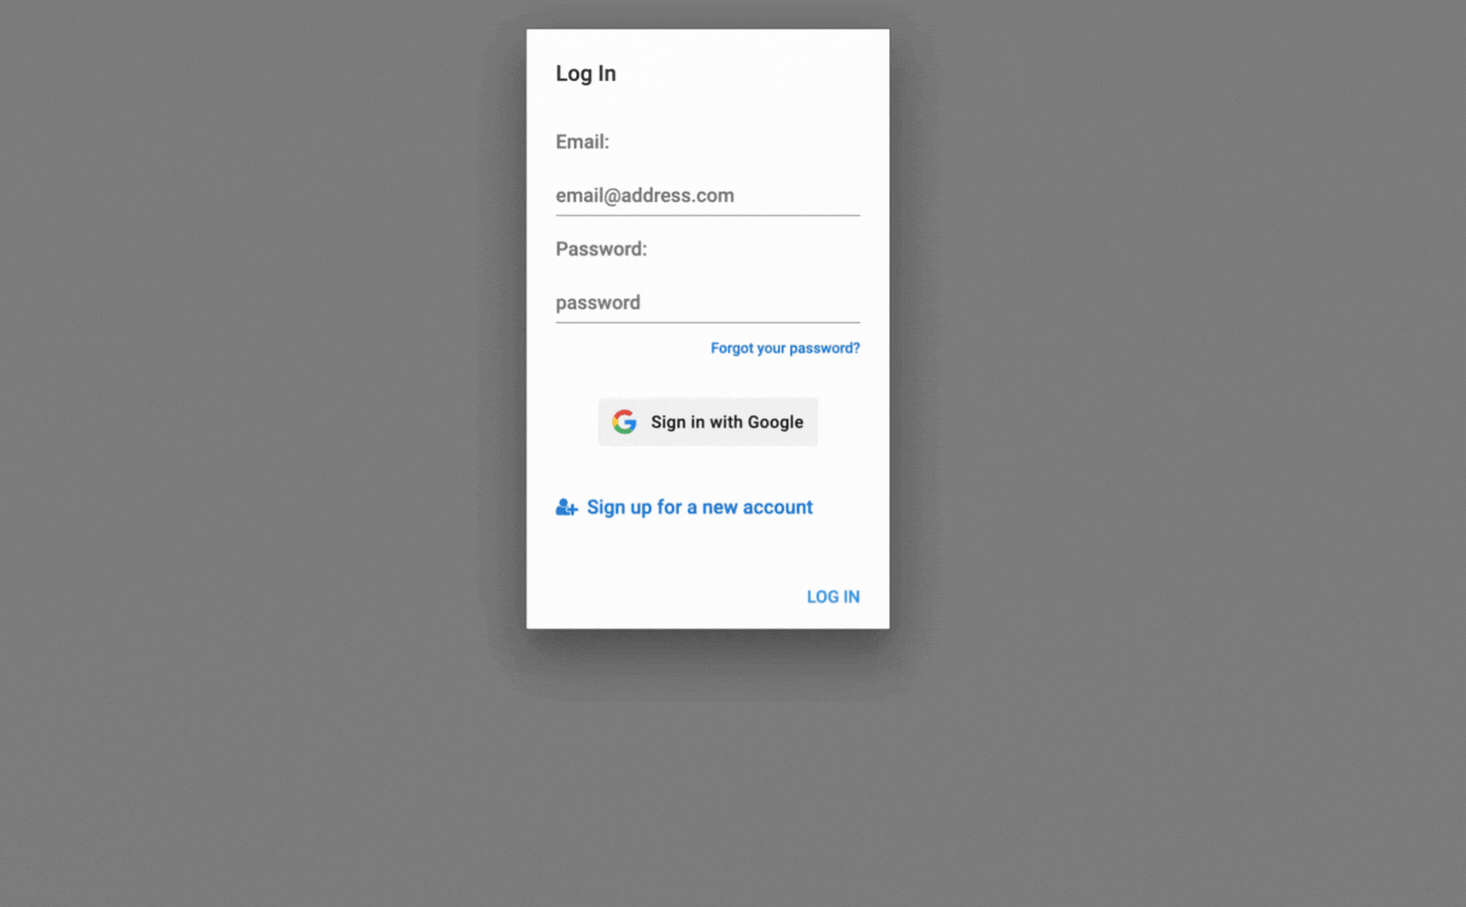
User login form integrated with a single line of code
Your gen_images table also needs to have a column user that points to our Users table.
The gen_images table with the newly added user column for tracking ownership
Passing User Context to Background Tasks
Background tasks don’t inherit the client’s user session. We need to explicitly pass the user to the background task.
@anvil.server.callable(require_user=True)
def start_image_gen(file):
  """Start image generation for the current user."""
  user = anvil.users.get_user()

  # Launch background task, passing the user explicitly
  task = anvil.server.launch_background_task(
    'generate_background_task',
    file,
    user  # Pass user to background task
  )

  return task
Then update your background task to accept and use the user:
@anvil.server.background_task
def generate_background_task(file, user):
  """Background task that generates the LEGO mosaic for a specific user."""

  row = app_tables.gen_images.add_row(
    image=None,
    created_at=datetime.now(),
    status="processing",
    user=user,  # Store the user who initiated generation
  )

  # ...Existing code
Now that we’re tracking images by user, let’s display their history on the Homepage.
Displaying Previously Generated Images
We want users to be able to see and re-download their past creations.
Add this method to your Server Module to fetch all of the current user’s images:
@anvil.server.callable
def list_user_history():
"""Fetch the current user's generated images."""
user = anvil.users.get_user()
if user is None:
return []
# Query only rows where user matches current user and generation succeeded
rows = app_tables.gen_images.search(
tables.order_by("created_at", ascending=False),
user=user,
status="success",
)
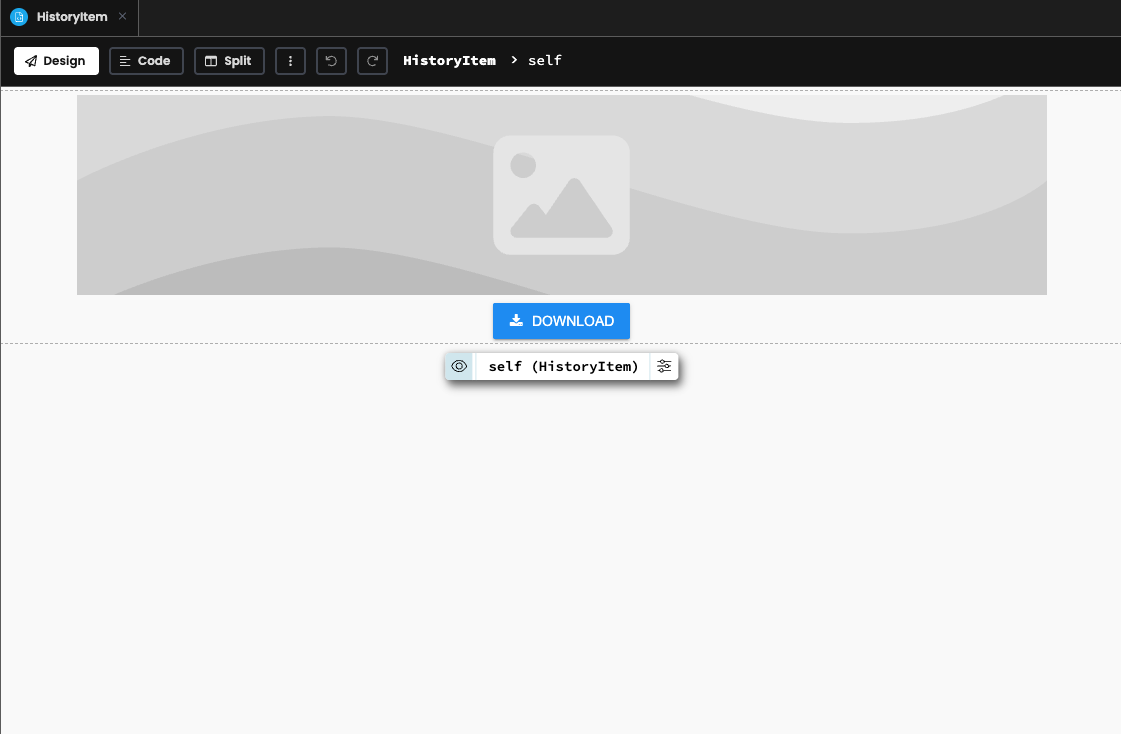
return list(rows)Creating the HistoryItem Component
We’ll build a HistoryItem Form that displays a user’s generated images. Similar to the ImageDisplay Form, we need the following components:
Your Form should look something like this:
HistoryItem form for displaying and downloading past LEGO mosaics
We’ll also add a data binding to the source attribute of the image component so we can update the image dynamically.
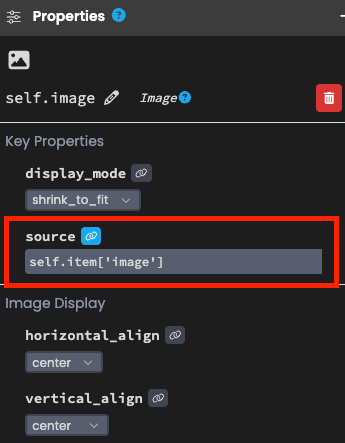
Adding data binding to dynamically load images
In the HistoryItem code, set up the download button:
  @handle("download_btn", "click")
  def download_btn_click(self, **event_args):
    """Download the image when button is clicked."""
    if self.item and self.item['image']:
      anvil.media.download(self.item['image'])
Adding History Display to Homepage
To show all past mosaics, we’ll use a RepeatingPanel which automatically creates one HistoryItem for each image in our history list.
Setting up a RepeatingPanel to display all previously generated mosaics
We also need to update the Homepage code to fetch the current user’s history. First, we need to fetch the user’s history from the server:
  def refresh_history(self):
    """Fetch and display the current user's image history."""
    items = anvil.server.call("list_user_history")
    self.history_panel.items = items

    if not items:
      self.no_history_label.text = "No history to display!"
Then, update our existing code, so the history is refreshed every time the Homepage is reloaded and the alert closes:
class Homepage(HomepageTemplate):
  def __init__(self, **properties):
    # ... Existing code
    self.refresh_history()

  @handle("image_uploader", "change")
  def image_uploader_change(self, file, **event_args):
    # ...Existing code

    if result:
      self.image_uploader.clear()
      # After generation completes, refresh history to show the new image
      self.refresh_history()
Now your Homepage displays all past creations, and users can re-download them anytime. All written entirely in Python.
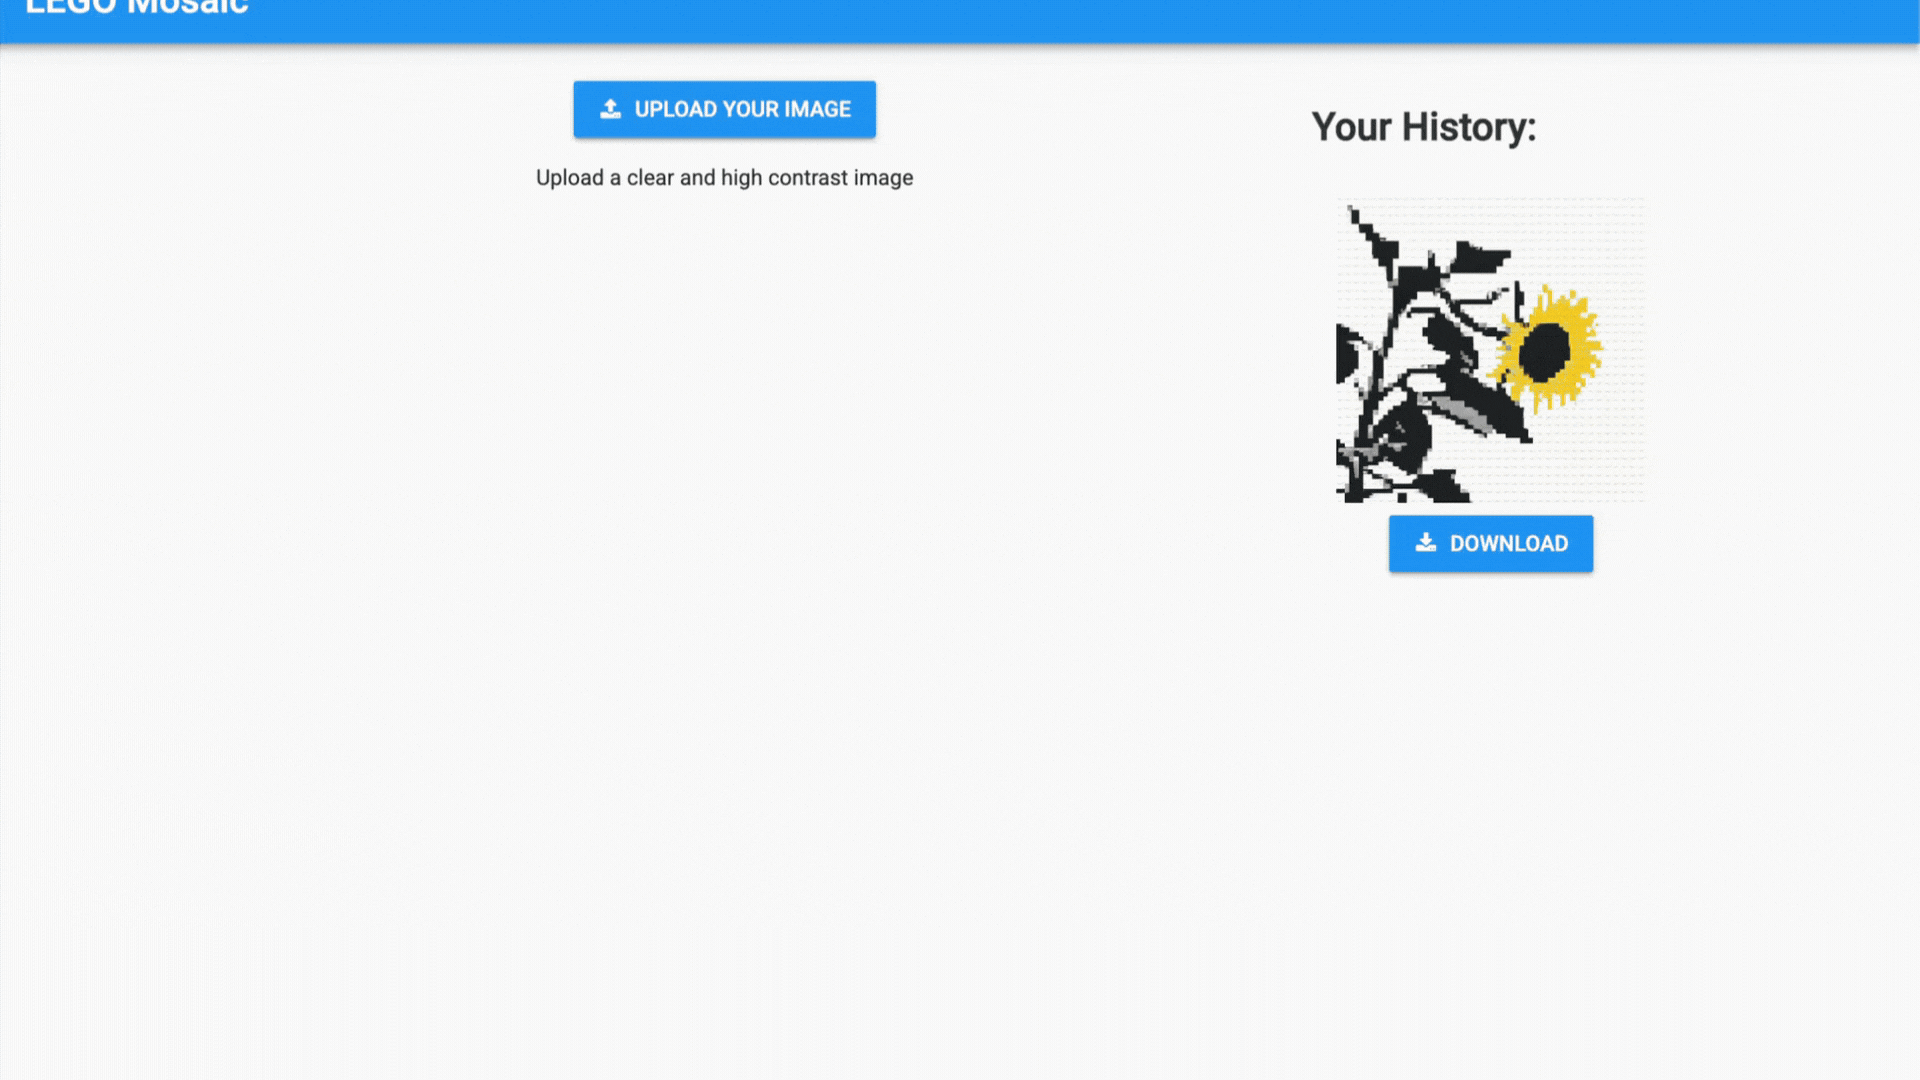
The finished app with authentication, image generation, and image history
Since we’ve already deployed, all you have to do is go to the public URL and your changes are live instantly. Deployment reduced to the push of a single button.
From the outside, this app might look fairly complex with all its moving parts. But because it’s all built in a single Python application, you get to focus on core functionality instead of wrestling with infrastructure.
Want to do more?
If you’d like to try out more exciting things with this Anvil app, like letting users choose a resolution or turn it into a full creative app, you can clone the app and see how it works yourself.
If you have other ideas, Anvil has a ton of fun things you can explore including tutorials to even more exciting projects.
Build Database-Backed Apps
Build a Simple Feedback Form
Build a Simple Feedback Form
Build a data-entry app, and learn the techniques fundamental to building any Anvil app. In this tutorial, you will:
- Build your User Interface
- Write client-side Python
- Write server-side Python
- Store data in a database
- Deploy your app
Have questions? Find us in the Anvil Community Forum. It’s always active.