 By
By Chapter 1:
Build your user interface
Let’s start by building an application form using Anvil’s drag-and-drop editor.
Note: This guide includes screenshots of the Classic Editor. Since we created this guide, we've released the new Anvil Editor, which is more powerful and easier to use.
All the code in this guide will work, but the Anvil Editor will look a little different to the screenshots you see here!
Step 1: Create your Anvil app
Creating web apps with Anvil is simple. No need to wrestle with HTML, CSS, JavaScript or PHP. We can do everything in Python.
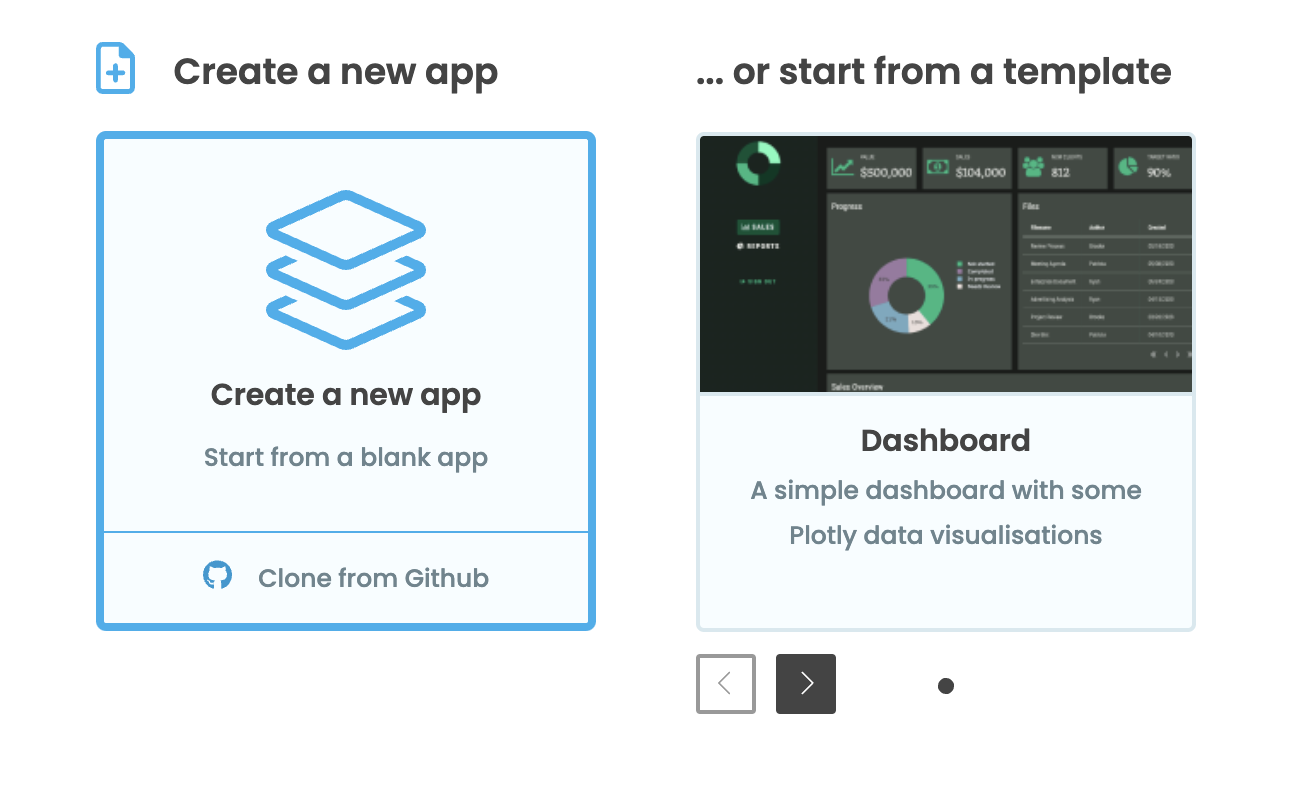
Log in to Anvil and click ‘New Blank App’. Choose the Material Design theme.
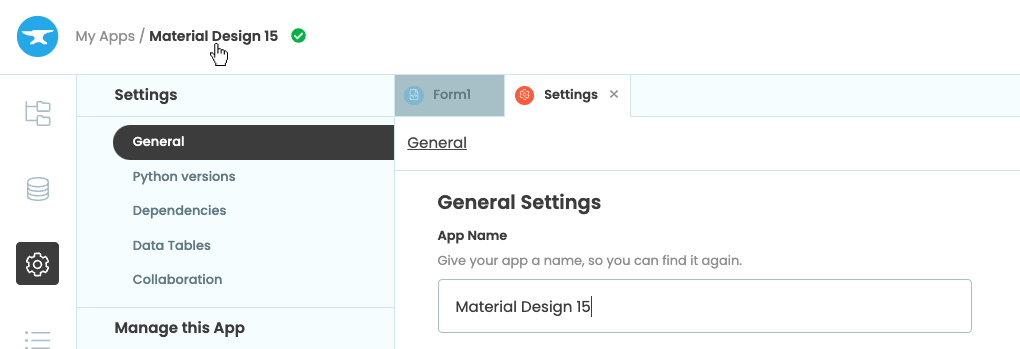
First, name the app. Click on the name at the top of the screen and give it a name.
Step 2: Creating an application form and adding job details
We need to create a form for people to apply for our job.
We construct the form by dragging-and-dropping components from the Toolbox. Let’s start by dropping a Card  into our form – card components provide neat containers for other components. Then let’s add a Label
 ![]() to act as the title of our form. Select the Label and, in the properties panel on the right, change the name of the component to
to act as the title of our form. Select the Label and, in the properties panel on the right, change the name of the component to title, then text to the name of our company and finally change the role to Headline
Adding a title
Now our form has a title, let’s add another Card into our form. This card will contain all of our job details and should end up looking like this:

Finished job details section
Start by adding a label with the text Job details and changing its role to subheading.
Adding a subheading
Then, add a Label ![]() with the text
with the text Job title:, align it to the right and change it’s role to input-prompt. Drag and drop another label to the right of the Job title: Label and change it’s text to the title of your job vacancy. Repeat this process adding information for:
LocationRemunerationAbout the role
Adding job details
Now we have our job details, let’s add input fields for people to complete their application.
Step 3: Adding input fields to our application form
We need people to be able to enter their details for the job application, so let’s add input fields to our form.
Our finished form will look like this:

Finished input fields
Add another Card and then a Label with the text Application Form and role subheading.
Then add a Label and add a TextBox ![]() component to the right of the label. Select the Label and change the Label’s text to
component to the right of the label. Select the Label and change the Label’s text to Full name:, align it to the right and set its role to input-prompt. Select the TextBox and change its name to name_text_box. Repeat this process adding the following fields:
- An
Email:Label next to a TextBox namedemail_text_box, set the TextBox’s type toemail. - A
Phone:Label next to a TextBox namedphone_text_box, set the TextBox’s type tonumber. - A
Cover letter:Label next to a TextArea namedcover_letter_text_area, set the TextArea’s placeholder text to ‘Write your optional cover letter here’.
Lastly, add a Label with the text Resume:. Next to the Label, add a FileLoader component ![]() . Change its name to
. Change its name to resume_file_uploader, its text to Select file and its role to raised.
Adding input fields
Now our form can collect all the data we need for our applicants, let’s add a submit button which will send this data to our Trello Board.
Step 4: Adding a submit button
Start by adding a Button ![]() underneath our input fields. In the buttons properties, rename the button to
underneath our input fields. In the buttons properties, rename the button to submit_button, change the text to Submit and change the role to primary-color.
Then scroll down to the bottom of the buttons properties and click the blue chevron button ![]() next to the
next to the click event handler box. This will open the code view for our form.

Adding a submit button
That submit_button_click() function was created automatically, and will be called every time the button is clicked. Let’s begin writing code that sends the information a user enters into our application form to our Trello board.
In the submit_button_click(), let’s start by getting the information entered into our input fields. We can do this using the text property of each of the Text/TextArea components and the file property of the resume file uploader.
def submit_button_click(self, **event_args):
  """This method is called when the submit button is clicked"""
  name = self.name_text_box.text
  email = self.email_text_box.text
  phone = self.phone_text_box.text
  cover_letter = self.cover_letter_text_area.text
  resume = self.resume_file_uploader.file
Now we have our information, we can pass it to a server function that will send the data to our Trello board (we will create the server function in chapter 3 - step 2). Our server function will be called create_card() and will take the arguments name, email, phone, cover_letter and resume.
def submit_button_click(self, **event_args):
  """This method is called when the submit button is clicked"""
  name = self.name_text_box.text
  email = self.email_text_box.text
  phone = self.phone_text_box.text
  cover_letter = self.cover_letter_text_area.text
  resume = self.resume_file_uploader.file

  # Server call to create a card using the applicant's information
  anvil.server.call('create_card', name, email, phone, cover_letter, resume)
Next, we will reset our form once the submit button is clicked and give a notification to our users that their application has been sent. Let’s define a new function called reset_form() and have it set all the text fields to empty strings and call the FileLoader’s clear() method on our resume_file_uploader.
def reset_form(self):
    """This method clears our application form"""
    self.name_text_box.text = ''
    self.email_text_box.text = ''
    self.phone_text_box.text = ''
    self.cover_letter_text_area.text = ''
    self.resume_file_uploader.clear()
Add a call to our new reset_form() function in our submit_button_click() function.
Then, to add a notification, we can also call Anvil’s built in Notification() function in our submit_button_click() function. We will pass it the string we want to display and set it to disappear after 5 seconds with the timeout argument.
def submit_button_click(self, **event_args):
    """This method is called when the submit button is clicked"""
    name = self.name_text_box.text
    email = self.email_text_box.text
    phone = self.phone_text_box.text
    cover_letter = self.cover_letter_text_area.text
    resume = self.resume_file_uploader.file

    anvil.server.call('create_card', name, email, phone, cover_letter, resume)

    # Call to reset our form to a blank application form
    self.reset_form()
    # A pop up notification notifying the user their application has been submitted.
    Notification("Your application has been submitted. Thanks for applying!", timeout=5).show()
We now have a submit button that will trigger the process of sending our user’s application to Trello, reset our form and notify our users that their application has been submitted.
That’s it, we’ve created a form for our users to apply for a job at our company.
In Chapter 2, we’ll create a Trello board which we’ll use to organise and track our job applications.