 By
By Chapter 2:
Connect your app to Google Colab
Step 1: Enable the Uplink
From the Anvil Editor, let’s enable the Uplink. This gives us everything we need to connect our web app to our Colab notebook. Select the blue ‘+’ button in the Sidebar Menu to open the list of available services. Then add the Uplink and click ‘Enable Server Uplink’:
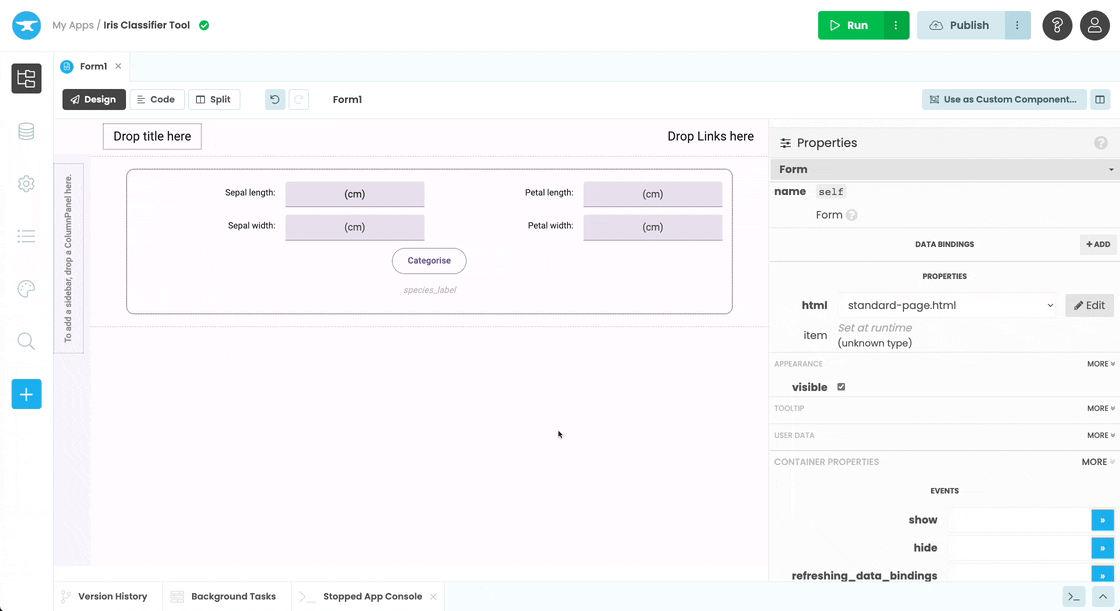
Activating the Uplink
This will then give us an Uplink key we can use in our Google Colab notebook, to connect to this app.
Now let’s install the Uplink in our Colab environment, and connect our script using the key we just created.
Step 2: Install the Uplink Library in our Colab Environment
In the next few steps, we will be connecting a Colab notebook to the web app we have built. For simplicity, I’ve created a notebook that already handles the iris classification for us. Make a copy of the following notebook to follow along:
The first thing we need to do is install the anvil-uplink library in our Colab environment. Let’s add !pip install anvil-uplink to the top of our notebook.
!pip install anvil-uplinkThe ! operator tells our notebook that this line is a command line script and not Python code.
Step 3: Connect our Script
Now that the Uplink library will be installed when we start our notebook, we can connect our notebook in the same way as any other Uplink script.
Start by importing the anvil.server module:
import anvil.serverThen connect to the Uplink:
anvil.server.connect("your-uplink-key")Replace “your-uplink-key” with the Uplink key from your app.
That’s it! When we run our notebook, it will now connect to our web app via the Uplink. Next, let’s create a function we can call from our Anvil app.
Step 4: Create a callable function
With a classification model built and trained, we can create a function that takes our iris data and returns the name of the iris species. Let’s create a predict_iris function and add @anvil.server.callable so it is available to call from our app.
@anvil.server.callable
def predict_iris(sepal_length, sepal_width, petal_length, petal_width):
  classification = knn.predict([[sepal_length, sepal_width, petal_length, petal_width]])
  return iris.target_names[classification][0]
Finally at the end of our notebook we will call the wait_forever() function. This keeps our notebook running and allows our app to call functions indefinitely.
anvil.server.wait_forever()Run the notebook. You should see output like this:
Connecting to wss://anvil.works/uplink
Anvil websocket open
Authenticated OKStep 5: Publish your app
Now we have our app and script connected, all we have to do is publish our app for our colleagues to use.
Click the ‘Publish’ button at the top right of the editor, then select ‘Add public URL’ and use the public URL provided or enter your own.
Publishing and using our classification app
That’s it, our notebook is now connected to our Anvil app and anyone with access to your web app can now interact with code in your Google Colab notebook.
Our app has one final problem, Colab notebooks shut down after a certain amount of time. This means our model won’t be available 24/7 and our app will stop working. To solve this we need to export the model from our Colab notebook and deploy it somewhere else.