Chapter 3:
Add a data table
As well as just sending an email reply with the details extracted by the LLM, let’s save those details so that we can eventually display them to the users of our app. We’ll use Data Tables for this.
Step 1: Set up a data table
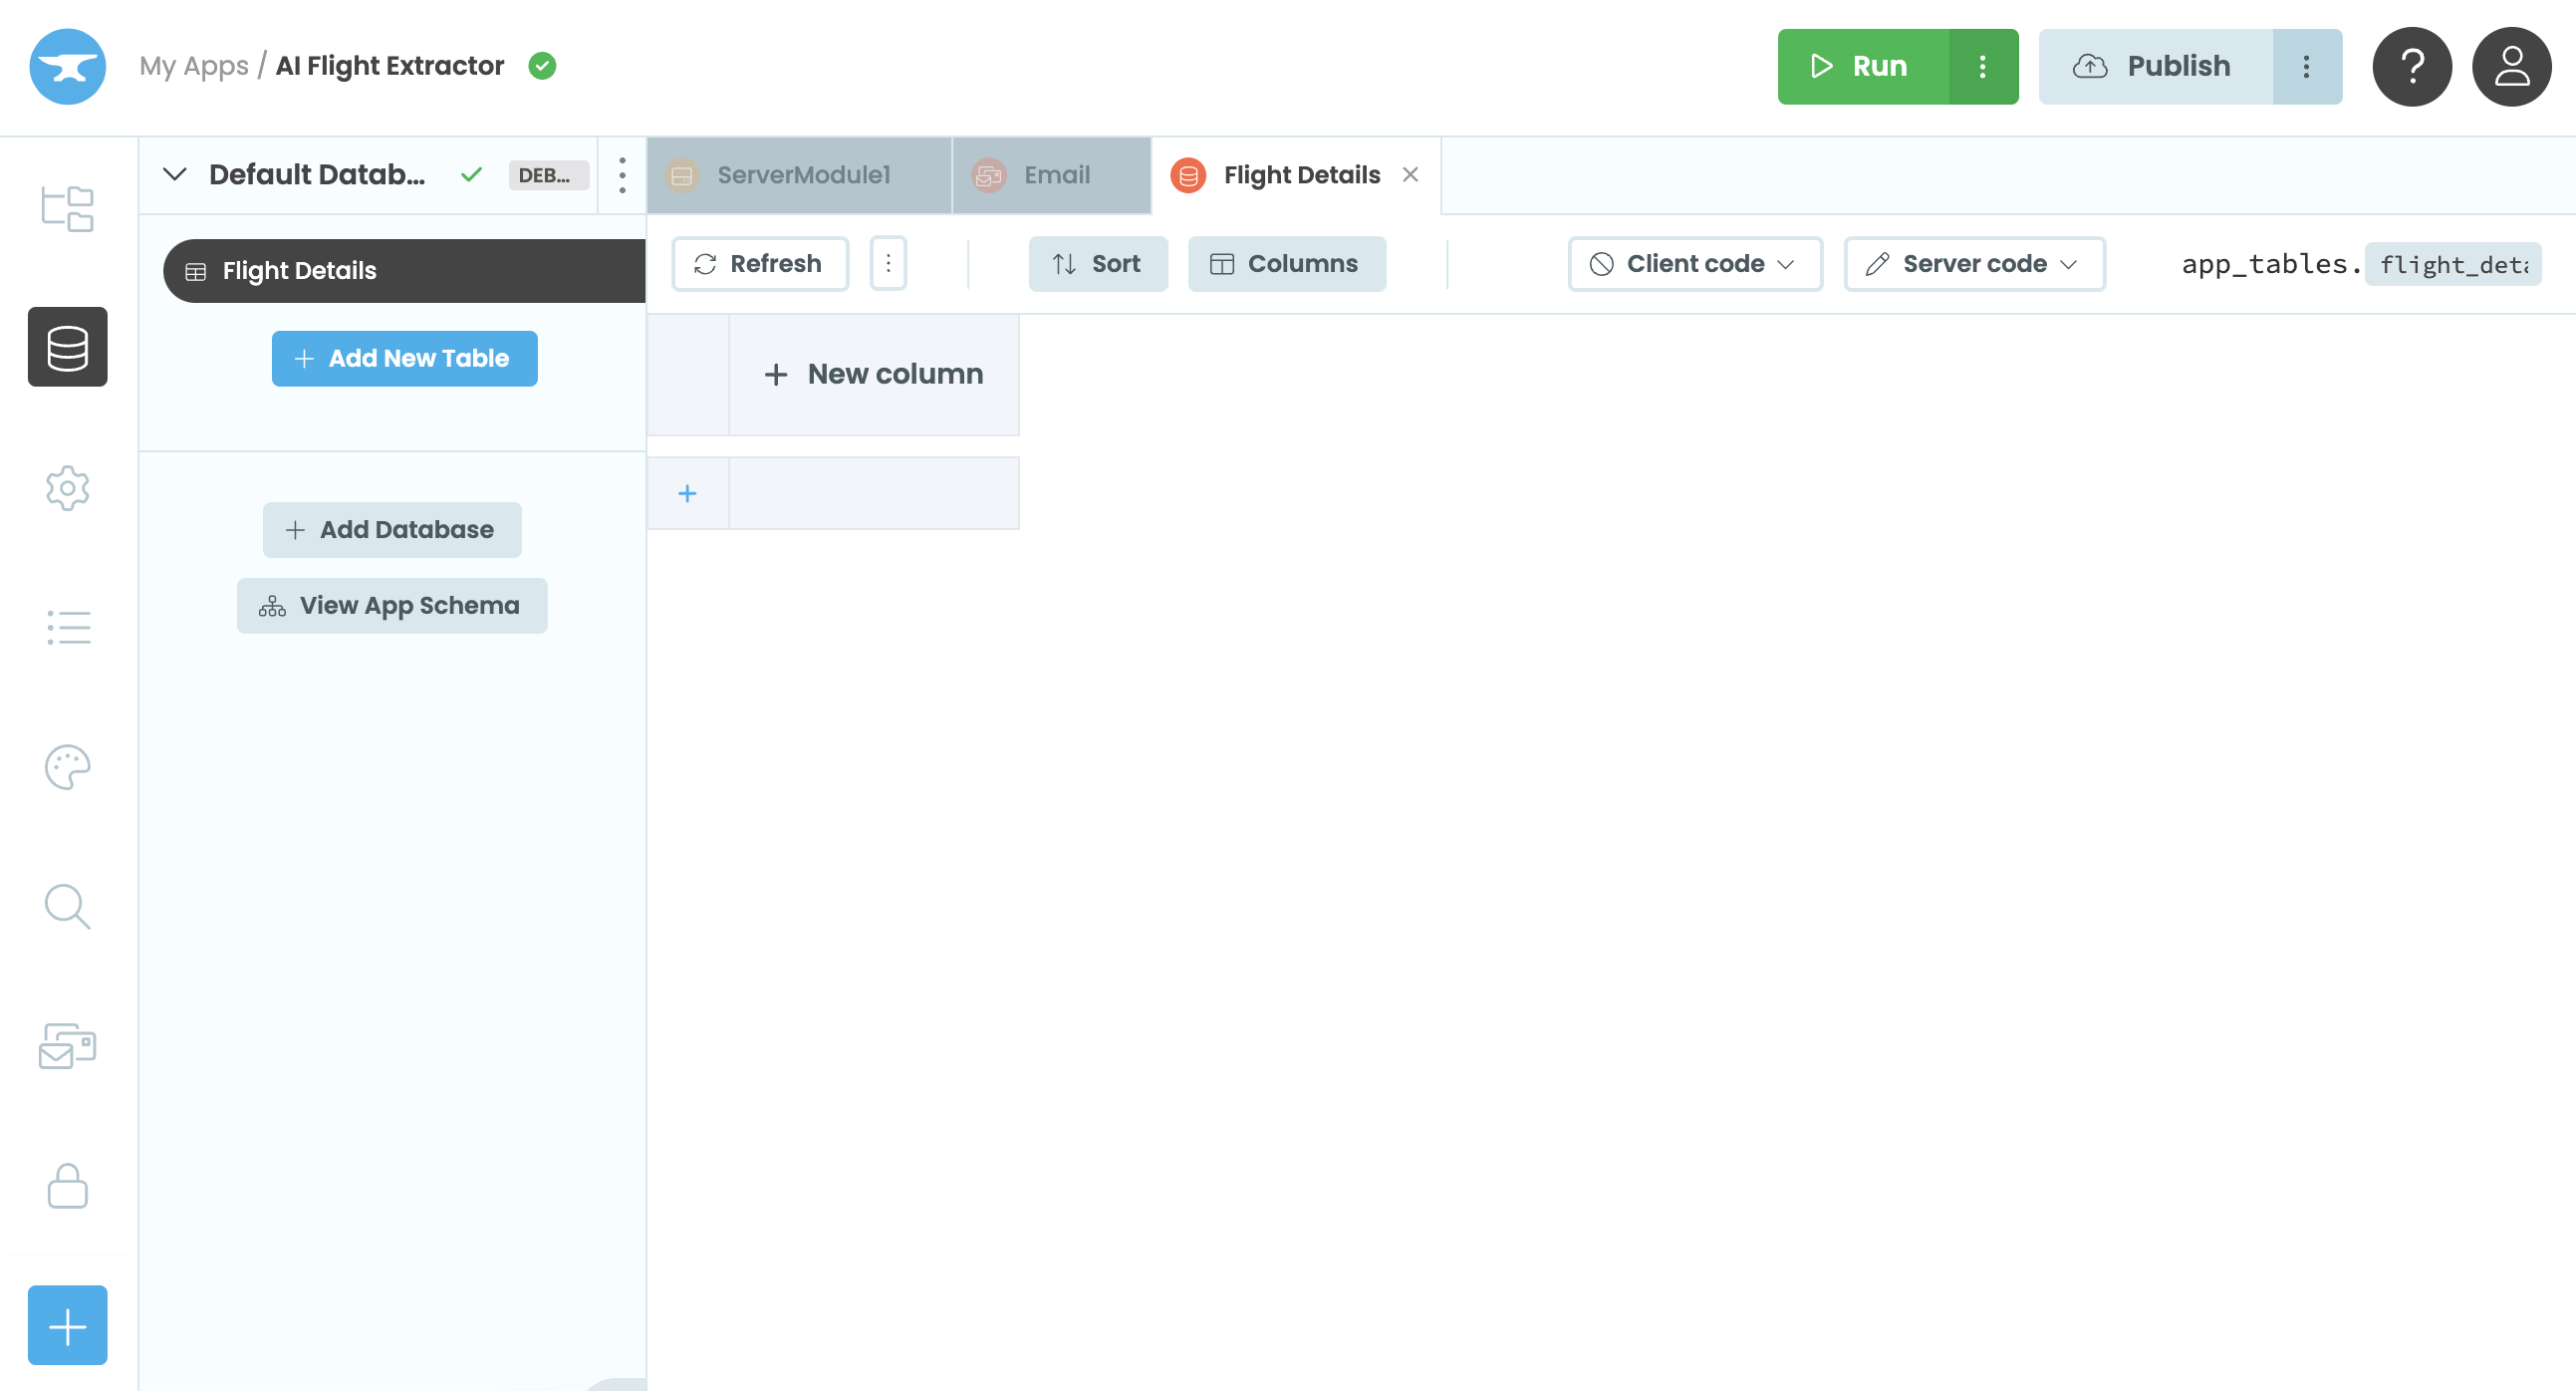
In the sidebar menu, click on the Data icon and add a new table. Let’s name it Flight Details.

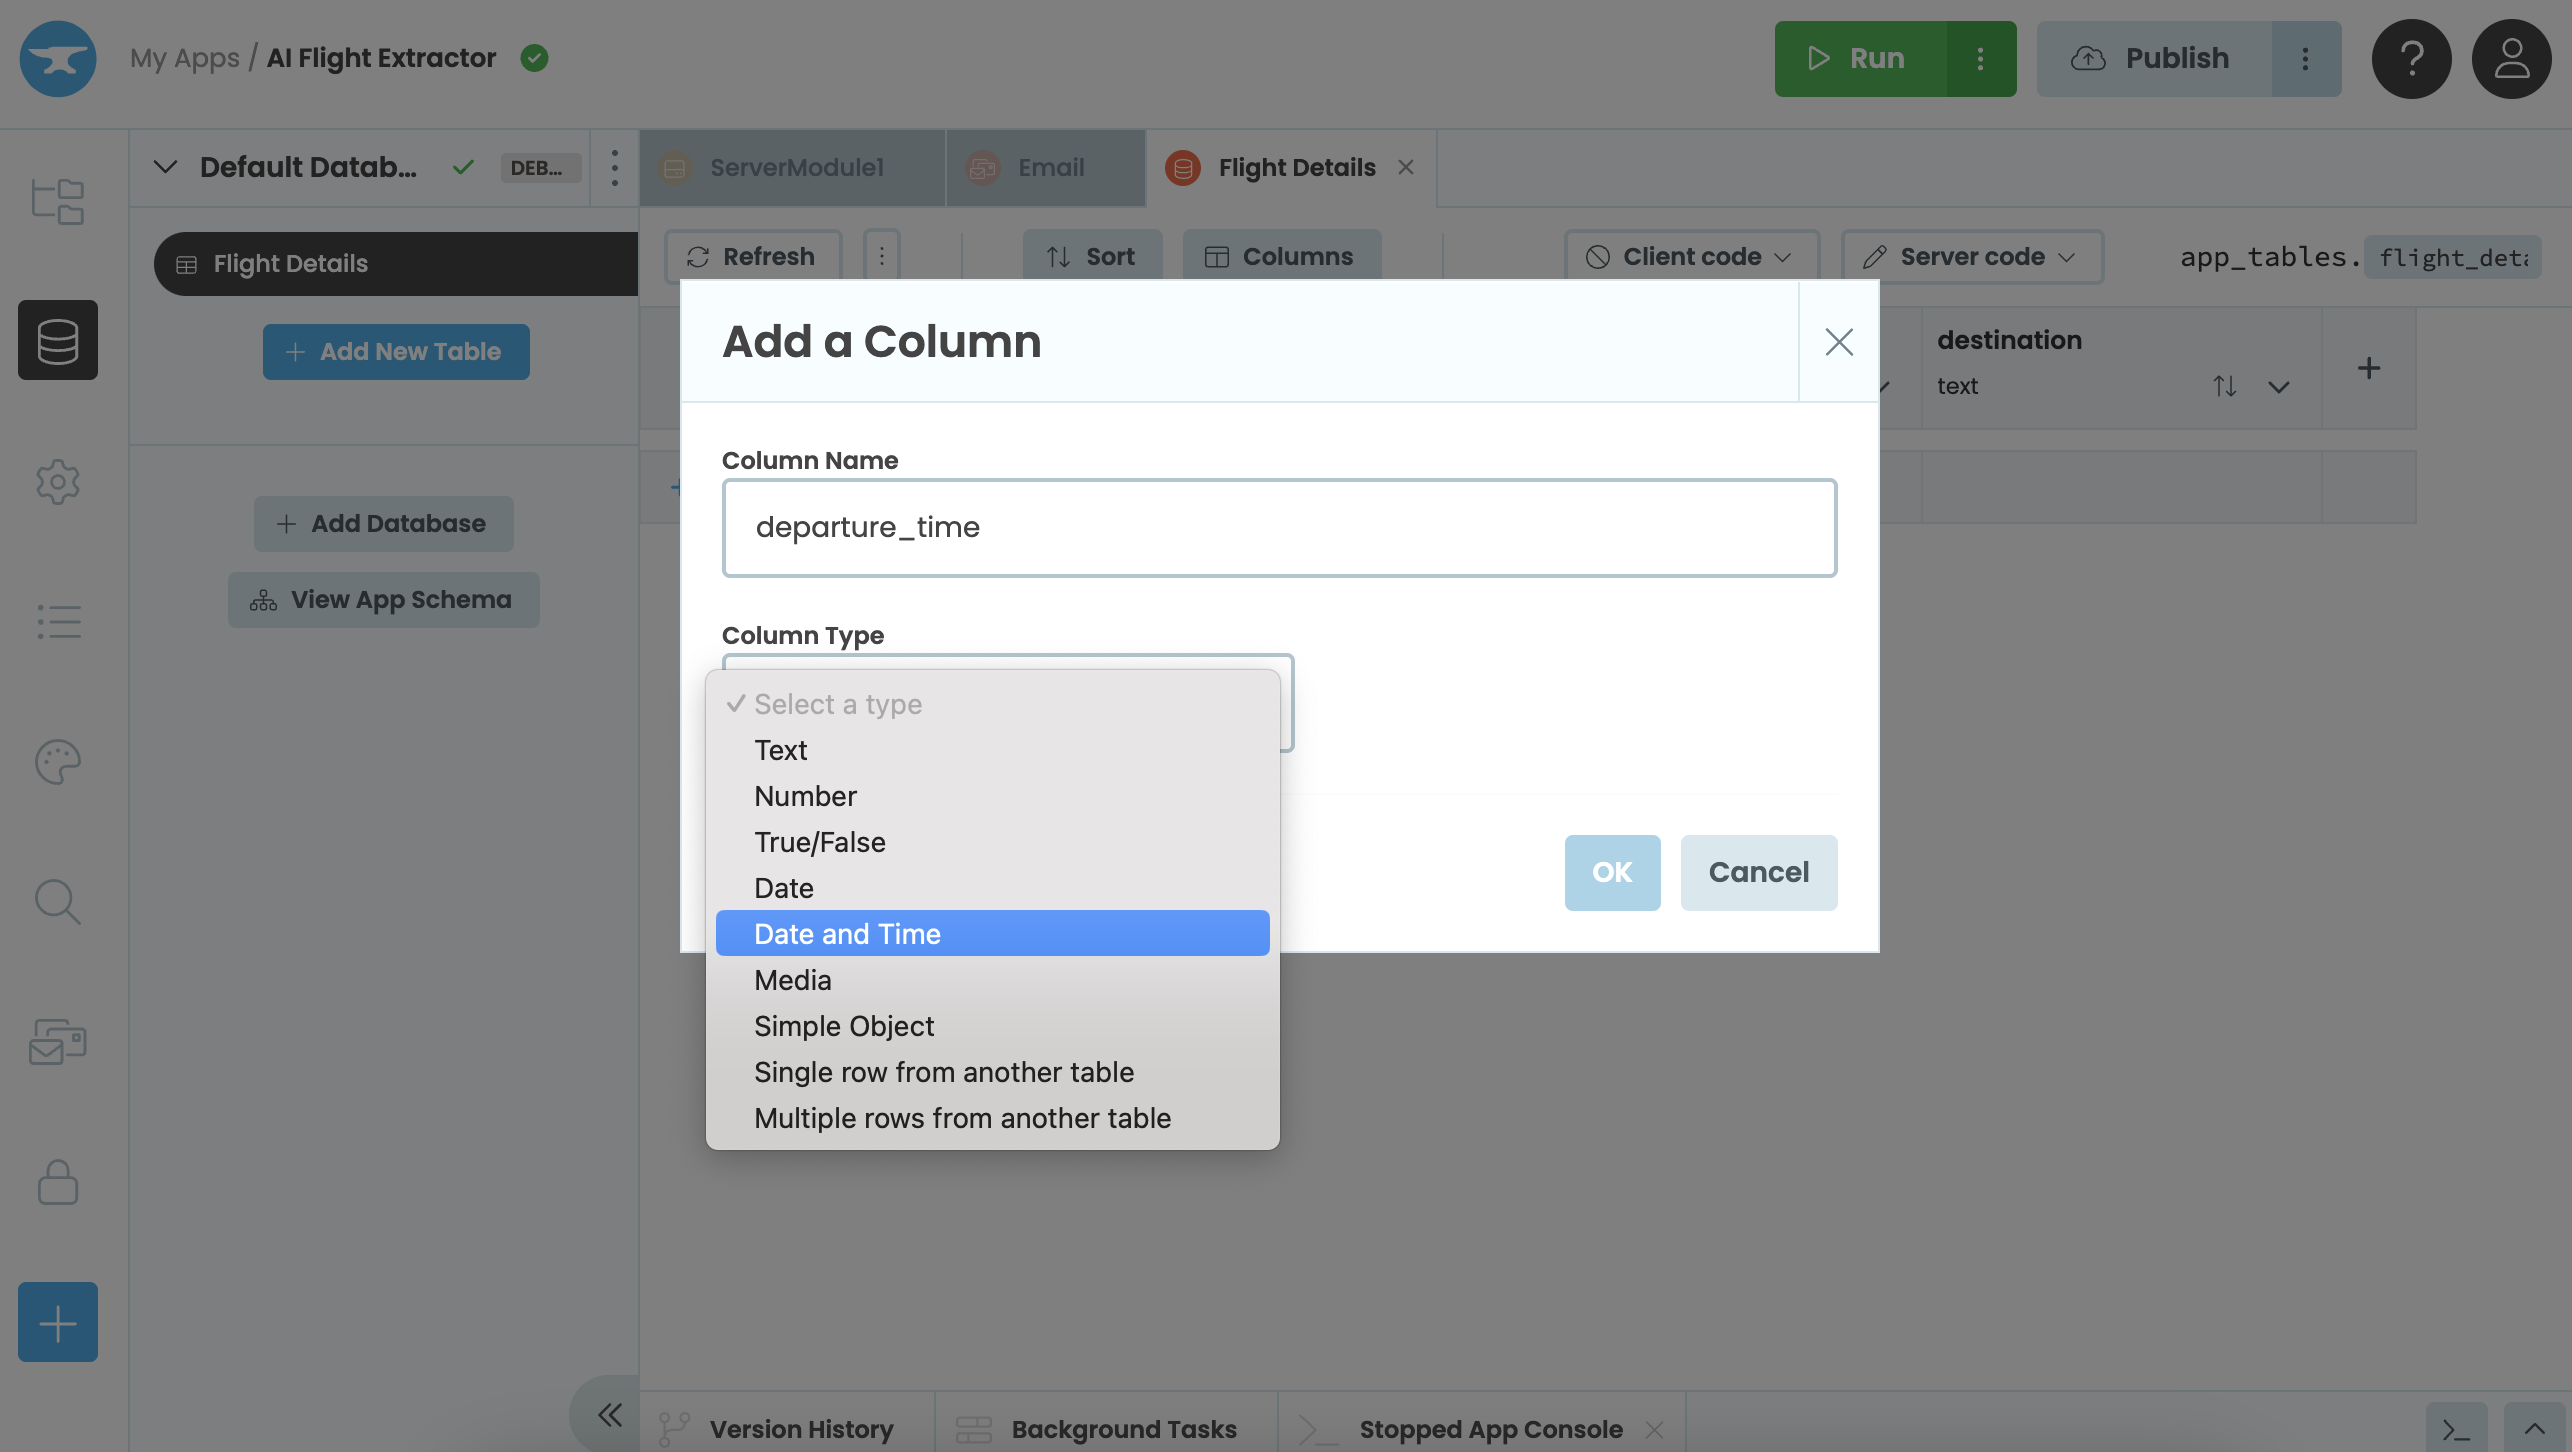
We’ll add columns for all the details we want to extract from the emails. We’ll also include a column for the sender’s email address, and one for the full text of the email in case we want to refer to it later. We’ll need the following columns:
email(Text column)flight_number(Text column)flight_origin(Text column)flight_destination(Text column)departure_date_time(Date and Time column)arrival_date_time(Date and Time column)email_text(Text column)
For each column, we’ll specify the data type we require.

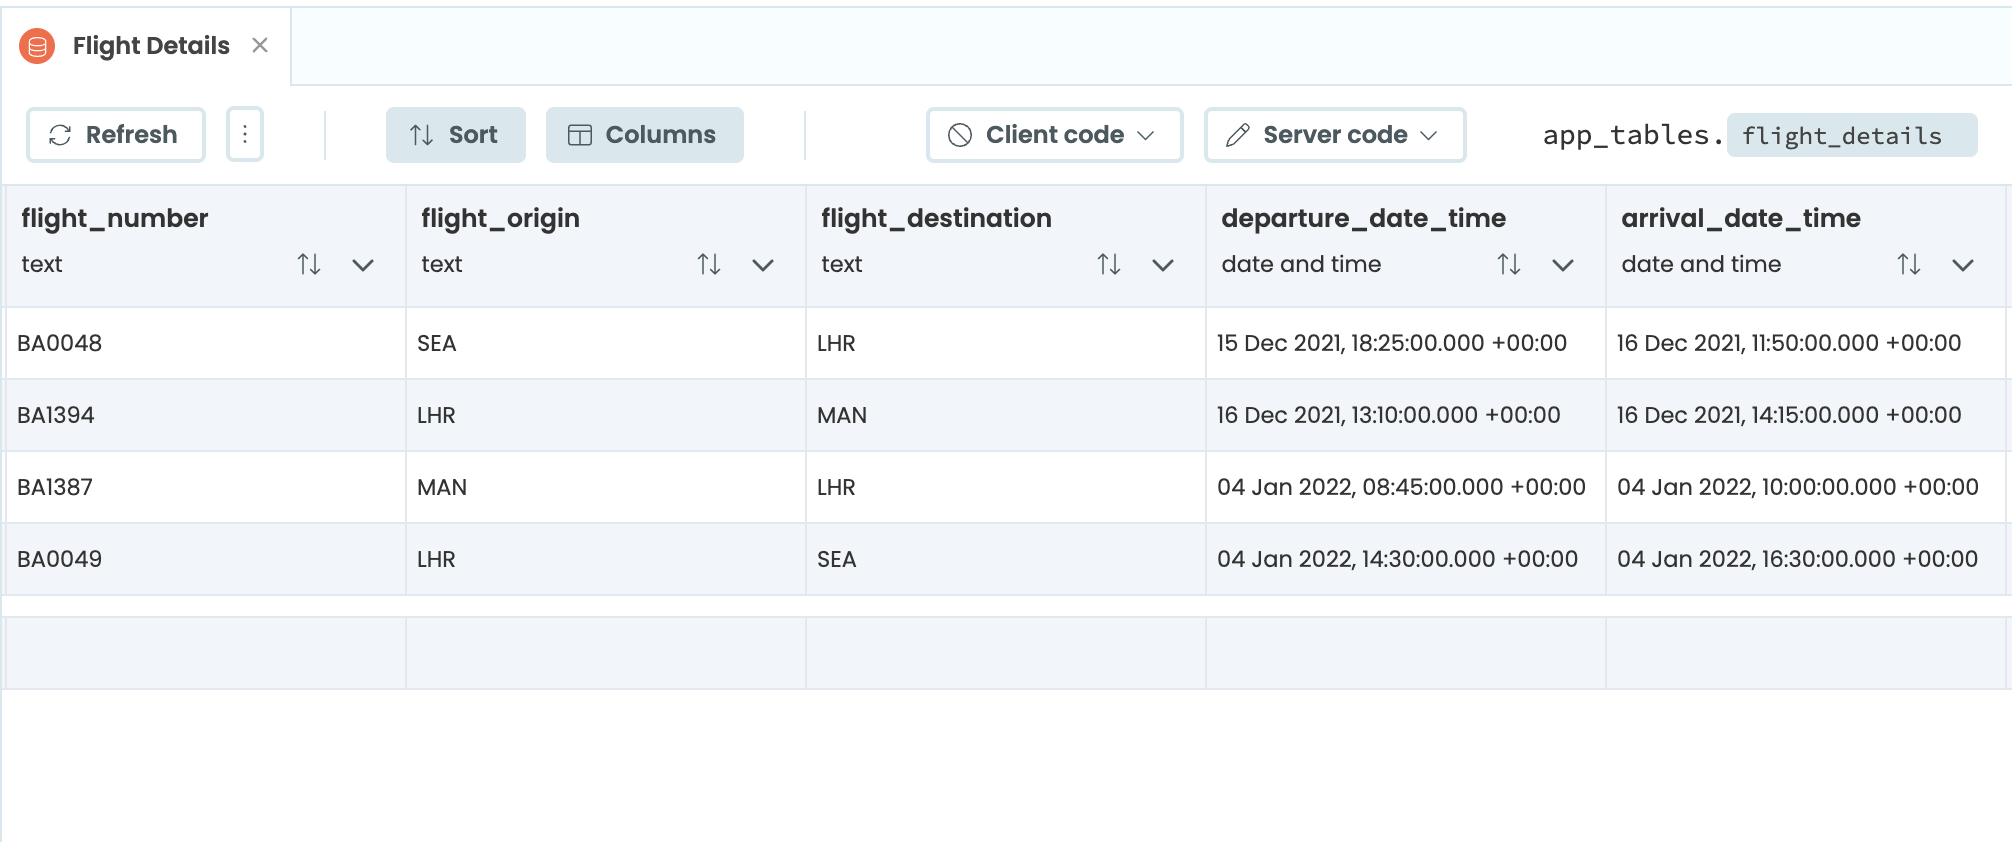
Here’s the complete data table:

Step 2: Save the flight details into the data table
Next, we’ll update the handle_incoming_emails function in our server module so that it writes the flight details into the data table.
For each flight that the LLM identifies in an incoming email, we want to add a row to the data table with the details for that flight. We can do this with app_tables.flight_details.add_row(). We’ll add this to the for loop in our handle_incoming_emails function.
@anvil.email.handle_message
def handle_incoming_emails(msg):
  # clean email text
  email_text = re.sub(r"<.*?>", "", msg.text)

  reply_email = "Thank you for your message. Here are your flight details:\n"

  try:
    openai_response = call_open_ai(email_text)

    for flight in openai_response.flights:
      # add a row to the data table
      app_tables.flight_details.add_row(
        email=msg.envelope.from_address,
        flight_number=flight.flight_number,
        flight_origin=flight.origin,
        flight_destination=flight.destination,
        departure_date_time=datetime.strptime(flight.departure_time, '%Y/%m/%d %H:%M'),
        arrival_date_time=datetime.strptime(flight.arrival_time, '%Y/%m/%d %H:%M'),
        email_text=email_text)

        flight_text = f"""
        Flight number: {flight.flight_number} \n
        Flight origin: {flight.origin} \n
        Flight destination: {flight.destination} \n
        Departure date and time: {datetime.strptime(flight.departure_time, '%Y/%m/%d %H:%M')} \n
        Arrival date and time: {datetime.strptime(flight.arrival_time, '%Y/%m/%d %H:%M')} \n
        \n
        """
        reply_email += flight_text

    msg.reply(text=reply_email)

  except (ValueError, KeyError):
    msg.reply(text="Your message could not be processed. Sorry!")
Now, when our service receives an email, the flight details extracted by the LLM are saved into our data table.

In Chapter 4, we’ll set up a front end to display all our flight details in one place.
 By
By