 By
By Are you the Ultimate Clicker?
Arguably, the web is built from small, often ridiculous ideas. Sometimes, you don’t really feel like making the next Amazon or an internal tool to “promote synergy between stakeholders”. Sometimes, you just get a fun little idea, and you want to shove that into your nearest internet pipe and share it with your friends.
When I started using Anvil, I quickly realized I could use it for pretty much whatever I wanted to make, be it sleek and professional productivity-oriented tools, or, you know, a clicker game that my friends and I can compete in! And, best of all, it could do it fast and without requiring poring over documentation for days on end.
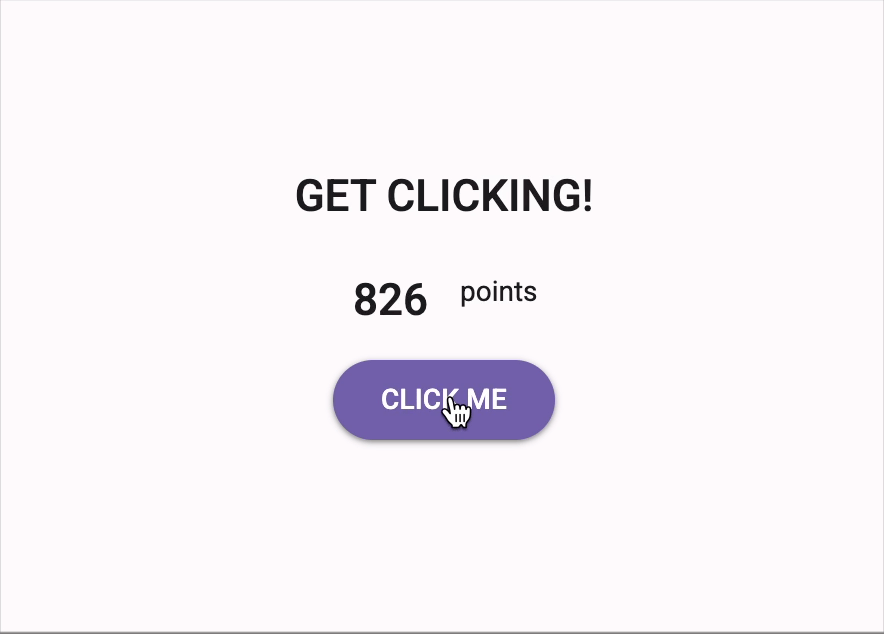
The idea is super simple: have my friends set up an account, let them click on a button as many times as they can to earn points, display all my friends’ total points on a public leaderboard, and let their competitive spirit do the rest.
Anvil made the process super quick and painless, you can easily knock this down in an afternoon. Let me walk you through how I did it.
Why I Chose Anvil
For my app, I needed a tool that provided a traditional web app structure, complete with a user interface, client-server architecture, and ideally, the following features:
- Support for multiple pages and navigation between them
- Log-in system for multiple users
- An integrated database for storing users’ points
Spoiler alert: Anvil has all of those, among many more, and they’re super easy to set up. All I had to do was create a new app using the editor, use the drag-and-drop interface to build my navigation layout, include the log-in feature by literally just clicking on a couple of boxes, and it even automatically created an integrated Data Table to store all the user information.
Building A User Interface
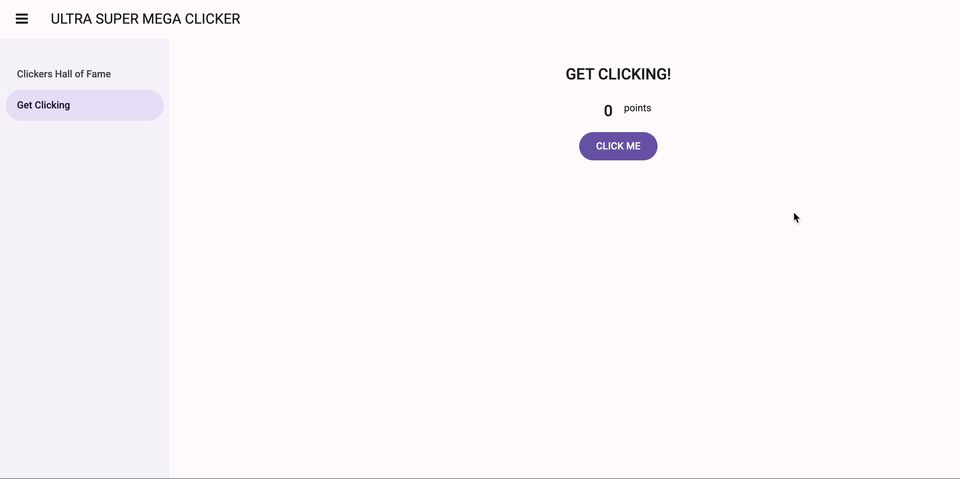
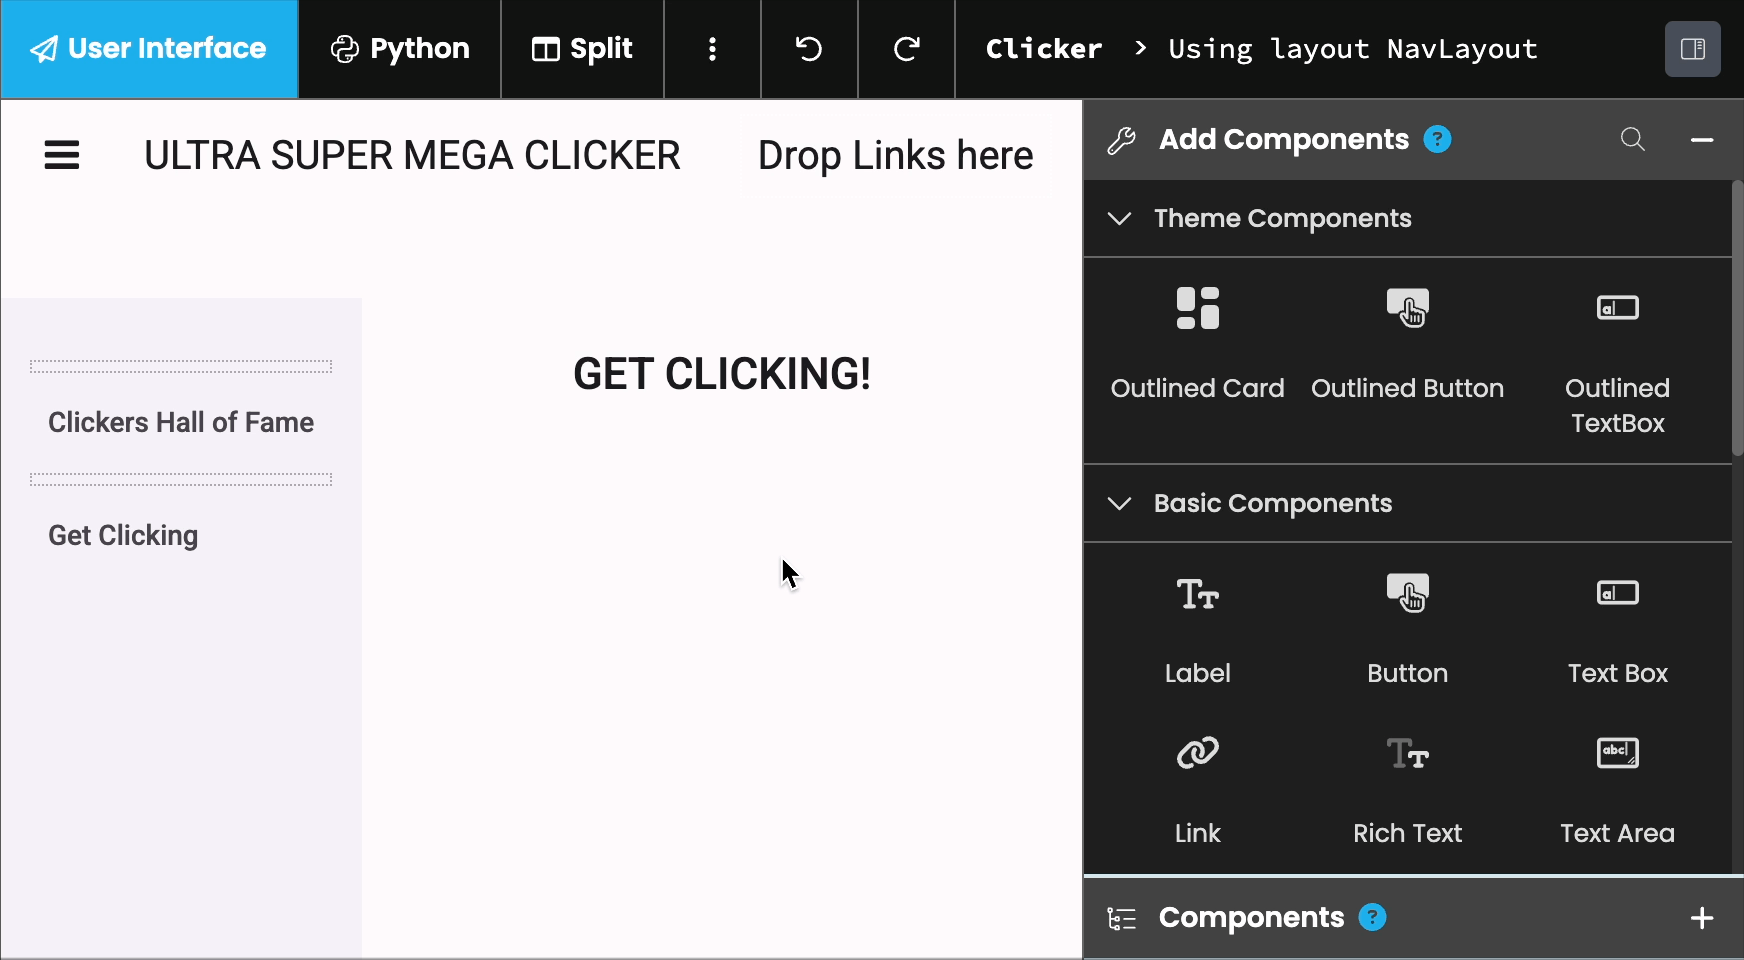
Our UI should be pretty simple: one page to get a bunch of clicks in, and another to see ourselves climbing the leaderboard.
I thus created two Forms based on the navigational layout I had created prior:
- A Clicker Form, which only needed a simple button and would communicate with a “Leaderboard” Data Table, storing all users’ scores.
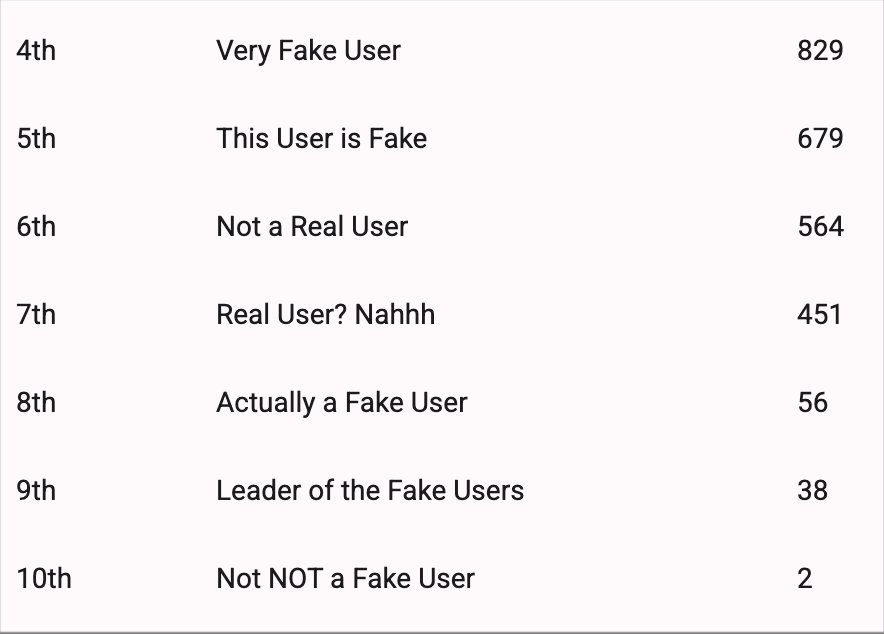
- A Leaderboard Form, with a data grid to display the app’s top 10 users with the most points.
With a clear idea in mind, I hopped in the editor and designed my heart away. The drag-and-drop interface made it very easy to arrange the various components however I wanted.
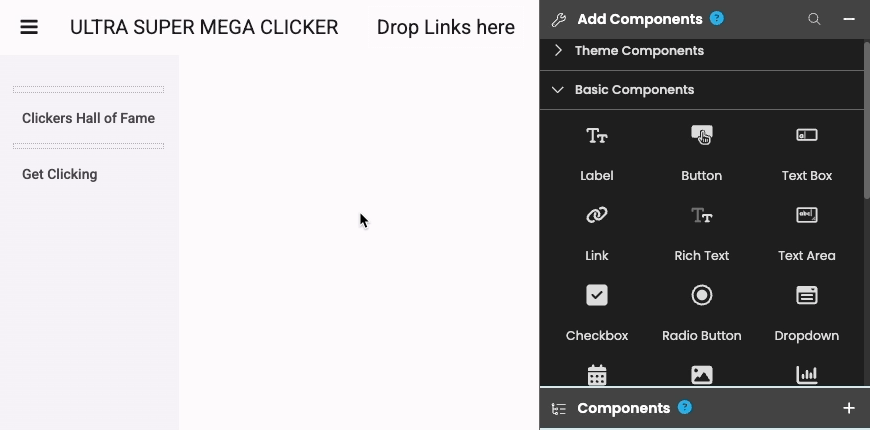
Drag components onto the page, then configure them using theObject Palette or the Properties Panel.
Once that was done, it was time to program the behavior of the interface with some simple Python code.
Registering & Logging Users In
I am a simple person. I do not know fancy HTML, JavaScript or CSS. That’s three whole languages, when most people only really know one. Thankfully, Anvil lets you create full-stack apps with nothing but Python, so I can remain a simple person and still get my friends to ruthlessly compete against each other over who can click their mouse the most.
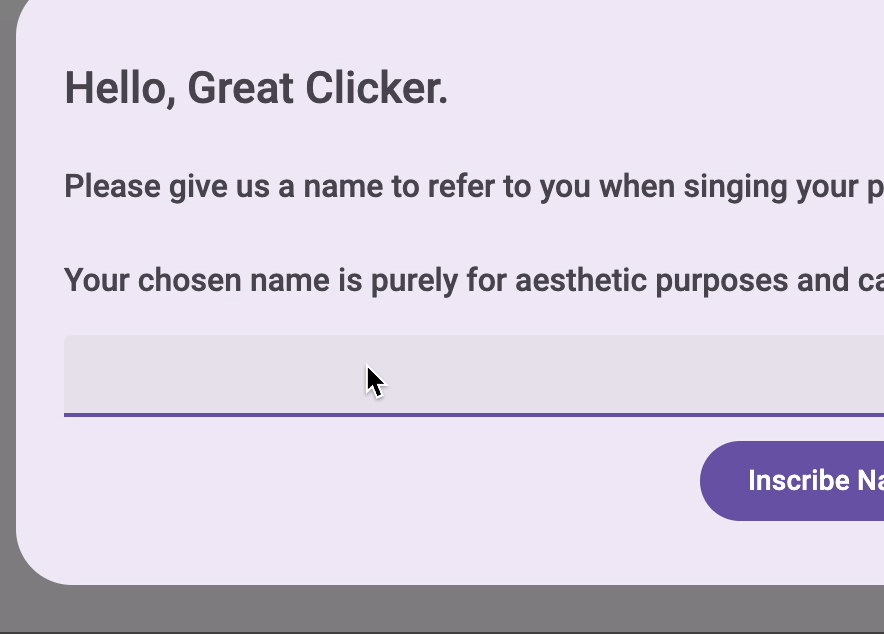
The first thing I did was add a way for users to enter a username for the leaderboard. I wanted it to be so that when somebody logs in for the first time, an Alert pops up and prompts them for a username, which is then saved along with the rest of their user information in the “Users” Data Table.
For this purpose, I created a new Form, that I named UserEdit, that would be shown upon login. I placed a Label asking the user for their username, and a TextBox for the user to type it in. I then made the content of the TextBox a data binding, so I could easily use the input username in code.
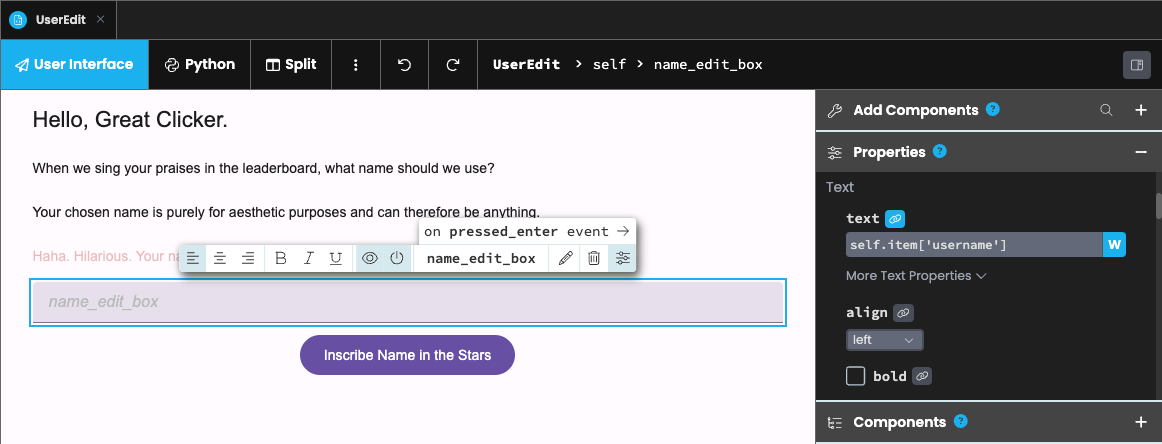
Our data binding set up on our TextBox, with writeback enabled.
Within the startup Form’s code, right after logging the user in, I have the server check if that user already has a username. If not, I display an Alert showing the UserEdit Form I had just created.
Upon confirmation from the user, the UserEdit Form then returns the username that was entered, which is sent to the server and saved within the “Users” Data Table for the current user. Finally, a row for this new user is initialized within the “Leaderboard” Data Table with zero points.
login_with_form()
# Ask the server to check if the currently logged-in user has a name.
if not anvil.server.call('does_current_user_have_a_name'):
    # Open an Alert pop-up that prompts the user for their name.
    name = alert(UserEdit(), large=True, dismissible=False, buttons=None)
    # The obtained name is then sent to the server for user initialization.
    anvil.server.call('initialize_user', name)
@anvil.server.callable
def does_current_user_have_a_name():
current_user = anvil.users.get_user()
# Check that a user is currently logged in and, if so, that they have a non-empty username.
return current_user is not None and current_user['username'] not in (None, '')
@anvil.server.callable
def initialize_user(name):
current_user = anvil.users.get_user()
# Add the gathered name to our user row.
current_user.update(username=name)
# Add a new row to the leaderboard Data Table, with our user in the user column and 0 in the points column.
app_tables.leaderboard.add_row(user=current_user, points=0)Displaying Data From Data Tables
With the user side of the app setup, it was time to take care of the leaderboard.
For this, I used Anvil’s DataGrid to display rows of the “Leaderboard” database. I placed an instance of that component in my page and named it top_10_panel.
The top_10_panel Data Grid component needed to communicate with the “Leaderboard” Data Table. I made the Leaderboard Form fetch the contents of the “Leaderboard” Data Table whenever shown, sort the rows by descending order of points, and set the 10 first entries to populate the DataGrid. Easy-peasy!
def refresh_top_10_grid(self):
    top_10_clickers = anvil.server.call('get_top_10_clickers')
    # Set our DataGrid's contents to be the top 10 leaderboard rows.
    self.top_10_panel.items = top_10_clickers
@anvil.server.callable
def get_top_10_clickers():
# Create a list containing, for each user, a dictionary with their username and points.
all_users = [
{
'username': row['user']['username'],
'points': row['points']
} for row in app_tables.leaderboard.search()
]
# Sort our list based on a descending order of points.
all_users.sort(key=lambda x: x['points'], reverse=True)
# Reconstruct our sorted list by enumerating it and added a ranking to each user dictionary.
ranked_users = [
{
'rank': i+1,
'username': user_dict['username'],
'points': user_dict['points'],
} for i, user_dict in enumerate(all_users)
]
# Only return the first 10 items of our ranked list.
return ranked_users[:10]Making Components Interactive With Events
Finally, all I had to do was make the clicker button actually increase your score on each click. Anvil components can raise events, which code can react to, in response to user interaction.
When Button components are clicked they raise a ‘click’ event, so all I had to do was create a handler function to run when a user clicks the button. This is easily done from the Object Palette, or the Properties Panel:
Adding a Click event handler to a newly created button,using the Object Palette.
With the event handler in place to detect button clicks, all that remained was writing the logic into the event handler.
We want every click event raised by our button to increase a local_points property of the Clicker Form, which is at first initialized by fetching the amount of points of the current user:
def on_clicker_clicked(self, **event_args):
    # This event is triggered whenever the clicker button is clicked.
    self.item['local_points'] += 1
    # Refresh our data bindings to make sure our components reflect the form's newly updated `item` property.
    self.refresh_data_bindings()
Clicking the button should also start a timer: when that timer reaches one second, a call is made to the server with the new amount of points to save, but each button click restarts the timer. This ensures that we don’t slow down the app with as many server calls as there were clicks, but instead only make the call once the user is done clicking.
def on_clicker_clicked(self, **event_args):
    # This event is triggered whenever the clicker button is clicked.
    self.item['local_points'] += 1
    # Refresh our data bindings to make sure our components reflect the form's newly updated `item` property.
    self.refresh_data_bindings()
    # Reset the timer if it is already started...
    if self.click_buffer_timer.interval != 0:
        self.click_buffer_timer.interval = 0
    # ... then start it up again from zero.
    self.click_buffer_timer.interval = 1

def click_buffer_timer_tick(self, **event_args):
    # This event is triggered whenever the timer component
    # reaches its set interval.
    # Reset and stop our timer.
    self.click_buffer_timer.interval = 0
    with anvil.server.no_loading_indicator:
      anvil.server.call('update_current_user_points', self.item['local_points'])
@anvil.server.callable
def update_current_user_points(new_amount):
current_user = anvil.users.get_user()
app_tables.leaderboard.search(user=current_user)[0]['points'] = new_amountAnd that’s really all there is to it! All that was left to do was publish the app.
Publishing The App
Deployment is so easy I could do it in my sleep. In fact, I did! And, since you have no way of proving me wrong, you’re just going to have to accept that as a fact. Isn’t this fun?
All it takes is literally two clicks, and you’ll receive a shareable URL to send your friends to use your app. That way, you can focus on, you know, making the app, rather than on how to deploy it.

And voilà! My game was then deployed and all I had to do was set my friends loose to compete for the title of Ultimate Clicker.
Want to learn more?
If you want to dive right in and take a look at the clicker app from behind the scenes, you can clone the app by clicking right here, which will let you see how it was made in more detail!
Alternatively, if you want to start on your own project, our online editor is free to use and requires no installation whatsoever. We have some great step-by-step tutorials, and a bunch of fully-featured example apps like this ticketing system app.
Build Database-Backed Apps
Build a Simple Feedback Form
Build a Simple Feedback Form
Build a data-entry app, and learn the techniques fundamental to building any Anvil app. In this tutorial, you will:
- Build your User Interface
- Write client-side Python
- Write server-side Python
- Store data in a database
- Deploy your app
Also, if you have questions or for any other reason feel like giving us a shout, you can find us in the Anvil Community Forum, it’s always full of activity.