 By
By Building reusable UIs with Layouts
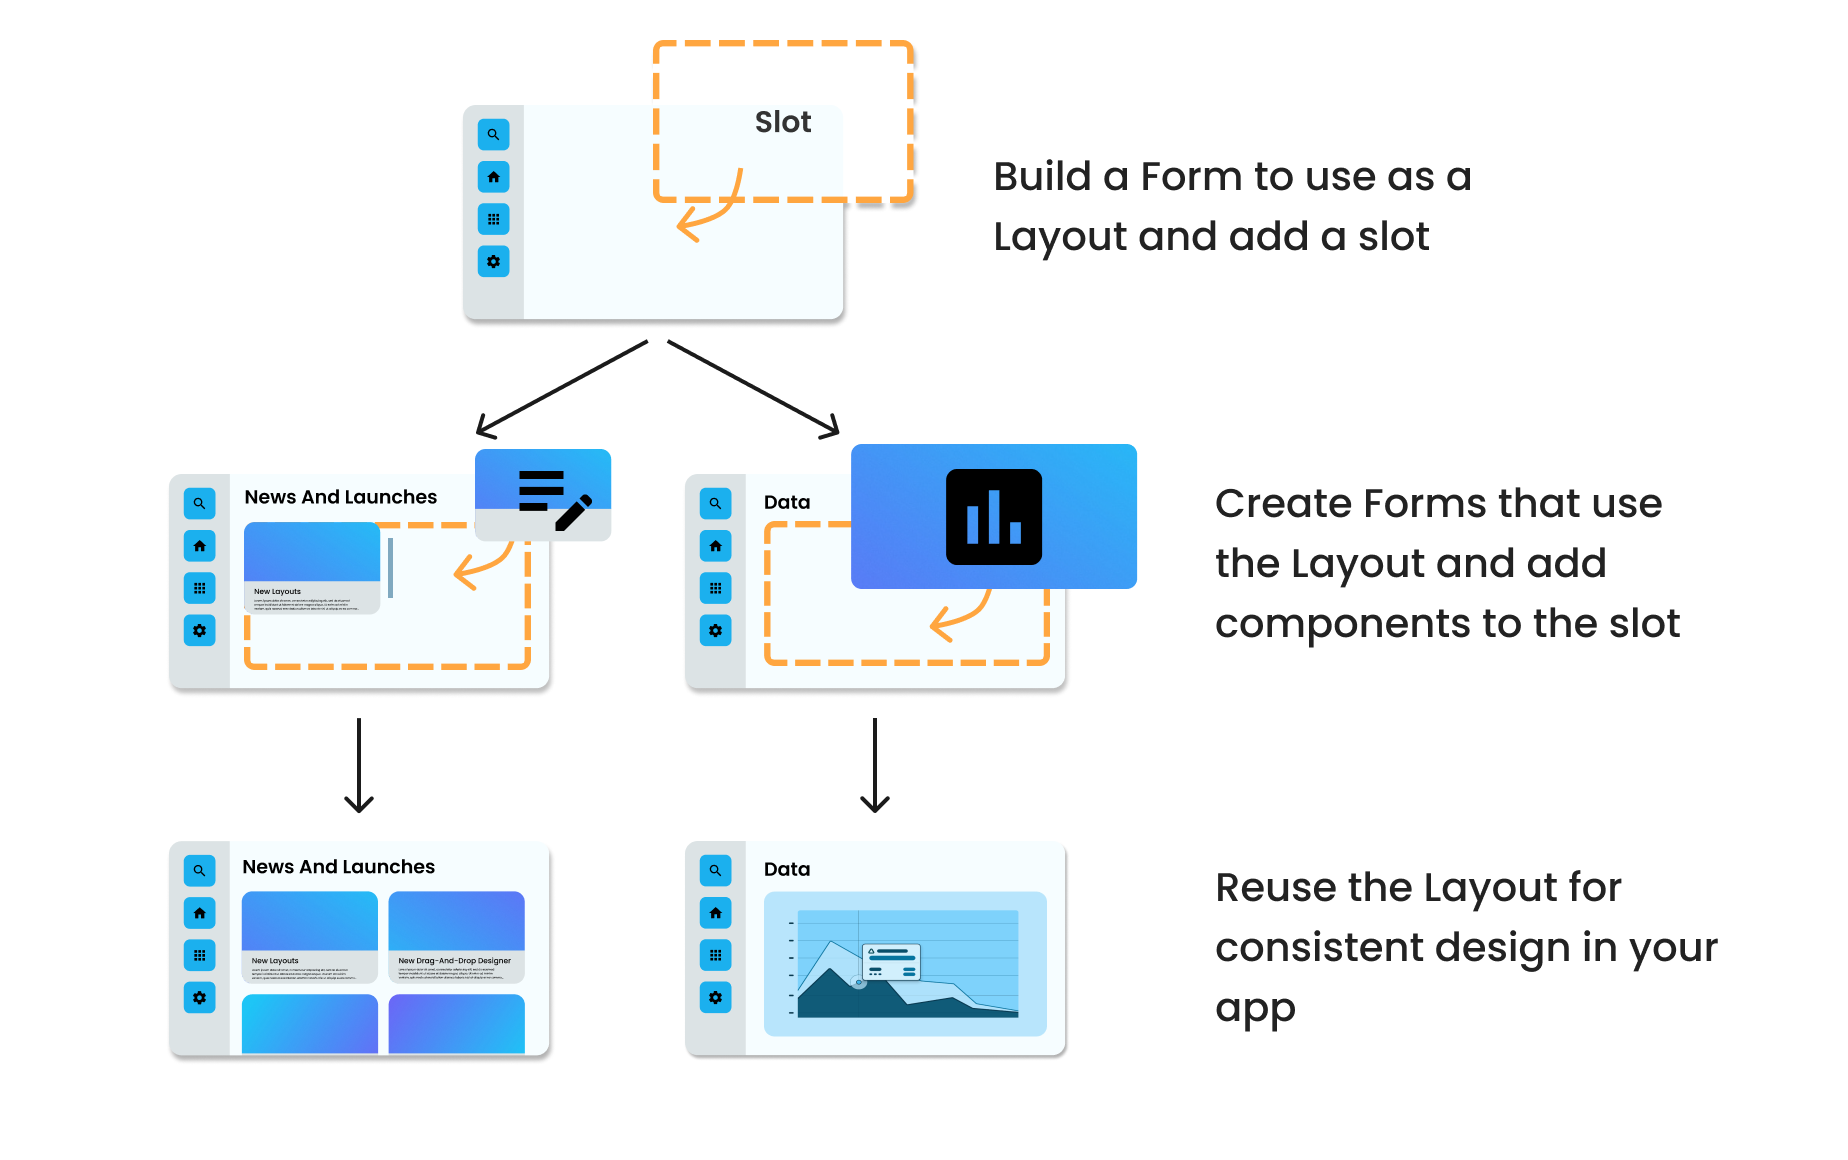
When you create a multi-page app, there will be parts of the UI that will be shared across multiple Forms - for example, a navigation bar. Layouts let you create user interfaces that multiple Forms can use. I’m going to show you how to create one.
In this tutorial, we’ll build a homepage Layout with a navigation sidebar, and we’ll use it as the Layout for the other Forms in our app. When a user clicks a link in the sidebar, the app will open a new Form that has different content but the same navigation menu.
The final app which uses a Layout to navigate between pages
What are Layouts?
In Anvil, a Layout is a Form that can be used by other Forms to define their structure. A Layout Form can have components added to it. Any Form using the same Layout will all have those same components. When you create a Layout Form, you add Slots into the design. Slots define where Forms using the Layout can add components.
Tutorial Prerequisites
To follow along this tutorial you will need to know basic Python and you should know the basics of Anvil. If you’re new to Anvil, why not try our introductory Feedback Form tutorial?
Contents
These are the steps that we will cover:
- Step 1 - Create an Anvil app
- Step 2 - Create a homepage Layout
- Step 3 - Create a navigation menu
- Step 4 - Add a slot
- Step 5 - Use the Layout
- Step 6 - Wire up the navigation menu
- Step 7 - Make the link look selected
- Step 8 - Test the app
- Step 9 - Optional: Change the homepage Layout
Step 1 - Create your Anvil app
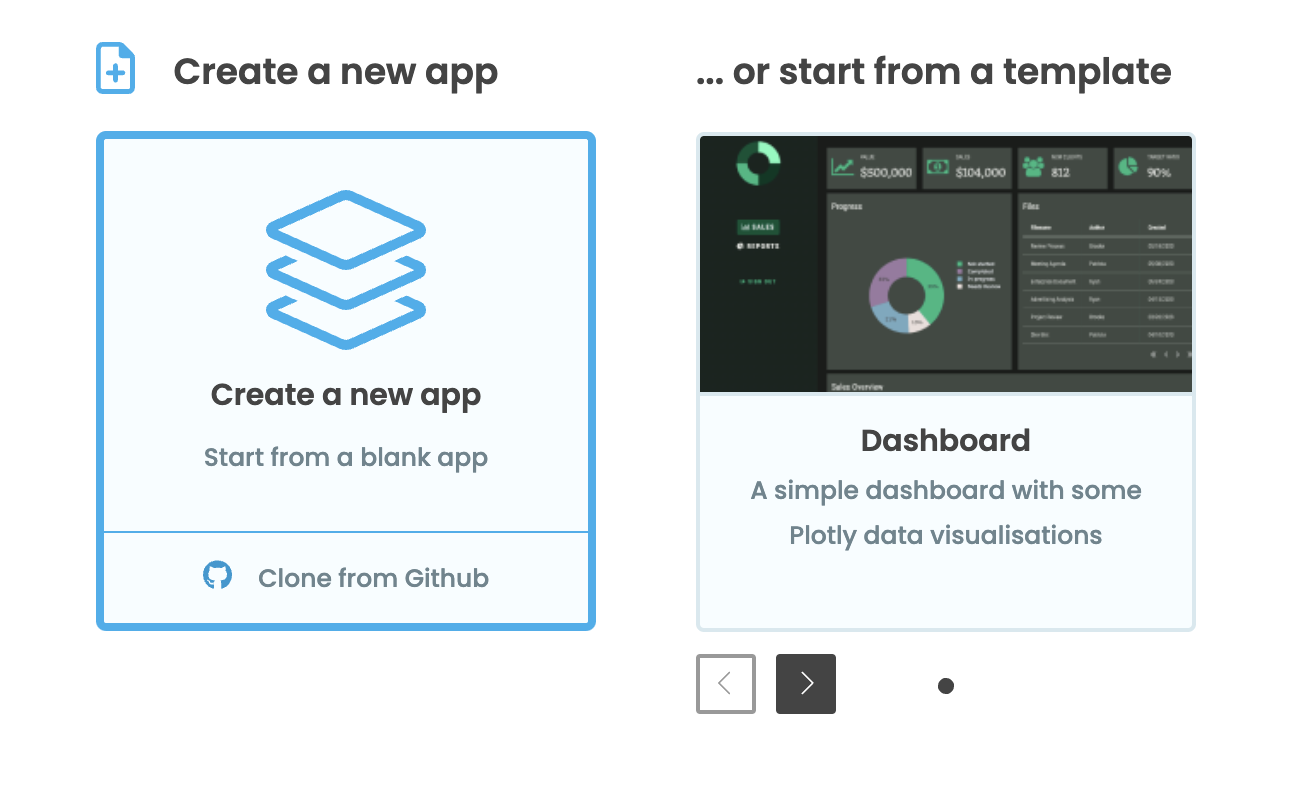
Log in to Anvil and click ‘Blank App’.
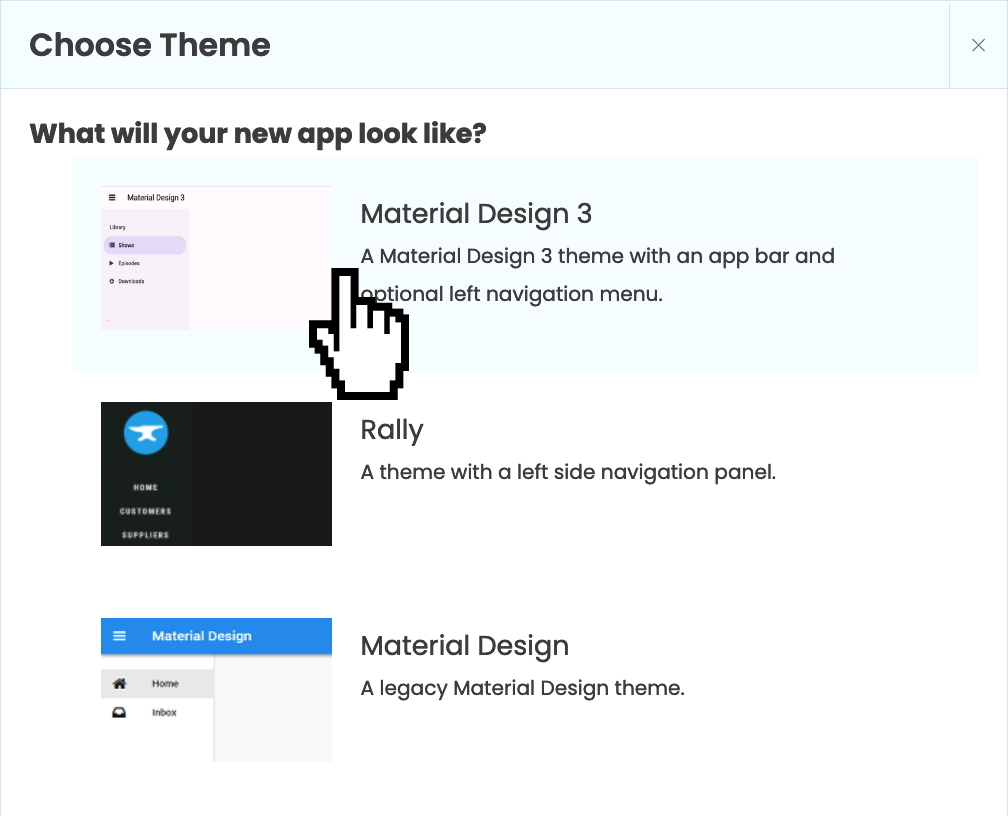
When you’re asked what you’d like your page to look like, select Material Design 3:
Click on the name at the top of the screen and give your app a name.
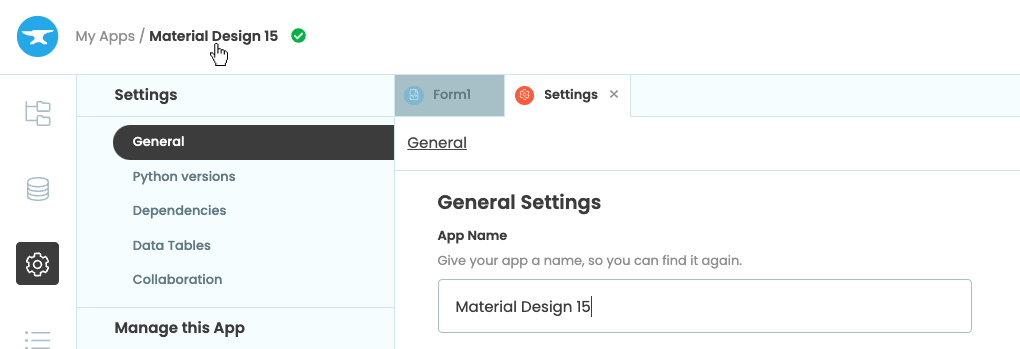
Rename your app by clicking on the title
Step 2 - Create your homepage template
Our app already has a Form added called Form1, which we’ll turn into our homepage Layout. Open Form1 and change the name to “Homepage”:
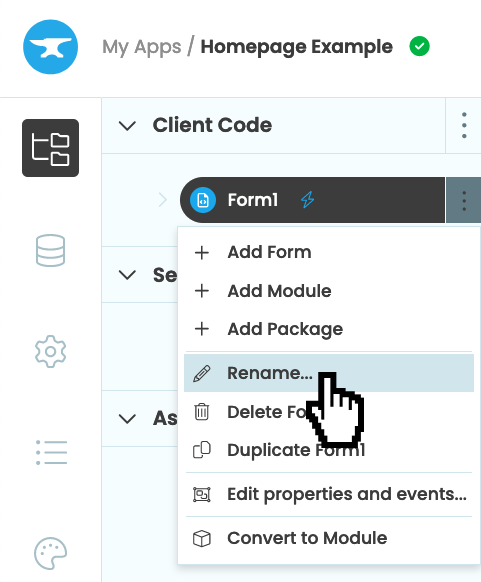
Rename Form1
Then, click the three dot icon above the form and select “Use as layout”:
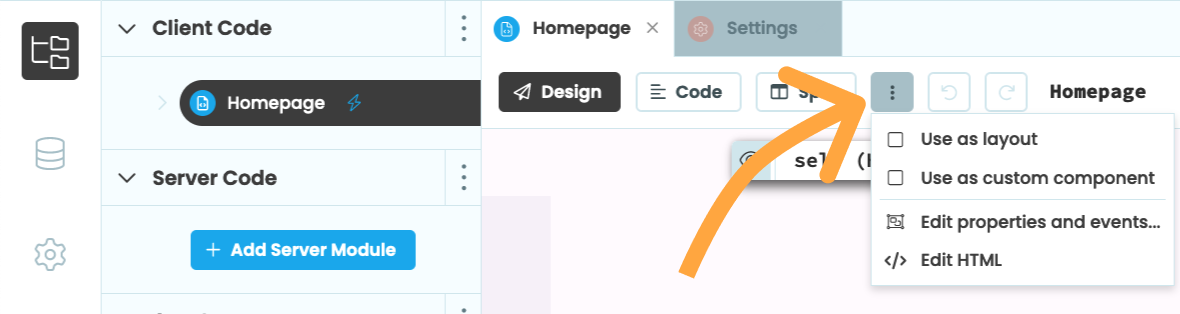
Use Homepage as a Layout
Let’s add a description of our Layout in the form’s configuration menu. This information shows up when deciding which template a new form should use. Click the three dot icon above the form again and select “Edit properties and events”. Then add a description.
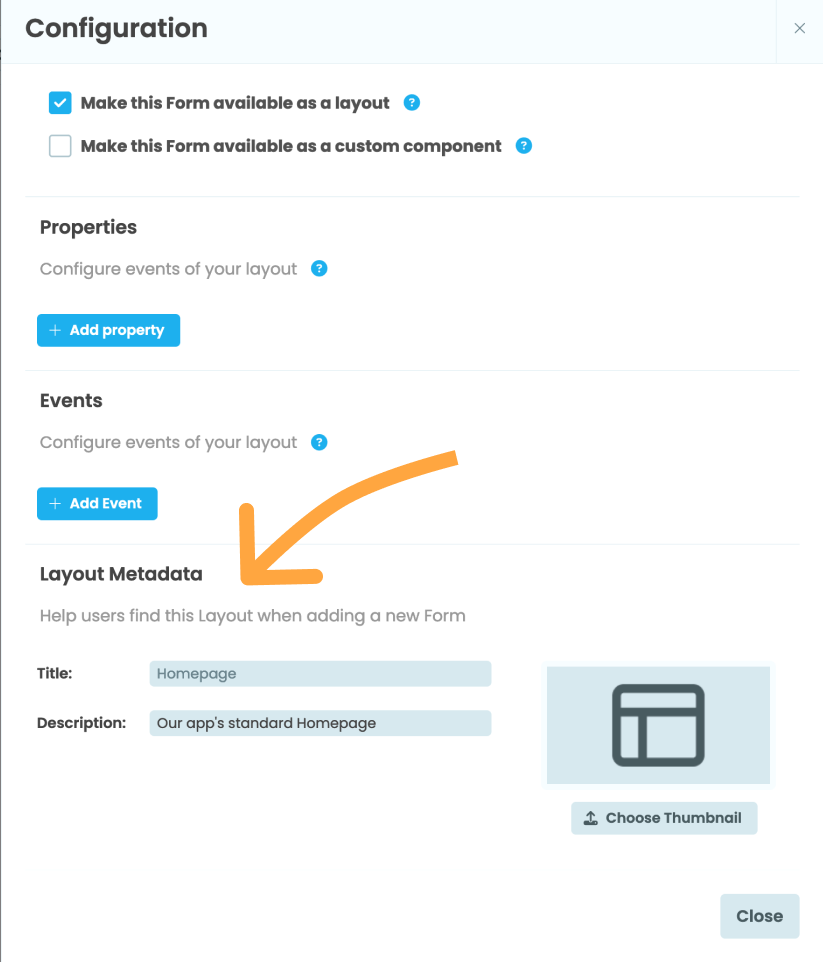
Editing the Homepage’s metadata
That’s great. Next up, let’s build a navigation UI in our layout for other forms to inherit.
Step 3 - Creating our navigation menu UI
Let’s start by adding a Column Panel into the sidebar of our Form.
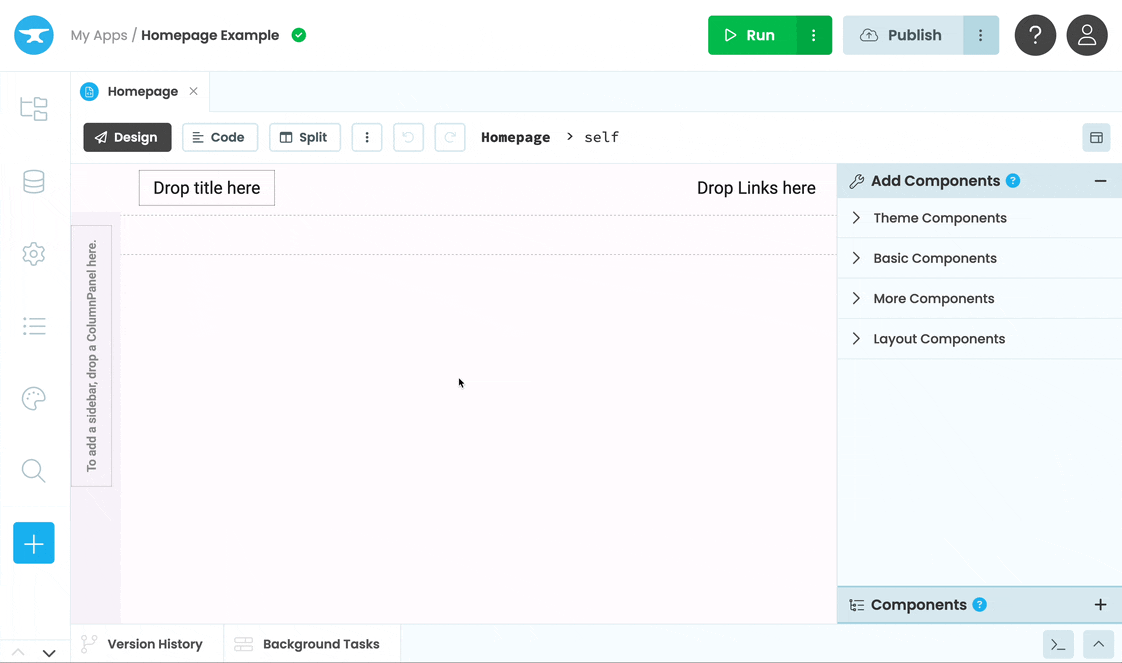
Adding a column panel to our form
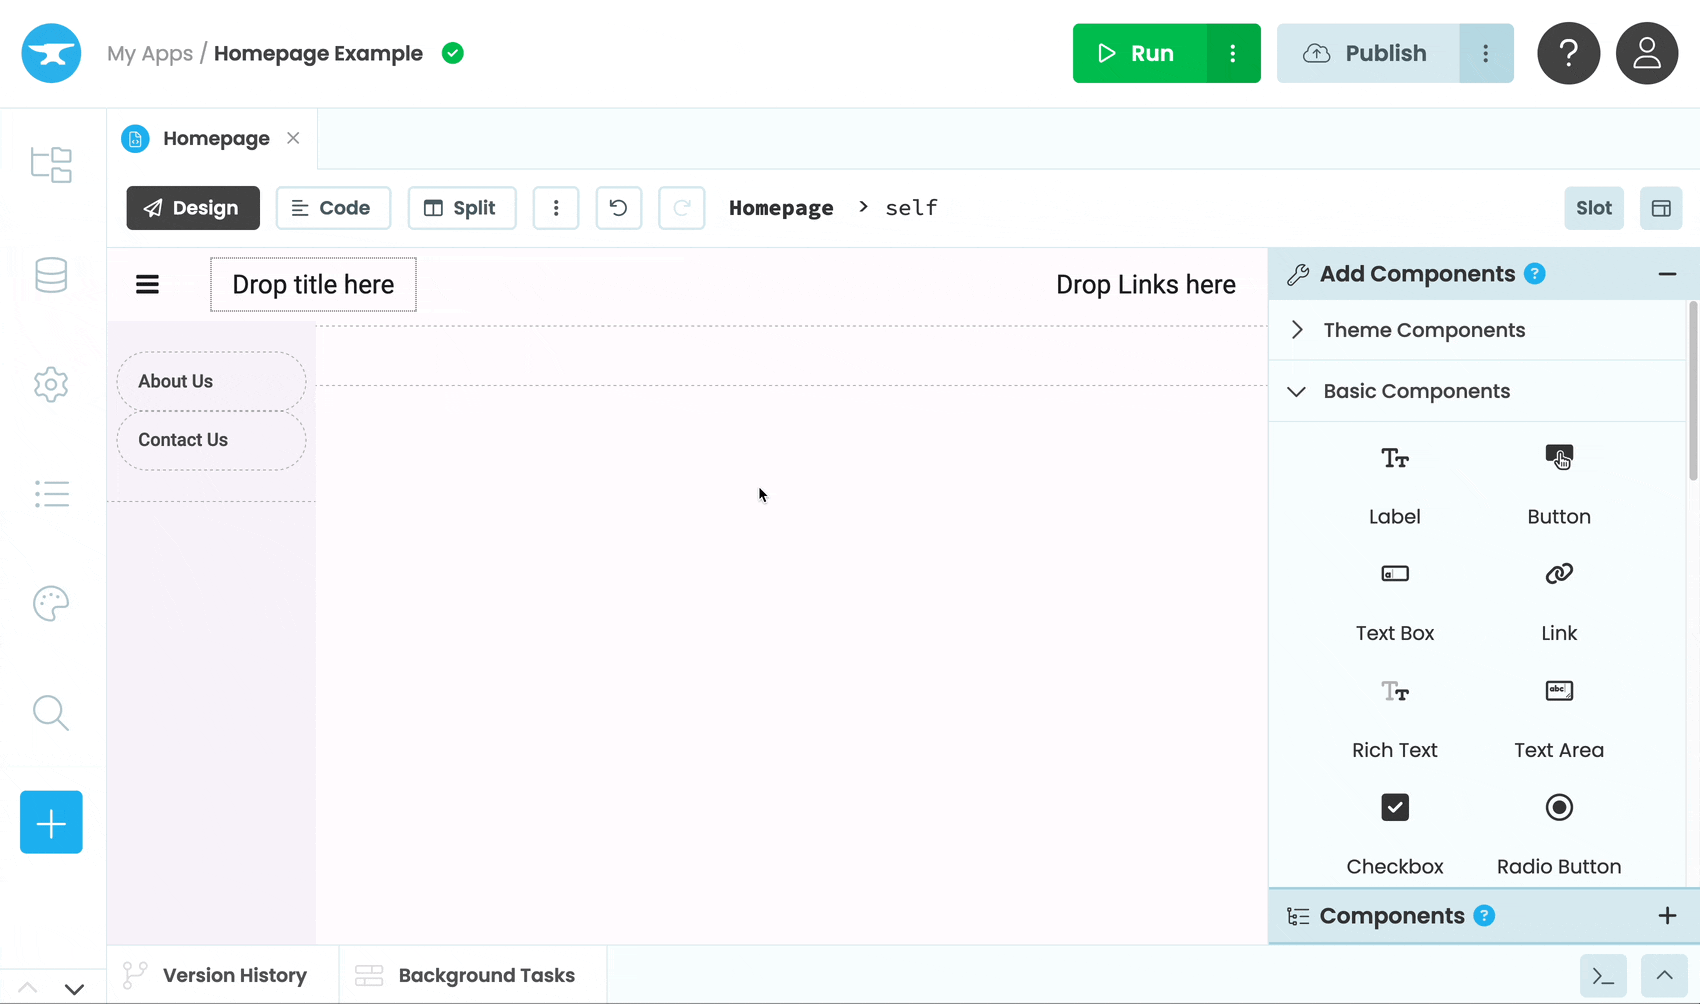
Then we can drag two Link components into the Column Panel - one for each Form that will use this Layout. We’ll change the first link’s text to “About Us” and the second link’s text to “Contact Us”.
Adding links to our nav bar
Lastly, let’s give our app a title by dragging a Label into the title section on the top left of the Homepage Form. Then change the Label’s role to Title.
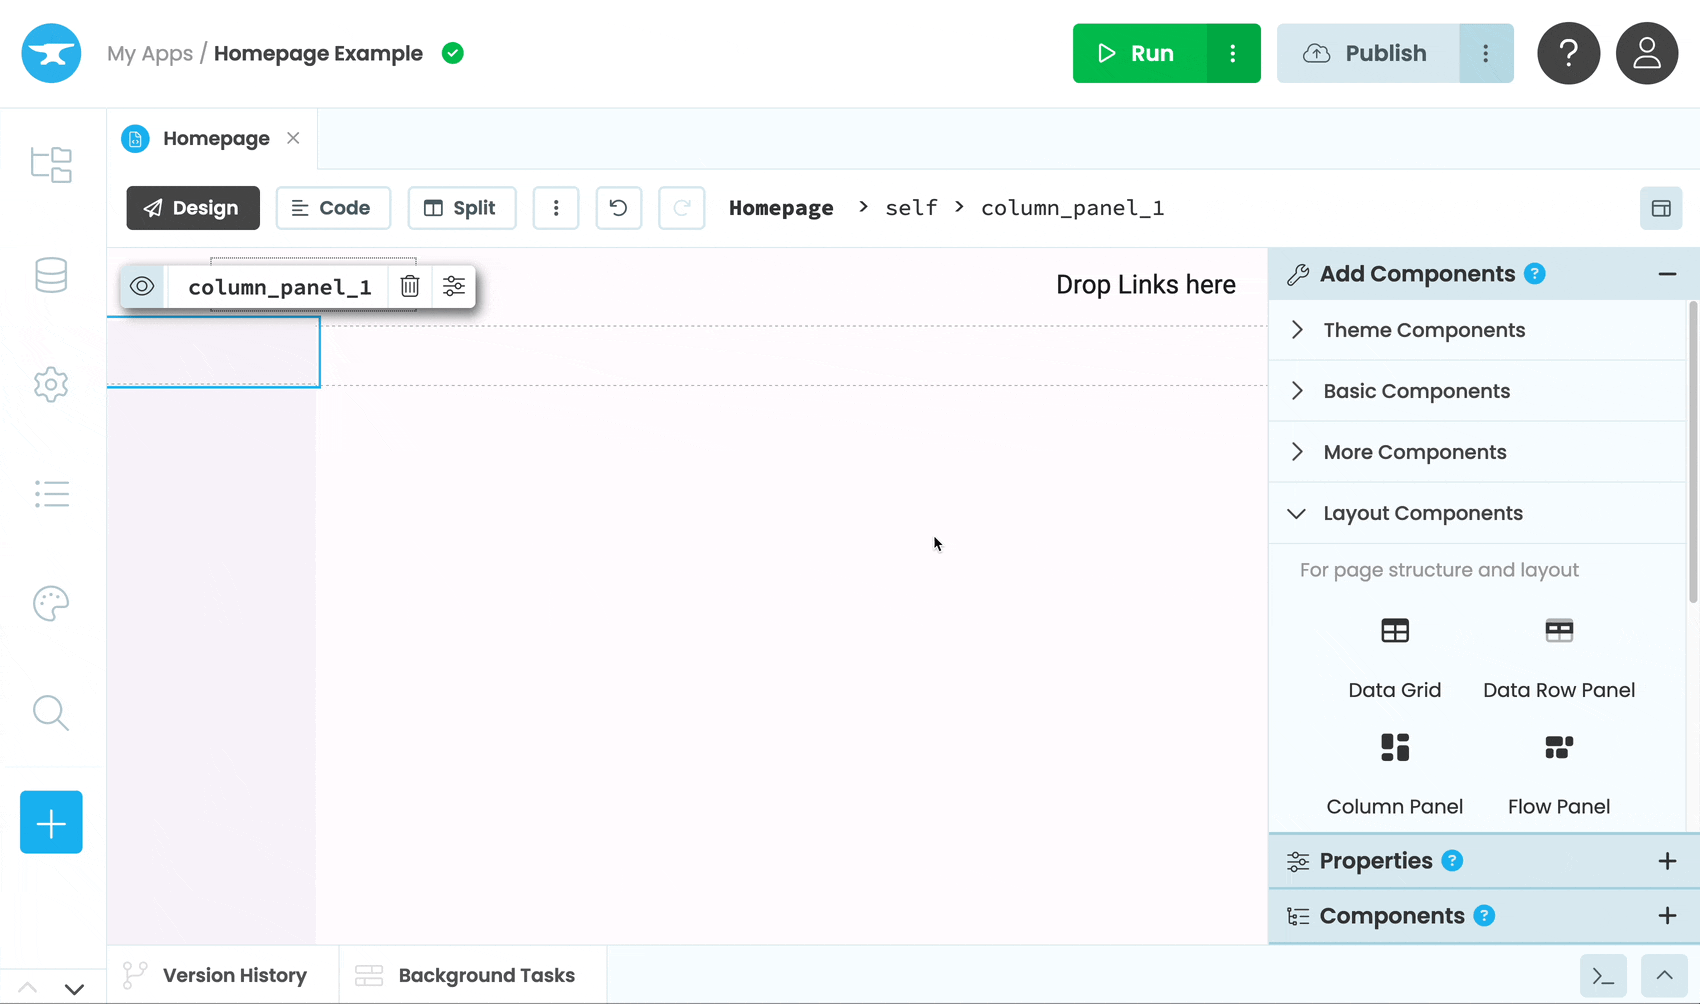
Step 4 - Adding a slot
Now that we’ve built the Layout we want our other Forms to use, let’s add a Slot. Slots define where components can be inserted by Forms that use the Layout.
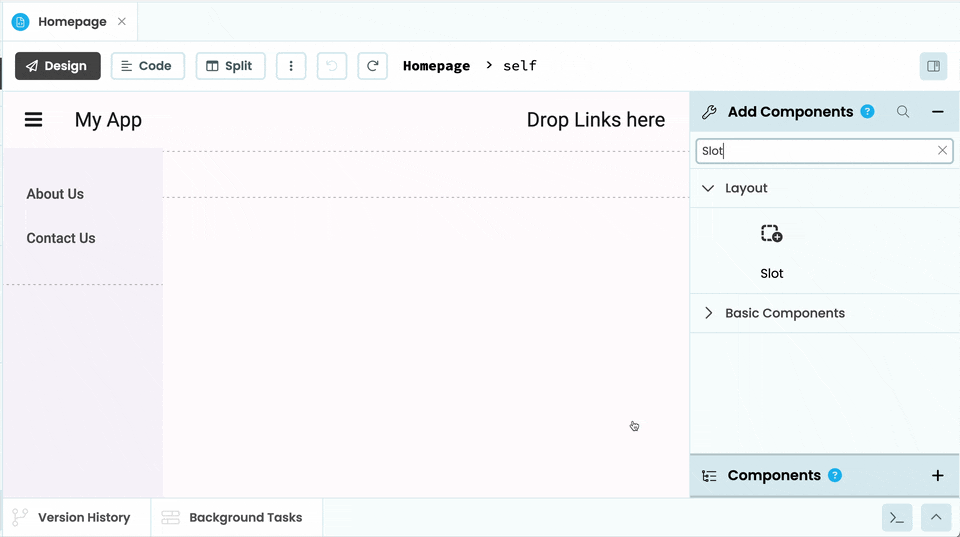
We’ll add a Slot to the content_panel of our Homepage by dragging in a “Slot” from Toolbox on to the right of the designer.
Each Slot has a name. We can rename our slot using the object palette. Let’s call it main_slot.
Adding and renaming a Slot
Great, our Layout’s UI is complete. Now it’s time to create some Forms that use our Layout.
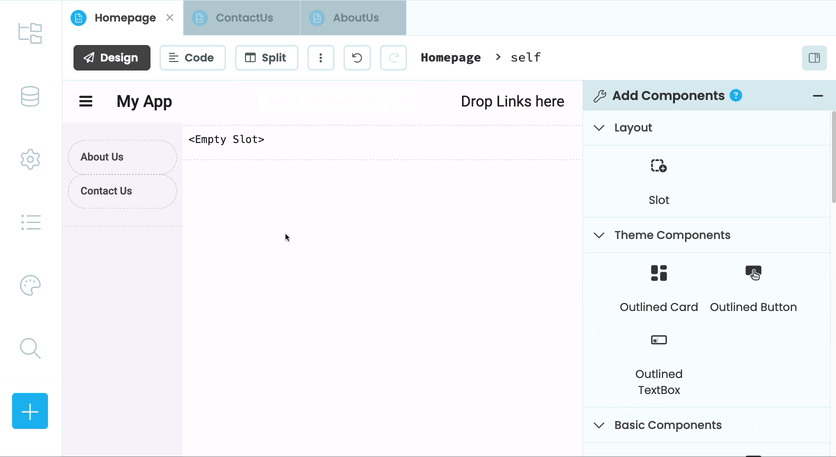
Step 5 - Using the Layout
We’re now going to create two Forms called “AboutUs” and “ContactUs” that use our Layout Form. Later, we’ll add click event functions to the Links we added in the previous step so that they open the corresponding Form when clicked.
First, we’ll create AboutUs by clicking “Add Form” in the App Browser.
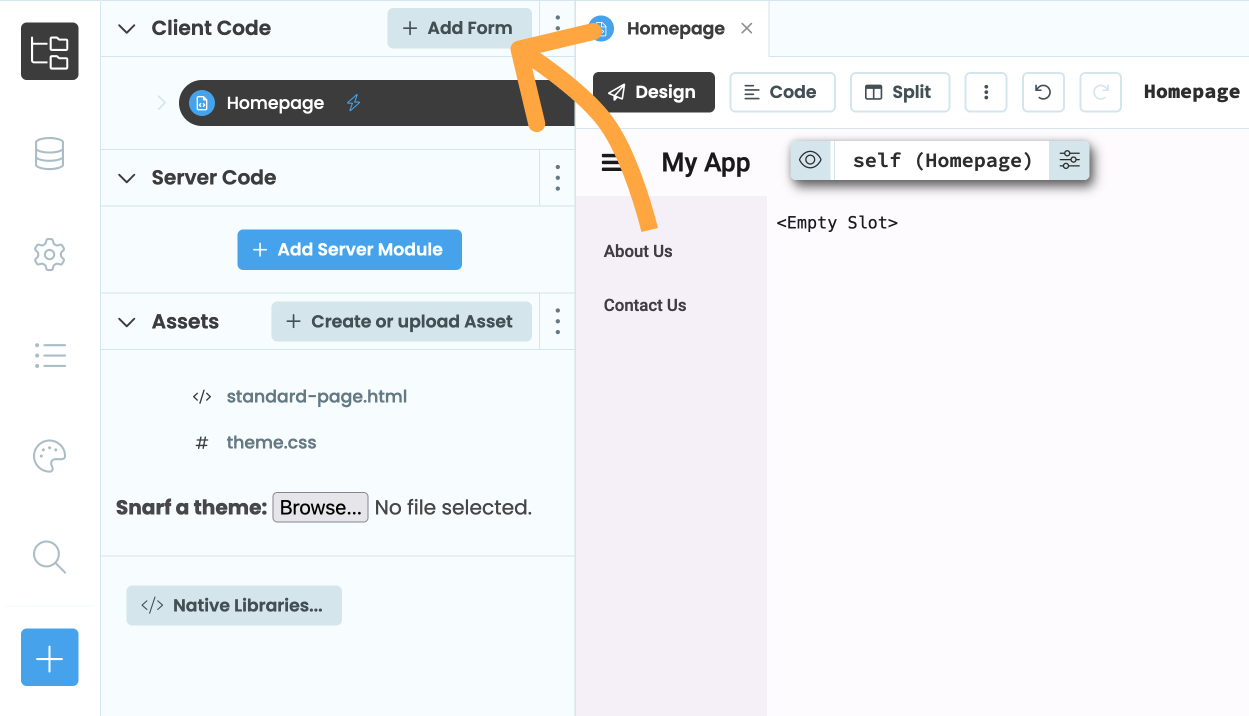
Then, select the Homepage.
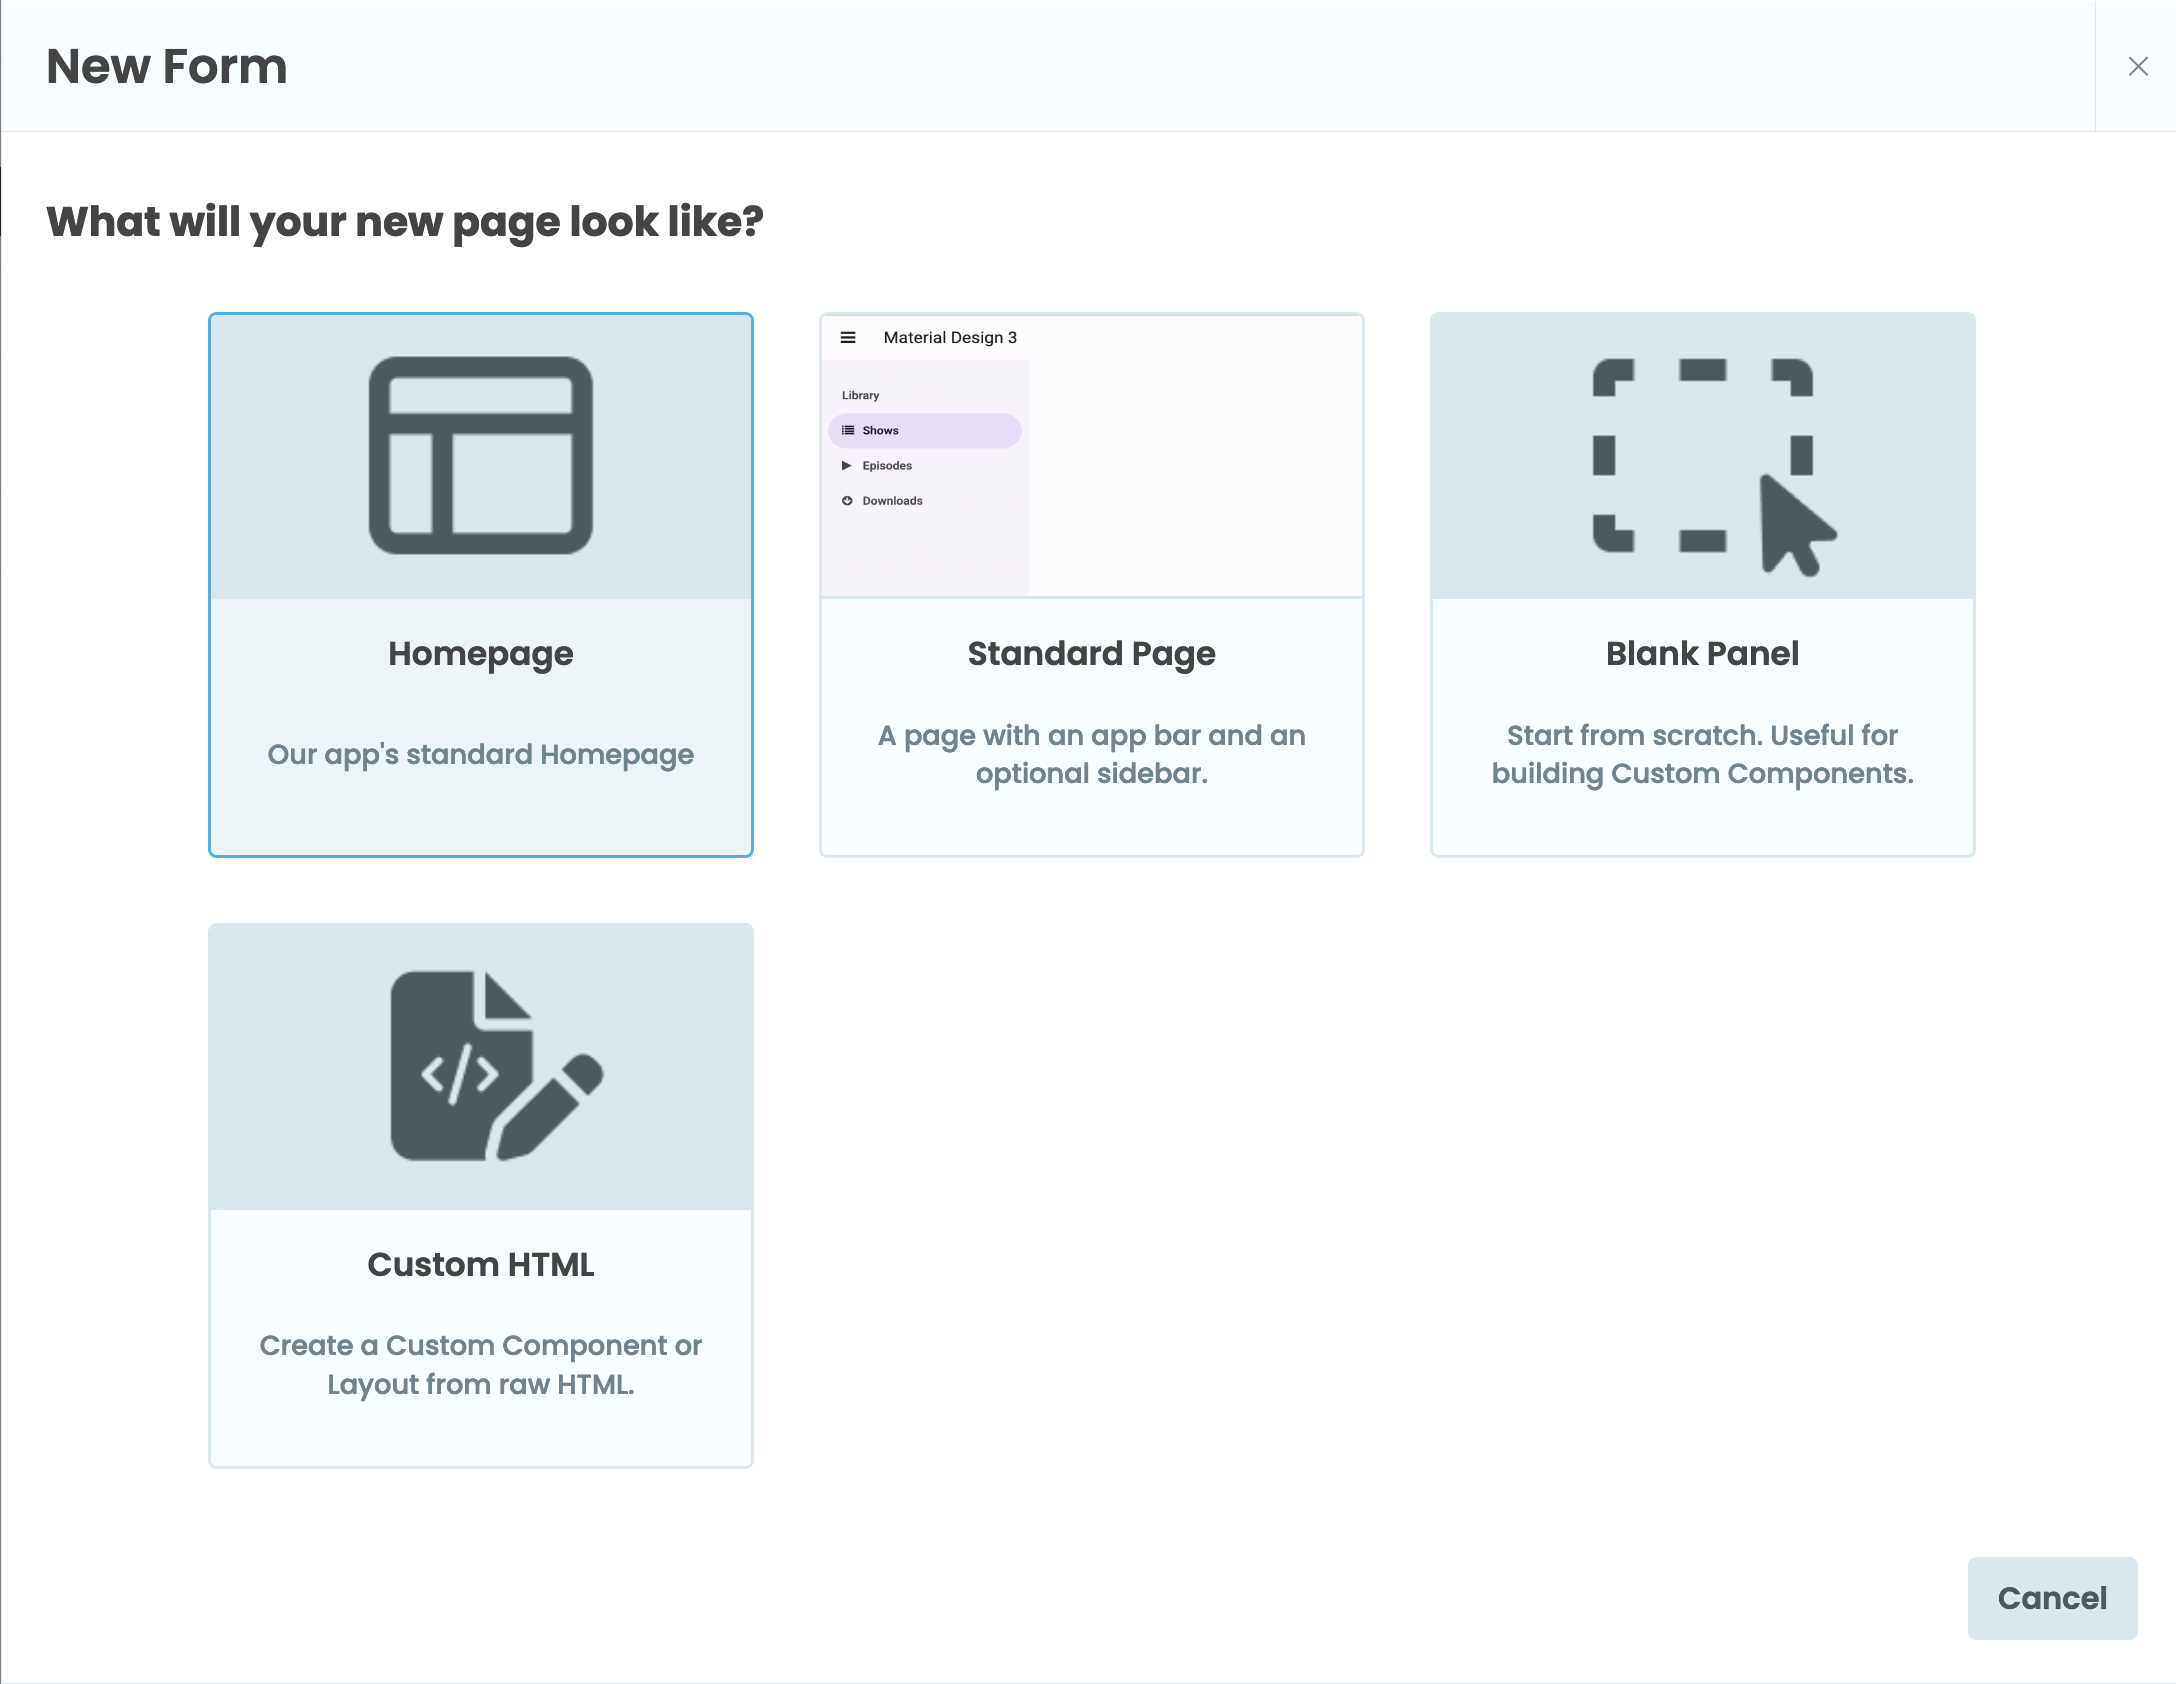
Select the Homepage template.
We can then rename the Form to “AboutUs”, the same way we renamed the Homepage Form.
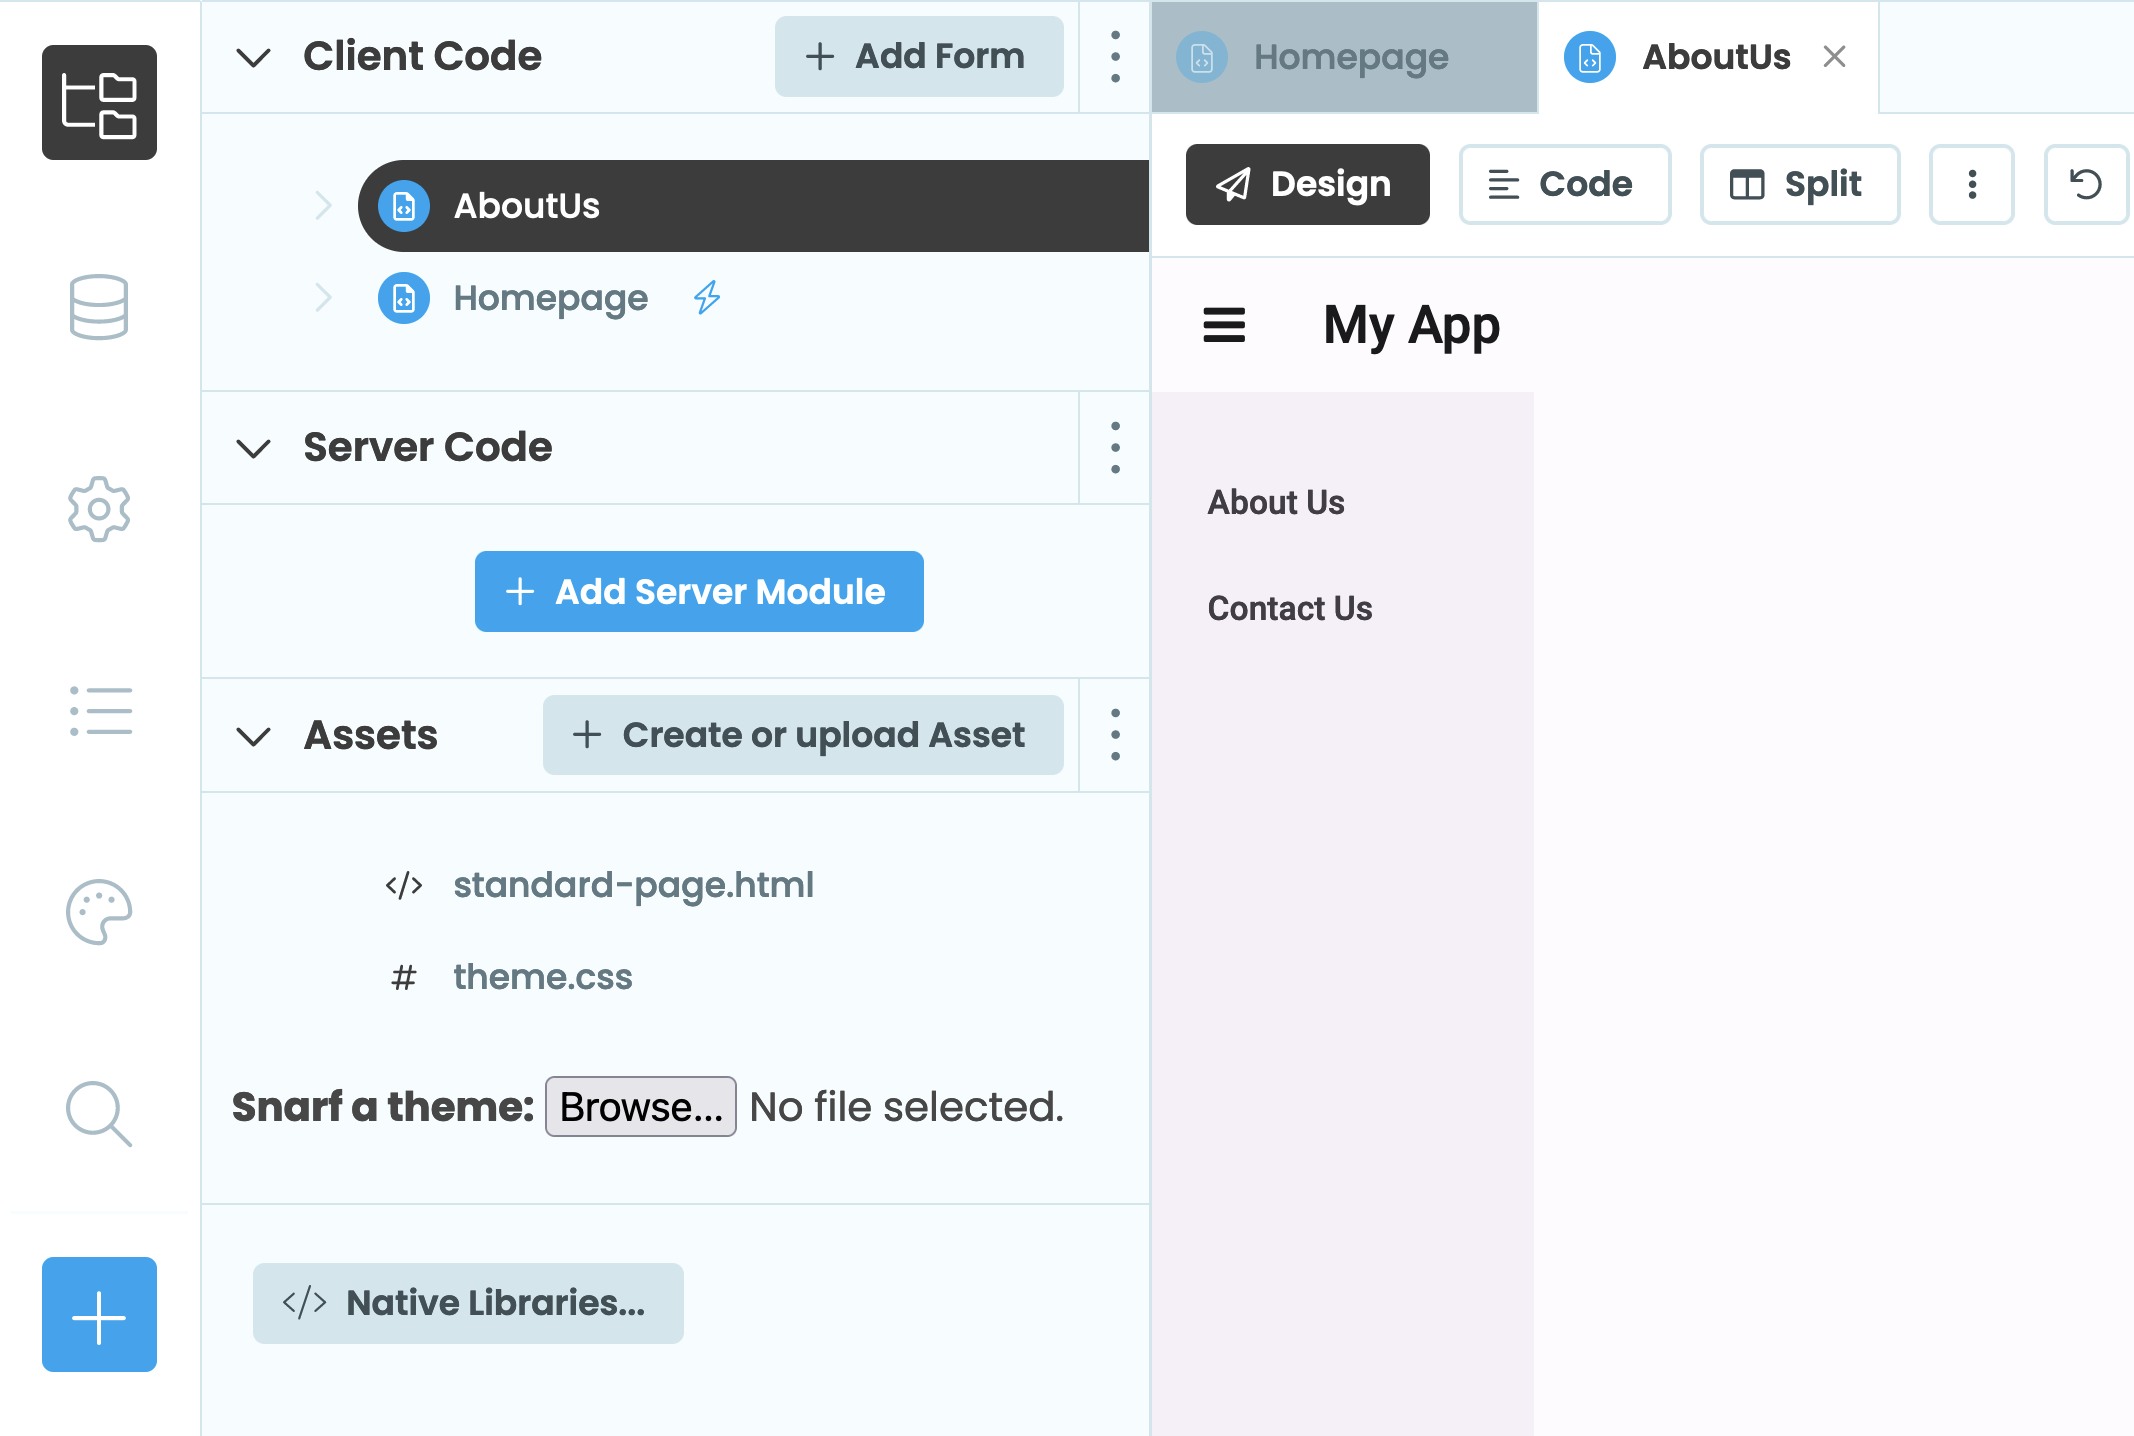
The app browser with the AboutUs page created.
Then, let’s add a label to the main slot and change its text.

Repeat this process for the ContactUs page, adding another label with some different text.
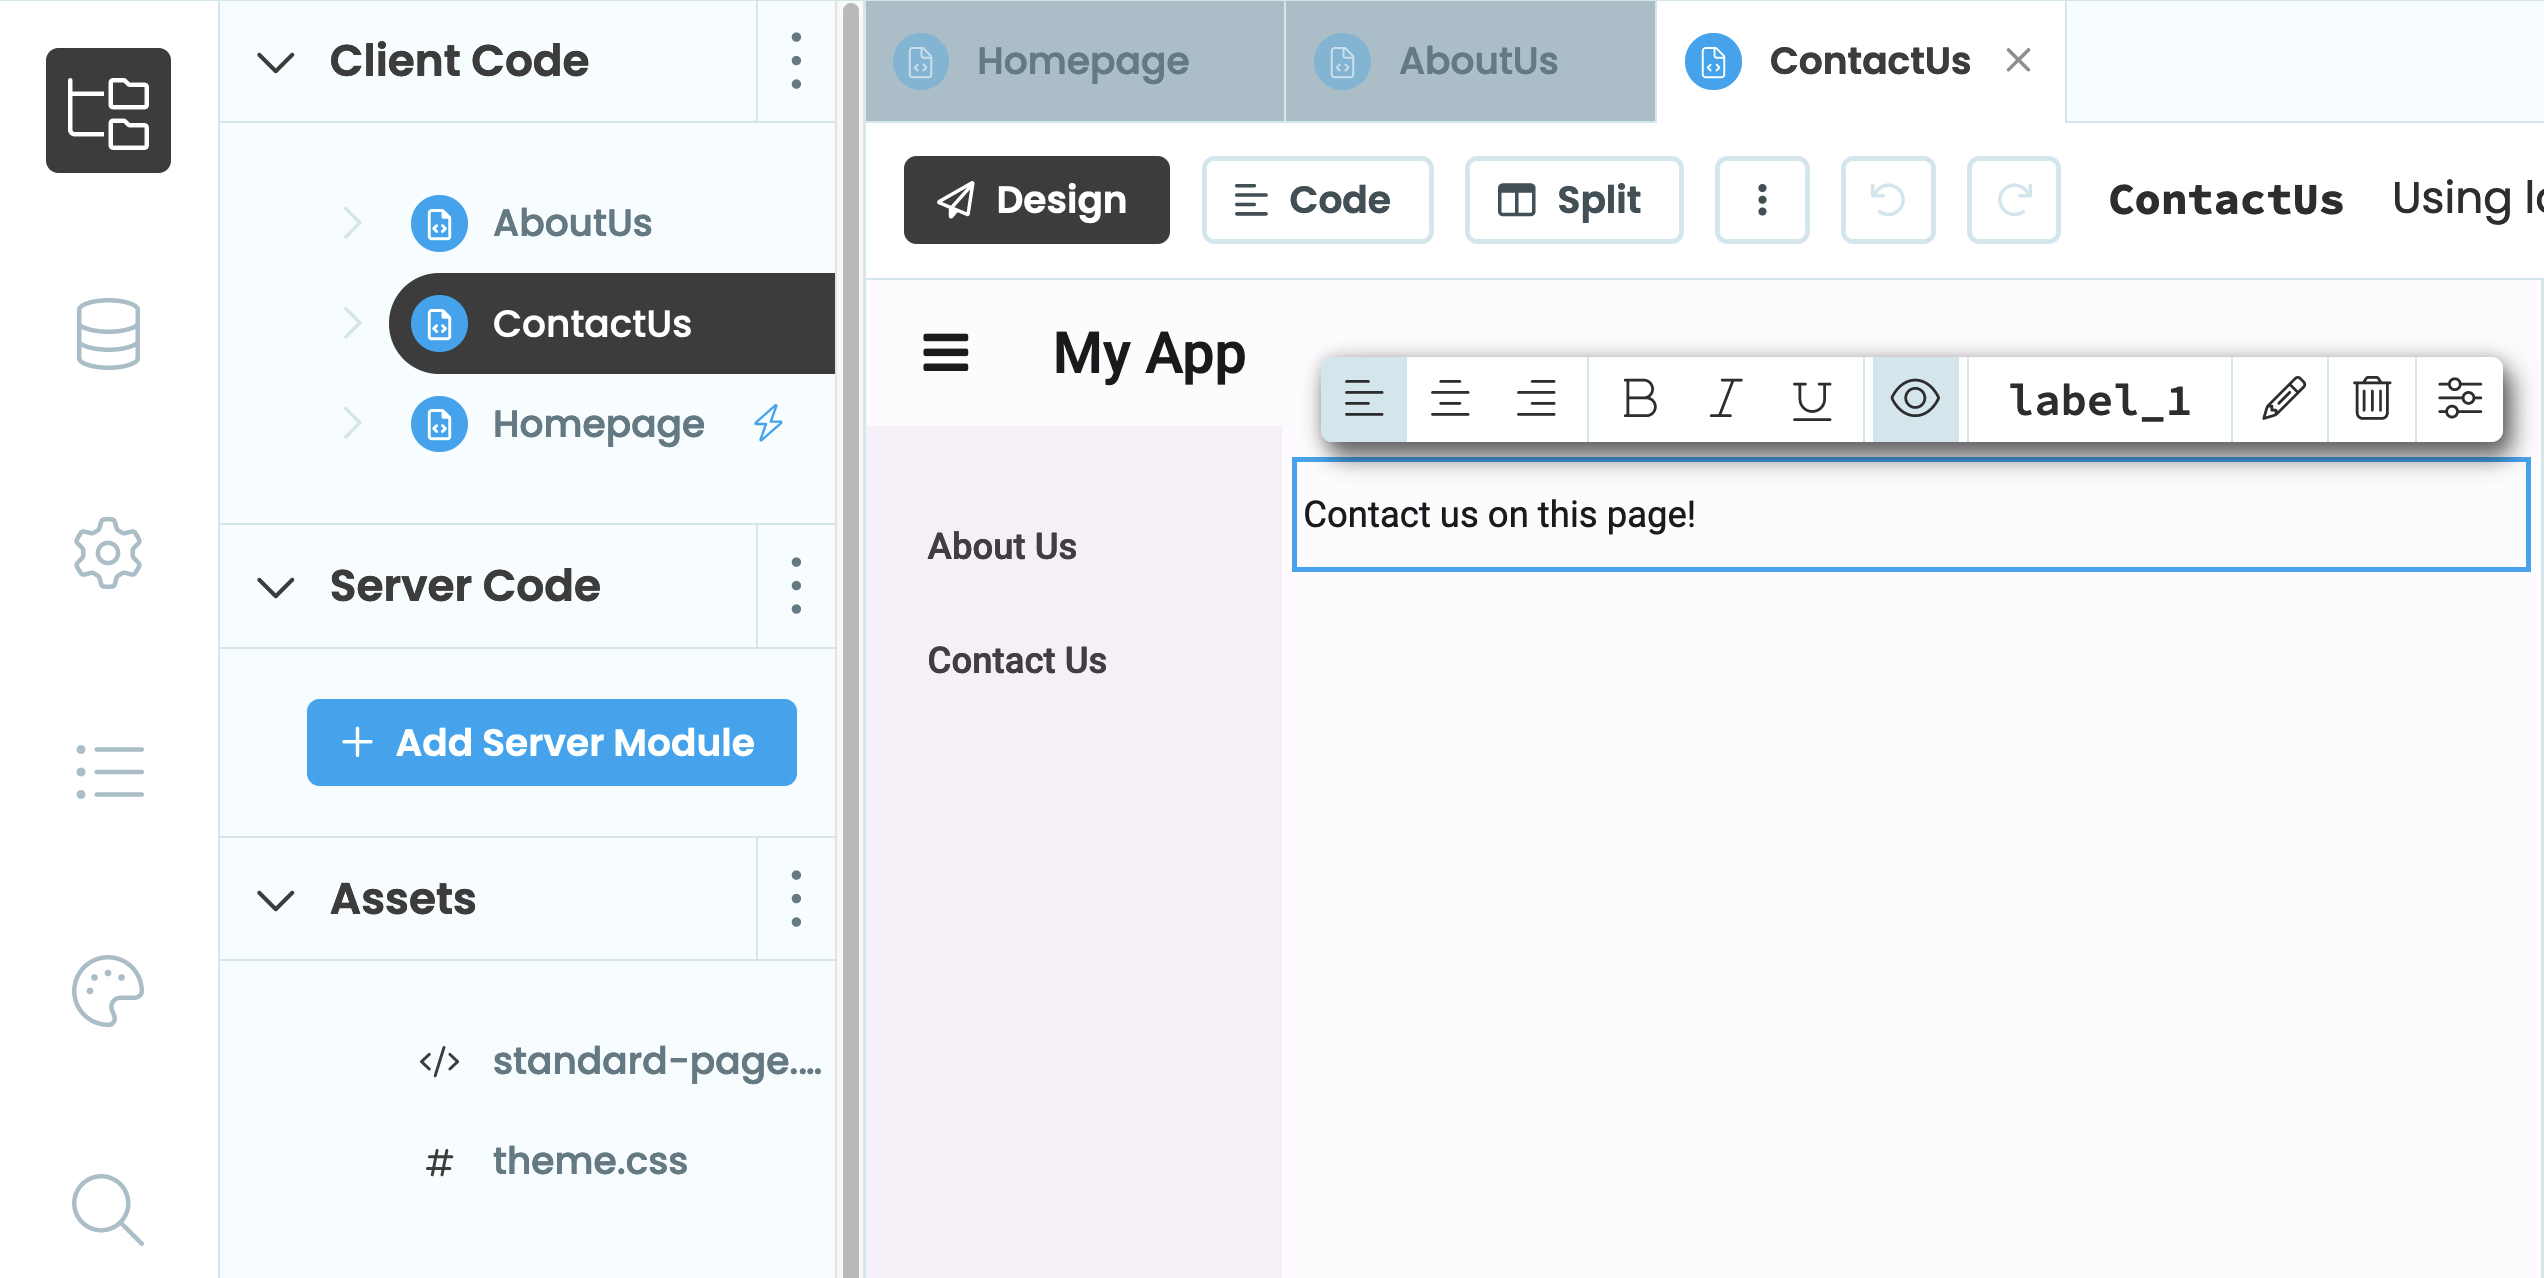
The Contact Us form with some different text
Now that we have two Forms using our Layout, all we have to do is wire up the sidebar links so they open the corresponding Form when clicked.
Step 6 - Wiring up the navigation menu
Open the Homepage Form and select the “About Us” link in the navigation menu. Let’s first rename the Link so that it’s easier to reference in code. In the floating Object Palette, click on link_1 and rename the Link to about_us_link. Next, select on click event, this will open up the code view for our Form and create an event handler function for us.
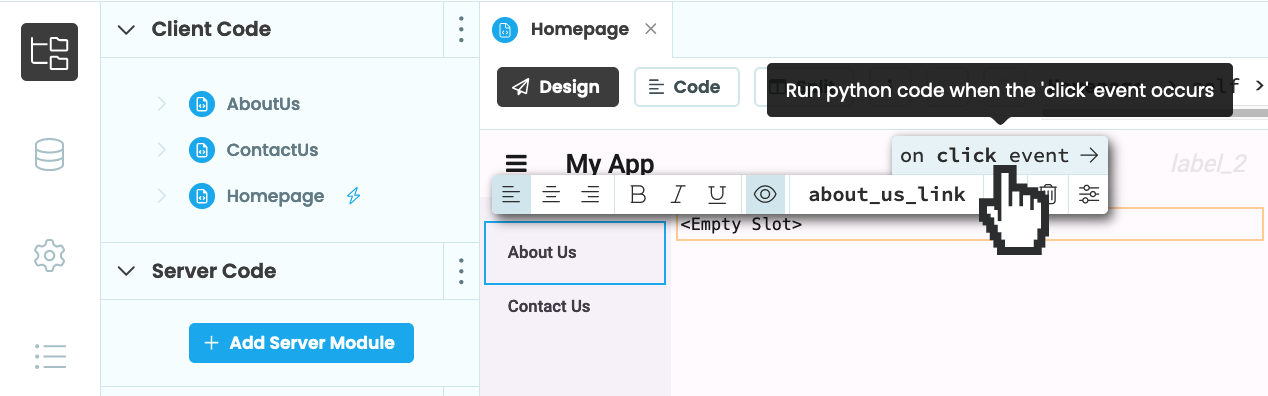
Inside the event function, we’ll use the open_form function to open our AboutUs page by passing in the name of the Form as a string.
def about_us_link_click(self, **event_args):
  """This method is called when the link is clicked"""
  open_form('AboutUs')
Now, every time the “About Us” link is clicked, it will load the corresponding page. We will also do the same for the “Contact Us” link by renaming the link, adding the click event and opening the relevant Form in the function.
Lastly, let’s create a reset_links function for the Forms using our template to use. Create the function and inside, set every Link component’s role to a blank string:
def reset_links(self, **event_args):
  self.contact_us_link.role = ''
  self.about_us_link.role = ''
Step 7 - Making the Link look selected
Our final step is to make it so that when we click one of the links in our navigation menu, it looks selected. This will make it easier to tell what page we are already on.
Select the AboutUs Form in the designer and in the Events section of the properties panel, click the  blue button next to the “Show” event.
Adding a Show event handler to our form
This will open up the code view and add a function that will run every time the AboutUs Form is shown.
Inside the function, we can interact with the Layout our Form is using with self.layout. This gives us the ability to call functions defined in our Layout and change the properties of the Layout’s components. Let’s reset the links and set the role of the Homepage.about_us_link to be “selected”.
def form_show(self, **event_args):
    """This method is called when the form is shown on the screen"""
    self.layout.reset_links()
    self.layout.about_us_link.role = 'selected'
Repeat this process for ContactUs.
Step 8 - Testing the app
To see the app in action, click the “Run” button at the top of the screen:

Click each link in the sidebar, and the relevant page should appear using our Layout.
Navigating between our different Forms
Step 9 - Optional: Changing the Homepage Layout
One of the best things about Layouts is making a change to the Layout is instantly propagated to all forms using the Layout. So, why not make some changes to our homepage form and see how it affects the other forms. You could:
- Add another link to the navigation sidebar and wire it up
- Add a slot to the sidebar in
Homepageso that other Forms using the Layout can add more links to the navigation menu - Chain Layouts together. Try creating an “Admin” page which uses the
HomepageLayout and, in turn, make that a Layout. The admin page could have its own naigation menu inside the homepage’s main slot with links for “Profile” and “Contact Preferences”.
Clone the App
You can open the source code for the finished Anvil app here:
More about Anvil
If you’re new here, welcome! Anvil is a platform for building full-stack web apps with nothing but Python. No need to wrestle with JS, HTML, CSS, Python, SQL and all their frameworks – just build it all in Python.
Want to build an app of your own? Get started with one of our tutorials:
Build Database-Backed Apps
Build a Simple Feedback Form
Build a Simple Feedback Form
Build a data-entry app, and learn the techniques fundamental to building any Anvil app. In this tutorial, you will:
- Build your User Interface
- Write client-side Python
- Write server-side Python
- Store data in a database
- Deploy your app