By
By Create beautiful graphics with Figma and use its API to display them in an Anvil app
Figma is an online tool for creating graphics and design components that makes it easy to collaborate on projects within your team. It also has an HTTP API which allows users to access information about their files - including images rendered from them - so that, if you want, you can allow any website access to the most up-to-date version of your Figma files.
Today, I’m going to show you how to do just that in Anvil, by building an app to showcase four images directly from my Figma account. The app will display a thumbnail for each image, and, upon request, will display an HD rendered version of that file, with one HD image per canvas in the file.
And, since we’re building it in Anvil, we’re only going to need Python to drive the API and display the images!
See the app here, or read on for a walkthrough of how it’s built.
Here’s we’ll do to build our web app:
- Create and deploy an Anvil app
- Set up our Figma account and create some images
- Make Figma API calls from our app
- Display our images in the app
1. Setting up an Anvil app
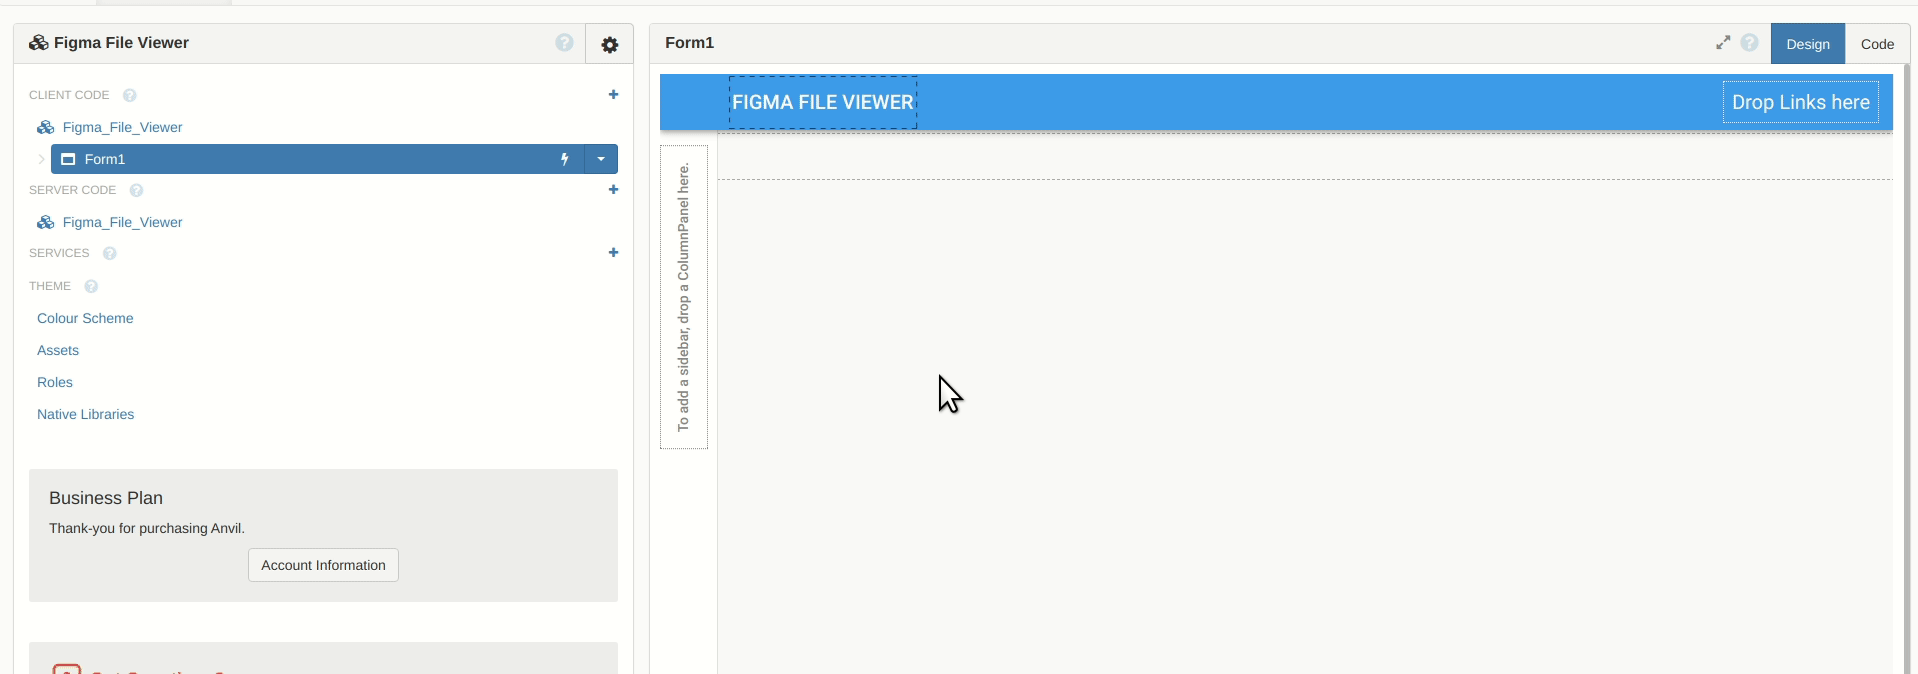
To get started, we just head to the Anvil App Editor, hit ‘New Blank App’ and choose ‘Material Design’. This gives us a layout where we can start dragging and dropping components - for now, we add a title:
Note: This guide includes screenshots of the Classic Editor. Since we created this guide, we've released the new Anvil Editor, which is more powerful and easier to use.
All the code in this guide will work, but the Anvil Editor will look a little different to the screenshots you see here!
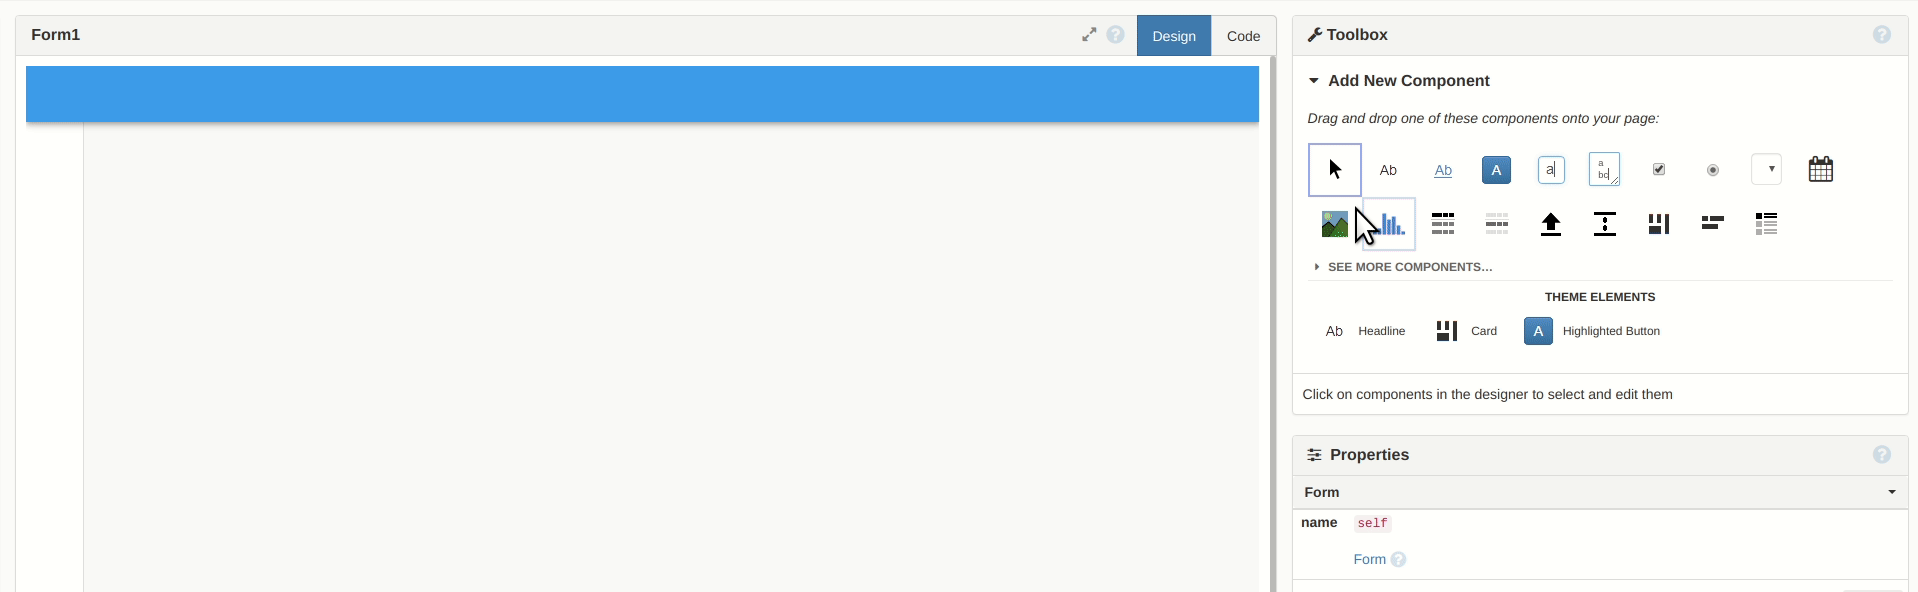
Adding a title to our new blank app.
Then, deploying the app is as simple as clicking ‘Publish App’ in the app’s settings and choosing a URL:
Choosing a URL and deploying our new app to it.
Now our app is available to anyone on the web - but it’s not very exciting yet! To start pulling things from Figma, we’ll need to set up an account there too.
2. Getting set up with Figma
We need to do a few things here. First, we’ll make an account, then create some images, and finally we’ll sort out the authentication details so we can use the Figma API from Anvil.
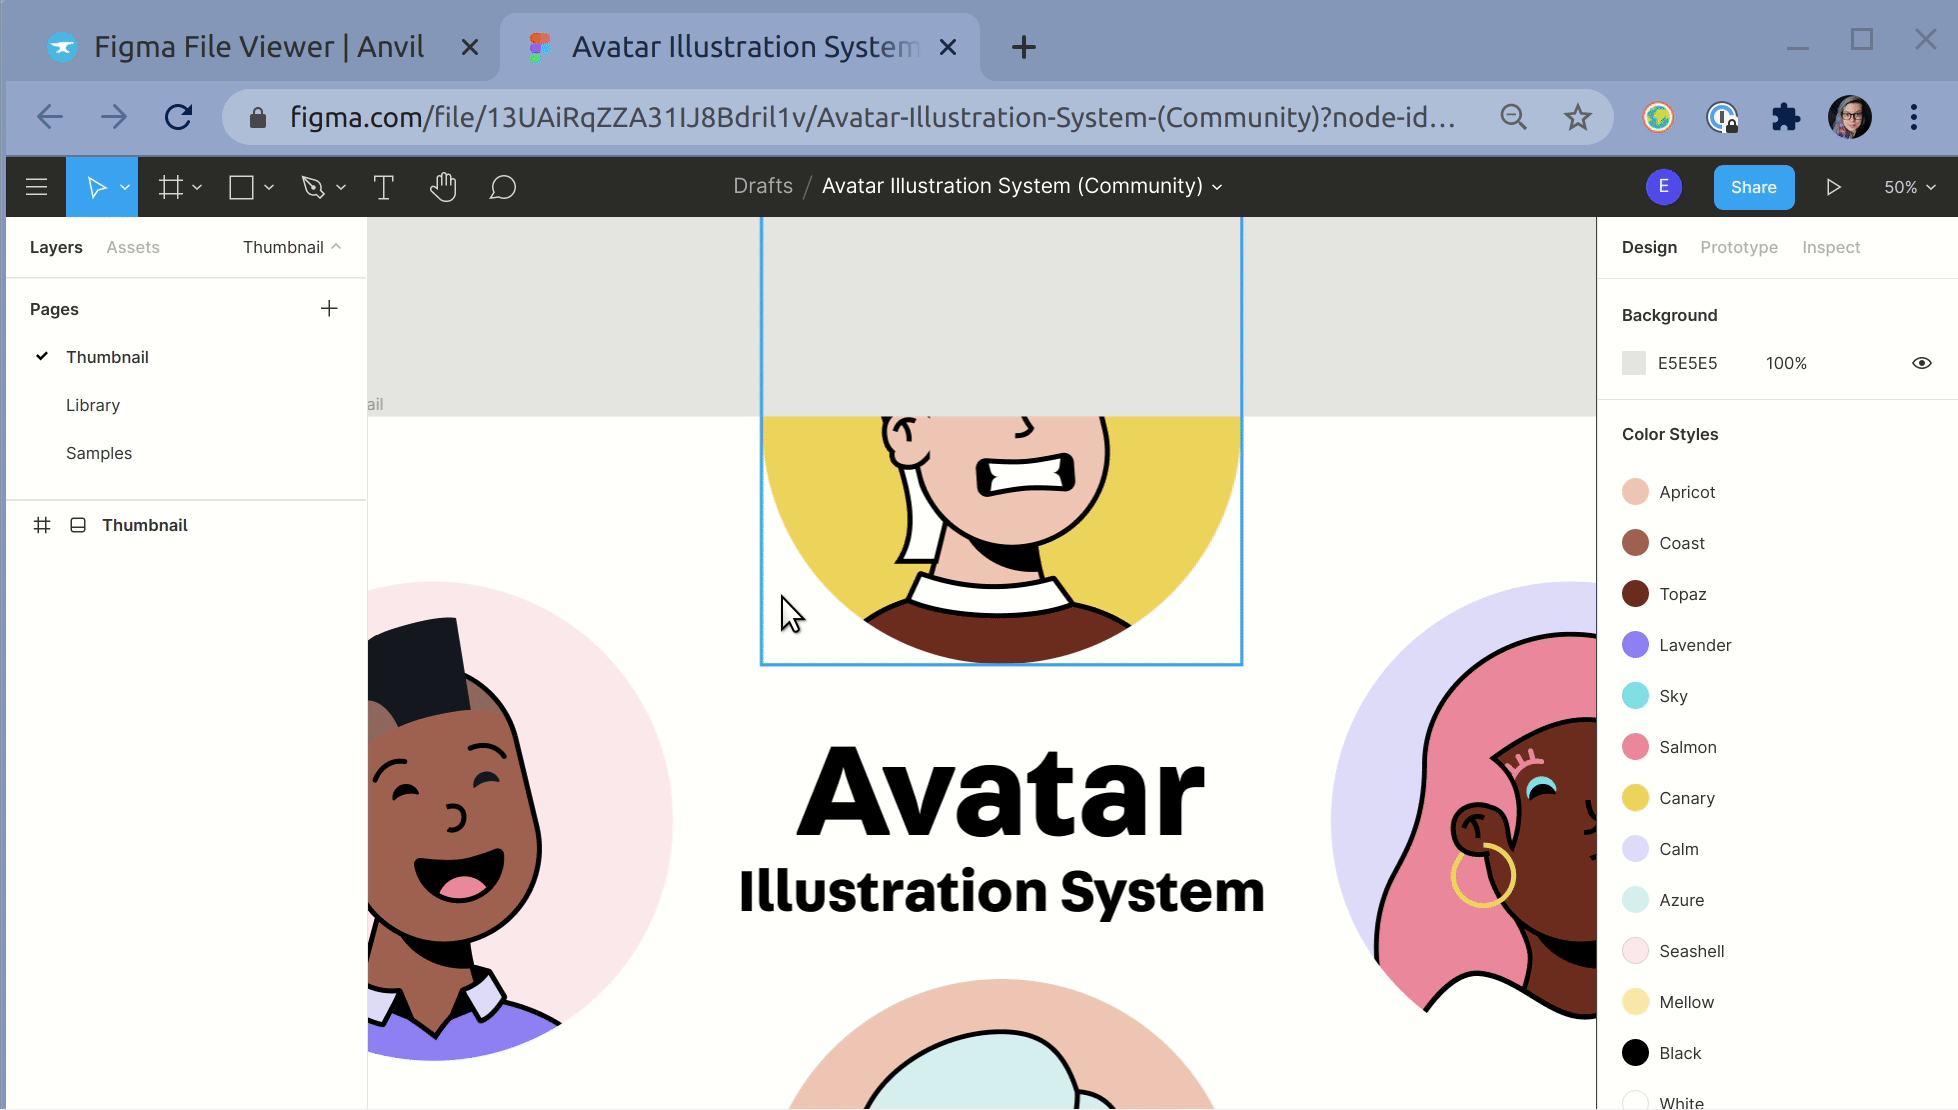
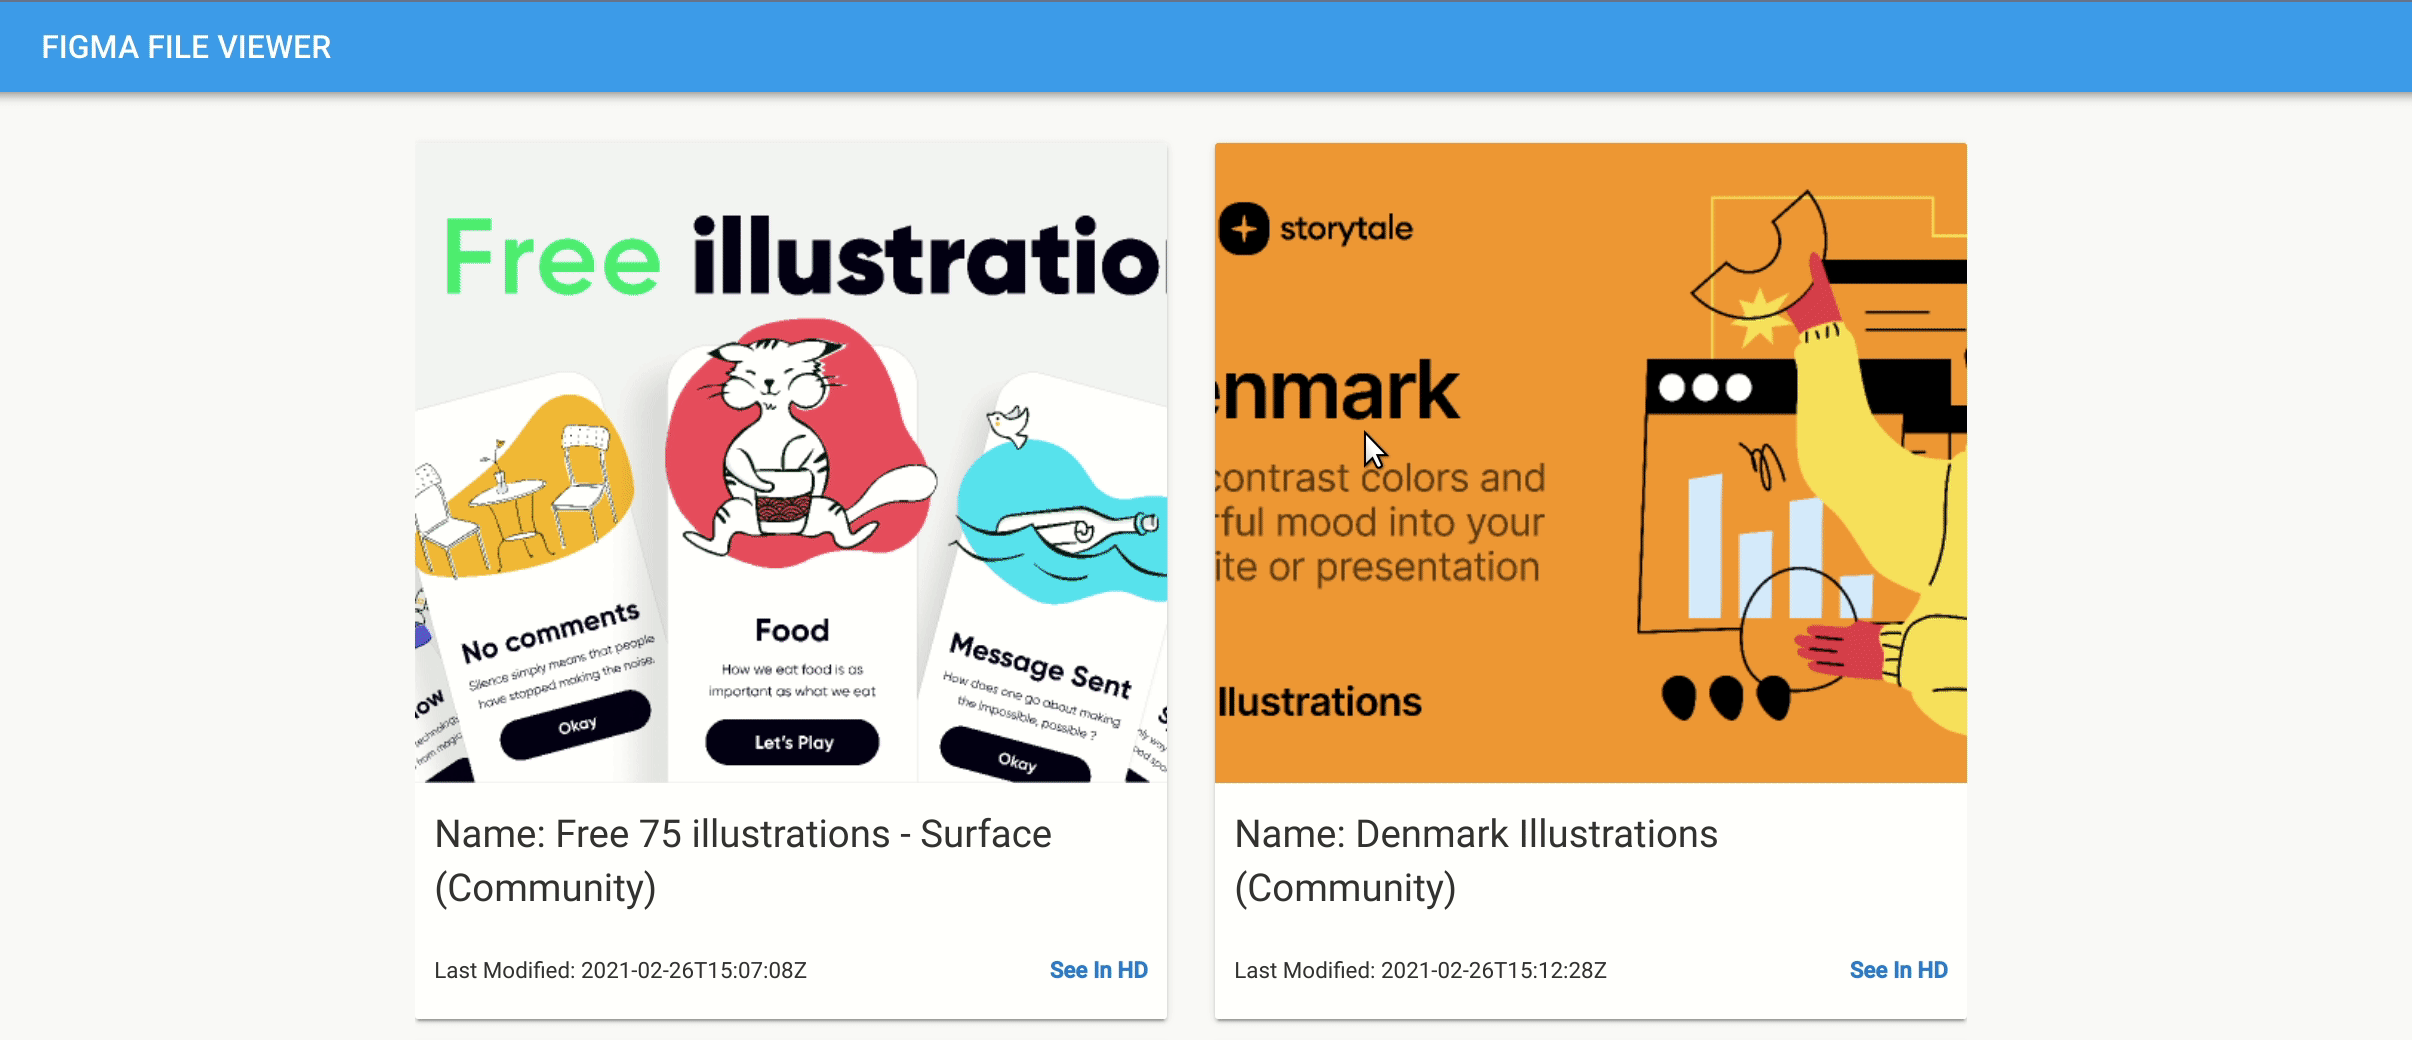
I have no design skills to speak of, but luckily Figma also has a rich community of content creators who provide free assets and illustrations. We’ll be using some of those as our images to showcase today.

Some of the community-provided files we’ll be seeing today.
Once we’ve added some images to our account, we’ll need to grab their file_ids. These IDs are what’ll we’ll be passing to our API calls to identify which images we want to display.
As the documentation describes, the ID for a file can be found in the URL when you edit it; the URL takes the following form: https://www.figma.com/file/{file_id}/{title}?{query_parameters}.
So, for example, the URL https://www.figma.com/file/lDYdwpvTBEiYvgV6gP8Z0z/Name%2Fbusiness-card-template-(Community) has the file_id of lDYdwpvTBEiYvgV6gP8Z0z.
We copy the IDs for each image into their own row in into a Data Table, Anvil’s built-in database system, for later access in our app.
Capturing a File ID from the Figma URL and adding it to our Data Table.
Lastly, we’re going to need to create an access token from our Figma account, so that when we make calls to the Figma API later, we can authenticate. This is done by clicking on your name in the top left in Figma to get to your account settings, then scrolling down to ‘Personal access tokens’.
Location of the personal access token creator in account settings.
Once we’ve generated the access token, we copy it into App Secrets in our Anvil app, which is Anvil’s secure storage system for private data we don’t want in our source code.
3. Calling the Figma API
Now we’re ready to start making some API calls. The process for showing our images within our app works like this:
- We retrieve metadata, including the URL for a thumbnail image, for each of our files from Figma. This is what gets shown on the main page.
- Whn a user clicks the ‘See in HD’ link for a given image, we want to see a rendered, HD image for that file, using the metadata we previously retrieved.
Making HTTP requests from within Python is easy with the requests package on the server, and we can easily make server calls from our client code. Getting our access token from our app’s Secrets service is simple too, so making a call to the API becomes a one-line process.
Here’s the code for that first metadata retrieval step:
@anvil.server.callable
def get_image_data():
  data = []
  for row in app_tables.file_ids.search():
    # make the API call
    resp = requests.get(
      url = f"https://api.figma.com/v1/files/{row['file_id']}",
      headers = {'X-FIGMA-TOKEN': anvil.secrets.get_secret("figma_token")}
    ).json()

    # extract the information from the API response
    data.append({
      'file_id': row["file_id"],
      'thumbnail_url': resp['thumbnailUrl'],
      'name': resp['name'],
      'last_modified': resp['lastModified'],
      'canvas_ids': [canvas['id'] for canvas in resp['document']['children']],
    })
  return data
Since we put our file_ids into a Data Table, we can loop over them easily from code, and make an API call for each file.
That JSON response from the Figma API contains all the data we need to populate our main page with information, including the URL for a lightweight thumbnail image for the file we asked about. Importantly, it also contains a list of canvas_ids - files can have multiple Canvases in Figma, and each one can be rendered into its own image. The thumbnail renders the first canvas, but the second endpoint - for rendered HD images - can and will do all of them if we supply the canvas_ids for the file.
The second step, for getting a beautiful HD rendered image (or images, if there are multiple Canvases) looks quite similar. Here it is:
@anvil.server.callable
def get_hd_links(file_id, canvas_ids):
  comma_separated_canvas_ids = ",".join(canvas_ids)
  resp = requests.get(
    url = f"https://api.figma.com/v1/images/{file_id}?ids={comma_separated_canvas_ids}&format=svg",
    headers = headers()
  ).json()
  urls = [{'url': resp['images'][canvas_id]} for canvas_id in canvas_ids]
  return urls
This endpoint requires query parameters, which are passed to the endpoint as the variables after the ?. You can see that we pass in that comma-separated list of canvas_ids, which we extracted earlier, and this tells the endpoint that we want it to render images for all the canvases in the images.
4. Displaying our images
Building the front end of the app is a breeze with Anvil’s drag-and-drop UI builder. Not only that, but converting from a Python dictionary of values to a filled-out Form is incredibly easy by taking advantage of data bindings.
We build a form to act as a template, with all the components we need, and bind their properties:
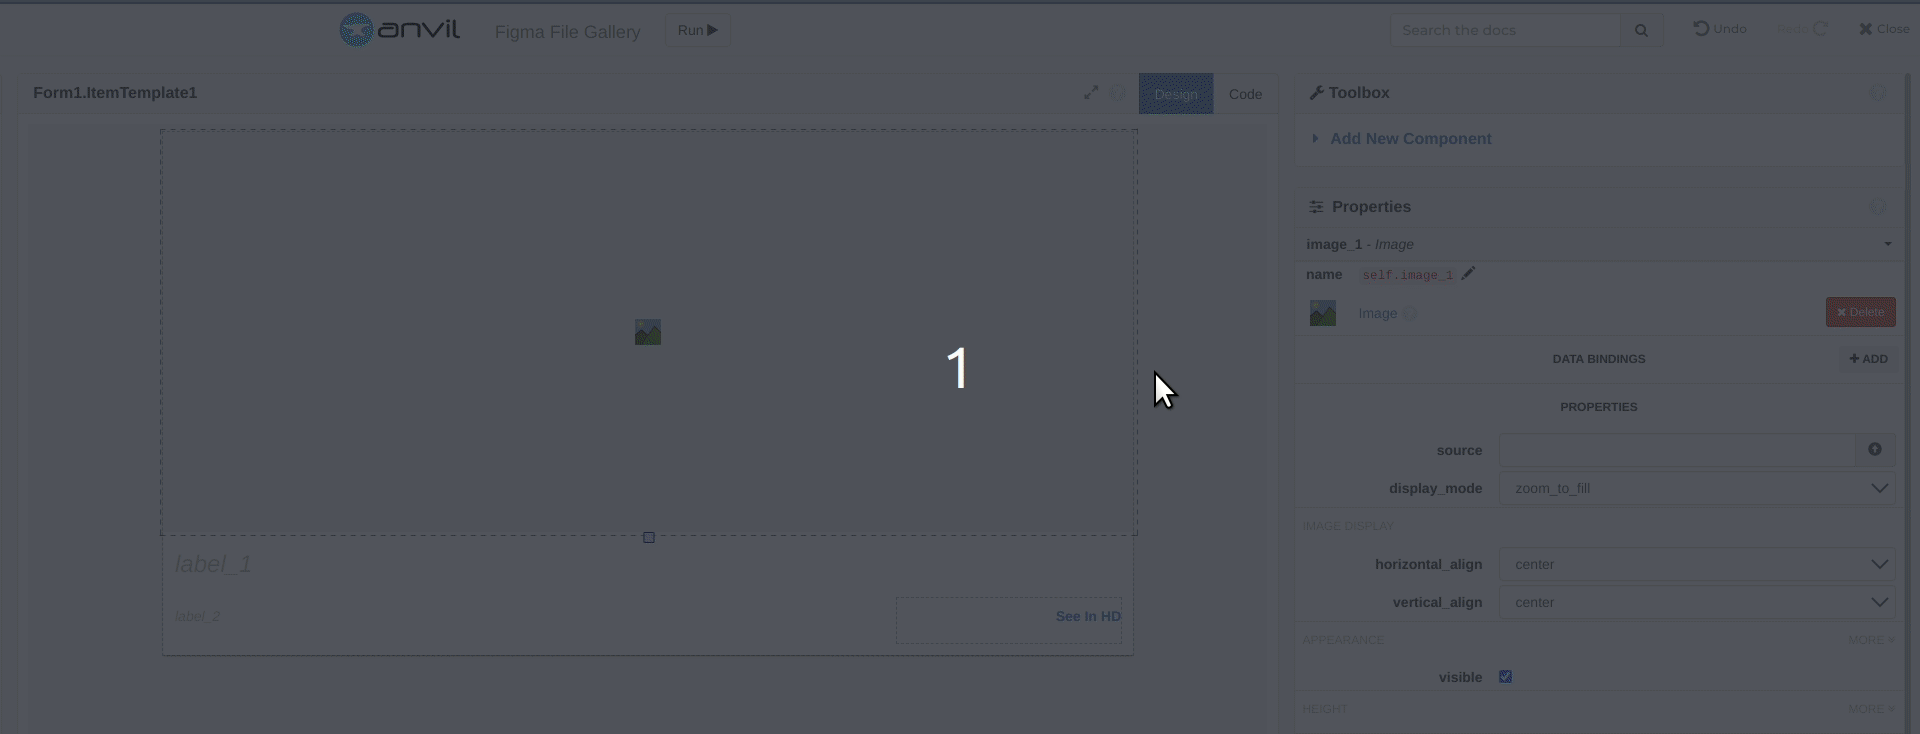
Binding our Image component’s ‘source’ property to the thumbnail URL we got from our endpoint earlier.
Then, each time we want to display a Figma thumbnail along with its info, we can just instantiate that template form and set its item property to populate it with the information it needs.

A comparison between the empty template form (left) and the form when populated with data (right).
We’ve got one Image component, whose source property we set to the URL of the thumbnail we got from the endpoint. Then we have two Labels, and each of those has their text property set with data bindings too. Lastly there’s a Link component, and we write the code that runs when it gets clicked:
  def link_1_click(self, **event_args):
    """This method is called when the link is clicked"""
    hd_links = anvil.server.call('get_hd_links', self.item['file_id'], self.item['canvas_ids'])
    open_form('HDForm', urls=hd_links, title=self.item['name'])
This calls the server function get_hd_links, which in turns calls the second API endpoint (like we saw above) to render our lovely HD images and send us the URLs. Then, open_form opens up a new form where we display them all.
Clicking on the ‘See in HD’ link to see one of our files up close.
And that’s it! We’ve built an app which pulls image data directly from Figma, meaning that if these images get updated in Figma, that will be reflected in our app without us having to make any updates to it.
If you want to see the app itself in more detail, and check out the code, clone it by clicking the link below!
More about Anvil
If you’re new here, welcome! Anvil is a platform for building full-stack web apps with nothing but Python. No need to wrestle with JS, HTML, CSS, Python, SQL and all their frameworks – just build it all in Python.
Learn More
Get Started with Anvil
Nothing but Python required!
Deploy data science to the web with Deepnote

Generate PDF Invoices with Python
Python vs the Pandemic

2020 has been a difficult year for people all around the world.
We’ve seen an incredible response from the Anvil community, with a number of our users building tools and applications to help deal with the effects of the COVID-19 pandemic. We’ll take a look at some of the tools being built with Anvil to help people impacted by the virus.
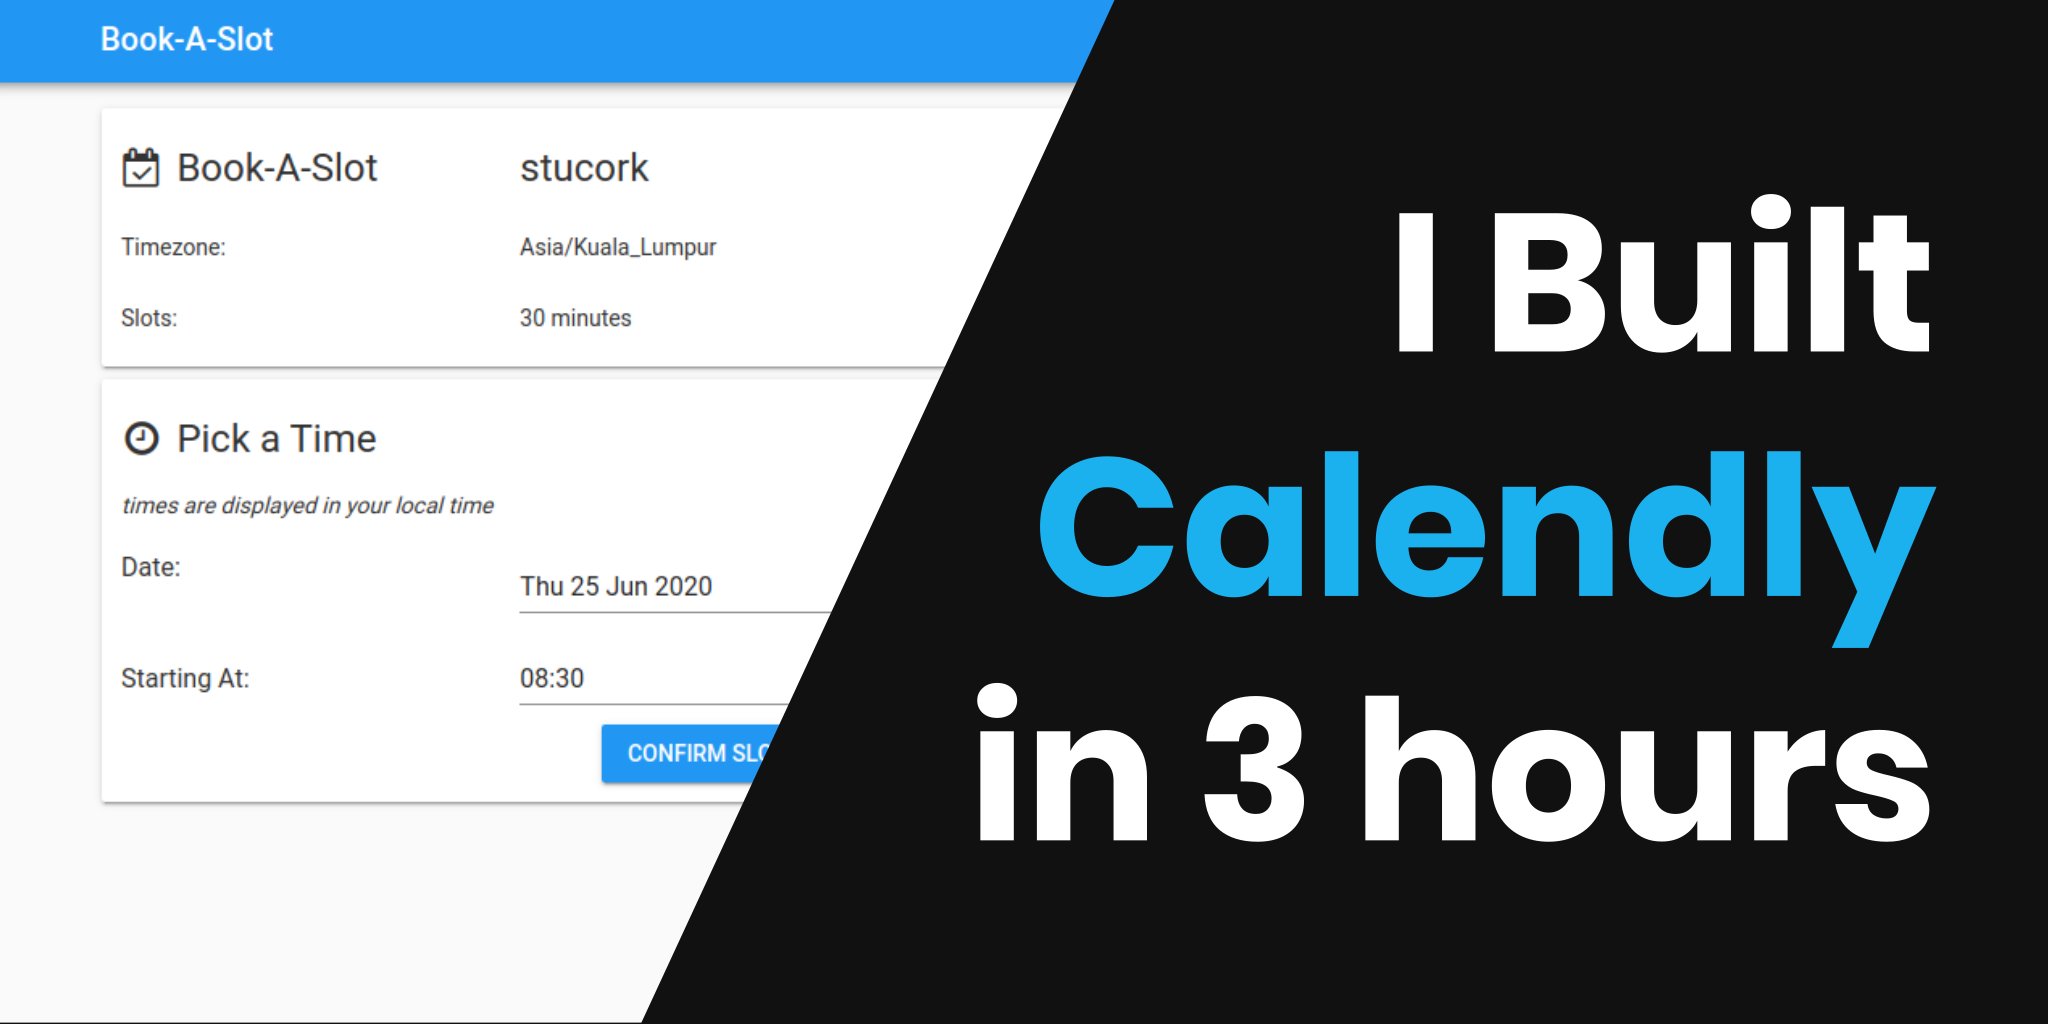
Rapid Prototyping: Building Calendly in 3 Hours