 By
By Chapter 1:
Add the users service
Click the following link to clone the news aggregator app to use as a starting point.
We’ll use Anvil’s built-in Users Service to manage sign-up and login with a single line of Python.
There are various sign-in options included in the Users Service, including two factor authentication, Google, Facebook, Microsoft Entra ID, Office 365 and more. You can find all the sign-in options here.
Step 1: Add the Users Service
Let’s start by adding the Users Service.
In the Sidebar Menu, click the blue plus button ![]() and select Users.
and select Users.
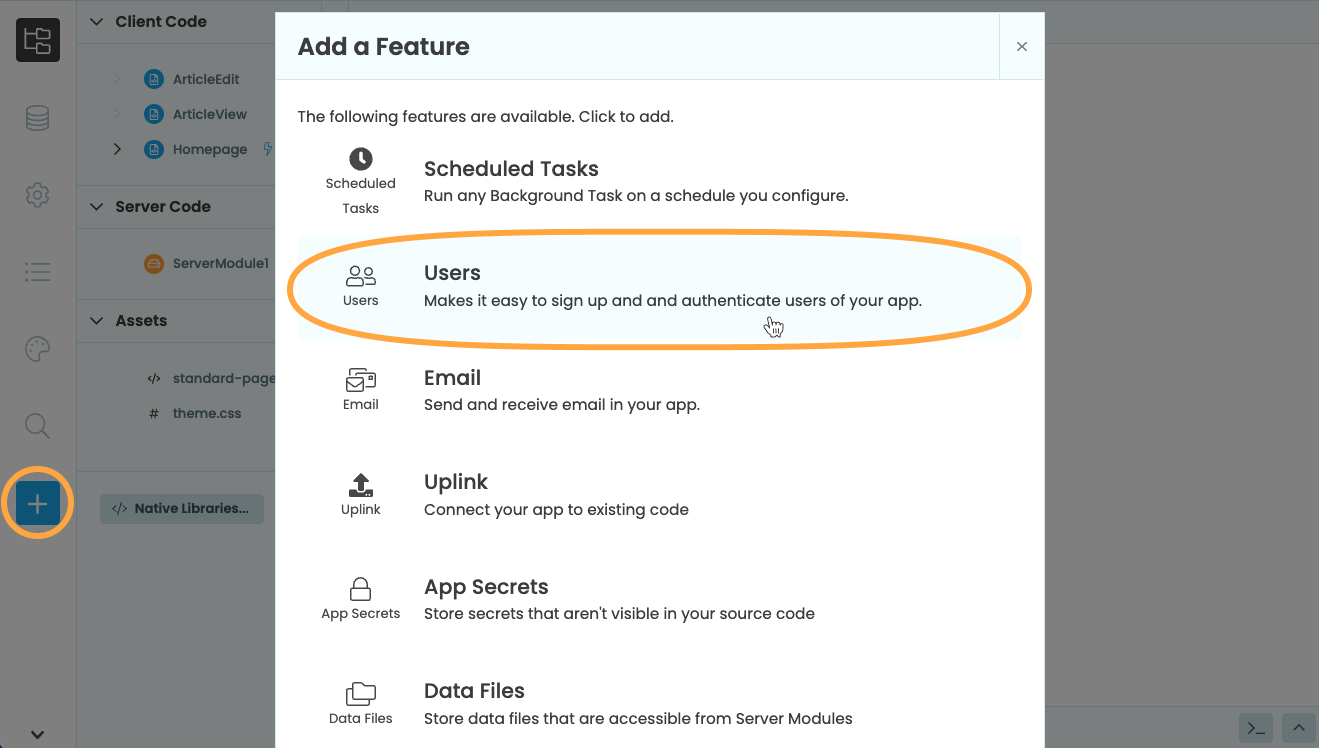
You’ll see a screen which allows you to select from the available authentication methods, and provides you with some configuration options. For now, let’s choose the following:
Supported sign-in methods:
- Email + password
New user registration:
- Allow visitors to sign up
- New user accounts can be used right away
Your setup should look something like this:

You’ll also see an empty Users table at the bottom of the configuration screen. In the next step, we’ll sign up for our app, which will populate the table.
Step 2: Display the login form
We want our users to log in or sign up when the app loads.
Go to ‘Code’ view of your ‘Homepage’ Form, and add this line to the Form’s __init__ method, underneath the super().__init__(**properties) line:
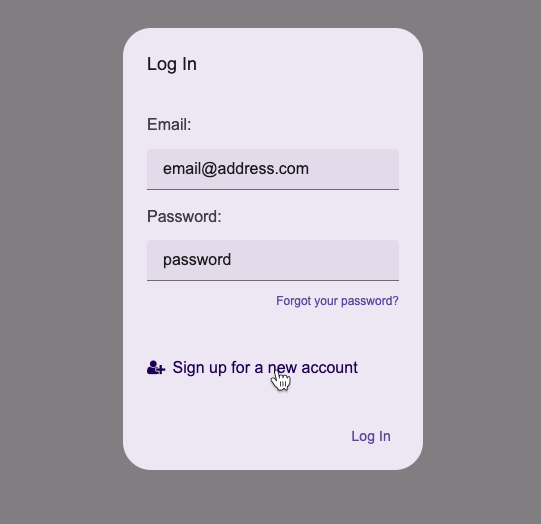
anvil.users.login_with_form()Run your app, and you’ll see the login form pop up. Click ‘Sign up for a new account’, and fill in the boxes. (Remember, we aren’t requiring users to confirm their email addresses, so you can use dummy email addresses for testing).
Stop your app, click on Data in the Sidebar and select the ‘Users’ Table that was automatically created for you. You’ll see your sign in information has been stored in the table. You can also see this table at the bottom of the Users Service configuration screen:
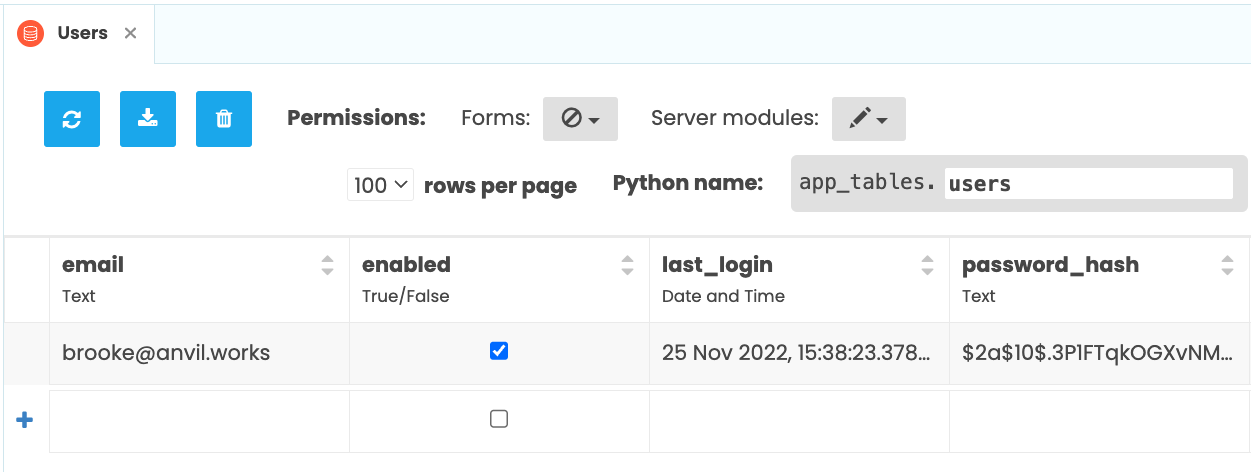
The Users Service is now set up and ready to go!
In Chapter 2, we’ll link the news articles in the Articles data table with the user who added them.