
 By
By Chapter 2:
Build the UI to display your inventory
We’re going to build a simple UI to display the contents of our database in a table.
Step 1: Add a Data Grid to your app
We’re going to add the interactive table that will contain the data from your external database.
First, switch to the Design view of Form1. Then, drag-and-drop a Data Grid ![]() into your app:
into your app:
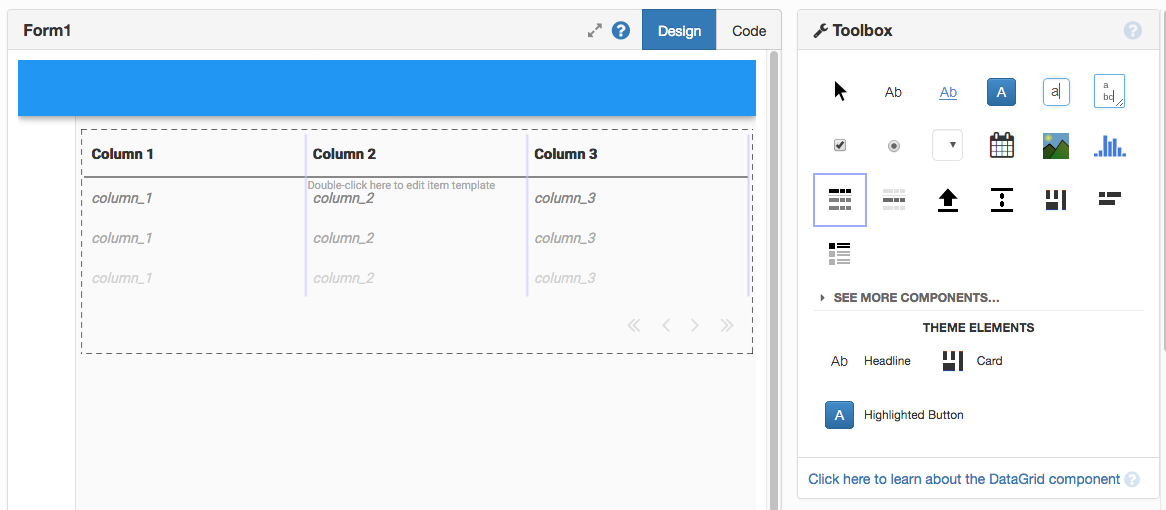
Dragging a Data Grid onto the form in the Anvil editor
Select the first two columns and rename them in the Properties Panel:
- title:
Name, data_key:name - title:
Quantity, data_key:quantity
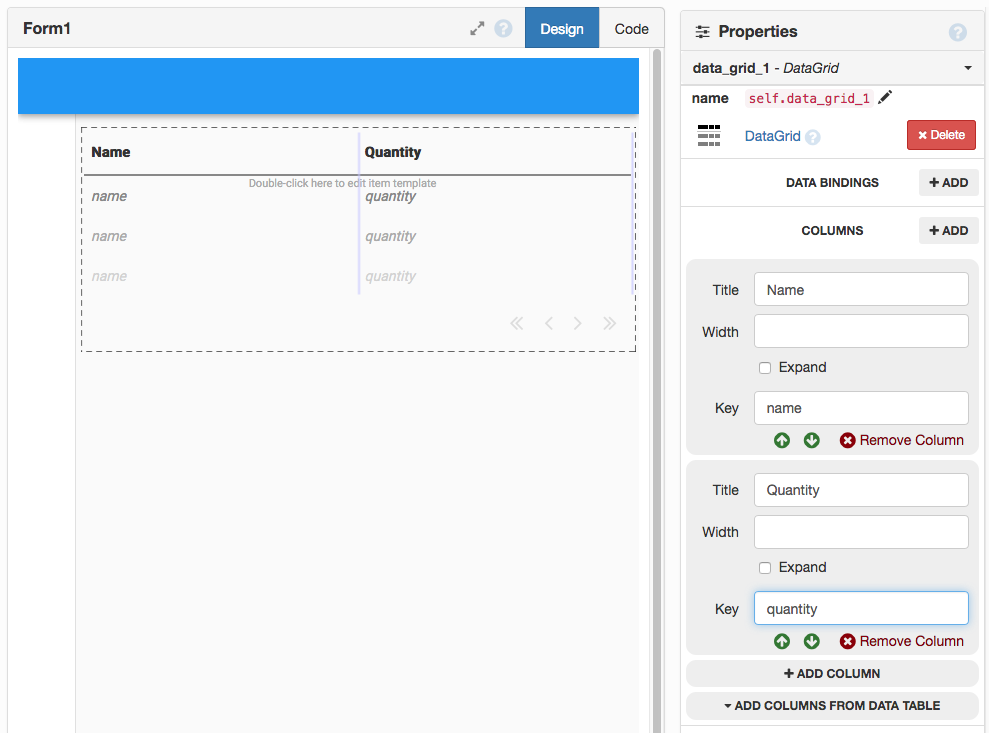
Configure the first two Data Grid columns with the correct titles and data keys
Leave the third column as is. We’ll come back to it later.
Now your app is ready to display your data.
Step 2: Display the items
Now, we’ll call the get_items function from our client code and display the result in the Data Grid.
Go to the Code View of Form1.
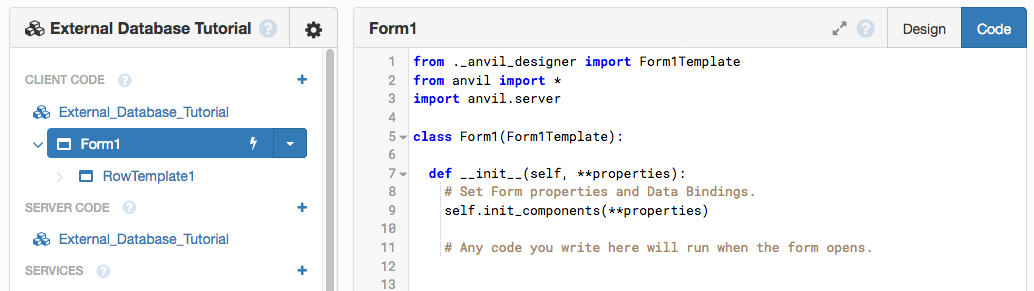
Open the Code View for Form1
When you dragged the Data Grid onto your form, a RepeatingPanel called repeating_panel_1 was automatically created. The RepeatingPanel displays one row in the table for each item in its items property. By setting items to the list of rows returned by get_items, we’re telling it to display one row per inventory item (see the docs on Repeating Panels for more information).
At the end of the __init__ method, add this line:
self.repeating_panel_1.items = anvil.server.call('get_items')Now run your app. The data from your external Postgres database will be displayed in the table!
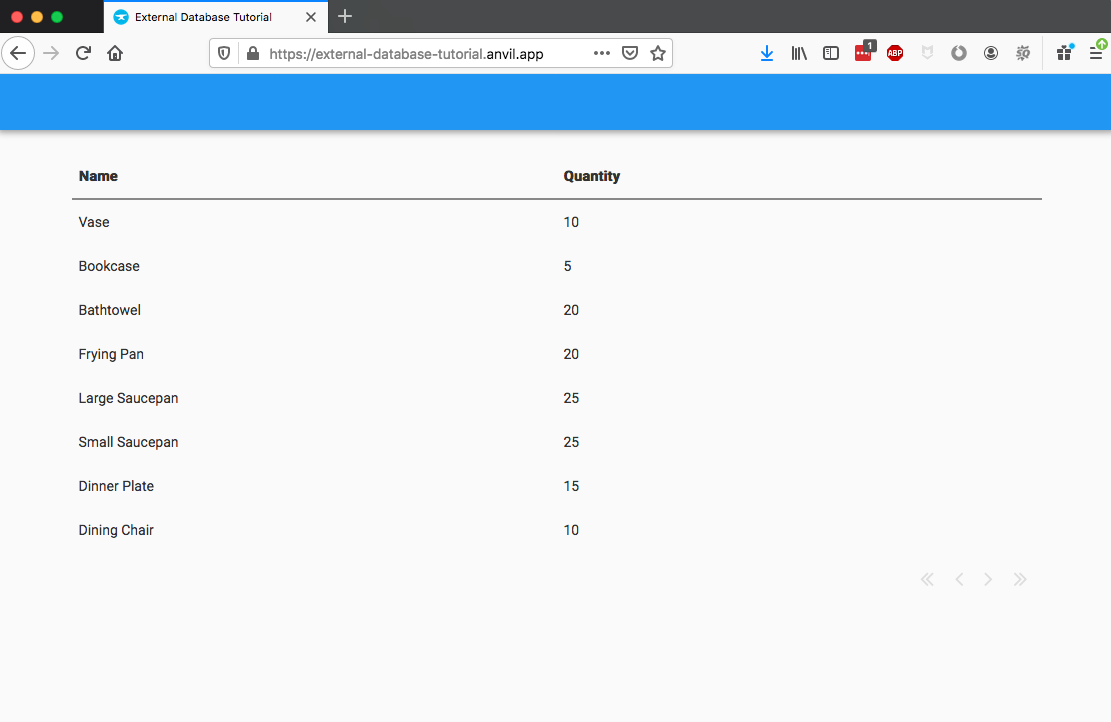
The app displaying rows loaded from the external database
We’ve successfully displayed the data from our database in our app!
Mission complete! That’s the essential task of this tutorial finished. We’ve connected to an external database and displayed its data in a web app.
In the next chapter, we’ll make it interactive: we’ll add, update and remove rows from the table from using the web UI.