 By
By Day 3 of Hanukkah at Anvil
Build a web app for each night of Hanukkah, with nothing but Python!
Send holiday wishes
It’s the third night of Hanukkah – probably time to write some cards! Even better, why not send personalised e-cards?
In today’s app, we show you how to create custom Hanukkah e-cards and send them out to all your friends and family.
Create your app
We’ll create a simple UI using TextBoxes and TextAreas for our user inputs.
To create our custom e-card, we’ll ask our users for:
- the background image they’d like to use
- the spelling of Hanukkah to use (Chanuka, חֲנֻכָּה, etc)
- the recipient’s email address
- the recipient’s name
- a personal greeting
- their name
Our basic UI looks like this:
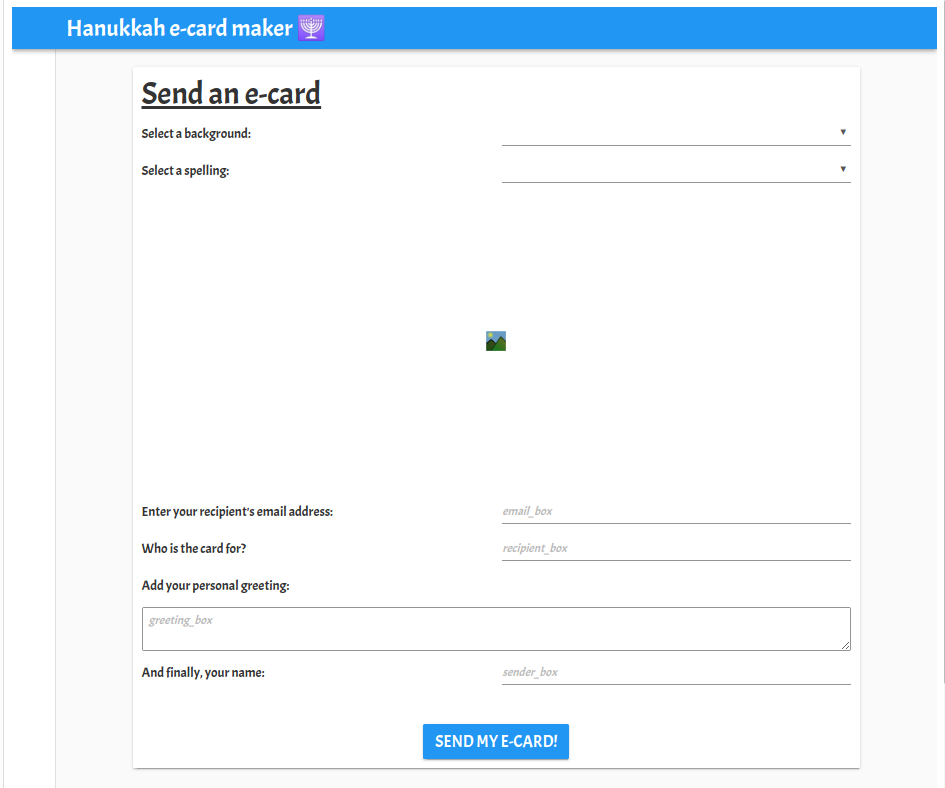
Choose your background and spelling
We’ll use Anvil’s Data Tables to store background images for our users to choose from when creating their card.
We create a table called ‘backgrounds’ which has a text column for the name of the image and a media column to store the images. I have uploaded three images to my Data Table. It looks like this:
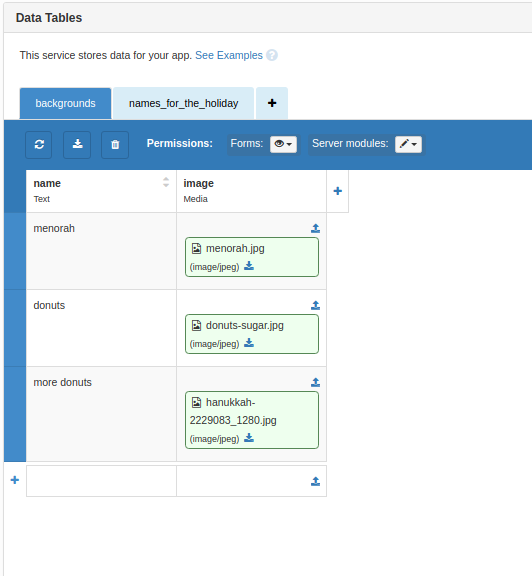
I’ve also added a second table names_for_the_holiday with the various spellings of the holiday! This is used to populate the second DropDown.
Preview backgrounds
Back in the UI, we’ll use a DropDown component to let our users choose the background image for their e-card. We’ll also show a preview of the selected image using an Image component.
We add this code to our Form’s __init__ method to:
- Populate the DropDown
- Show a preview of the image
    # get images from the data table
    cards = app_tables.backgrounds.search()
    # populate the DropDown
    self.card_dropdown.items = [(x['name'], x) for x in cards]
    # Show a preview of the image
    self.card_image.source = self.card_dropdown.selected_value['image']
We’ll also change the image preview when the user chooses a different image. We do this in our card_dropdown_change function which runs when the user selects a different value from the DropDown:
def card_dropdown_change(self, **event_args):
    card = self.card_dropdown.selected_value
    self.card_image.source = card['image']
Capture user inputs
All that’s left to do is capture user inputs and then send them to a Server Module which will handle sending the e-card.
We’ll send the inputs to the server when the ‘Send my e-card!’ button is clicked:
def button_1_click(self, **event_args):
    email_address = self.email_box.text
    recipient = self.recipient_box.text
    sender = self.sender_box.text
    greeting = self.greeting_box.text
    image = self.card_image.source
    spelling = self.spelling_chosen
    anvil.server.call('send_ecard', image, email_address, recipient, greeting, spelling, sender)
Send emails
We’ll need to enable the Anvil Email Service - just click the ‘+’ next to Services in the App Browser. We can now use anvil.email.send to send emails from our app.
Once that’s enabled, we add a Server Module and define our send_ecard() function to send our custom e-card. We use inline attachments to include the background image:
@anvil.server.callable
def send_ecard(image, email_address, recipient, greeting, spelling, sender):
anvil.email.send(inline_attachments={'img':image},from_name="The folks at Anvil",
to=email_address,
subject="Chag sameach from {}".format(sender),
text="Please open in a different email service to see your e-card in its true glory",
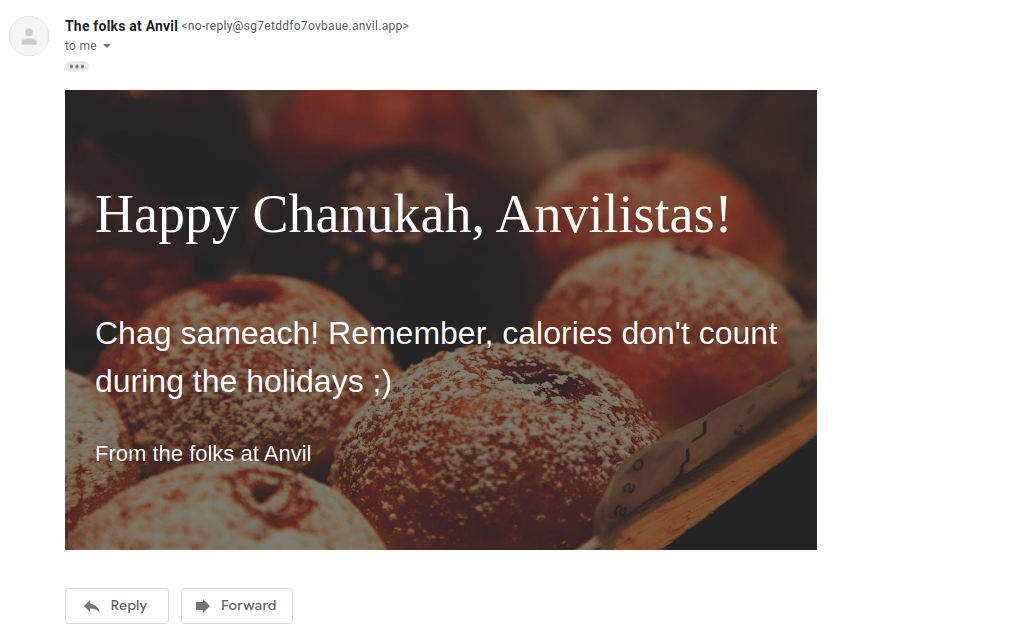
html=f"""
<div style="background: url(cid:img); background-color: #800; background-size: cover; width: 50%; height: 100%; ">
<div style="min-height:400px; padding: 30px;">
<p style="font-size: 54px; color: white; font-family: 'Snell Roundhand';">Happy {spelling}, {recipient}!</p>
<p style="font-size: 32px; color: white;">{greeting}</p>
<p style="font-size: 22px; color: white;">From {sender}</p>
</div>
</div>
"""
)Outgoing email is subject to a monthly quota, depending on your account plan.
Email sent through a custom SMTP server does not count towards your monthly quota.
Ta-da!
That’s it!
And that’s it! Go forth and send some cards!
Give the Gift of Python
Share this post:
Get tomorrow's app in your inbox
Don't miss a day! We'll mail you a new web app every night of Hanukkah: