 By
By Chapter 3:
Add user permissions
Next, let’s change the list of news articles displayed on the Homepage. We’ll display only those articles that belong to the logged-in user.
Step 1: Get articles that belong to the user
Go back to ‘ServerModule1’. Our get_articles function returns a list of news articles to our client-side code. We need to modify this function to return the articles that belong to the logged-in user.
First, we’ll check that someone is logged in. Then, we’ll use Anvil’s search query operator to only return the articles that belong to the logged-in user.
Update the get_articles function to look like this:
@anvil.server.callable
def get_articles():
  # Get the logged in user
  current_user = anvil.users.get_user()

  # Check that someone is logged in
  if current_user is not None:
    # Get a list of articles that belong to the logged-in user,
    # sorted by 'created' column, in descending order
    return app_tables.articles.search(
      tables.order_by("created", ascending=False),
      user=current_user
    )
Run your app again, and you’ll notice that you can only see the news articles that belong to you.
Step 2: Verify user permissions
Next, we’ll amend the server functions that allow users to update and delete news articles. We’ll make sure that users can only update or delete articles that belong to them.
In your Server Module, create a new server function called verify_user_permissions(). This will check that someone is logged in and that the article they’re trying to update or delete belongs to them:
def verify_user_permission(article):
  current_user = anvil.users.get_user()
  # Check that someone is logged in
  if current_user is not None:
    # Check if the article to be updated does exist in the Data Table
    # Check that the article belongs to the logged in user
    if app_tables.articles.has_row(article) and article['user'] == current_user:
      return True
Next, update the update_article function to look like this:
@anvil.server.callable
def update_article(article, article_dict):
  if verify_user_permission(article):
    # Set the 'updated' property to datetime.now()
    article_dict['updated'] = datetime.now()
    article.update(**article_dict)
  else:
    # Raise an exception if the article doesn't exist in the Data Table
    # or the user doesn't own the article being updated
    raise Exception("Article does not exist or does not belong to this user")
Let’s add the same logic to our delete_article function:
@anvil.server.callable
def delete_article(article):
  if verify_user_permission(article):
    # Delete the article
    article.delete()
  else:
    # Raise an exception if the article doesn't exist in the Data Table
    # or the user doesn't own the article being deleted
    raise Exception("Article does not exist or does not belong to this user")
We’ve now added permissions checks to our app to make sure that users can only see, update and delete articles that belong to them. All our articles are stored in the same Data Table, but each user can only access their own articles.
Step 3: Publish the app
If you haven’t already, you can easily publish it online for anyone to use. Click the ‘Publish’ button at the top right of the editor, then select ‘Publish this app’. You can use the public URL provided or enter your own, or, if you want to share your app privately, you can switch to a private URL.
And that’s it! Your app is now deployed to the cloud and ready to use.
That’s it!
And that’s it. You’ve just upgraded a database-backed web app so it can be used by many different users!
You can use the following link to clone the finished app in the Anvil editor, and explore it yourself:
What next?
Head to the Anvil Learning Centre for more tutorials, or head to our examples page to see how to build some complex apps in Anvil.
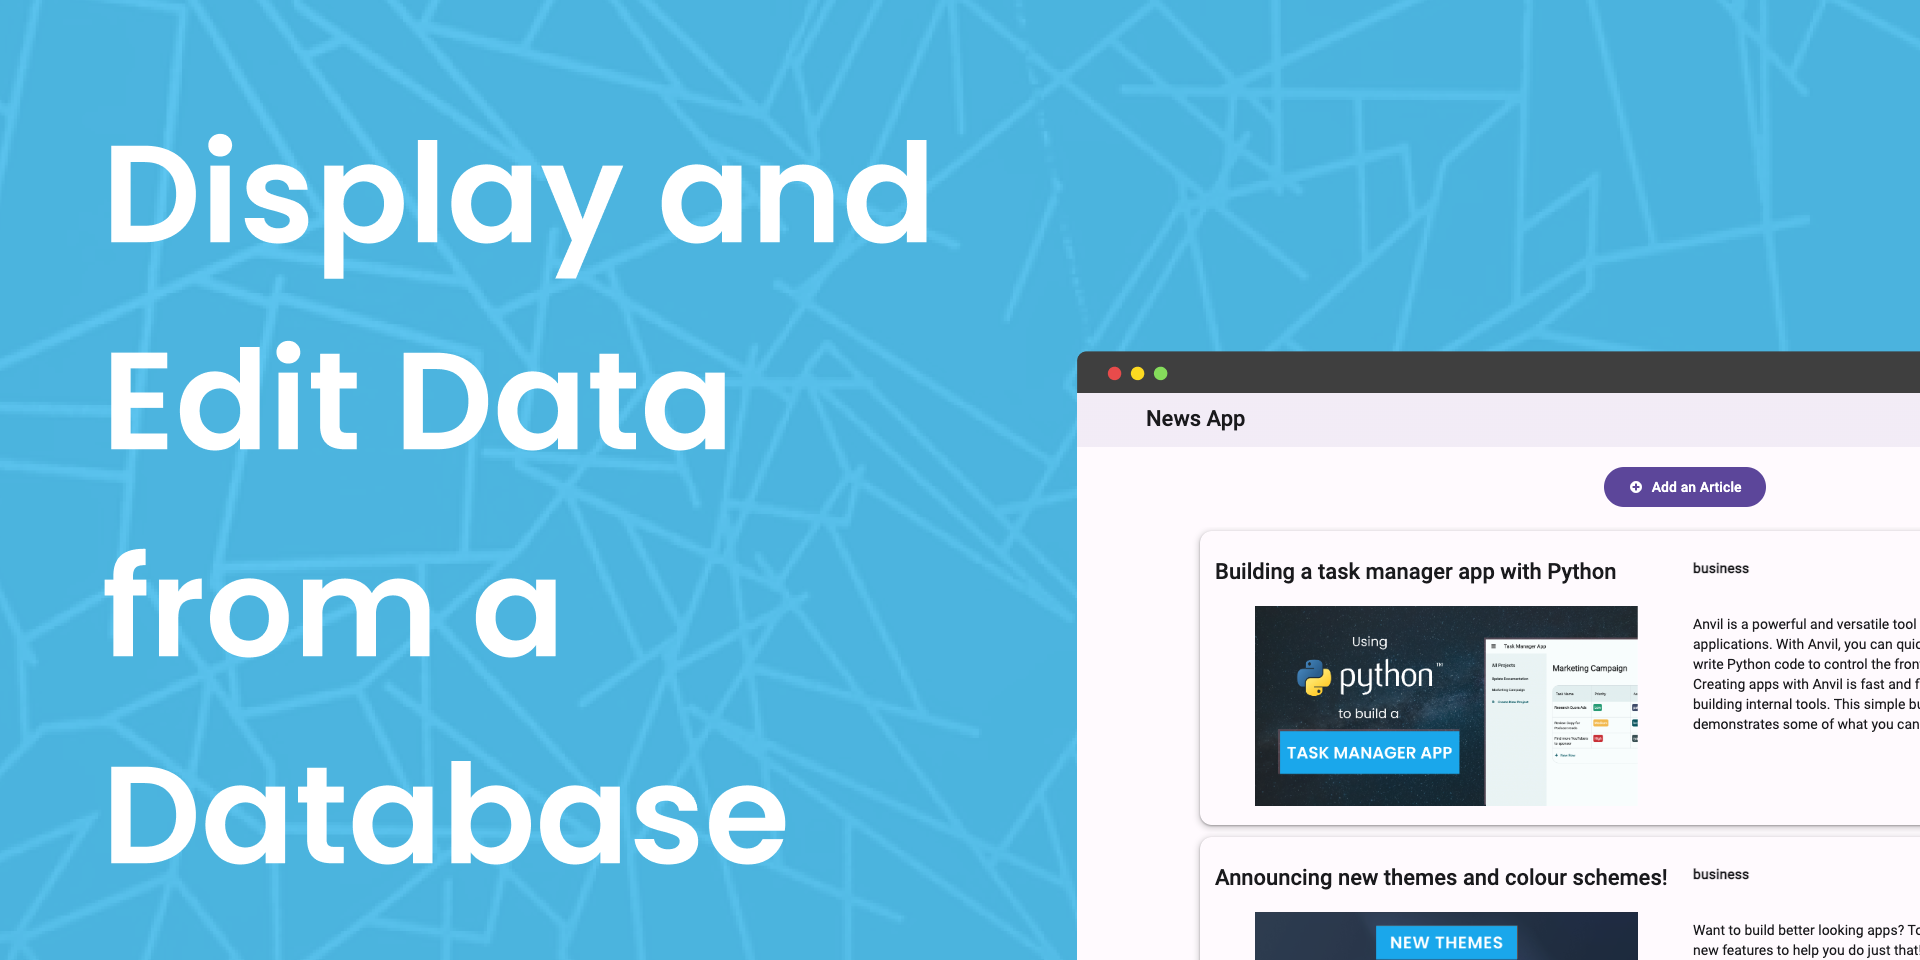
Build Database-Backed Apps
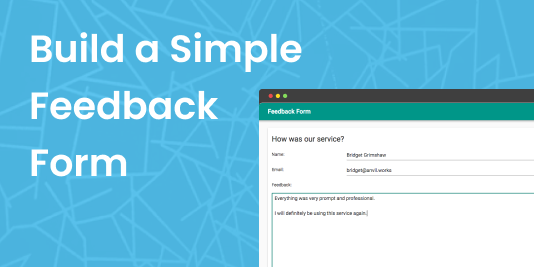
Build a Simple Feedback Form
Turning a Google Colab Notebook into a Web App

Generate PDF Invoices with Python