By
By Using hardware tokens to secure your web apps
So, you’ve built a web service, and you’ve set your users up with the familiar system of a username and a password, so they can log in to their accounts. But how do you protect against all the ways that such a system can be attacked - for example, an attacker learning a user’s credentials and logging in as them, or spamming your system with common passwords until they get access? Maybe you’re worried about what could happen if one of your users’ computers is compromised by malware, or stolen.
Maybe you should let your users set up two-factor authentication for your service.

I don’t think he knows about MFA, Pip.
In its broadest interpretation, multi-factor authentication (often abbreviated to MFA, with 2FA specifically meaning two-factor authentication) means requiring multiple kinds of credentials during the authentication process. ‘Factors’ are things that an attacker would have to compromise in order to get into your system, and a password is an example of this. Of course, you have to require at least one factor from your users in order to have an authentication system at all, but you don’t need to stop there.
There are several common choices for extra authentication factors:
- Proving that you have control of a given phone number by being able to read text messages sent to it
- Using an authenticator mobile app, such as Google Authenticator or Duo Mobile, which will generate limited-time codes for you to type in
- Proving physical ownership of a particular kind of hardware token, which could be either a ‘roaming authenticator’ like a Yubikey that connects to your laptop through USB or NFC, or a ‘platform authenticator’ built into your phone or computer
Of course, the more you require from your user during authentication, the more arduous the process of getting into your service is for them. And if you want your users to be using your service, you don’t want them to be put off by the effort of logging in. This is why a lot of systems opt only for one extra factor, for a total of two.
In this blog post, we’ll be looking specifically at how hardware authentication tokens work as a second factor, both from a security and usability point of view.
How does it work?
Let’s say we own a hardware authentication token. What we’d like to be able to do is to prove that we own that token, without giving away information that would let anyone else claim that they own it. We want to prove knowledge of some kind of secret, without giving away that secret. Luckily, there’s something that lets us do just that - public-key cryptography.
In public-key cryptography, a user has a pair of keys - one private, one public. They keep the private key secret, and tell everyone their public key. To prove their identity, the users uses the private key to “sign” some arbitrary message and the public key allows anyone else to verify that signature. This means that anyone with the public key can know, with very high confidence, that the user knows the private key - since they must have used it to sign the message - without that user needing to disclose that key.

So what is a hardware authentication token? Essentially, it’s a physical object that contains a private key built into it, and uses that for public-key cryptography over the web. A typical authentication flow looks something like this:
- The user visits a web service on their device and begins the login process.
- The service prompts the user to authenticate themself using their hardware token by issuing a ‘challenge’, which is a message containing information about the service along with a random number.
- If the user is using a roaming authenticator, this is the point at which they need to connect it (via USB, NFC, Bluetooth, or similar).
- The user’s device sends this authentication challenge to the hardware token.
- The hardware token prompts the user for an authorization gesture, such as:
- Scanning a fingerprint
- Pressing a button
- Entering a PIN
- Assuming the authorization gesture is valid, the token signs the challenge using its private key, and sends that back as a response to the user’s device.
- The device returns the token’s response to the web service.
- The web service recognises the response as being signed by the correct private key, and that it contains the random number the web service sent earlier.
- The web service authenticates the user.
There are two really important things to understand here. The first is that the request that gets sent to the token contains information about the web service that is making that request - which means that if somehow, your user has ended up on the wrong website (for example, as part of a phishing attack, whereby they’d be tricked into giving away their password), the token won’t end up giving out a credential that corresponds to the genuine site. In order to take over that user’s account, the attacker would have to get hold of the physical hardware token that’s registered to the account, which is a lot trickier than stealing a password.

‘You… shall not… phish!’
The second is that the private key on the hardware token is at no point accessible to the operating system of the user’s device. This means that even if your user’s computer is riddled with malware, it can’t extract the private key from the token and use it maliciously. All the cryptographic processing is done by the token itself, meaning that it’s isolated from the (potentially large) attack surface of your user’s device.
Get one token and use it everywhere
So, if you want to use hardware 2FA for all your web services, do you have to go out and get a particular token for each one? Absolutely not. There are standard protocols for hardware tokens and their use in web authentication, set out by the FIDO Alliance, and this means that any hardware token and any web service that follow those rules will be able to work together.
The two key protocols to know about are:
- WebAuthn, which dictates how web services should interact with the web browser when it comes to requesting, using and storing the credentials generated by your hardware token.
- the Client-to-Authenticator-Protocol (CTAP), which dictates how your hardware token should interact with the device you’re using.
Together, these two protocols are known as FIDO2, and hardware tokens that implement CTAP are colloquially referred to as FIDO2 tokens or keys. Any hardware token that speaks CTAP can be trusted to be both cryptographically secure, and able to interact with any web service that’s using WebAuthn.
WebAuthn is the protocol which requires your token to know about the service that’s making the authentication request, and provides the resistance against phishing attacks; CTAP is what mandates that the private key never leaves the token, and provides the resistance against any malware operating on your user’s device.

‘Them’ refers to my squillions of online identities.’
When you register your hardware token as a new authentication factor with a service, it actually generates a new ID and key-pair that are specifically associated with that service. Knowing the public key that your token uses with service A does nothing to help a nosy person pick you out from a list of users of service B (or even to know that you’re on that list at all) - so, on top of the phishing and malware resistance, hardware tokens also provide a good measure of resistance against someone tracking your activity across different services.
So what are their drawbacks?
Hardware tokens can be expensive, and annoying to your users. If everyone at your office has a YubiKey, it could be easy to get yours mixed up with someone else’s in a way that would never happen with passwords - not to mention, it’s possible to physically lose them, or for an attacker to steal them. This means that you have to have some mechanism for account recovery in the event that a user no longer has access to their hardware token, and you need to make sure that that recovery flow isn’t a weak spot in your security. If I can compromise a user’s 2FA-protected account by clicking ’the ‘Lost your token?’ button, there’s no point in them having that token in the first place.

Or, if one does, one should not be able to compromise that user’s account.
Your users are also at risk if the manufacturer of the hardware token itself is untrustworthy. It’s all very well having an inextricable private key if the person who put it into the token kept a copy to use maliciously! Of course, that’s a risk that everyone else using those tokens is also taking, and if a large manufacturer of hardware tokens turns out to be doing that, you won’t be the only one with problems.
Security isn’t the only thing to consider, though; not everyone necessarily has access to a hardware authentication token to begin with. You can’t even assume that everyone has a smartphone with a FIDO2-compatible fingerprint scanner, and if you require access to this kind of hardware for your users, you could be locking a lot of people out.
Finally, driving WebAuthn as a web service is tricky. While there is a well-defined JavaScript API, it’s very easy to miss something when building your security flow, leading to dangerous vulnerabilities in your service. Security and authentication is an area where you really can’t take an ’eh, it’ll do’ approach! Fortunately, if you build your web app with Anvil, it’s all handled for you.
Using hardware tokens with an Anvil app
Anvil is the framework for building full-stack web apps with nothing but Python - and, of course, it comes with a plethora of fully-featured user authentication options. Letting users of your Anvil app use hardware tokens is as easy as ticking a checkbox. Just add user authentication for your app, and select the option to require 2FA from your users:
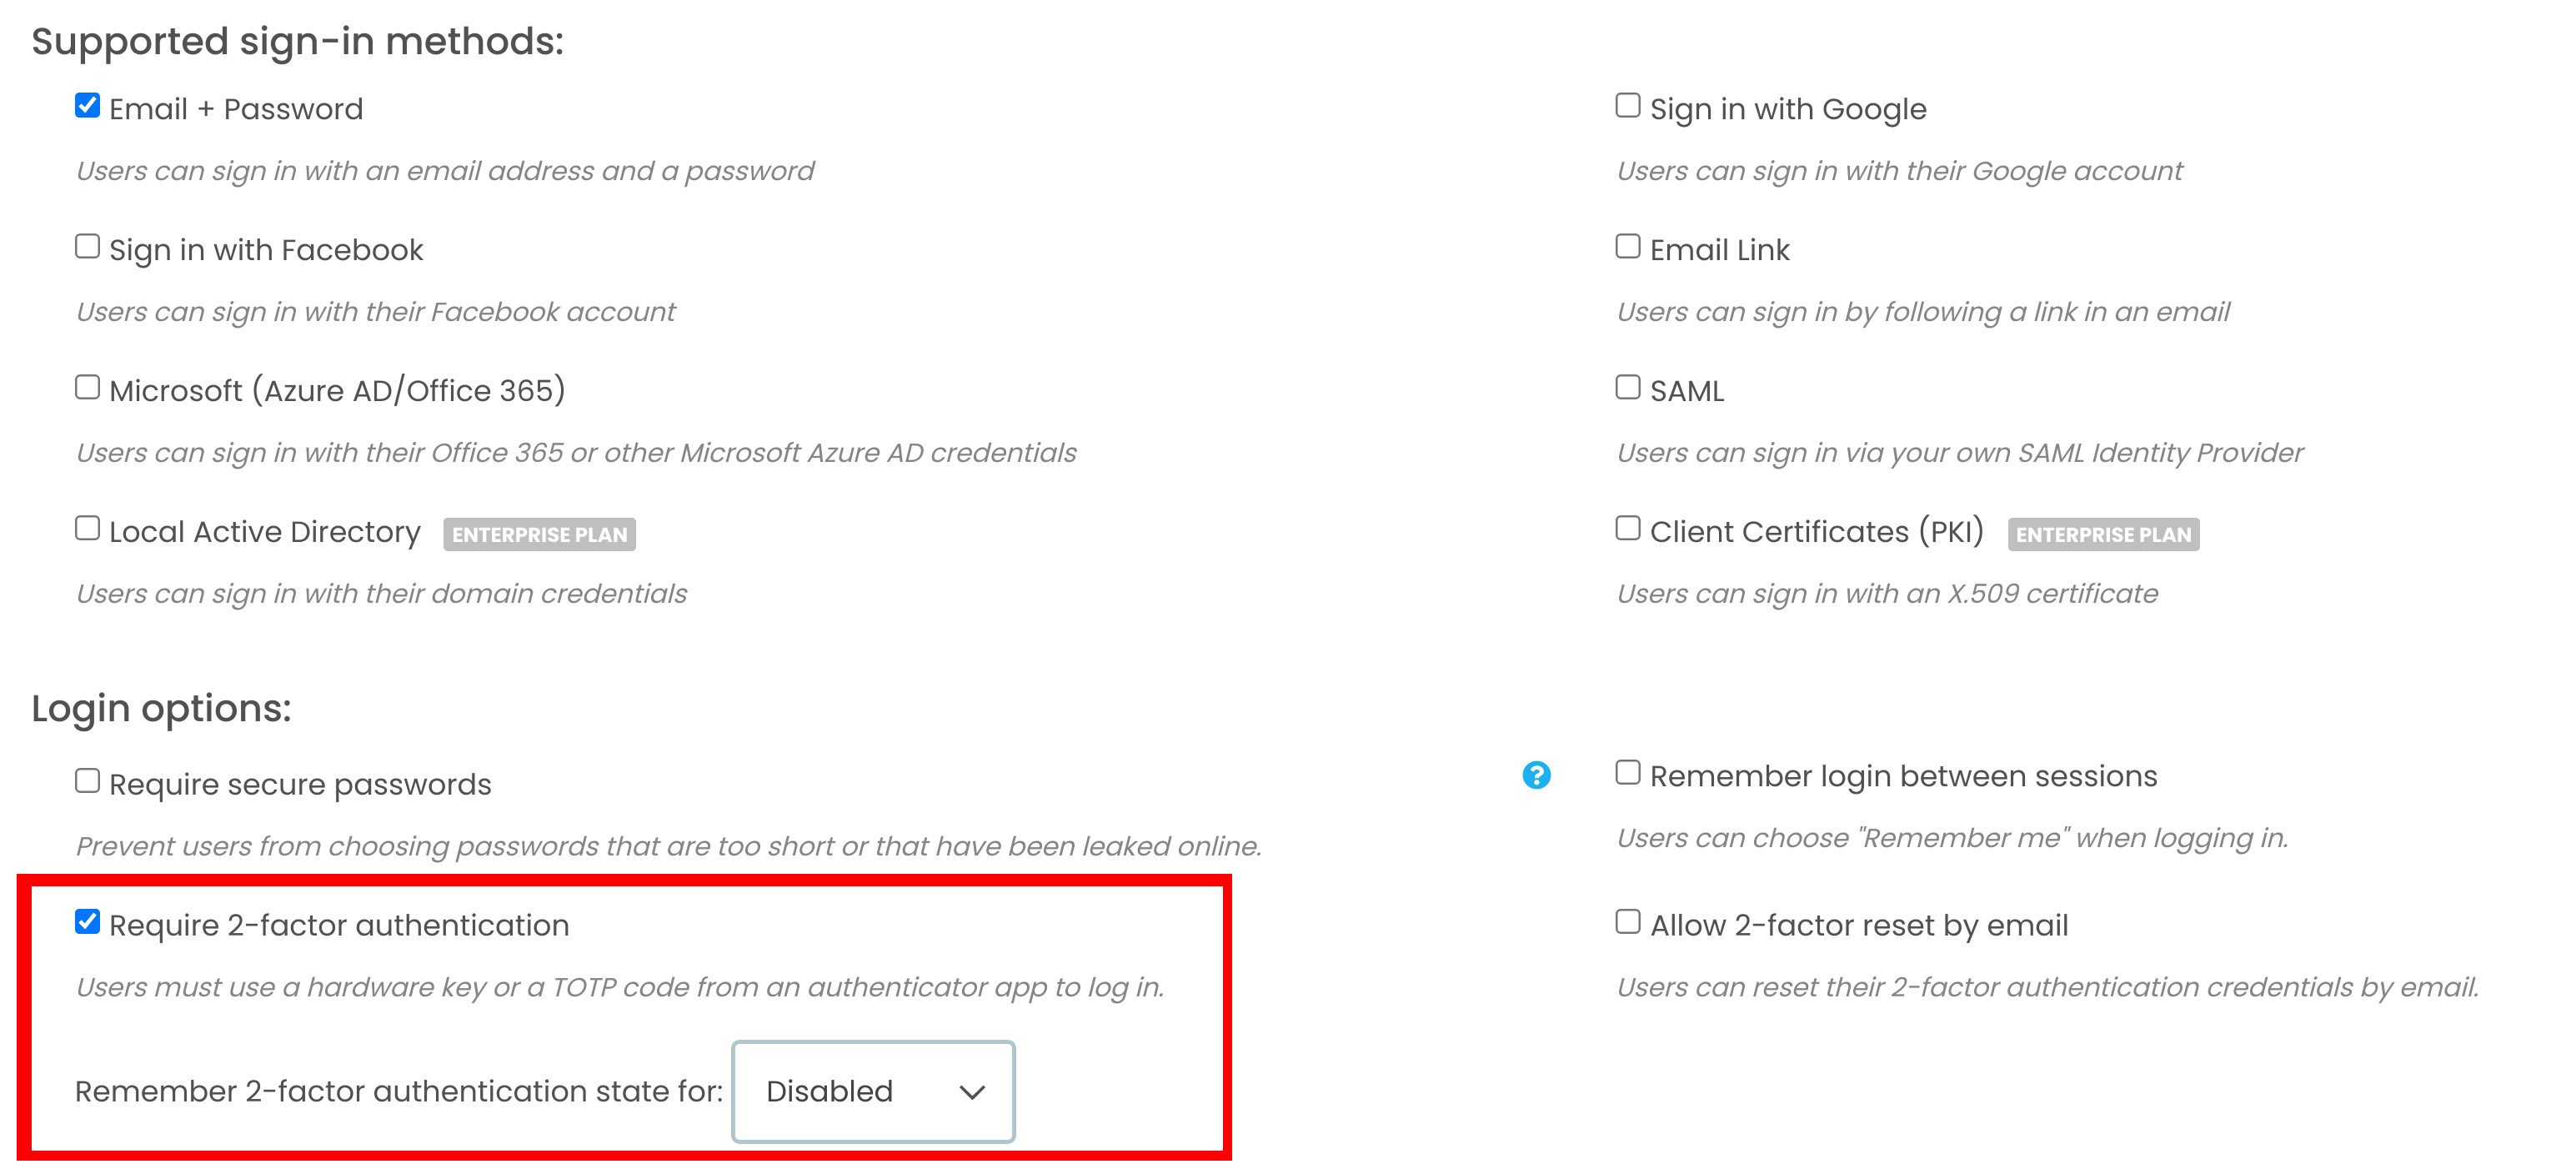
A screenshot of the Users Service, highlighting the ‘Require 2-factor authentication’ section.
You can also choose how to handle the “lost token” problem. You can choose to allow your users to reset their token by email, or have token resets remain an administrator-only task accessed through the Users Service admin interface. If you want to implement your own, more complex recovery flow, Anvil lets you do that too, with a full-featured Python API.
Now, your Anvil app users can have protection from phishing, malware and activity tracking with the help of a hardware token.
More about Anvil
If you’re new here, welcome! Anvil is a platform for building full-stack web apps with nothing but Python. No need to wrestle with JS, HTML, CSS, Python, SQL and all their frameworks – just build it all in Python.
Learn More
Get Started with Anvil
Nothing but Python required!
Seven ways to plot data in Python

Python is the language of Data Science, and there are many plotting libraries out there.
Which should you choose?
In this guide, we introduce and explain the best-known Python plotting libraries, with a detailed article on each one.
Deploy data science to the web with Deepnote

Generate PDF Invoices with Python
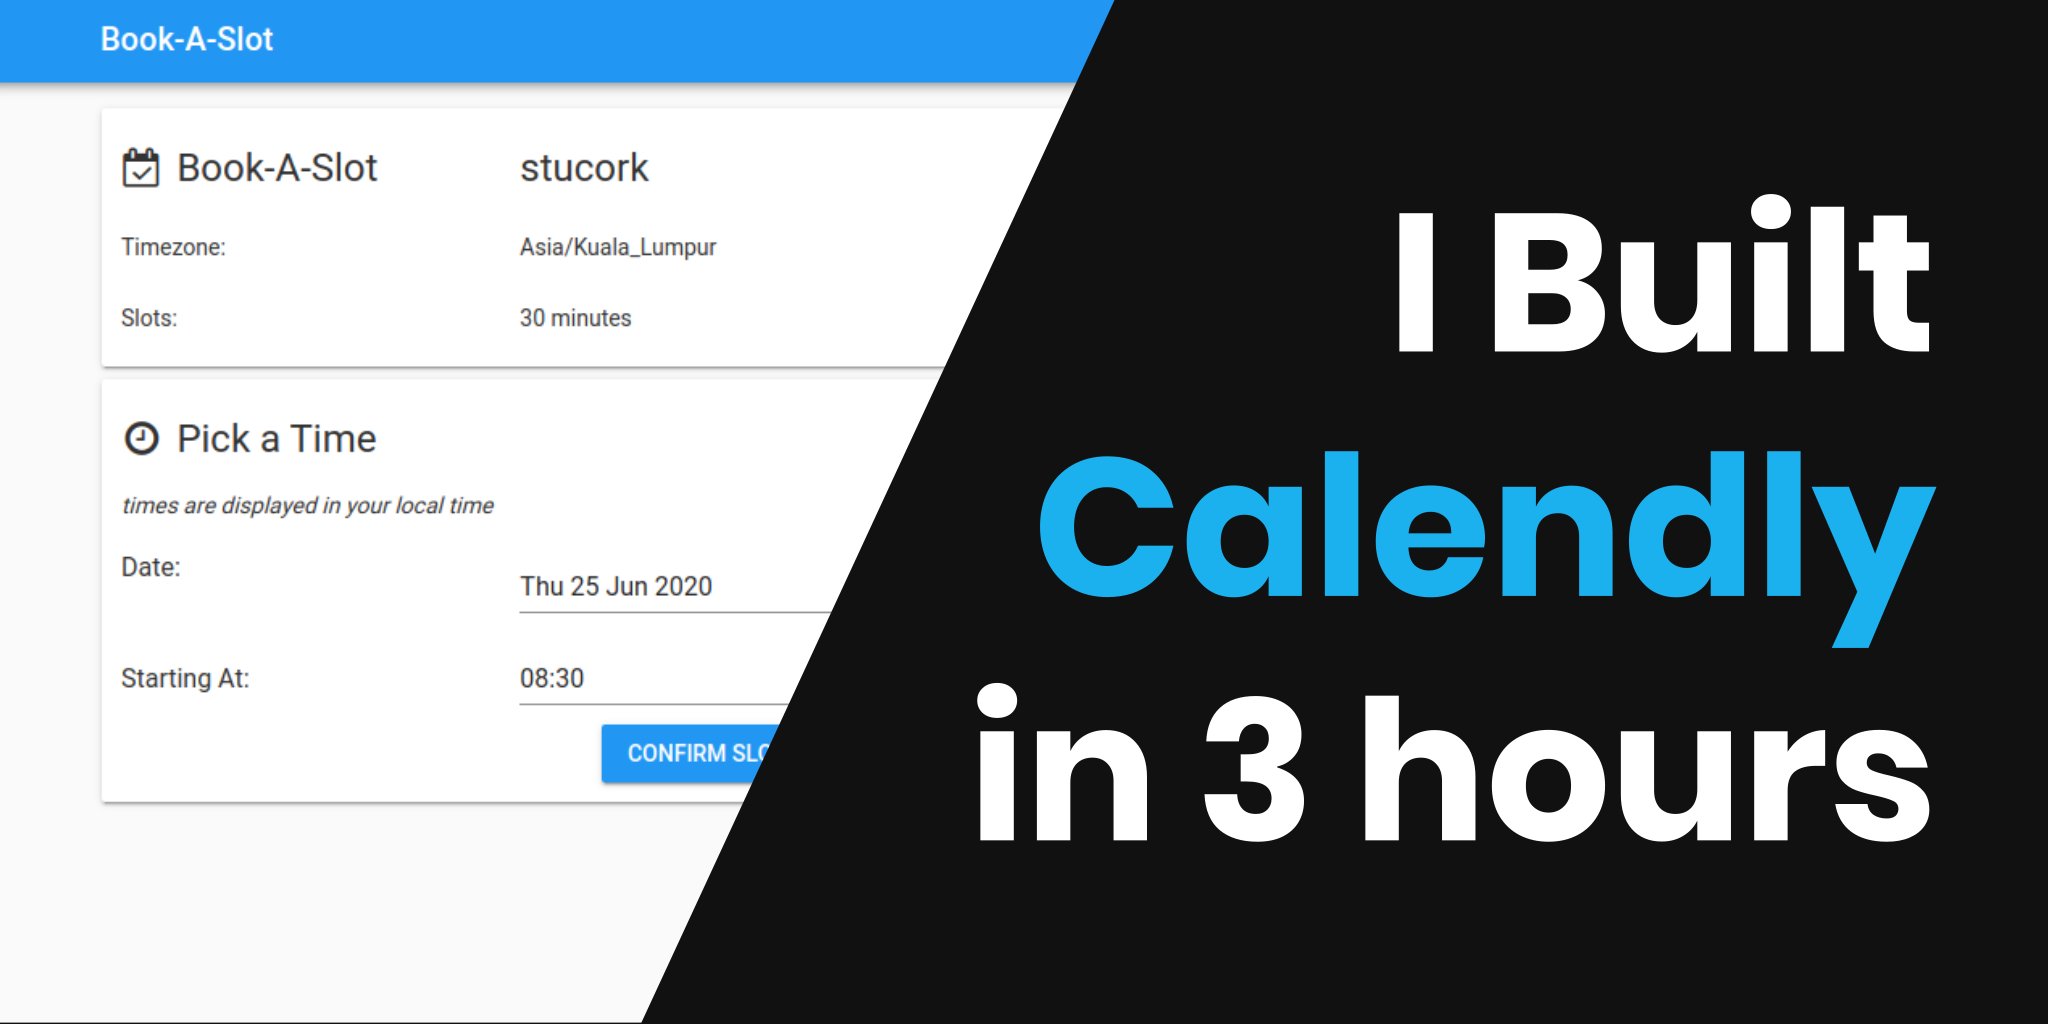
Rapid Prototyping: Building Calendly in 3 Hours