
 By
By Now we need to run that insert_item function when an item is added to our inventory from the UI. Let’s build an add widget into the Data Grid.
Remember the third column? Clear its Title and Key. Set its width to 80. This will hold our add button later.
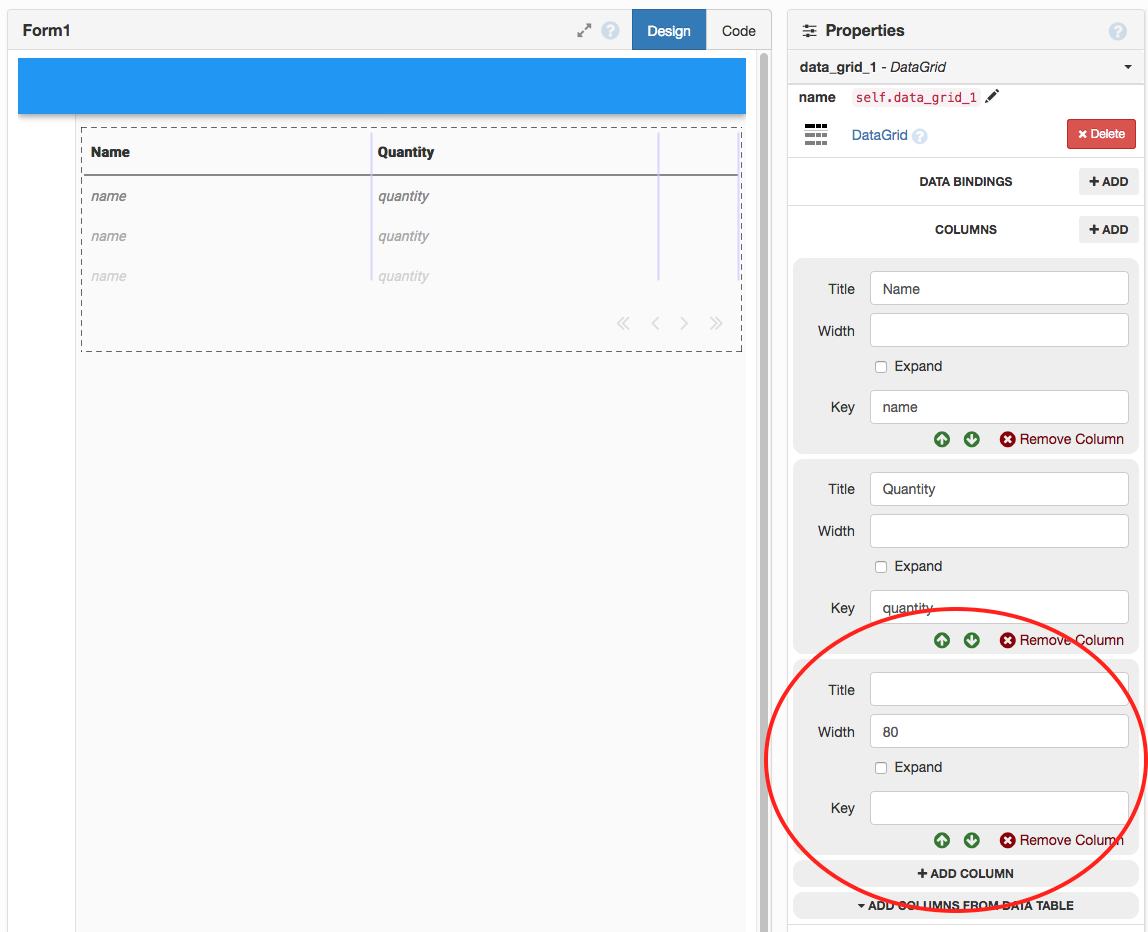
Clear the third column so it can hold the add button
Add a Data Row Panel  to the bottom of your Data Grid.
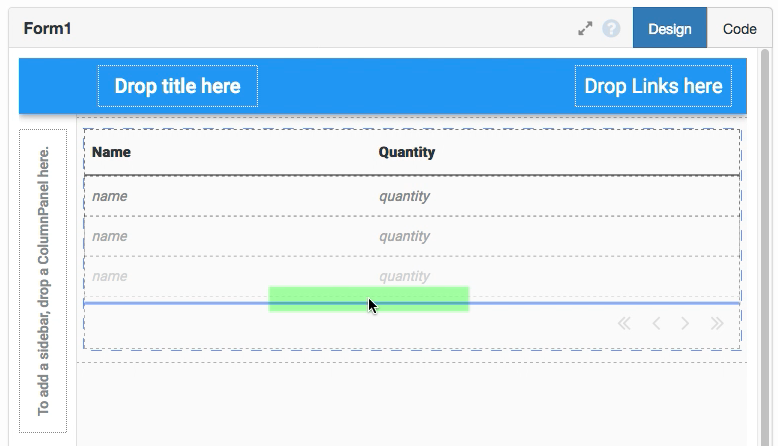
Add a Data Row Panel to the bottom of the Data Grid
Drop a TextBox into each of the Name and Quantity columns. Rename them text_box_name and text_box_quantity. Set the Quantity TextBox’s type to number.

Add TextBoxes for the new item’s name and quantity
Drop a Button into the last column. Rename it button_add. Set the Button’s text to ADD and its role to primary-color.
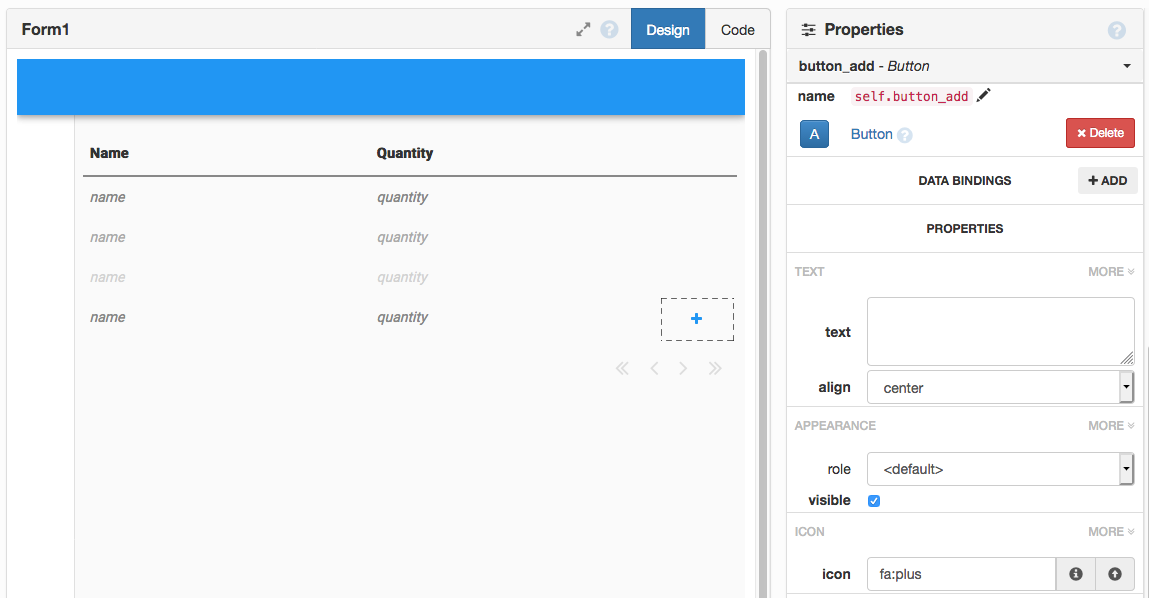
Add an ADD button to submit new items
Create a click handler by clicking the on click event button :
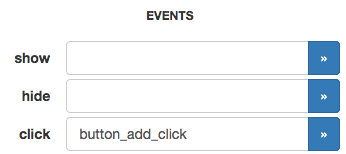
Create a click event handler for the add button
  @handle("button_add", "click")
  def add_btn_click(self, **event_args):
    anvil.server.call('insert_item', self.text_box_name.text, self.text_box_quantity.text)
    self.text_box_name.text = ""
    self.text_box_quantity.text = ""
    self.refresh()
Now you can add items to your database from your web app!

Adding a new inventory item from the web app