
 By
By Anvil Uplink + Raspberry Pi
Sometimes, you want to use code that is not running on the web from your web app. Usually, this is a bit of a pain, but Anvil makes it easy with the Anvil Uplink.
Anvil lets you build full-stack web apps with just Python. The Uplink allows you to connect Python code running anywhere to your Anvil app, even if the program is not running on a public web server.
In this tutorial, we use the Uplink to control a program running on a Raspberry Pi to print a message on the Sense HAT LED display connected to it. The final app will look something like this:

App Demo
This example uses a Raspberry Pi with a Sense HAT for the display, but you can adapt the code to suit your own Raspberry Pi setup.
In this tutorial, we will:
- Create an Anvil app
- Design the user interface
- Enable the Uplink
- Connect a Raspberry Pi script
- Call the Raspberry Pi function from Anvil
- Publish the app
Step 1 - Create your Anvil app
Log in to Anvil and click Create a new app. Choose the New M3 theme and a Blank Panel.
Create app
First, rename the app. Click on the default name at the top and give it a name.

Step 2 - Design the UI
We will build a UI that accepts a name and displays it on the Sense HAT LEDs using Anvil’s drag-and-drop components.
Start by dragging a Card from the Toolbox onto your Form. This will be a nice container for the other components. In the Properties panel, set the padding to:
- Top and bottom:
24 - Left and right:
80
Next, from the Typography section, drag a Heading into the top of the Card. Double-click the Heading and enter the text: ‘Your name in lights!’. Use the floating Object Palette to make the text bold and centre-aligned. You can also add an icon from the Properties panel.
Add Card and Heading components
We want to display a text box where users can enter a name, and a button to send that name to the code running on the Raspberry Pi.
Drag a TextBox to the Card and name it name_box. In the Properties panel, set its appearance to outlined and give it the label: ‘Enter your name’.
Finally, drag a Button into the Card. Align it to the centre, name it show_button, and give it the text: ‘Show’.
Add TextBox and Button components
That is it! The UI is ready.
Next, we will connect the app to the Raspberry Pi using the Uplink.
Step 3 - Enable the Uplink
In the Anvil editor, click the blue + button in the Sidebar Menu to open the list of available services. Add Uplink, then click Enable Server Uplink.
Copy the generated Uplink key. You will use this to connect your Raspberry Pi to this app.
Enable the Uplink
Step 4 – Install the Uplink library and connect your script on the Raspberry Pi
Open a terminal on your Raspberry Pi and install the Anvil Uplink library:
pip install anvil-uplinkNext, create a Python script on your Raspberry Pi with the following code:
import anvil.server
from sense_hat import SenseHat

anvil.server.connect("<YOUR UPLINK KEY HERE>")

sense = SenseHat()

@anvil.server.callable
def show_message(message):
    sense.show_message(message)

anvil.server.wait_forever()
This script connects to your Anvil app using anvil.server.connect with the Uplink key you copied earlier. Annotating the show_message function with @anvil.server.callable exposes it to your Anvil app, allowing it to be called directly. Finally, anvil.server.wait_forever() keeps the script running so it can continuously receive incoming calls from the connected app.
Now, save the script and run it.
Step 5 – Call a function from the Raspberry Pi
Back in Anvil, we will call the show_message function when the Show button is clicked.
Select the Button and click on click event from the floating Object Palette. This opens the Code View and creates a show_button_click function. Inside it, call show_message using anvil.server.call, passing in the text from name_box.
Add an onClick event to show_button
Your function should look like this:
  @handle("show_button", "click")
  def show_button_click(self, **event_args):
    """This method is called when the component is clicked."""
    anvil.server.call('show_message', self.name_box.text)
That is it! Your Anvil app is now connected to your Raspberry Pi.
Step 6 – Publish your app
You can now publish your app on Anvil’s free hosting and share it with others.
Click the Publish button at the top right of the editor, select Add public URL, and use the URL provided. You can change the URL or use your own domain.
Publish the app
Anyone with the link can now access your web app, enter their name,
and see it displayed on the Sense HAT LEDs:
You have just built a web app that interacts with Python running on a Raspberry Pi, using only Python. To learn more, expolre the Uplink documentation or check out our other Uplink tutorials to learn more.
You have just built a web app that interacts with Python running on a Raspberry Pi, using only Python. To learn more, explore the Uplink documentation or check out our other Uplink tutorials.
New to Anvil?
If you’re new here, welcome! Anvil is a platform for building full-stack web apps with nothing but Python. No need to wrestle with JS, HTML, CSS, Python, SQL and all their frameworks – just build it all in Python.
Yes – Python that runs in the browser. Python that runs on the server. Python that builds your UI. A drag-and-drop UI editor. We even have a built-in Python database, in case you don’t have your own.
Learn More
Get Started with Anvil
Nothing but Python required!
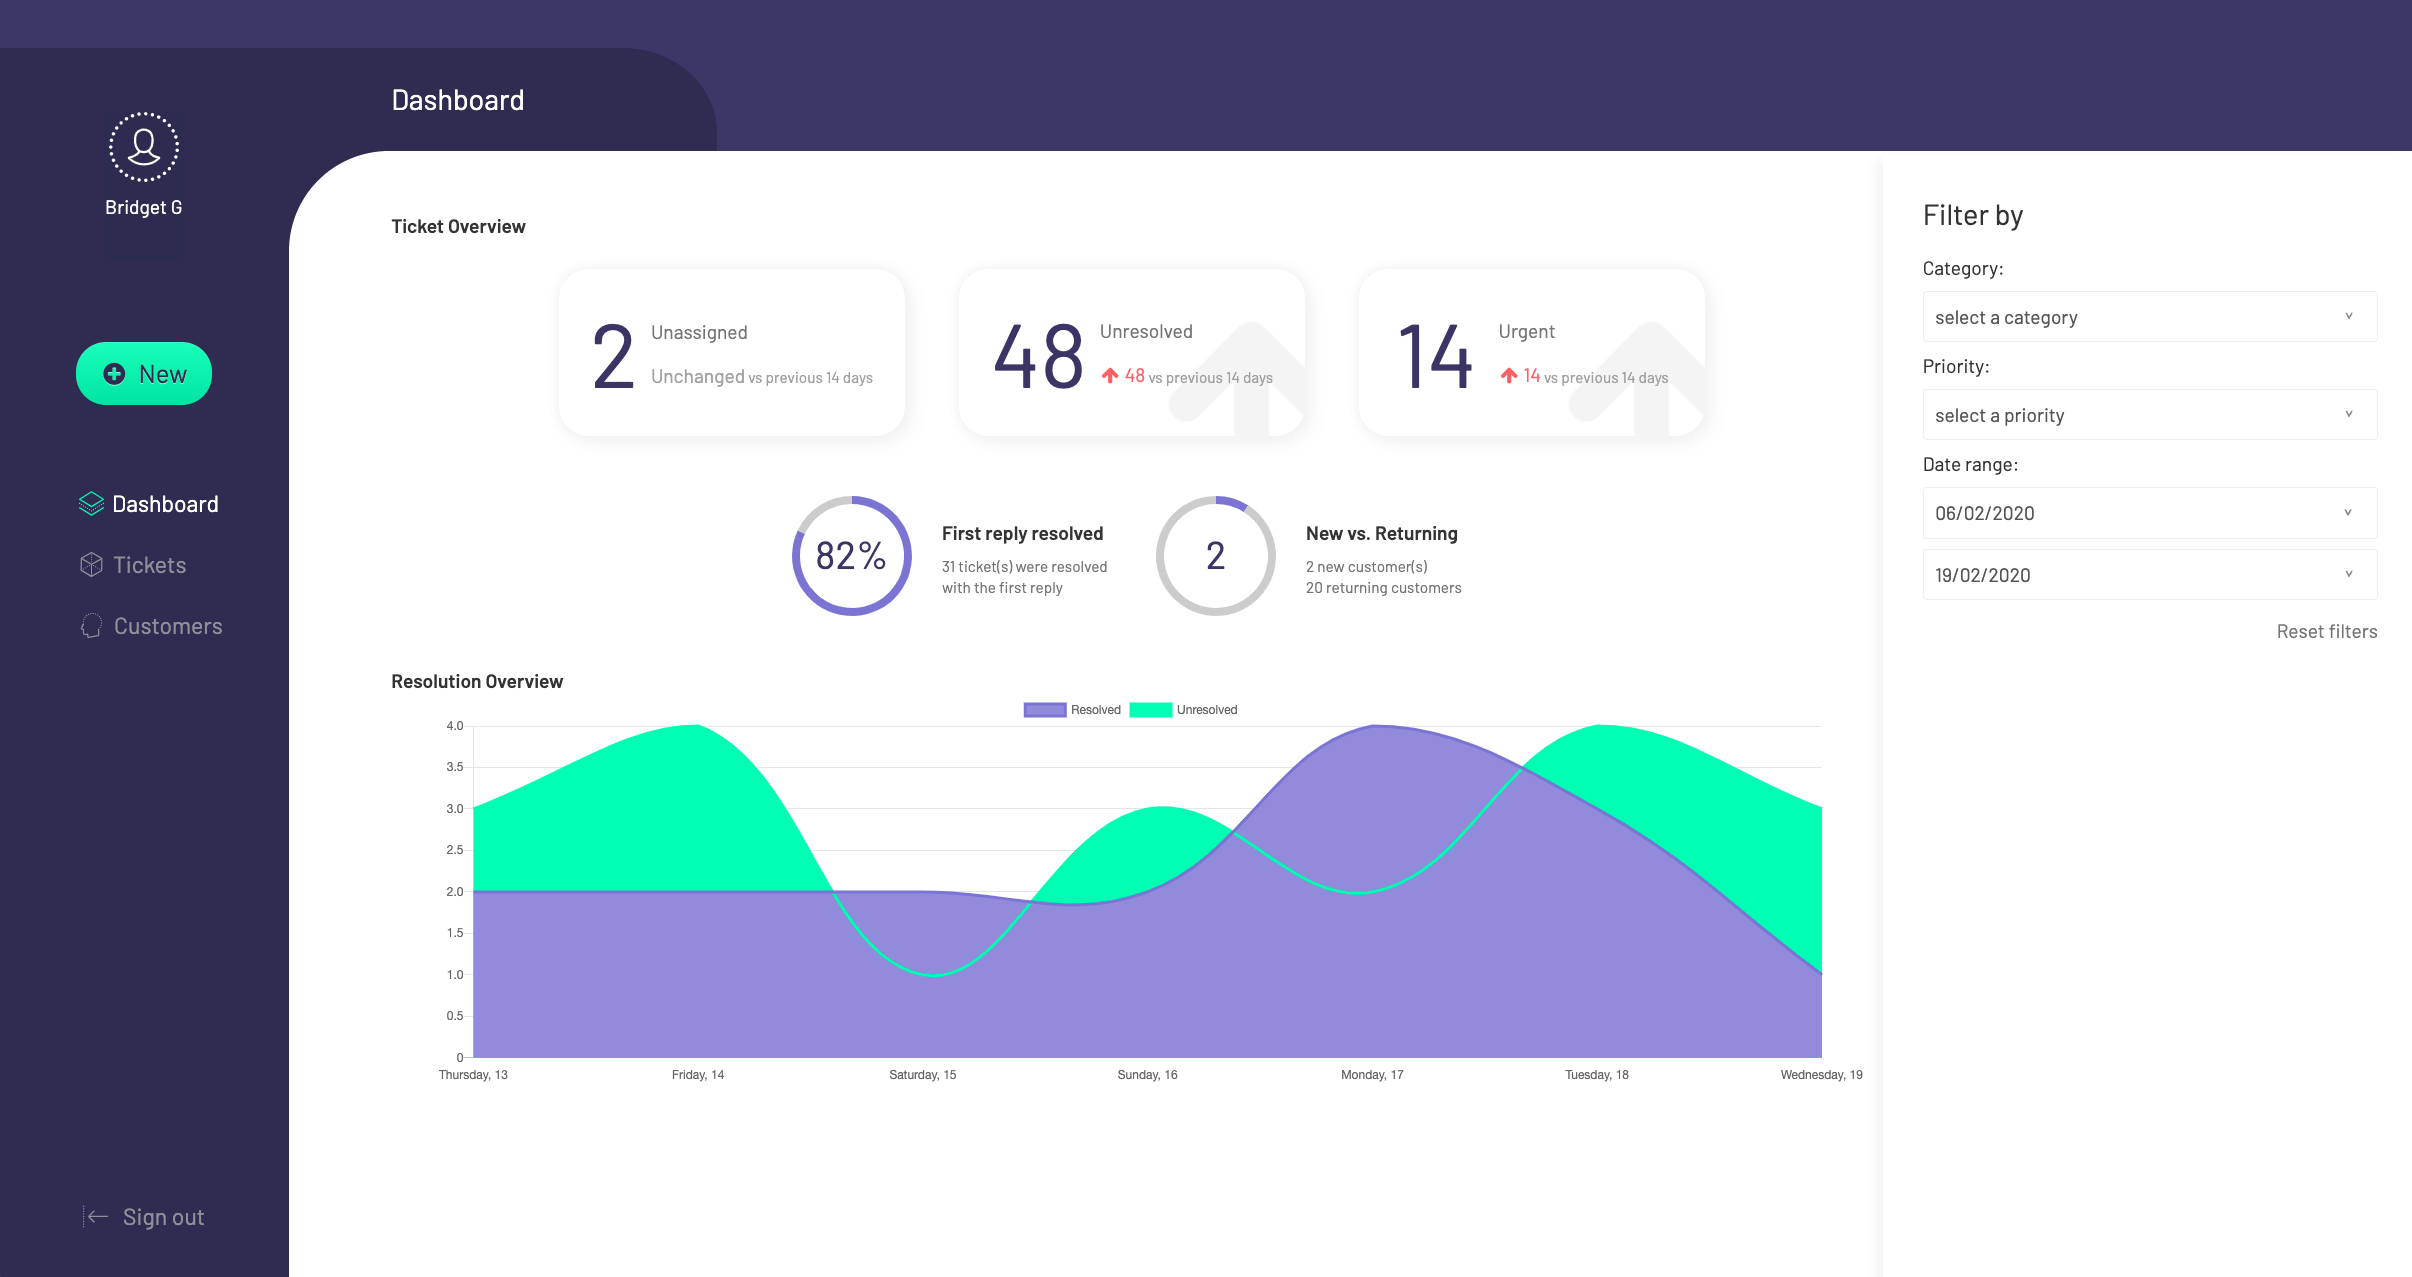
A fully-featured customer service ticketing system
Build a Web App with Pandas
A Guide to Styling Apps with CSS

Building an Online Store using Python