 By
By Chapter 2:
Build the front-end
The Script works, but it always analyses the same sample file. Next, we’ll build a simple front-end that lets you choose a file and send it to the Script.
Step 1: Set up the front-end
Open the Design view of Form1. Change the “Home” label to “File Analyser”.
Then, from the App Browser, open Layouts > BaseLayout and change “MY APP” to “RUN SCRIPT”.
Once that’s done, return to the Design view of Form1. The Form should now look like this:
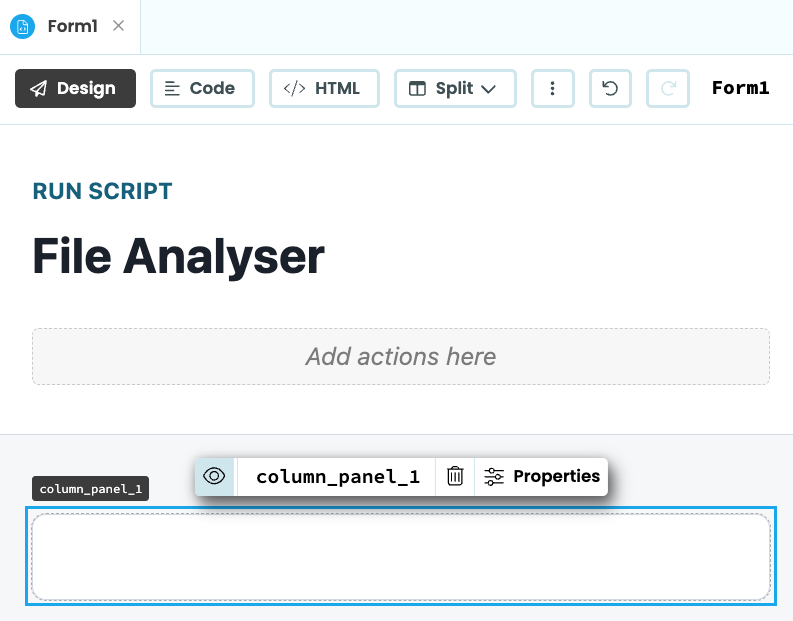
Updated form layout
Step 2: Add UI components
We need a way to choose a file, start the analysis, and display the result. We’ll use a FileLoader, a Button, a Card, and a few Labels for this.
Add a Label to the existing ColumnPanel and set its text to “Upload a file and click Analyse, and our script will guess its file type:”.
Add a FileLoader below the Label and change its text from “Upload” to “Choose a file”.
Add a Button below the FileLoader and set its text to “Analyse”.
Next, add a Card below the ColumnPanel to display the file analysis results. Name it results_card and uncheck its visible property in the Properties Panel. We’ll make the Card visible after the Script returns a result.
Add a Label inside the Card with the text “Results”. Below it, add two Labels side by side: set the first to “Filename:” and leave the second blank, naming it filename_lbl.
Add another pair of Labels below them: set the first to “Type:” and leave the second blank, naming it type_lbl.
The Form should now look something like this:
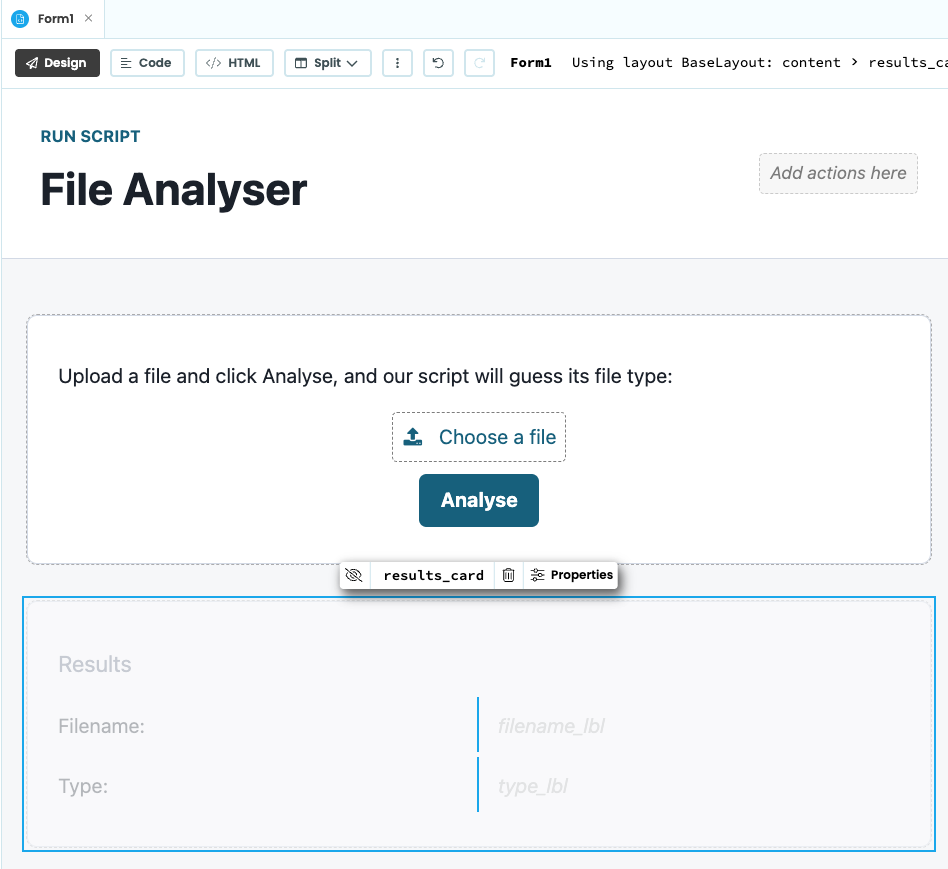
Completed form design
Step 3: Run the Script from the front-end
Now that the front-end is ready, let’s connect it to the Script. When someone clicks the button, we’ll check that they’ve chosen a file, send that file to AnalyseFile, and display the result.
Still in the Design view of Form1, select the “Analyse” button and click “on click event” to create a click event handler.
This opens the Code view with a new button_1_click event handler. In the event handler, we first check that a file has been selected. If there’s no file, show an alert and stop:
@handle("button_1", "click")
def button_1_click(self, **event_args):
if not self.file_loader_1.file:
    alert("Please choose a file to analyse")
    return
Once we have a file, pass it to the Script with anvil.server.run_script(). The Script will receive the uploaded file as its argument, and anvil.server.run_script() will give us the value it returns.
if not self.file_loader_1.file:
    alert("Please choose a file to analyse")
    return

mime_type = anvil.server.run_script('AnalyseFile', self.file_loader_1.file)
The value returned by the Script is stored in mime_type. We’ll use it to display the uploaded filename and file type in the results Card, then make the Card visible.
mime_type = anvil.server.run_script('AnalyseFile', self.file_loader_1.file)

# Display the result in the UI
self.filename_lbl.text = self.file_loader_1.file.name
self.type_lbl.text = mime_type or "Unknown"
self.results_card.visible = TrueWe’ve connected the front-end to the Script. In Chapter 3, we’ll update the Script so it can accept the uploaded file and return its type to the front-end.