 By
By Chapter 3:
Accept arguments and return values from a Script
So far, the Script only analyses sample.png. Now, we’ll update it to accept a file from the front-end and return the file type so we can display it.
Step 1: Pass arguments to the Script
In Anvil, files are usually represented as Media objects, which gives us access to the file’s data and information such as its MIME type. Scripts handle files differently. When we pass a file to a Script, Anvil saves it to a temporary location and provides the path to that file through sys.argv, rather than passing the Media object itself. Since filetype.guess() expects a file path, we’ll use sys.argv to access the file.
First, import sys:
import sysThen update the code that retrieves a file to analyse. If the Script receives a file from the front-end, we’ll use its file path provided through sys.argv. Otherwise, we’ll fall back to sample.png, so we can still run the Script directly through the Editor:
# Analyse a built-in sample file if no arguments provided
if len(sys.argv) > 1:
    # Uploaded media goes into a file, sys.argv gets the filename
    filename = sys.argv[1]
else:
    filename = anvil.files.data_files["sample.png"]
sys.argv[0] contains the Script’s name, so the first argument we pass to the Script is at sys.argv[1]. That’s why we use sys.argv[1] to get the path to the uploaded file.
Step 2: Return a result from the Script
The Script can now analyse the file uploaded from the front-end, but the front end still needs a way to receive the result. Let’s return the file type from the Script.
Import anvil.script so we can set the Script’s return value:
import anvil.scriptThen, update the if statement to return the MIME type when the file is successfully identified:
if guess is not None:
  print(f"Analysed file, guessed MIME type: {guess.mime}")
  # Return this value to the client UI if we were called from there
  anvil.script.return_value = guess.mime
else:
  print("Analysed file, couldn't guess a MIME type")
Once we’ve made these changes, we’ll be able to run the same Script in two ways. Running it from the Editor will still analyse sample.png, while running it from the front-end will analyse the uploaded file.
Step 3: Publish the app
And that’s it. You’ve built a file analyser that runs as a Script in the Anvil Editor and can also be called from the front-end.
With the app now complete, let’s publish it so we can use the file analyser outside the Anvil Editor. Click the ‘Publish’ button on the top-right of the Anvil Editor.
Once published, you’ll have a public URL for your app that you can share with anyone.
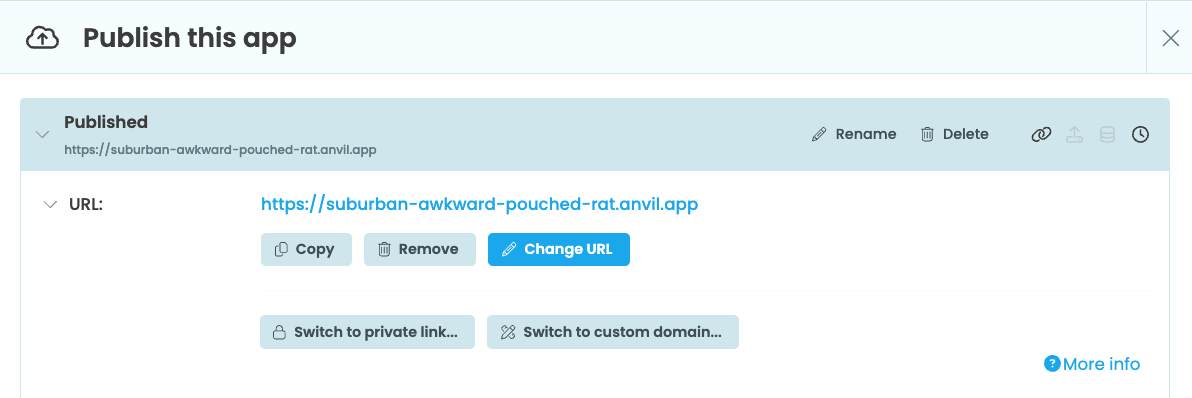
Publish the app
You can also use the following link to clone the finished app and explore it yourself:
Step 4: Run the app
Let’s test the complete app. Run the app and upload a file, then click “Analyse”. The front-end sends the uploaded file to AnalyseFile. The Script analyses the file and returns its type, which the front-end displays in the results Card.
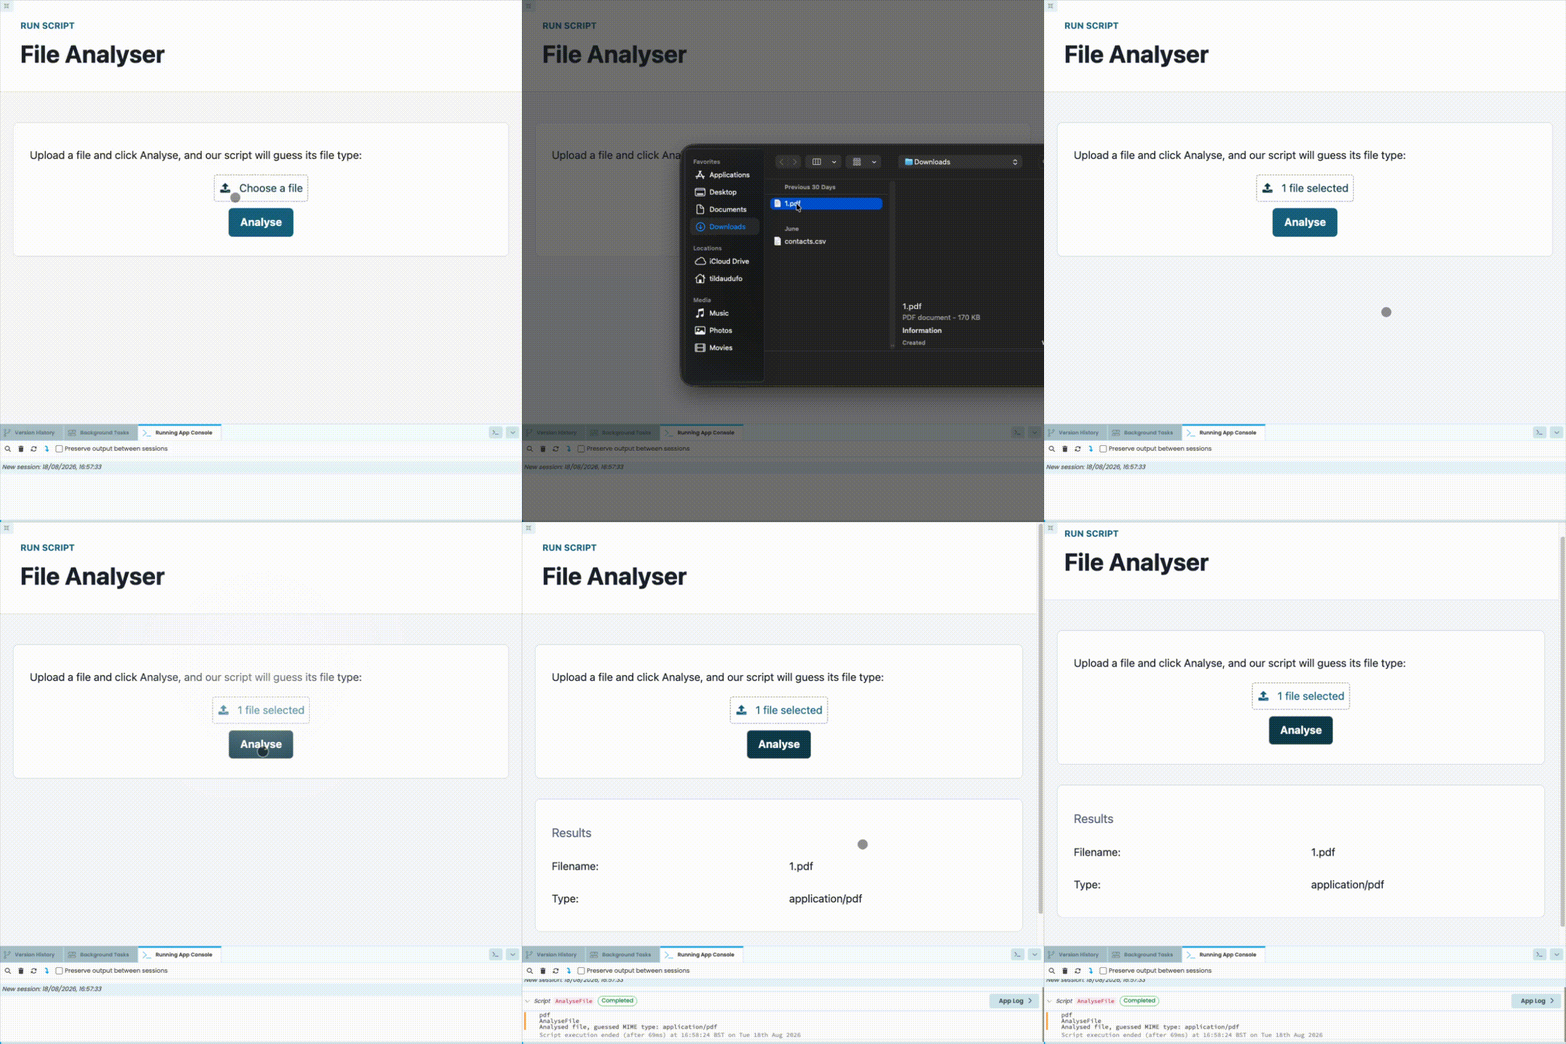
The finished app in use
In this tutorial, we’ve seen how to create and run a Script, pass files to it from the front-end, and return a result to the app’s client-side. You can use the same approach to run Python code for tasks such as generating reports, or seeding a database.
What next?
Head to the Anvil Learning Centre for more tutorials, or explore our examples page to see more real-world app builds.