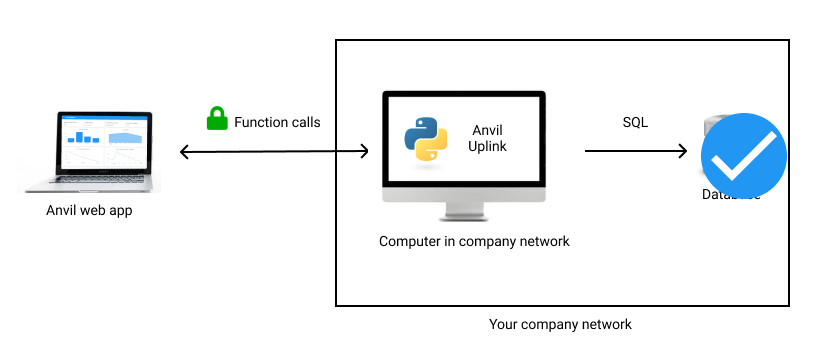
For this tutorial, we’ll use a test Postgres database hosted by the Anvil team.
Hit ‘Create test database’ below to set yours up:
This creates a user and database in our server for you to use for this tutorial. The three-word ID shown above is used for both the username and database name.
It’s hosted at 18.133.244.120.
Make a note of your ID and password, as you’ll need it later.
Wherever this tutorial uses ‘your_database_id’, replace it with your own ID.
That’s the database part of the system already set up.

We’ve set up the database, ready to accept connections.
Optional: connect and take a look
If you have a postgres client installed, you can connect to your database and take a look at it.
For example, if you have psql you can connect using this command:
psql -h 18.133.244.120 -U your_database_idYou’ll find that the database contains a table called inventory containing some items and quantities, such as you
might use in a stock auditing app.
your_database_id=> select * from inventory;
 id |   item_name    | quantity
----+----------------+----------
  1 | Vase           |       10
  2 | Bookcase       |        5
  3 | Bathtowel      |       20
  4 | Frying Pan     |       20
  5 | Large Saucepan |       25
  6 | Small Saucepan |       25
  7 | Dinner Plate   |       15
  8 | Dining Chair   |       10
(8 rows)
If you don’t have a postgres client installed, don’t worry. You’ll connect to your database using Python in the next two steps.
 By
By