
Quickstart: Build an app locally with the Anvil CLI
You don’t need to use the Anvil Editor to build Anvil apps. The Anvil CLI lets you write code locally in your preferred IDE and see the changes instantly in the Anvil Editor.
Follow this quickstart to learn how to set up the Anvil CLI and get started editing apps locally.
In order to follow this quickstart guide, you’ll need to have an Anvil app in your account that you want to edit locally. If you don’t have an Anvil app to use, you can clone this example app: https://anvil.works/build#clone:IMO5DXF6HDBJA6YB=SN4DTPLWFG5UYM3IP24YKUMF.
Install the Anvil CLI
Open a terminal and install the Anvil CLI with one of the following commands:
macOS/Linux
curl -fsSL https://anvil.works/install-cli.sh | shWindows CMD
curl -fsSL https://anvil.works/install-cli.cmd -o install.cmd && install.cmd && del install.cmdUsing npm
npm install -g @anvil-works/anvil-cli@latestnpm, run the command with sudo instead: sudo npm install -g @anvil-works/anvil-cli@latestConfigure the CLI
After the Anvil CLI has finished installing, run anvil configure. This will prompt you with some options to configure your Anvil CLI setup.
-
The Anvil CLI will first check if the anvil-cli is up to date. If the package is out of date, we recommend running
anvil updatebefore continuing with the configuration. -
Next, you’ll be asked to set the default Anvil server. Press enter to set the default Anvil server as https://anvil.works. This means that you’ll be connecting to an Anvil app running on Anvil’s servers. If you are an Enterprise customer, read here to find out how to set the default server to your Enterprise installation.
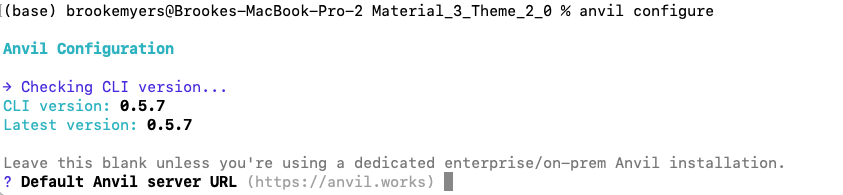
Setting the default server URL. Press enter to connect to anvil.works.
-
You’ll be asked for your preferred editor. Choose None, this can be set later by running
anvil configureagain or from your config file.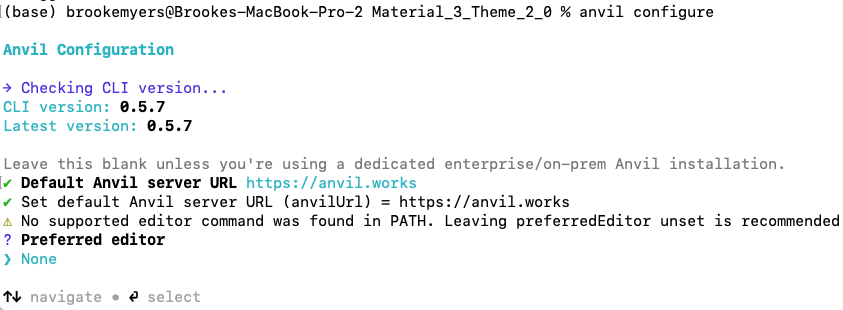
Setting the preferred editor.
-
The CLI will ask if you want to enable verbose logging. Type ‘N’ to set this to False. This can be changed by running
anvil configureagain or by updating your config file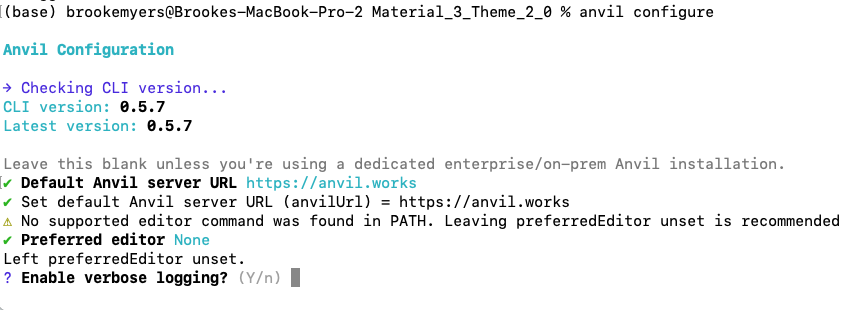
Turning on verbose logging is recommended
-
You’ll then be prompted to log into Anvil. Type ‘Y’ then press enter to open up your browser and grant access to the Anvil CLI. In the browser window, click “Grant Access”.
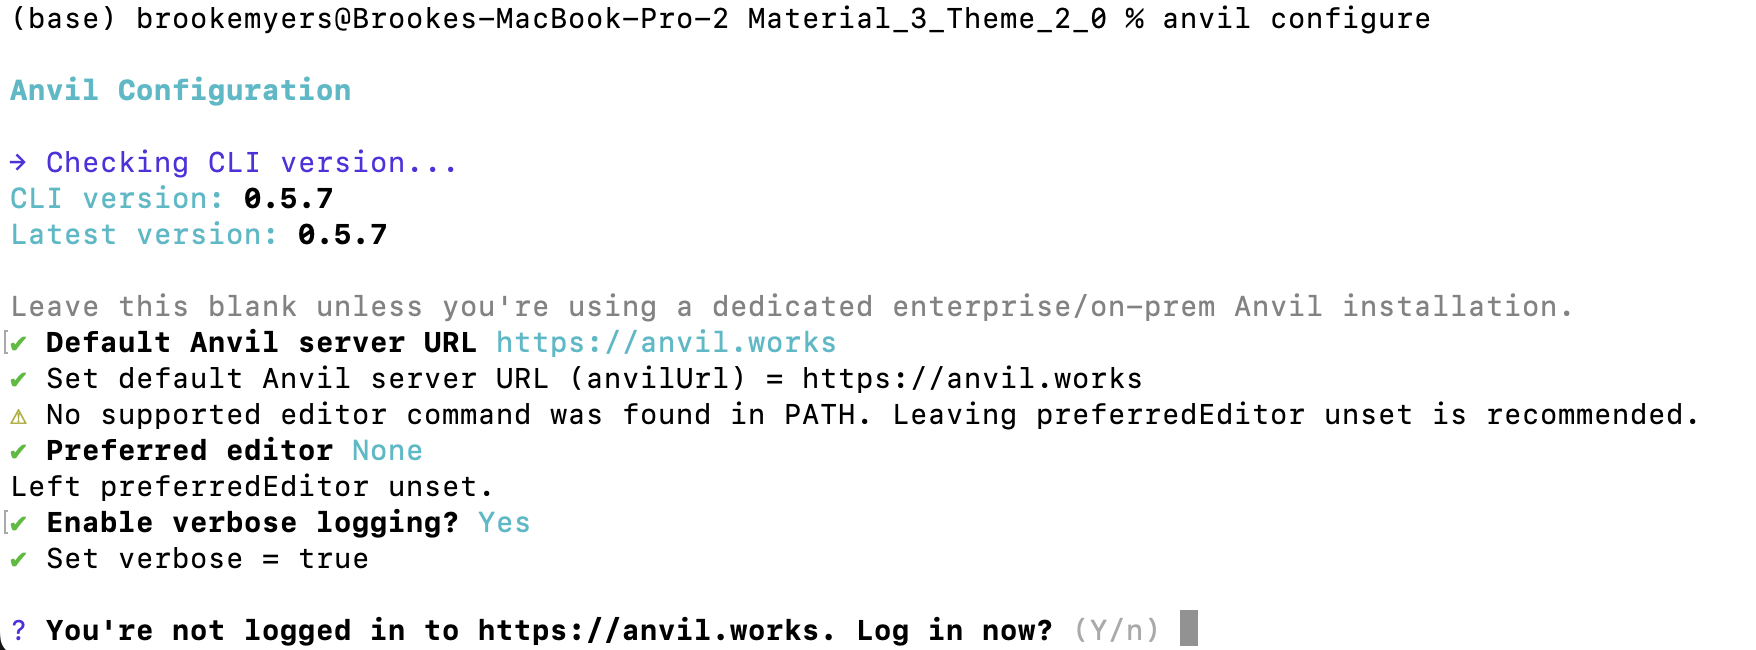
You’ll be prompted to log into Anvil from a browser window.
Checkout your Anvil app
Now that you’ve configured the CLI and logged into Anvil, you’ll need to checkout your Anvil app locally.
In the directory where you’d like the app folder to live, run the following command:
anvil checkoutThis will present you with a list of your Anvil apps. Choose the one you’d like to edit locally.
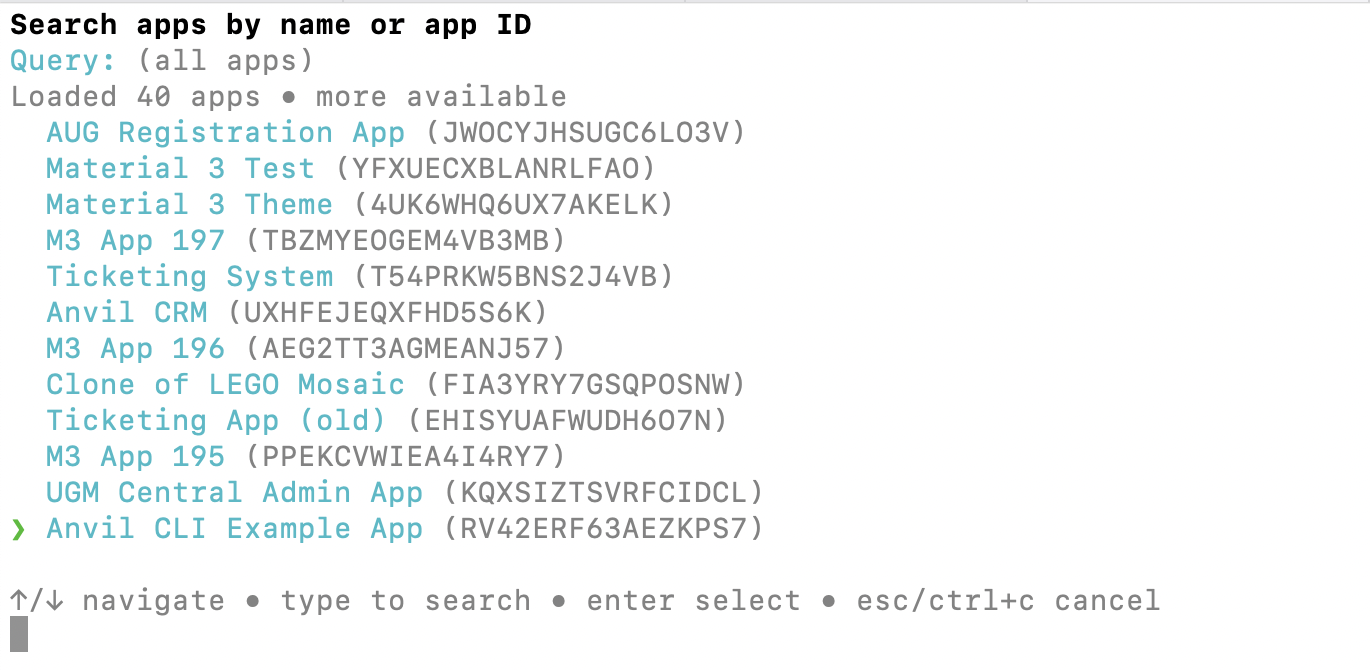
Running anvil checkout lets you choose from a list of your apps
The Anvil CLI will then create a directory with all your app files.
Sync your local app to Anvil
We can now sync changes between the local app and the app running on Anvil.
Next, navigate into this newly created directory and run anvil watch:
cd Anvil_CLI_Example_App
anvil watch
The Anvil CLI will now sync changes between your local Anvil app and the Anvil Editor.
Make a change locally
Open your local Anvil app in your preferred code editor, such as VSCode. Open one of the code files in your app and edit the code.
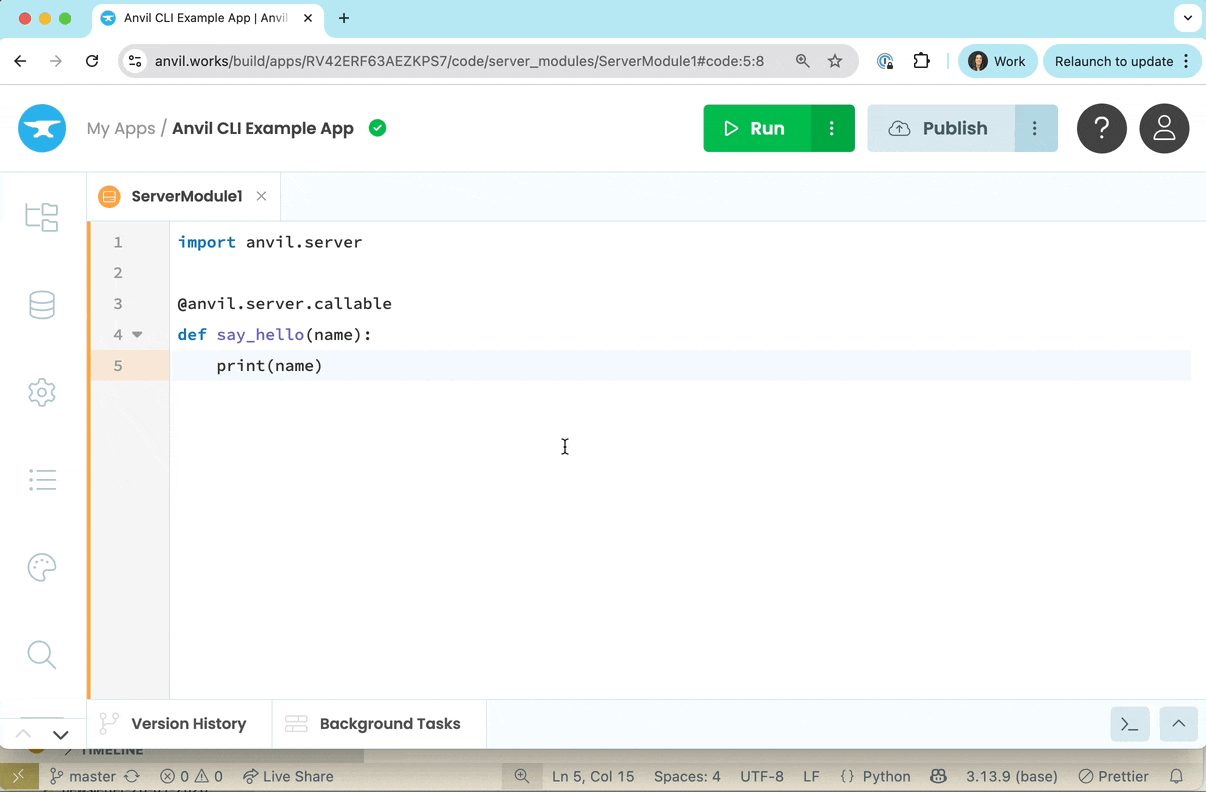
If you are using the sample app, you can open up ServerModule1 which can be found in the server_code directory. Edit the say_hello function so that it prints out the name argument:
@anvil.server.call
def say_hello(name):
    print(name)
Now, open the same file in the Anvil Editor. You should see the changes to the function appear instantly.
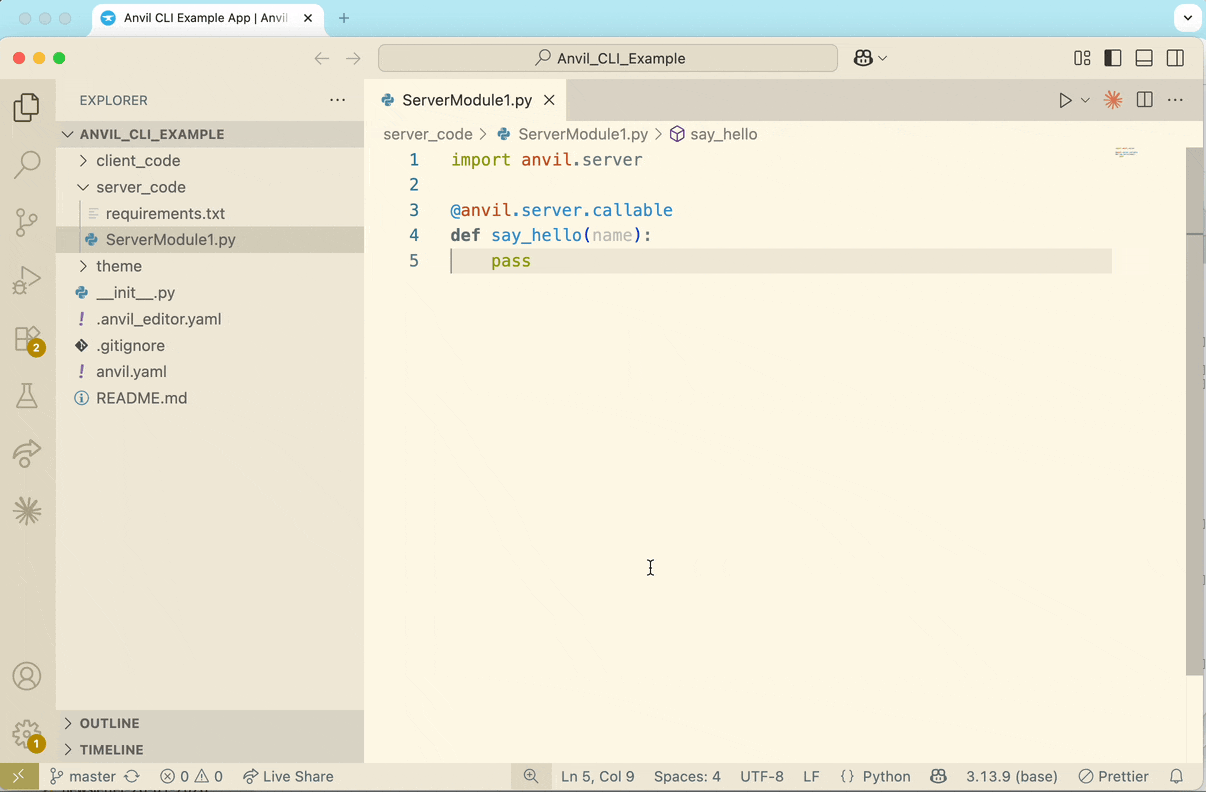
Changes made from your local code editor will automatically appear in the Anvil Editor.
Try making an edit from the Anvil Editor. If you are using the sample app, switch to Form1 and modify the say_hello_button_click to clear the TextBox after the server function is called:
    @handle("say_hello_button", "click")
    def say_hello_button_click(self, **event_args):
        """This method is called when the component is clicked."""
        anvil.server.call('say_hello', self.name_box.text)
        self.name_box.text = ""
Back in your local code editor, open up Form1 to see the change has appeared.
Changes made from the Anvil Editor will automatically appear in your local code editor
Next up
Want more depth on this subject?
Read more about building apps from your preferred IDE.
Want another quickstart?
Every quickstart is on the Quickstarts page.
Do you still have questions?
Our Community Forum is full of helpful information and Anvil experts.