 By
By Putting a web frontend on a Jupyter notebook
Let’s say you’re a data scientist who’s built a model in a Jupyter Notebook. It works great, but right now, the only way someone can use it is by running your code directly.
What if you could give them a real web app instead, built entirely in Python?
In this tutorial, we’ll connect a Jupyter Notebook to an Anvil web app using the Anvil Uplink. By the end, you’ll have a live, shareable image classifier that anyone can use from their browser, without writing any HTML, CSS, or JavaScript.
Here is what we’ll cover:
- Create an Anvil app
- Build the UI
- Enable the Uplink
- Set up the Jupyter Notebook
- Call the notebook from your web app
- Test and publish your app
Step 1: Create an Anvil app
We’ll start by building the web app in Anvil, which we’ll connect to our notebook later.
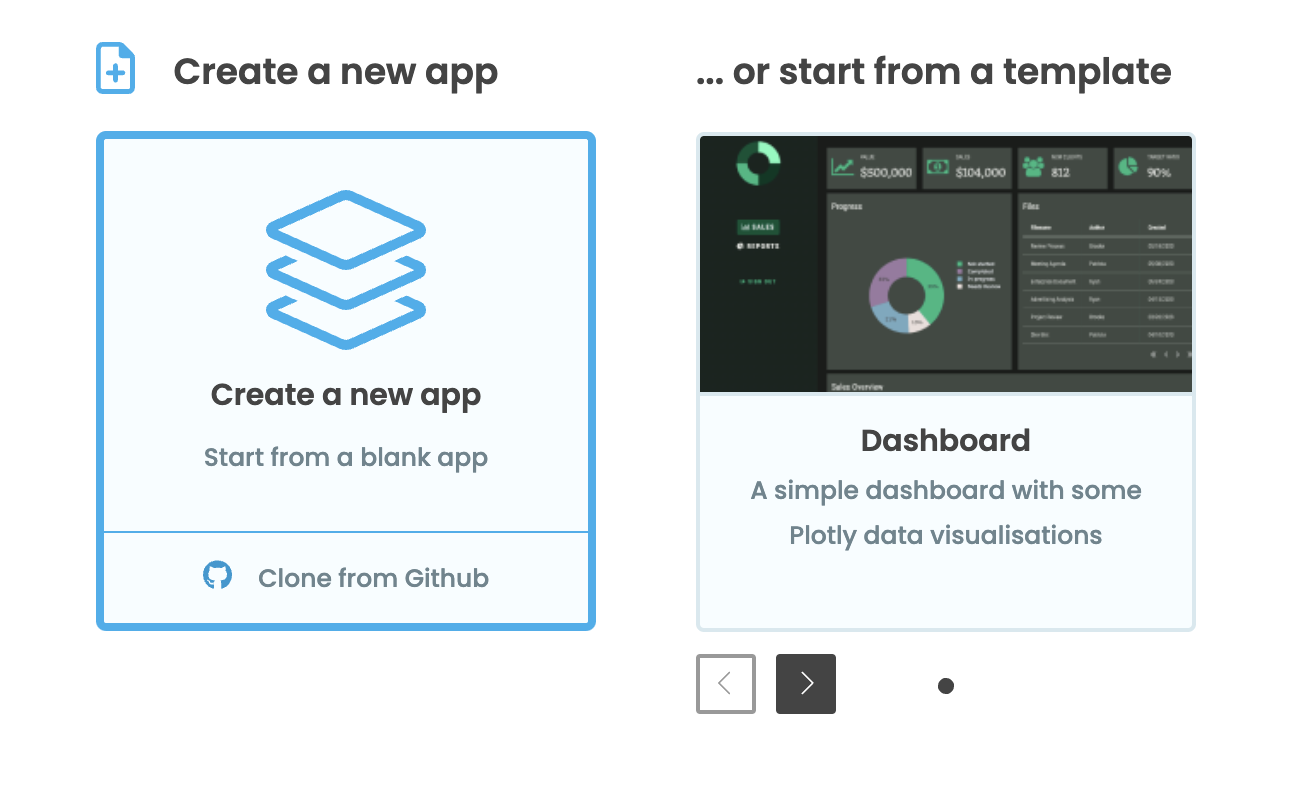
Head over to anvil.works/build and click ‘Create a new app’. Choose the ‘New M3’ theme and start with a ‘Blank Panel’ Form.
First, we’ll name the app. Click on the name at the top of the screen and rename the app to whatever you’d like. I’ll call mine “Image Classifier”.
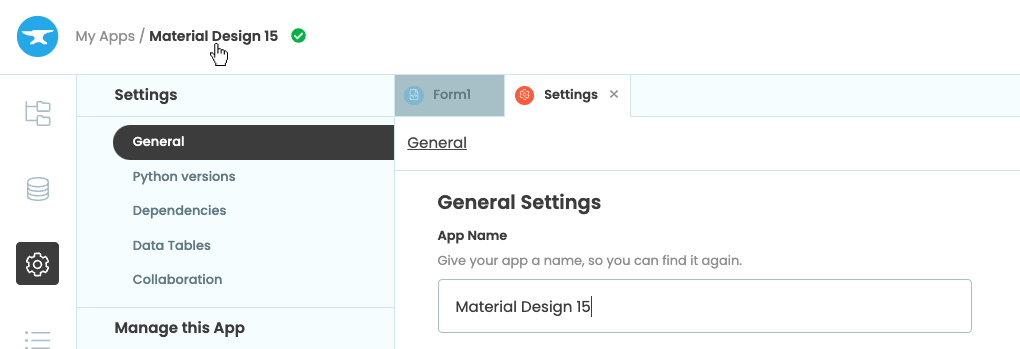
Rename your app by clicking on the title
Step 2: Build the UI
Design the interface
We’ll build the UI by dragging and dropping Components from the Toolbox. Before we do that, let’s start by changing the colour scheme.
Choose ‘Theme’ in the Sidebar Menu and then ‘Colour Scheme’. In the dropdown menu choose Manarola light.

The colour scheme dropdown
Now, back in the Design View for Form1, let’s add our components one by one.
First, drop a Heading  component to the top of the Form. In the floating Object Palette, centre it and click the
 bold icon to make the text bold. In the Properties Panel, change its text to “What’s in this image?”.
Next, drop a Card  below the heading. This will act as a container for the rest of the components.
Inside the card, add an Image ![]() component. This will display the uploaded image we want to classify. Name it
component. This will display the uploaded image we want to classify. Name it uploaded_image and toggle its visible icon in the Object Palette so it doesn’t appear immediately.
Below the image, drop a FileLoader  component. Centre it and change its text to “Upload an image”. We only want image files, so change its
 file_types property to image/* in the Properties Panel.
Next, add a Button  below the FileLoader. This button will run the classifier in the Jupyter notebook when clicked. Name it
 classify_button, centre it, and change its text to “Tell Me!”. Toggle its visible property off, it should only appear when an image is uploaded.
Finally, add a Text  component below the button. This is where we’ll display the result. Name it
 result_text, centre it, and toggle its visible property off too.
Designing the UI
Handle image uploads
When a user uploads an image, we want to display it in the image component and show the ‘Tell Me!’ button. To do this, we will add an event handler to the FileLoader component.
Click on the FileLoader in the Design View and click on change event -> in the Object Palette. This opens the Code View of Form1 and creates a change event handler that fires whenever a new image is uploaded. Inside the event handler, delete pass and add the following code to display the uploaded image and reveal the ‘Tell Me!’ button:
    self.uploaded_image.source = file
    self.uploaded_image.visible = True
    self.classify_button.visible = True
The FileLoader is now set up and its change event handler should look like this:
  @handle("file_loader_1", "change")
  def file_loader_1_change(self, file, **event_args):
    """This method is called when a new file is loaded into this FileLoader"""
    self.uploaded_image.source = file
    self.uploaded_image.visible = True
    self.classify_button.visible = True
Next, we need to add a click event handler to the ‘Tell Me!’ button so it can classify the uploaded image. To do that, we first need to connect our app to a Jupyter Notebook and create the function it will call.
Step 3: Enable the Uplink
To connect our Anvil app to the Jupyter Notebook, we’ll use the Uplink. The Uplink is a Python library that lets your notebook communicate directly with your Anvil app. It allows your app to call functions running inside your notebook as if they were part of the app itself.
In the Anvil Editor, click the blue ‘+’ button in the Sidebar Menu to open the list of available services. Add the Uplink service and click ‘Enable Server Uplink’:

Activating the Uplink
Copy the Uplink key that appears, you’ll need it in the next step.
Step 4: Set up the Jupyter Notebook
Now let’s set up the Jupyter Notebook that will be connected to the app. In this tutorial, I’ll use Google’s Vision Transformer (ViT) model from Hugging Face.
First, add a cell to install transformers:
!pip install -U transformersThe ! operator tells Jupyter to run this as a command-line instruction rather than Python code.
Next, initialise the classifier in a new cell:
# Use a pipeline as a high-level helper
from transformers import pipeline

pipe = pipeline("image-classification", model="google/vit-base-patch16-224")Install the Uplink
Now install anvil-uplink so the notebook can connect to your Anvil app. In a new cell at the top of your notebook, add:
!pip install anvil-uplinkConnect to your Anvil app
At the bottom of your notebook, import the anvil.server module and connect to the app using the Uplink key you copied earlier:
import anvil.server

anvil.server.connect("your-uplink-key")
That’s it! When we run the notebook, it will now have access to everything available in an Anvil Server Module such as:
- calling server functions,
- storing data in Data Tables, and
- defining server functions to be called from the app.
Create the callable function
Now let’s create the function our Anvil app will call.
When a user uploads an image through the FileLoader and clicks the ‘Tell Me!’ button, the image will be passed to this function as an Anvil Media Object. The function will take that object, convert it into a temporary file that the model can read, pass it to the model for classification, and return the top result.
To make the function callable from the app, we’ll add the @anvil.server.callable decorator.
import anvil.media

@anvil.server.callable
def classify_image(file):
    # Convert the media object into a temporary file and pass it to the model
    with anvil.media.TempFile(file) as filename:
        result = pipe(filename)

    # Get the top result from the classification
    top_result = result[0]

    # Clean up the label and format the confidence score as a percentage
    label = top_result['label'].split(',')[0].capitalize()
    confidence = round(top_result['score'] * 100)

    return {
        "label": label,
        "confidence": confidence,
        "message": f"Looks like a {label} to me! I'm {confidence}% sure!"
    }
Finally, in a new cell, call anvil.server.wait_forever(). This keeps the notebook running and listening for requests from the Anvil app.
anvil.server.wait_forever()Run all the cells in order. You should see output like this:
Connecting to wss://anvil.works/uplink
Anvil websocket open
Connected to "Default Environment" as SERVER
The notebook is now connected and the classify_image function is available to call from your Anvil app. Let’s head back to Anvil and call it when ‘Tell Me!’ is clicked.
Step 5: Call the notebook from your web app
Now that classify_image is set up in the notebook, we can add the click event handler to the ‘Tell Me!’ button.
Back in Anvil, click on the ‘Tell Me!’ button in the Design View and click on click event -> in the Object Palette.
Inside the event handler, call classify_image using anvil.server.call, passing in the uploaded image, and display the message returned in result_text:
  @handle("classify_button", "click")
  def classify_button_click(self, **event_args):
    """This method is called when the component is clicked."""
    # Disable the button
    self.classify_button.enabled = False

    # Call the classify_image function in the notebook
    result = anvil.server.call('classify_image', self.uploaded_image.source)

    # Display the result and re-enable the button
    self.result_text.text = result['message']
    self.result_text.visible = True
    self.classify_button.enabled = True
We disable the button while the classification is running so the user can’t click it twice, then re-enable it once the result is displayed.
That’s it! Your app and notebook are fully connected. It’s time to test it out.
Step 6: Test and publish your app
Test your app
Click the ‘Run’ button at the top right of the editor. When your app loads, upload an image and click ‘Tell Me!’. You should see the classification result appear.
Running and using the classification app
Publish your app
Now let’s make your app available for anyone on the web to use. Click the Publish button at the top right of the editor, select ‘Add public URL’, and use the URL provided or enter your own.

The publish button
Your Jupyter Notebook is now connected to your web app, and anyone with the URL can upload an image and get a classification result from your model.
Using the published app
Clone the App
Want to check out the finished source code? Clone the app below:
What next?
Want your model to keep running even after you close your notebook? Check out our tutorial on exporting and deploying your model:
More about Anvil
If you’re new here, welcome! Anvil is a platform for building full-stack web apps with nothing but Python. No need to wrestle with JS, HTML, CSS, Python, SQL and all their frameworks – just build it all in Python.
Learn More
Get Started with Anvil
Nothing but Python required!
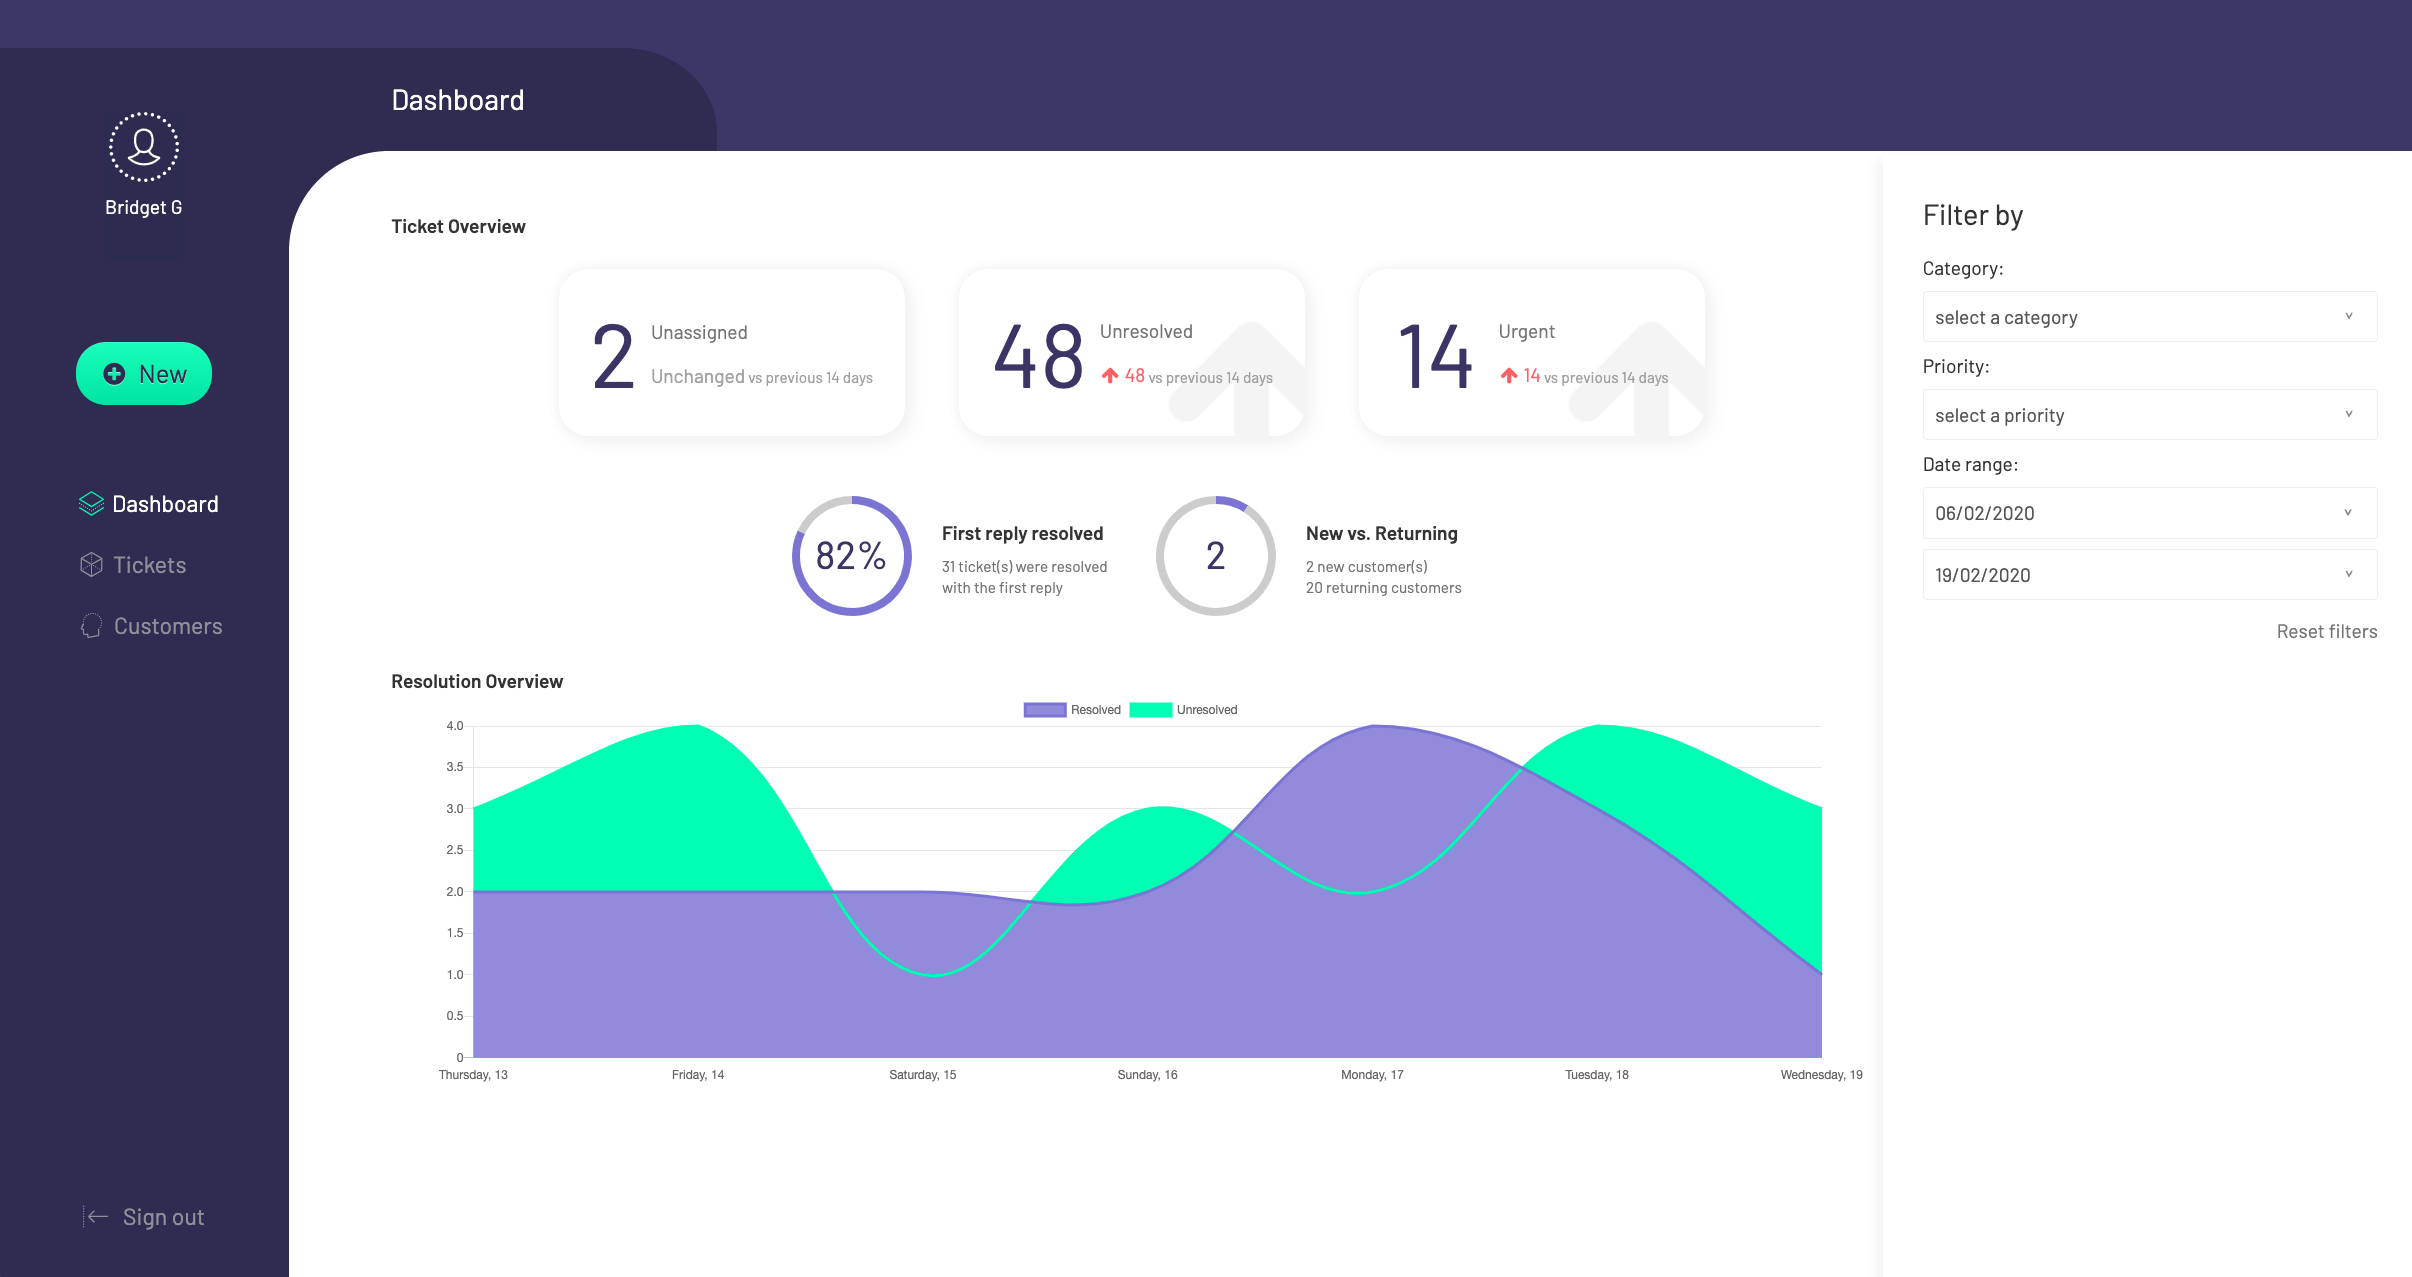
A fully-featured customer service ticketing system
Build a Web App with Pandas

A Guide to Styling Apps with CSS

Building an Online Store using Python