Quickstart: Login
Add signup/login to your app
Anvil has a built-in user management system that makes login and permissions easy.
Follow this quickstart to set up a signup/login form (user authentication).
Create an app
Log in to Anvil and click ‘Blank App’. Choose the Material Design theme.

Add the Users Service
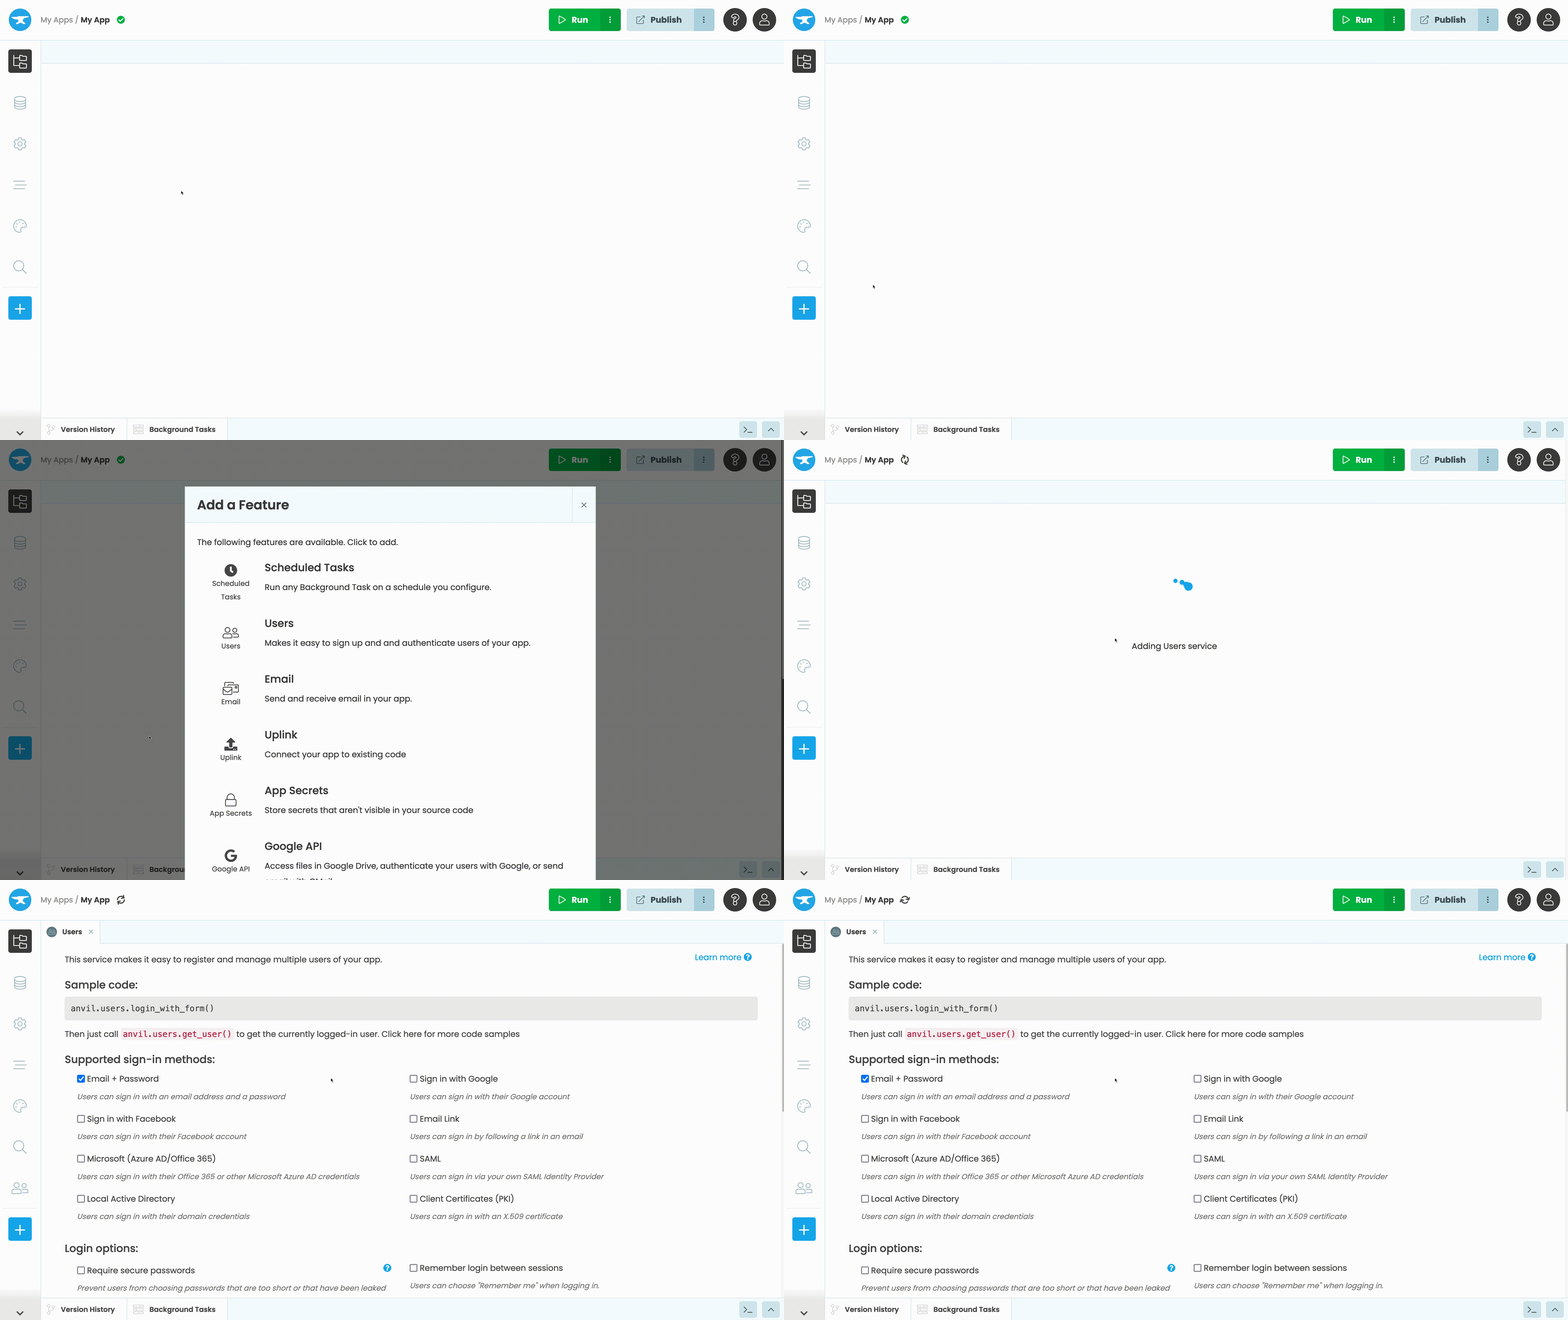
To add the Users Service to your app, click the blue plus button  in the Sidebar Menu. Then select the Users service
 ![]() .
.

Add a login form to your app
Under Forms in the App Browser, select Form1.

Click on the ‘Code’ tab to see the Python code for Form1.

You will see a few lines of pre-written code. Your Form is represented as a class called Form1. It currently has
only one method, the __init__ method.

At the end of the __init__ method, write this line:
anvil.users.login_with_form()Run your app
Now click the ‘Run’ button at the top of the screen.

Your app will display a login form.

Sign up and verify your email address, then stop the app to return to the editor. (You may have opened the app in a new tab when you verified your email, in which case close that tab, then stop the app in your original tab.)
See the user in the database
Open the database window ![]() from the Sidebar Menu.
from the Sidebar Menu.

You should see a table called Users, containing one row - the user record for the email address you signed up with.

Notice that your password has been hashed by Anvil (using the bcrypt algorithm). This means somebody with access to the Data Table cannot work out your password. It is the standard best-practice way to store passwords on the web.
Check you can log in
Add this line to the end of the __init__ method in Form1:
print(f"This user has logged in: {anvil.users.get_user()['email']}")This will get the logged-in user and print that user’s email address.
Run your app and log in. You will see your email address printed in the console.

Copy the example app
Click on the button below to clone a finished version of this app into your account.
Third-party integrations
The app you’ve built creates new user accounts based on an email address and password. You can also allow users to log in in with their existing accounts in third-party services and other systems:

Here are the built-in options:
- Google accounts
- Facebook accounts
- Microsoft accounts (Skype, Office 365 etc.)
- Accounts in your own Microsoft Entra ID tenant (on the Business plan)
- Accounts in your own local Active Directory (on an Enterprise plan)
- X.509 certificates (on an Enterprise plan)
You can also build your own OAuth flows using Anvil’s HTTP library. You can clone this example app, which authenticates against Auth0’s OAuth system, and modify it slightly for your system of choice.
Next up
Want more depth on this subject?
Read more about User authentication and authorisation.
Learn about Two-Factor Authentication.
Want another quickstart?
Every quickstart is on the Quickstarts page.
Do you still have questions?
Our Community Forum is full of helpful information and Anvil experts.

