
Building Layouts from HTML
In addition to building Layouts from Anvil Forms, you can create Layouts from HTML using HTML Forms. This allows you to build fully custom layouts with HTML elements and Anvil components.
Creating an HTML Form Layout
Add a new HTML Form to your app from the New Form modal.
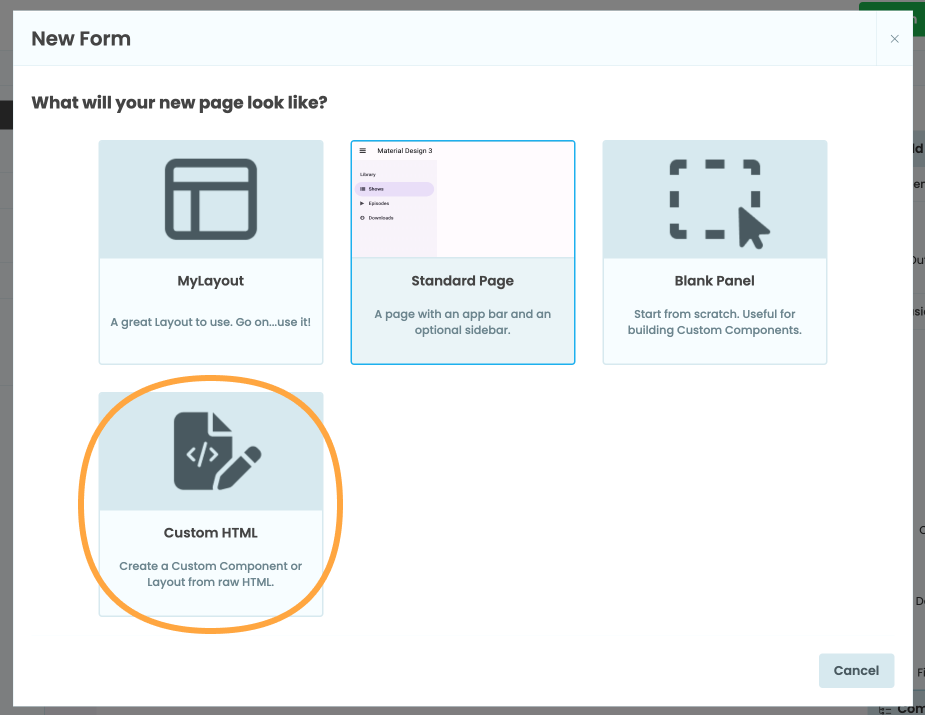
Creating a new HTML Form.
Click the three dots menu at the top of the Form Editor and select Use as Layout. Then switch to the HTML view to write your Layout’s HTML.

Switch to HTML view
Adding slots
Slots define where components can be added to the Layout when it is used by other Forms. You can add a slot in two ways:
- In Design view, drag and drop a Slot from the Toolbox to where you want it to appear. This will add an
<anvil-slot>element at that point in your HTML.

Adding a Slot from the Toolbox to a Layout Form
- In HTML view, add an
<anvil-slot>element directly where you want components to appear:
<anvil-slot name="slot-name"></anvil-slot>When another Form uses this Layout, components can be dropped into the named slot.
Designer prompts
You might want to add prompts to your Layout that are not visible when the app is run. You can do this by adding the anvil-designer-only class to any element, which will make it so the element is only visible in the Anvil Designer.
<!-- The div will only be visible while editing the Form in the designer -->
<div class="anvil-designer-only" style="color: gray; font-style: italic;">
     Drop components below
</div>
<anvil-slot name="slot_1"></anvil-slot>
Do you still have questions?
Our Community Forum is full of helpful information and Anvil experts.