
Configuring your SAML Authentication
Configuring your Anvil app with your identity provider’s details
Under Step 1 in the SAML Authentication service, you’ll be able to configure your app with your identity provider’s details.
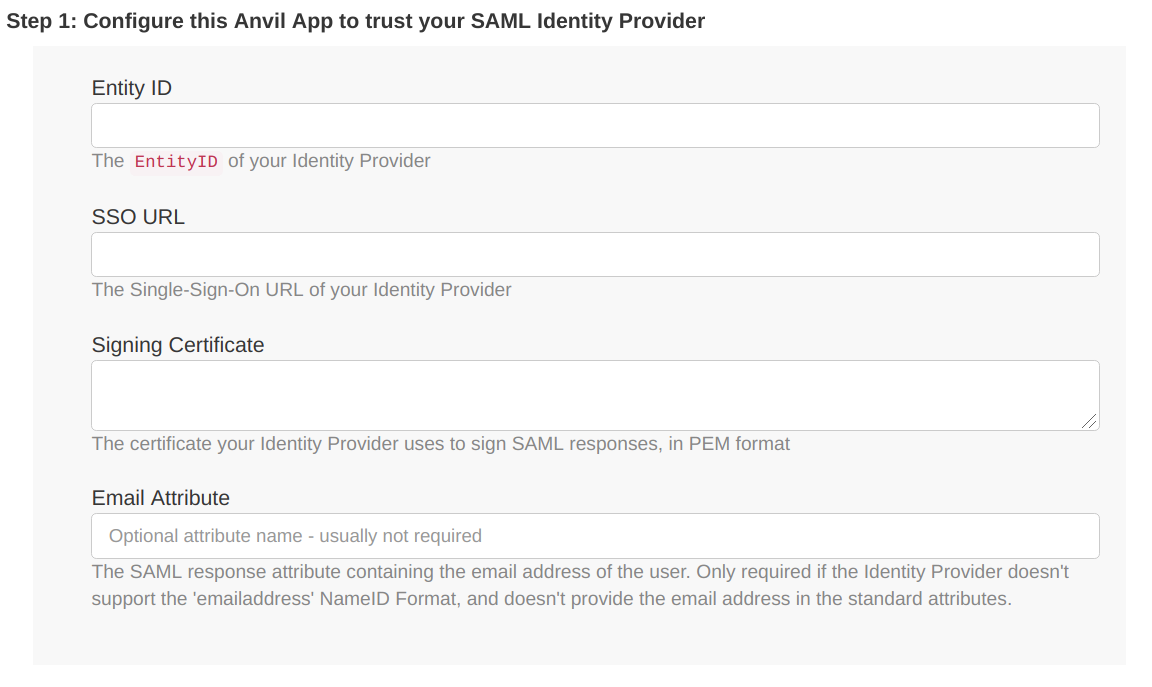
These details will be available from your chosen identity provider. A common way for these to be provided is as an XML metadata file, but many identity providers will also supply them individually.
Entity ID
If your identity provider doesn’t supply this explicitly, it can be found within the XML metadata file as the entityID. It may begin with urn:, or simply be a URL.
SSO URL
This can be found within the identity provider’s XML metadata as Location within the SingleSignOnService tag. If your identity provider gives you the option to choose between a Single-Sign-On URL with an HTTP-POST binding and one with an HTTP-Redirect binding, choose the one with the HTTP-Redirect binding.
Signing Certificate
The X509 signing Certificate supplied by your identity provider. It will be available within the metadata as X509Certificate.
Email Attribute
Anvil expects your Identity Provider to supply an email address in the returned XML during authentication. The email address will then will automatically be extracted it if it’s shared as one of the standard attributes, but otherwise you can enter the name of the XML attribute containing the email address in this field to ensure that it will be extracted. This field is optional.
Configuring your SAML Authentication within Anvil
Under Step 2, you’ll be able to set some options for how your SAML authentication will function in your Anvil app.
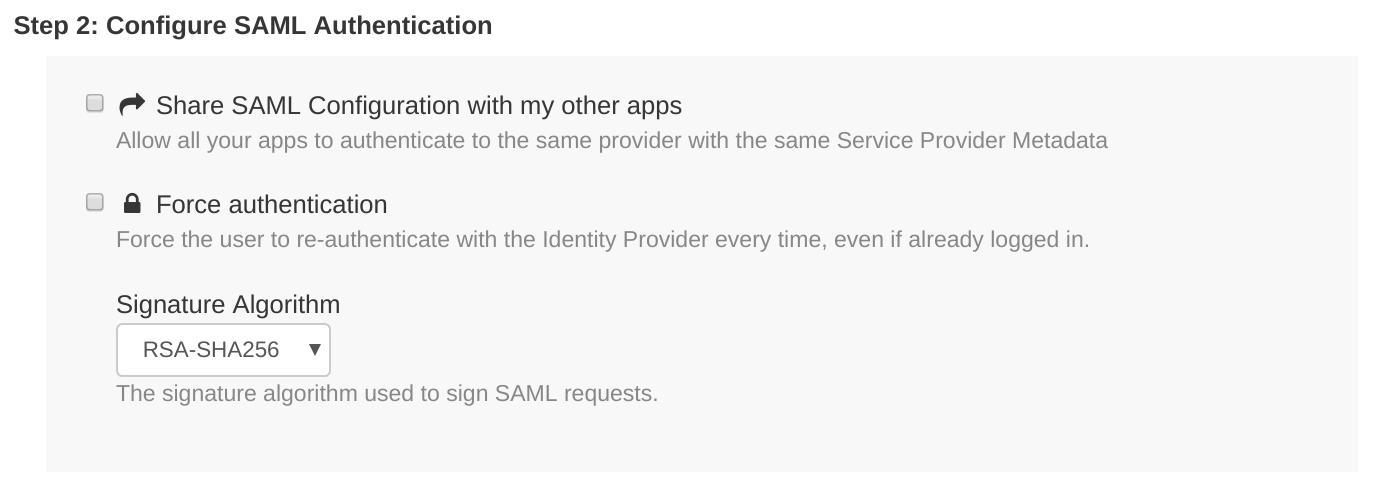
Share SAML Configuration with your other apps
If this is ticked, you will be able to use the SAML configuration of your current Anvil app in your other apps, to allow users to authenticate with those apps using the same SAML identity provider. Crucially, it means that the entityID of your app is shared among all your apps, and is therefore different than when this box is unticked. See Sharing SAML Credentials across Anvil apps for more detail.
Force authentication
If this is ticked, it will ensure that whenever a user is asked to authenticate, they must log in manually every time, even if (for example) they are already logged in with the identity provider in another tab.
Signature algorithm
This defaults to RSA-SHA256. It specifies which encryption algorithm will be used to encrypt the signature of the traffic between your Anvil app and your identity provider, as long as the identity provider also supports the specified algorithm.
Configuring your identity provider with your Anvil app’s details
Under Step 3, you’ll be able to access the details you need in order to configure your identity provider to accept authentication requests from your Anvil app.
The metadata can be downloaded with the Download Service Provider Metadata button, found within the SAML Authentication service section. Some identity providers will allow you to upload this metadata file directly in order to configure them. If not, your EntityID and signing certificate are also displayed explicitly immediately below the download button.
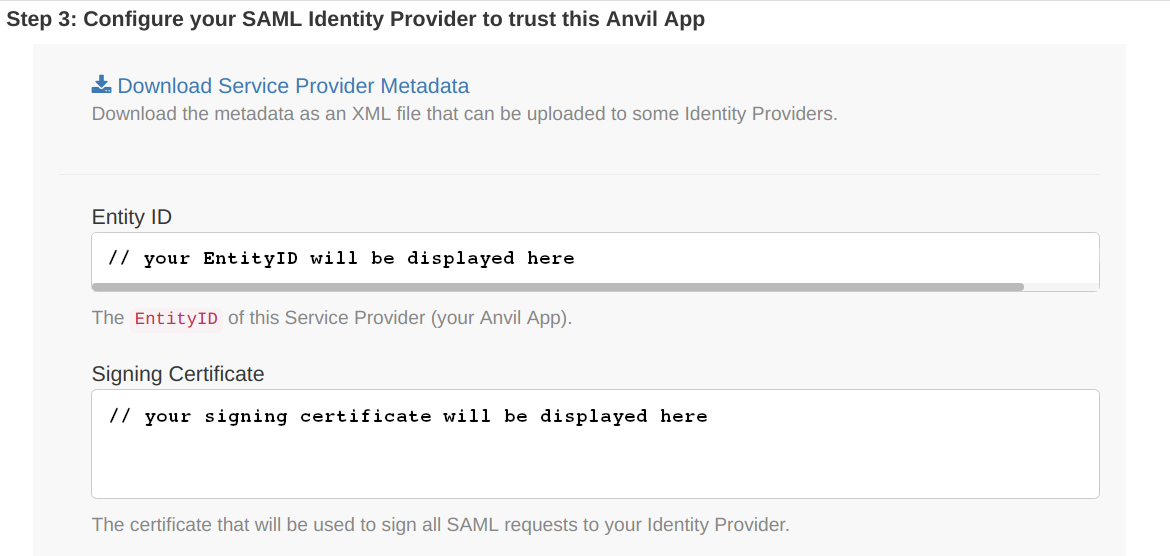
You will also need the Assertion Consumer Service URL for your app. If your app is running on Anvil’s hosted service, this URL is https://anvil.works/apps/_/saml_auth_login.
Do you still have questions?
Our Community Forum is full of helpful information and Anvil experts.