
Build a Hello World app
It’s simple to get started building full-stack web apps in Anvil, but even easier if you know the basics! Follow along to dive right in and learn how to build a Hello World app.
We’ll build a user interface with a text input and a button. When visitors come to our app, they’ll type in their name and click the button to see a “hello” message. We’ll also store the names of our app visitors in a built-in database. Finally, we’ll publish our app to the web.
- Build a UI using drag and drop
- Make the UI interactive
- Write secure server code
- Store data in a built-in database
- Deploy your app
Step 0: Create an Anvil app
To create our Hello World app, we first need to create an Anvil app, Navigate to anvil.works/build and click “Create a new app”. From the modal menu that pops up, choose “New M3”.
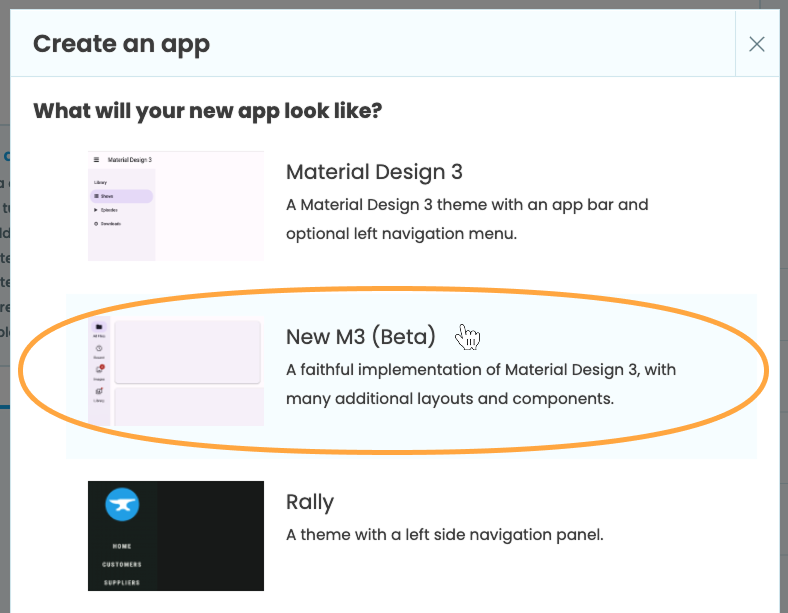
Choosing the New M3 theme for our app
You can now choose from a variety of layouts for your app. We are just making a simple Hello World app, so go ahead and choose “Blank Panel”. This will give us a blank page to start with no added UI elements.

Start with a Blank Panel Form
Step 1: Build a UI
Let’s now build the User Interface. For our app, we want a text input (so users can input their name), a button (for users to click on) and a component to display the “hello” message.
1.1 Drag and drop components
From the panel on the right-hand side of the Editor, drag and drop a Card component onto the page. We call this panel the Toolbox. It holds all the UI components available for our app. Inside the Card, drag and drop a TextBox component.
Dragging and dropping components to build our UI
1.2 Change the look and feel
This TextBox has a number of different properties that allow you to control its look and feel. When you select a component, you’ll be able to find some common properties in the floating Object Palette.
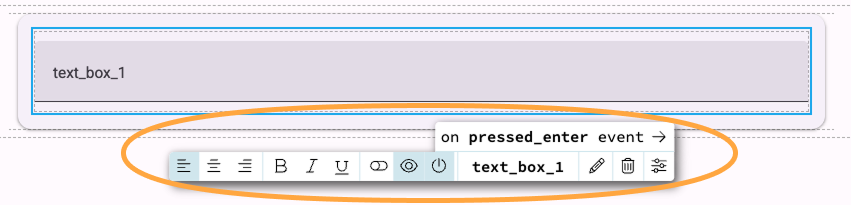
You can set some properties from the Object Palette
Let’s give our TextBox some placeholder text by setting its placeholder property. We can find all of a component’s properties on the right in the Properties Panel. In the Properties Panel under “Key Properties”, set the placeholder property to be “Enter your name…”. You can also set any other properties you want here.
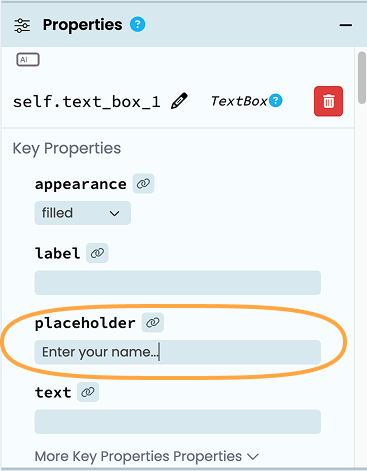
Setting the placeholder property
of the TextBox
1.3 Finish the UI
Next, drag a Button onto the Card. In the Object Palette, click the icon to center the Button on the page, then click the icon to change the text of the Button to “Say Hello”.
Adding a Button to the UI and changing its align and text properties
Finally, we need a component that will display our “hello” message. Drag and drop a Heading component under the Card. You can center align the Heading or adjust any other properties that you want.
Your finished UI should look something like this:
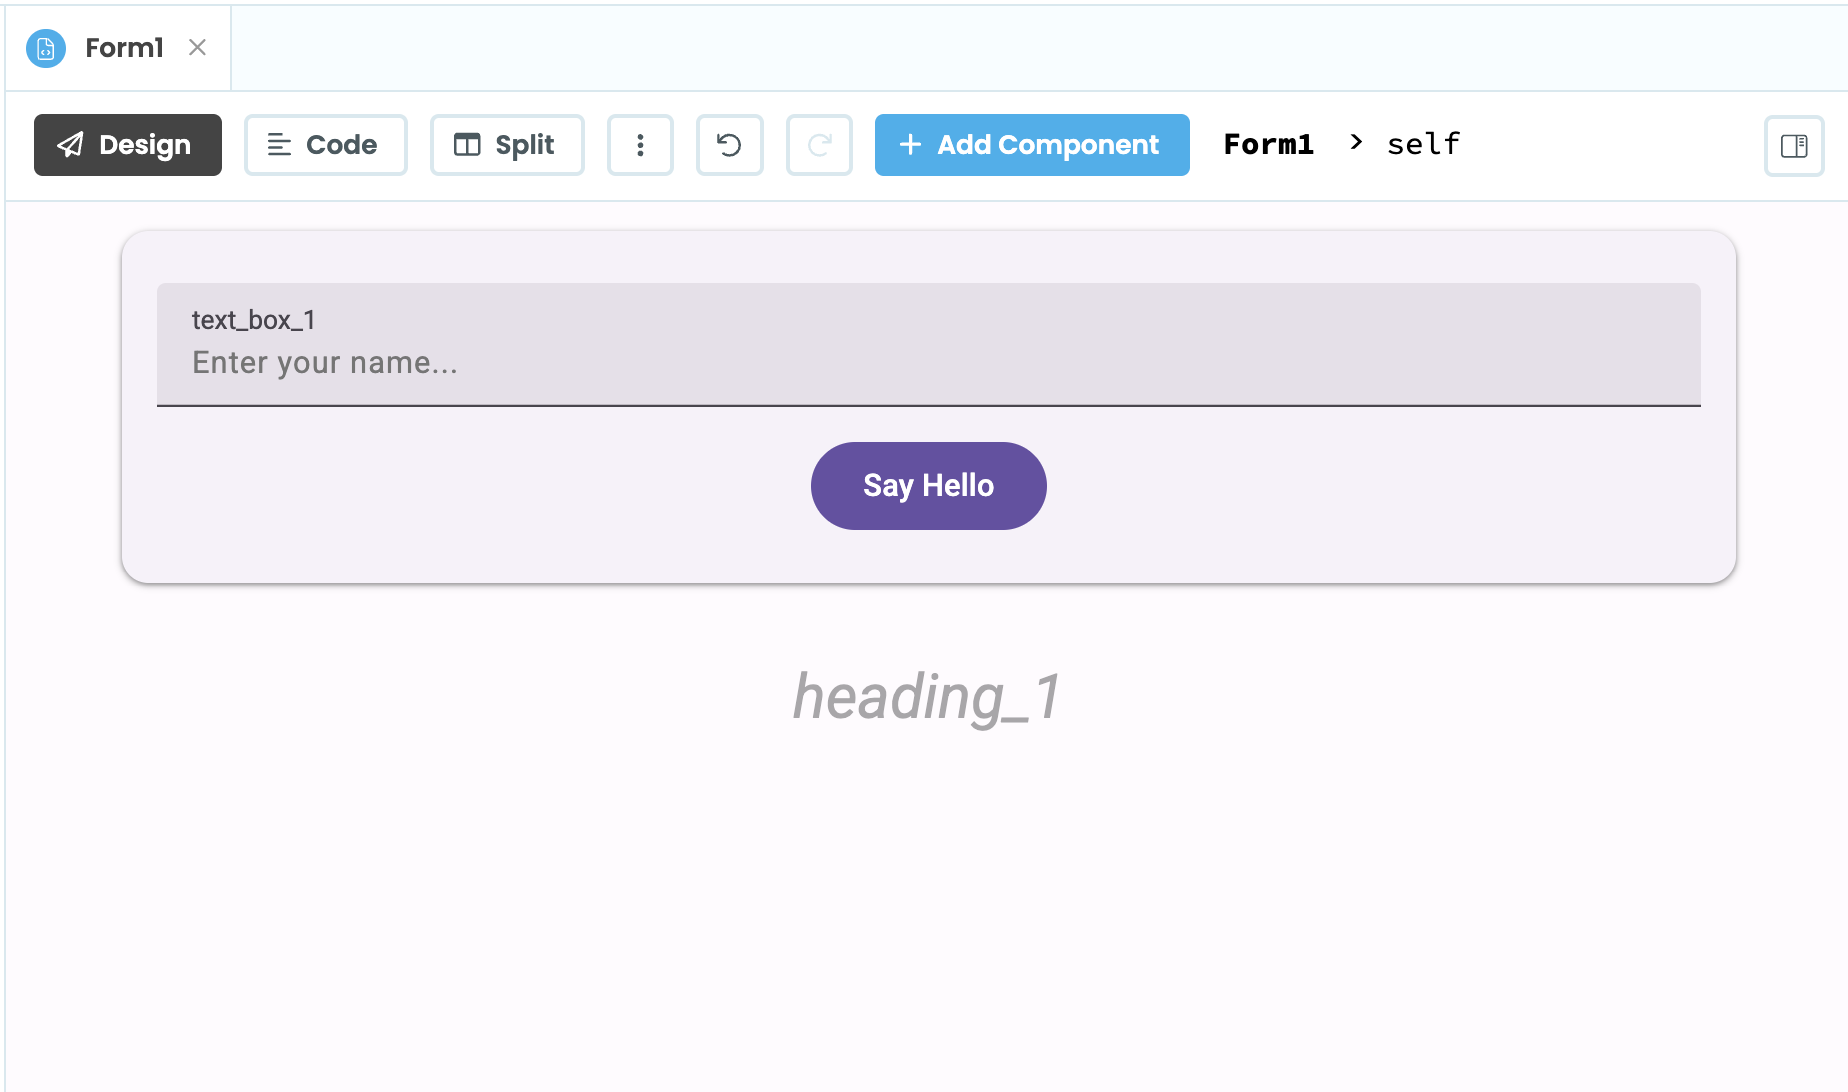
The finished UI for our Hello World app
1.4 Test the app
Let’s now test out our app so far. In the top right of the Editor, click the green Run button to run the app in a Development Environment. Here, we can test out how users will interact with our app. We have a finished UI but clicking on the “Say Hello” button doesn’t do anything. In the next step, we’ll fix that by adding interactivity to our app.

Click the green Run button at the top right of the Editor to test the app
Step 2: Add interactivity
2.1 The Form class
The page to which we’ve added our components is called a Form. Each Form is represented by a Python class. If you click on the “Code” tab above the Form Editor, you can see the Form class that defines our page. Here we can write Python code to make our app interactive.

The Form class that defines our page
All of the components that we’ve added to our UI are also instances of Python classes. This means we can access them from a variable name and interact with them in code.
By default, the TextBox we added to our Form has the variable name text_box_1. It’s good practice to rename components to indicate their purpose, so let’s do that now. Switch back to the “Design” view for the Form and click on the TextBox. From the Object Palette, rename the component name_box.
Changing the name of the TextBox
Next, change the name of the Button to be say_hello_button and the name of the Heading to be name_display.
2.2 Create a click event
Let’s now write some Python code that runs when the user clicks the Button.
When a users interacts with an interactive component, an event is fired. For example, when a user clicks a Button, a click event is fired. We can write a function, called an event handler, that will run when the event is fired.
Select the Button and from the Object Palette, click on click event.
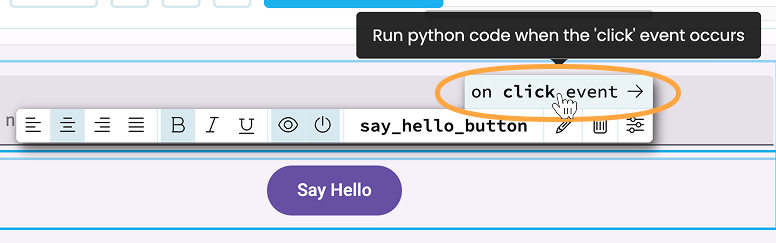
Add a click event from the Object Palette
This will automatically open up the Code view and set up an event handler called say_hello_button_click. This method will be decorated with @handle, which is how Anvil knows to call this method when this event is raised on this component, i.e. when the button is clicked. You can also set up event handlers entirely in code.
Any code written in this method will run when the click event is fired, i.e when the Button is clicked. Inside the method, add the following code:
@handle("say_hello_button", "click")
def say_hello_button_click(self, **event_args):
    """This method is called when the component is clicked."""
    # add this code:
    name = self.name_box.text
    print(name)
    self.name_display.text = f"Hello, {name}!"
The above code sets the text property of the Heading component (which we named name_display) to be “Hello” plus the name that the user enters into the TextBox (its text property). We are also printing the name inputted into name_display so we can see what output from our app looks like.
2.3 Test the app
Let’s now test out our app again. This time, when we click the Button, something should happen.
Click the green Run button again, type a name into the TextBox and click the “Say Hello” button. This time, a message should appear below the Button to say “hello”!
Testing out the User Interface - our app now says hello!
The output from the print statement will appear below in the App Console.

Output from our app appears in the App Console.
Step 3: Write server code
So far, all of the code in our app runs in the user’s browser. We call this type of code client code. We could finish our app here, but usually in a web application, we’ll also want to write code that runs on a secure server. This might be code that does heavy data processing, deals with sensitive data or uses a third-party Python package.
Because client code runs in the browser and users have control over their browsers, client code is not secure. Any code that deals with sensitive data or needs to excute exactly as written should be run in a Server Module.
Want to learn more about client and server code? Read our handy guide.
3.1 Add a Server Module
Let’s expand our app so that it runs some code on the server. To do this, we need to add a Server Module to our app. In the App Browser on the left, click the “ Add Server Module” button under “Server Code”.
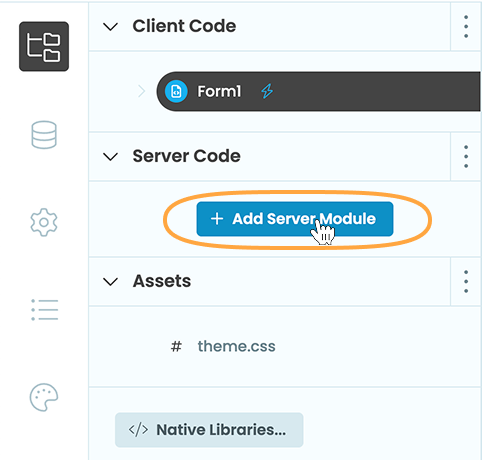
Adding a Server Module from the App Browser
Server Modules are regular Python environments where we can install packages and run arbitrary Python code. However, unlike a regular Python script, Server Modules do not run top to bottom. Instead, we write functions here that we can call from client code or from other server functions.
3.2 Write a server function
For now, let’s add a server function to our Server Module that just prints out a “hello” message. In the Server Module, add the following function:
@anvil.server.callable
def say_hello(name):
    print(f"Hello, {name}")
Notice the decorator above the function. The anvil.server.callable decorator is what allows us to call this function from our Form code. Without it, our client-side code won’t find any function called say_hello.
3.3 Call the server function from client code
Let’s now go back to our Form code. Click on Form1 in the App Browser and switch to the code tab. In the say_hello_button_click method, add a call to the server function we just wrote. You can call server functions from client code using anvil.server.call(). You just need to pass in the name of the function and any arguments it takes:
@handle("say_hello_button", "click")
def say_hello_button_click(self, **event_args):
    """This method is called when the component is clicked."""
    name = self.name_box.text
    self.name_display.text = f"Hello, {name}!"
    print(name)
    # add this line:
    anvil.server.call("say_hello", name)
3.4 Test the app
Once again, let’s test our app. Click the green Run button, add a name to the TextBox and click “Say Hello”. There should now be additional output that appears in the App Console. Output that comes from the client has a blue line next to it, whereas output from the server has an orange line next to it.
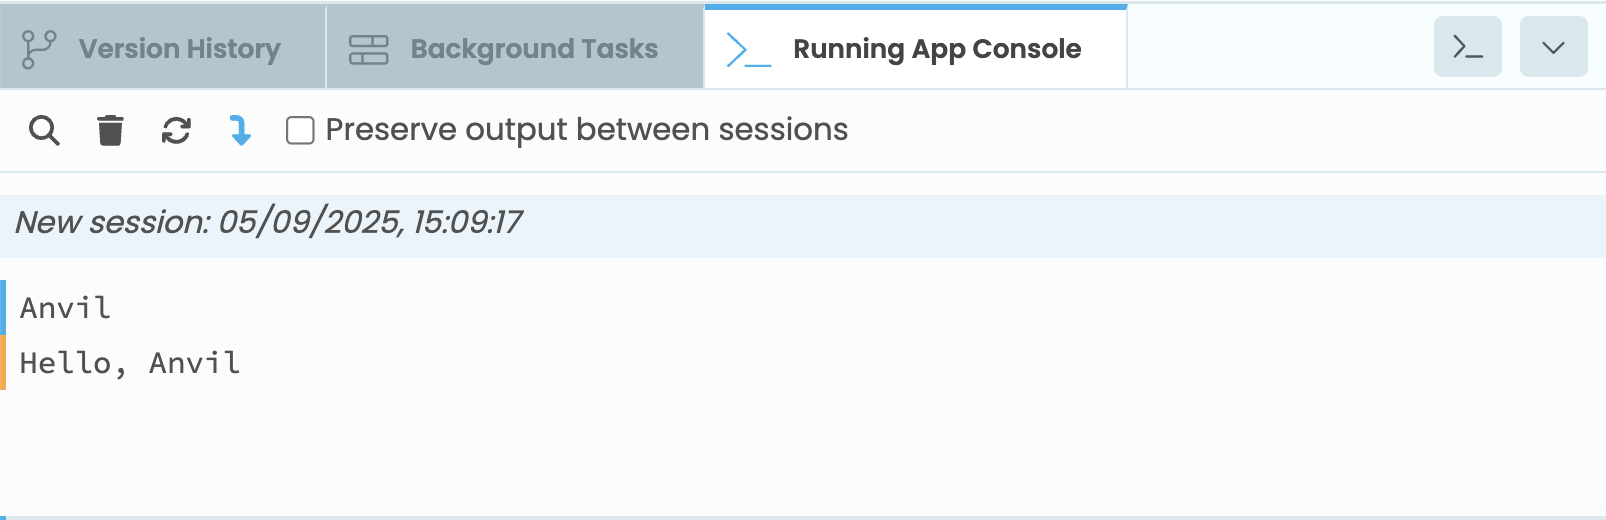
A blue line indicates output from the client and an orange line
indicates output from the server.
We now have a working backend that communicates with our frontend. In the next step, we’ll set up a database for our app and modify our existing server function to store entries in the database.
Step 4: Store app visitors in a database
Let’s extend our app further and store the names of people visiting our app in a database. Luckily, Anvil has a built-in database, called Data Tables, that makes it easy to store, read and edit data.
4.1 Add a Data Table
In the Sidebar Menu on the left, click on the Data icon then click the “ Add New Table” button. This will add a new Data Table to your app. Rename it to visitors.
Adding a new Data Table to the app
4.2 Set up the Data Table schema
We now need to set up the schema for our Data Table. We are going to want two columns, one to store the name of our app visitors and one to store the time that they visited the app.
Add a new column to the Data Table. In the modal that appears, name the column “name” and choose “Text” as the type. Now add a Date and Time column to the Data Table called “visited”. Your finished Data Table should look like this:
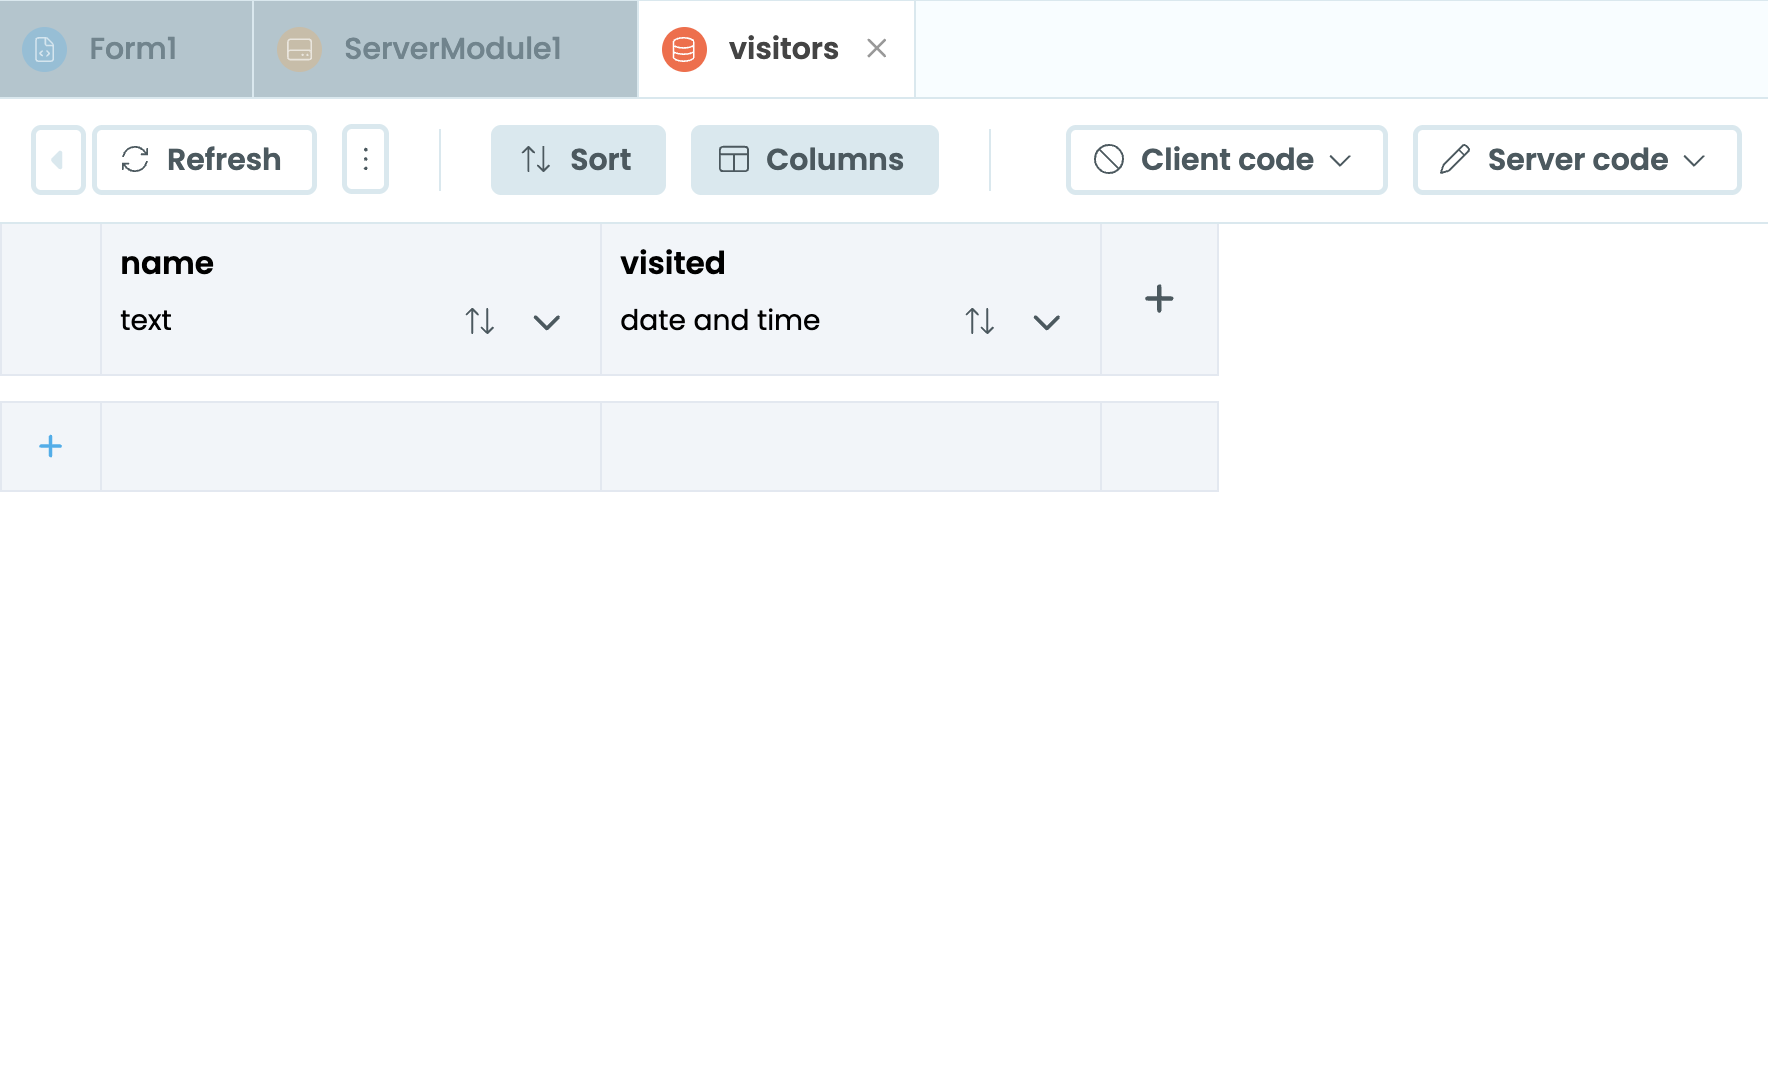
The visitors Data Table set up with two columns
4.3 Add rows to the Data Table
Now that we have our Data Table set up, we can modify our server function to add a row to the Data Table every time a user hits the “Say Hello” button.
We can interact with our app’s Data Tables using the app_tables API. Navigate back to the Server Module and update the function we wrote in the previous step:
@anvil.server.callable
def say_hello(name):
    # add this line:
    app_tables.visitors.add_row(name=name, visited=datetime.now())
The function now uses add_row() to add a row to the vistors Data Table. Because we are using the datetime libary to populate our visited column, we also need to import datetime at the top of our Server Module:
# add this import statement:
from datetime import datetime

@anvil.server.callable
def say_hello(name):
    app_tables.visitors.add_row(name=name, visited=datetime.now())
4.4 Test the app
We’re already calling the say_hello server function from our Form code, so all we need to do now is run the app and test it out.
Add a name to the TextBox and click the button. Do this a few times with different names. Stop the app and check the Data Table. You should see a few entries added to the Data Table. (If nothing is showing up, you may need to hit the “Refresh” button at the top of the Data Table Editor.)
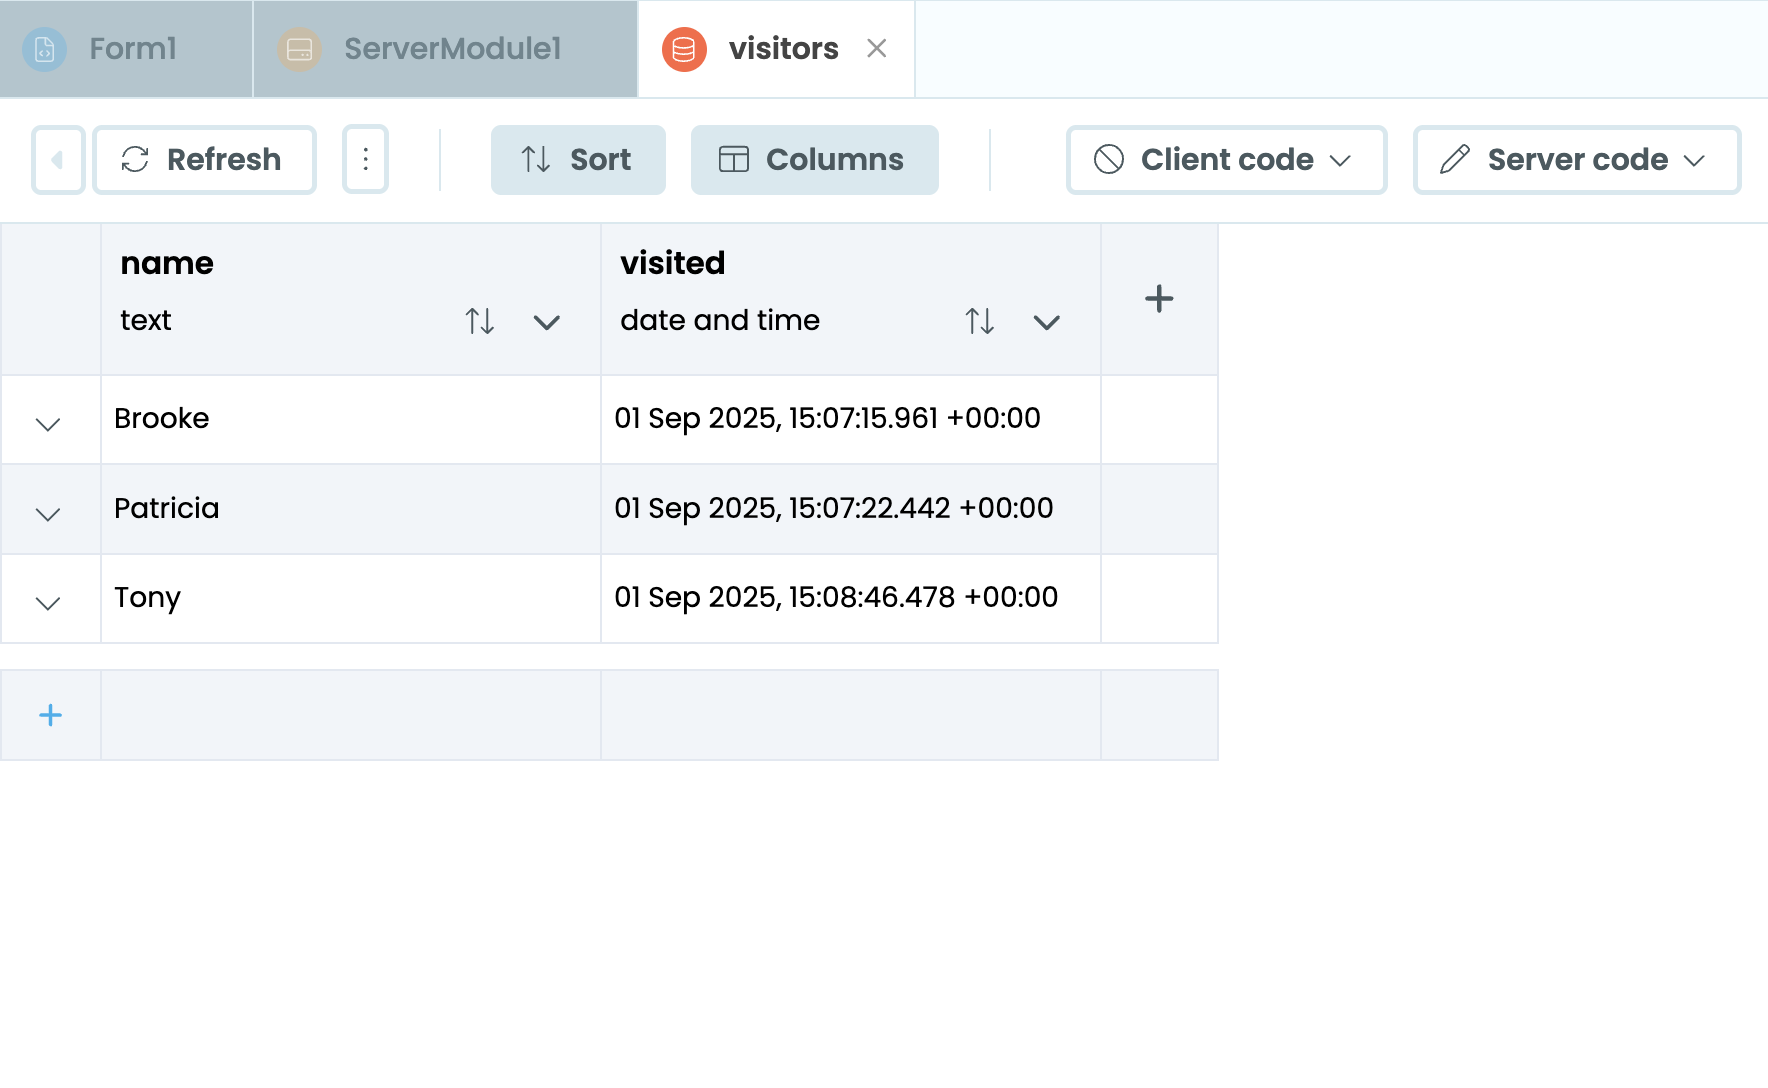
The Data Table with entries added
Step 5: Publish the app
Now that we are finished with our app, let’s publish it to the web so we can share it with others!
In the top right corner of the Editor, click the Publish button, then click “ Publish this app”. This will automatically create a public URL for our app. Click on the URL to naviage to your published app.
Publishing the finished app to the web
Your Hello World app is now running live on the web! Add a name to the TextBox and click the button. Check your database to see the new row added.
What’s next?
Extend the app
Up for a challenge? Try expanding the app to make it more robust and fully featured. Here are some suggestions of ways to upgrade your app:
Validate the TextBox before submiting:
Right now, the app will still call the server function even if no name has been added to the TextBox. Try adding validation to check that the TextBox has text before calling the server function.
Tip: The TextBox has an error property that you can use to indicate an error to the user.
Send an email when a user clicks the button: Try adding Anvil’s built-in email service to send yourself an email whenever the “Say Hello” button is clicked. Hint: You’ll need to do this from the server function.
Create a survey: Instead of just storing the names of visitors, expand your UI to build a survey. Try adding Checkboxes, RadioButtons and DropdownMenus to ask a variety of questions, then store the responses in the Data Table.
Try a tutorial
Ready to learn more? We have a number of tutorials to help take you from Anvil beginner to Anvil expert.
Build a CRUD app
Build a news aggregator app to learn Anvil fundamentals.
Tutorial: Build a CRUD appGenerate PDF documents
Learn how to turn an Anvil Form into a PDF with a single function call.
Tutorial: Generate PDFsSupport multiple users
Extend your apps to allow multiple users to log in and manage their own data.
Tutorial: Multi-user applicationsAdd navigation to multi-page apps
Create a reusable Layout Form to add naviation to multi-page apps.
Tutorial: Using Layouts in multi-page appsDo you still have questions?
Our Community Forum is full of helpful information and Anvil experts.