
Get started with routing quickly
Follow this Quickstart guide to set up a basic routing-enabled app. Learn how to make the browser’s URL reflect the state of the app, define Route objects and navigate through pages of your app.
Creating a startup Module
Unlike other apps, most routing-enabled apps won’t use a startup Form but instead a startup Module. Create a Module, named startup, and set that as the app’s startup Form.
Creating a startup Module and setting it as the startup Form.
The Routing dependency contains a router module, which is responsible for handling navigation requests and opening forms.
The startup Module will take care of launching this router. Add the following code to the startup Module:
# In the startup module
from routing.router import launch

launch()
The router module will then be active, and therefore able to listen to navigation requests, upon app startup.
Setting up routes
For the router module to know which Form to open upon navigation to certain URLs, Route objects should be set up, in a separate Module. More information on Route objects can be found here.
Create the module in which Route objects will be defined and name it routes. Create a Home Form that should be opened upon app startup.
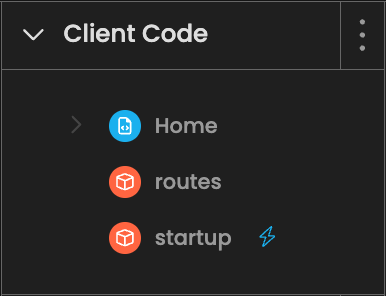
The app’s hierarchy at this stage.
In the routes Module, set up a Route leading to the Home Form.
# In the routes Module
from routing.router import Route

class Home(Route):
    path = "/"
    form = "Home"
Creating this Route links the Home Form to the app’s base URL.
Importing route definitions
The routing dependency’s router module needs to be aware of the route definitions set up in the app’s routes Module.
There are two possible ways in which the router module can serve a Route:
- The navigation request originates from within the app. In this case, the routing process occurs entirely on the client.
- The app is opened directly through a URL as the initial page request. In this case, the routing process occurs on the server.
Both the client and the server need to be made aware of the app’s route definitions. Import the routes Module in the startup Module, then create a server Module and import the routes Module in it.
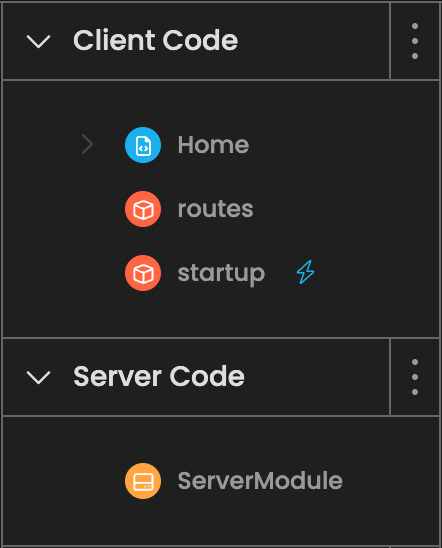
The app’s hierarchy at this stage.
# In the startup Module
from routing.router import launch
from . import routes

launch()
# In a server Module
from . import routesThis lets the router module know which URLs should link to which Forms, in both client and server code.
The app will now properly navigate to the correct route, handling requests coming from within the app and also from opening the app directly through a URL as the initial page request.
Adding basic navigation
Let’s add a second page for users to navigate to from the Home Form.
Create a new Form that named About, and add a corresponding new Route to the routes module.
# In the routes Module
from routing.router import Route

class Home(Route):
    path = "/"
    form = "Home"

class About(Route):
    path = "/about"
    form = "About"
Add a Routing NavLink in the Home form. This component acts as a link to another page within the app. Set this NavLink’s path property to "/about".
When the NavLink is clicked, it will navigate to the path stored in its path property, "/about". Since this corresponds to the About Route, clicking this NavLink will open the About Form.
Add a second NavLink. Set its path to "/". This will let users navigate back and forth between the Home Form and the About Form.
Our end result.
Conclusion
This series of steps reasults in the creation of a basic app with routing enabled.
-
The app opens with a startup Module responsible for launching the Routing dependency’s router module.
-
The
routesModule in which Route objects are defined to let the router match URLs to Forms. -
The
routesModule is imported in both client and server code. -
The app has two pages, one for each defined Route, which can be navigated to through two NavLink objects.
From here, you can start adding more Routes and more pages linked together through navigation, configuring your Routes using parameters and implementing caching and data loading to fluidify usage of your app, along with implementing several other features.
Do you still have questions?
Our Community Forum is full of helpful information and Anvil experts.