In this quick tutorial you’ll learn:
- How to implement a JS library in Python.
- How to generate a 3D Force-Directed Graph.
The Gif is one minute in real-time!
Step 1:
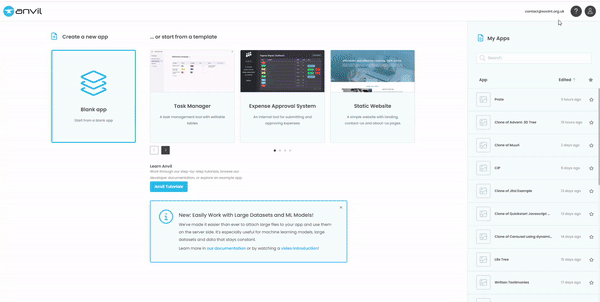
Open a blank Material 3 app.
Step 2:
In your App folders, scroll down to Native Libraries and add this code:
<script src="https://unpkg.com/3d-force-graph@1.71.3/dist/3d-force-graph.min.js"></script>
Step 3:
In the design view of Form1, add a Column Panel and also give it a form_show event.
Step 4:
Switch to your code view and lets handle our imports at the top of the page:
from anvil.js.window import ForceGraph3D
import anvil.js
import random
Step 5:
Lets take a look at the JS from the library that we need to change into Python:
<script>
    // Random tree
    const N = 300;
    const gData = {
      nodes: [...Array(N).keys()].map(i => ({ id: i })),
      links: [...Array(N).keys()]
        .filter(id => id)
        .map(id => ({
          source: id,
          target: Math.round(Math.random() * (id-1))
        }))
    };

    const Graph = ForceGraph3D()
      (document.getElementById('3d-graph'))
        .graphData(gData);
  </script>
We actually need to set up some config options first, so let’s tweak the JS and make it pythonic:
config_options = {
      'controlType': 'orbit',
      'rendererConfig': {
        'antialias': True,
        'alpha': True
        },
      'extraRenderers': [],
      }
Step 6:
Next, let’s build our Graph and set some of the options from the API Docs:
graph_element = anvil.js.get_dom_node(self.column_panel_1)
    self.graph = ForceGraph3D(config_options)(graph_element)
    self.graph.showNavInfo(True)
    self.graph.backgroundColor(app.theme_colors['Primary'])
    self.graph.nodeColor(app.theme_colors['Secondary Container'])
    self.graph.nodeOpacity(1)
    self.graph.linkColor(app.theme_colors['On Primary'])
    self.set_graph_data()
You’ll notice we can use our app.theme_colors here, which is nice!
Step 7:
We also need to create some nodes and links, which is why we imported random, and we’ll use that to pass the data to our graph straight from the Python client-side. (This means we can easily work with table rows, straight from our Anvil app!)
def set_graph_data(self,**args):
    nodes = [{"id": i, "val": random.randint(1, 10)} for i in range(1, 51)]
    links = []
    start = random.randint(1, 41)
    for i in range(start, start + 4):
      links.append({"source": i, "target": i+1})
    for i in range(10):
      source = random.choice(nodes)["id"]
      target = random.choice(nodes)["id"]
      while source == target:
        target = random.choice(nodes)["id"]
      links.append({"source": source, "target": target})

    graph_data = {
      "nodes": nodes,
      "links": links,
    }
    self.graph.graphData(graph_data)
    self.graph.nodeLabel(lambda node: str(node['id']))
Step 8:
Let’s clear the boilerplate in our form_show event and replace it with a click trigger (it doesn’t have to be there, but the form_show looked lonely!
self.graph.onNodeClick(self.node_click)
Step 9:
Lastly, lets add that node_click function:
  def node_click(self,node,event,**args):
    print(f"{node} was clicked: {event}")
Step 10:
That’s it!
Now you can run the app and view your 3D network map, with pop-up labels and a click event which will return your node’s proxy object as:
proxyobject({'id': 4, 'val': 5, '__threeObj': <Gn (native JS) proxyobject>, 'index': 3, 'x': -44.32447094004951, 'y': -7.336138531648753, 'z': 141.0245126102183, 'vx': -0.0002790387391093722, 'vy': -7.12092536033e-05, 'vz': 0.0002182053742945124}) was clicked: <PointerEvent proxyobject>
From there, you can do absolutely anything you can conceive in Anvil!
Recap:
- We’ve implemented a JS library.
- We’ve created a complete function in the Anvil IDE, without touching custom HTML.
Please be aware: not all JS libraries are as well-documented or as clean as this one. It can often take time and experimentation to get things working properly!
You can clone the app below, but the best way to learn the implementation of JS using Anvil’s JS Bridge is to implement in stages in a blank app of your own.