
Quickstart: Permissions
Give users different privileges
Anvil has a built-in user management system that makes login and permissions easy.
Follow this quickstart to check which user is logged in before running certain parts of your app (authorisation).
Create an app
Log in to Anvil and click ‘Blank App’. Choose the Material Design theme.
Add a login form
Add the Users Service to your app by clicking the blue plus button  in the Sidebar Menu and then selecting the Users service
 ![]() .
.
Write this code in the __init__ method of Form1:
anvil.users.login_with_form()Now run your app, sign up and verify your email (note: you’re only signing up to your own app here!).
(If you want more detail on this step, see the User Login Quickstart)
Check user permissions
Open the app browser ![]() in the Sidebar Menu. Then, click
in the Sidebar Menu. Then, click + Add Server Module.
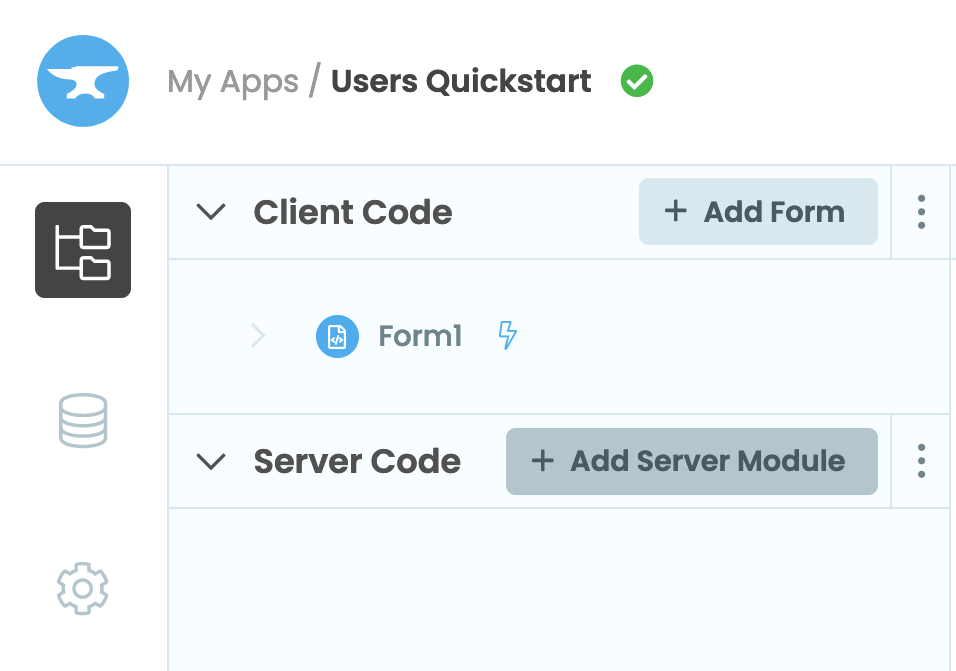
You will see a code editor with an orange background.
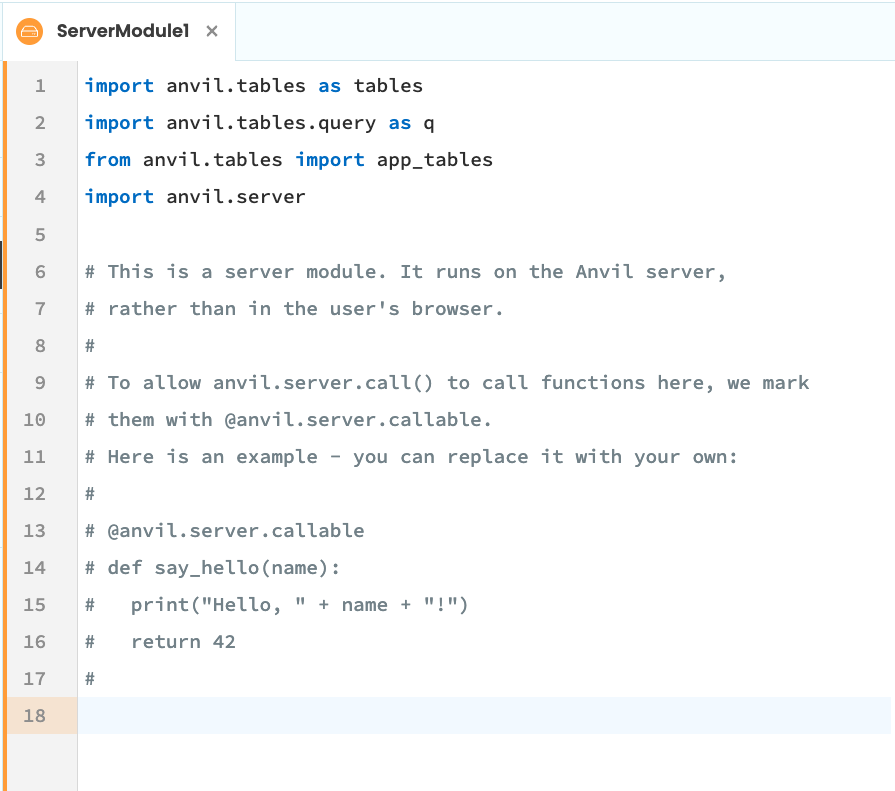
Write this function into the Server Module:
@anvil.server.callable
def print_my_permissions():
  super_user = 'ryan@anvil.works'
  if anvil.users.get_user() is None:
    print("Nobody is logged in.")
  elif anvil.users.get_user()['email'] == super_user:
    print(f"{super_user} is allowed to see this.")
  else:
    print("This path is for minimum-access users.")
Change super_user to the email address you signed up to your app with.
Call your server function
Now go to the code for Form1 and add this line to the end of the __init__ method:
anvil.server.call('print_my_permissions')It calls your server function from the client.
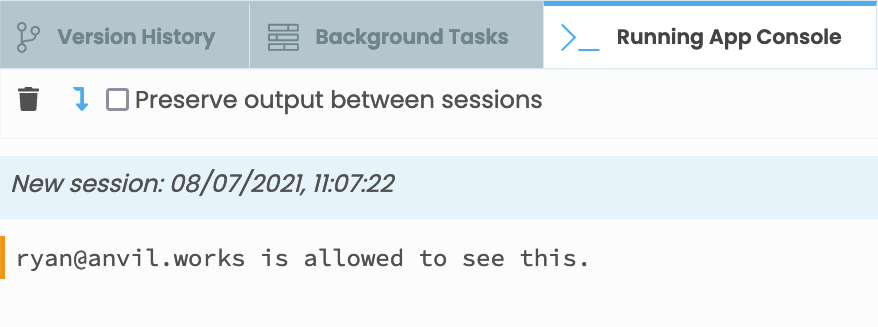
Check that it works
Run your app and log in. You will see this in the App Console:
Sign up with a different email address (or just put some dummy data directly into the Users table). Log in with that email address and you
will see This path is for minimum-access users in the App Console.
To see the Nobody is logged in message in the App Console, you have to reach the if statement in the print_my_permissions function with nobody logged in - comment out the anvil.users.login_with_form() line to achieve that.
User authorisation tips
That’s a quick introduction to user authorisation in Anvil. You will usually manage user permissions with if statements
like the one in this quickstart.
Guaranteeing Security
As a general rule, you should check user permissions in Server Modules rather than in client code. Any code running in a browser can be manipulated by the user - that goes for any web app, not just Anvil. Code in an Anvil Server Module is protected by industry-standard security best practice, so your permissions checks there are guaranteed to be honoured.
You can also run anvil.users.get_user() on your own machine(s) using the Uplink, which of course can be
just as secure as a Server Module (since you manage it, that’s up to you).
User roles
Often, you want to assign a role to each user and vary access to your app depending on their role.
This can be achieved by adding a Text column to the Users Data Table called something like role, then checking the value in this
column when performing authorisation. The code from this example would be something like:
    admin_role = "admin"
    if anvil.users.get_user() is None:
      print("Nobody is logged in.")
    elif anvil.users.get_user()['role'] == admin_role:
      print(f"Users with role '{admin_role}' are allowed to see this.")
    else:
      print("This path is for minimum-access users.")
Copy the example app
Click on the button below to clone a finished version of this app into your account.
Next up
Want more depth on this subject?
Read more about User authentication and authorisation.
Want another quickstart?
Every quickstart is on the Quickstarts page.
Do you still have questions?
Our Community Forum is full of helpful information and Anvil experts.