
Quickstart: SAML Authentication
Authenticate with SAML in your Anvil app
Anvil provides a SAML login function to authenticate users with an existing external account, alongside or instead of other user management options .
This quickstart takes you through an example, showing how to configure an Anvil app to authenticate with identities provided by Auth0.
Create an app
Log in to Anvil and click ‘New Blank App’. Choose the Material Design theme.
Enable SAML Authentication
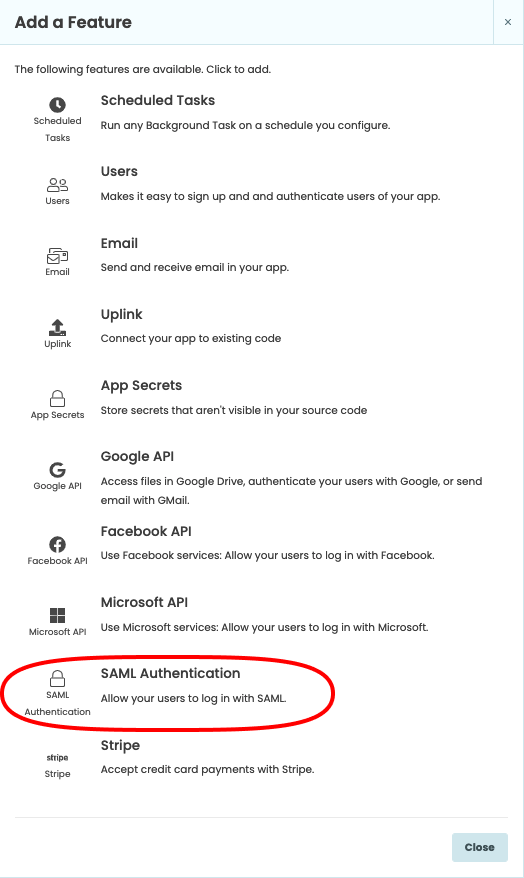
In the Sidebar Menu, click the blue plus button  . You’ll see a list of available services and integrations. Click on SAML Authentication.
Configure the Users Service to use SAML
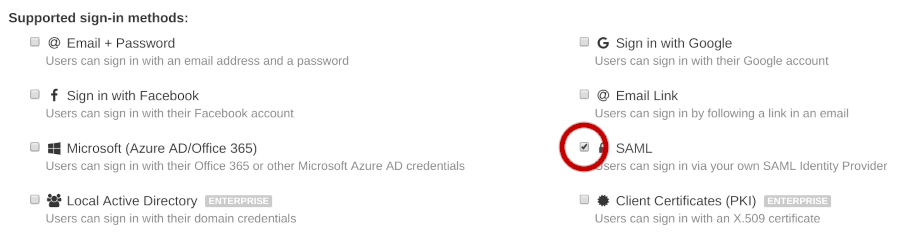
Add the Users Service, and then click on the ‘Users’ under the Services section to get to the Users configuration page. Here, you’ll be able to enable SAML login, and, optionally, disable email login.
Configure your identity provider to trust your Anvil app
When configuring your identity provider for use with Anvil’s SAML authentication, you’ll need some metadata from your Anvil app. This can be downloaded by clicking the ‘Download Service Provider Metadata’ button in the SAML Authentication service section.

You’ll need to use this metadata to configure your identity provider. Below is an example from Auth0, showing how it uses this information from the XML metadata file.
Your chosen identity provider will have their own method of using the metadata provided by the ‘Download Service Provider Metadata’ button. Many will allow direct upload of this XML file.
The following example specifically shows how Auth0 uses this data.
These instructions are specific to Auth0; your IdP will vary. See Auth0’s SAML documentation for more details.
From your Auth0 dashboard, go to Applications, and create an app. Click on that app and go to its ‘Addons’ tab, under which you will be able to toggle the ‘SAML2 Web App’ add-on.
Once toggled to ‘True’, clicking on that ‘Addon’ box will bring up the following page, which is where Auth0 requires the metdata from your Anvil app. Auth0 does not have a feature allowing direct upload of XML metadata.
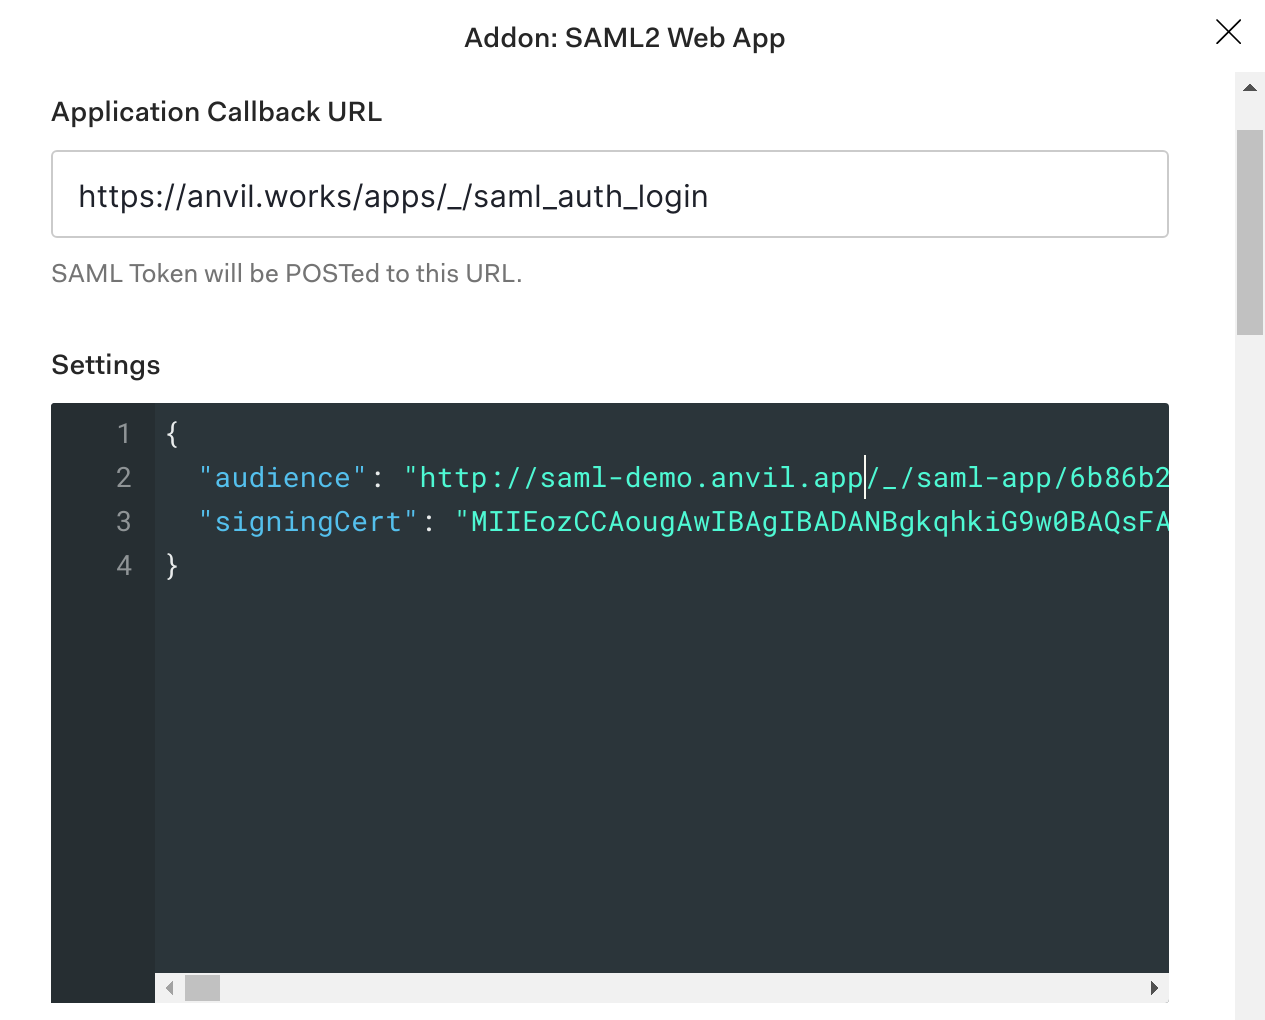
In this example:
- the
Application Callback URLis how Auth0 refers to the Assertion Consumer Service URL for your Anvil app, which is available within your app’s metadata file asLocationunder theAssertionConsumerServicetag - the
audienceis the Entity ID, available within your app’s metadata asentityIDunder theEntityDescriptortag - the
signingCertis theX509Certificatefrom your app’s metadata
Configure your Anvil app to trust your identity provider
Now you need to do the converse of the above; your identity provider will also supply some metadata to allow you to configure your Anvil app. In particular, you need the data to fill in the following fields, found at the top of the SAML Authentication service configuration:
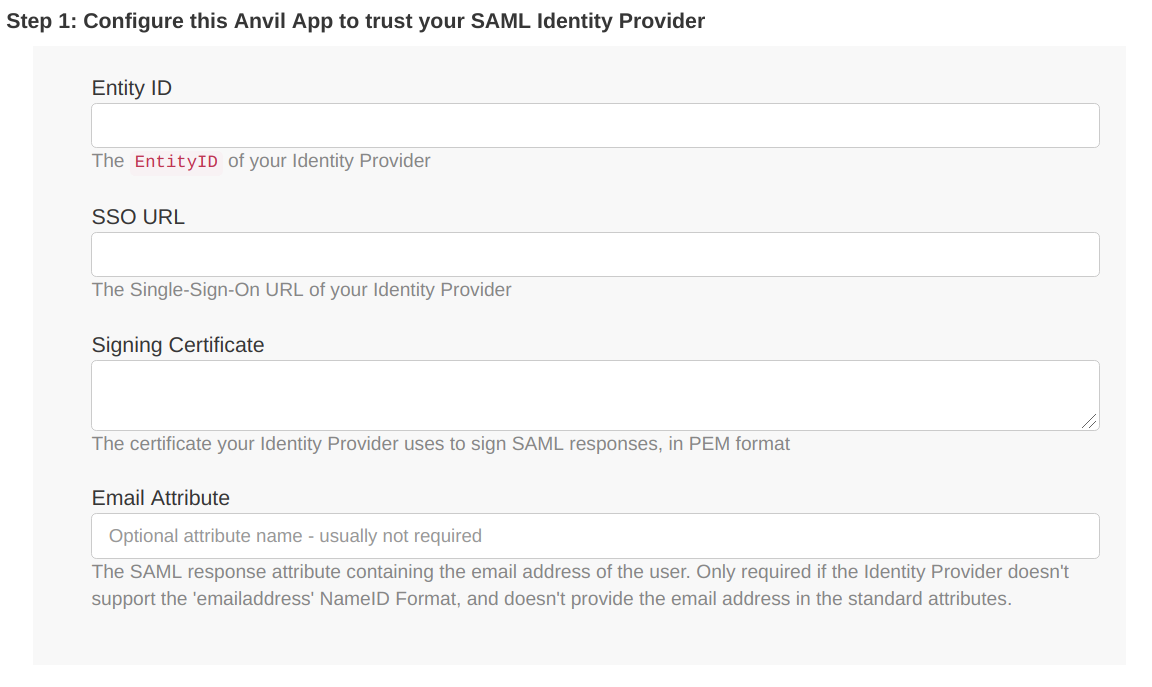
These details should either be provided to you explicitly by your identity provider, or supplied in the form of an XML file.
For more details, see Configuring Options for SAML Authentication.
Call the login function
When users visit your app, we want to display the login box immediately. We can do that by calling anvil.users.login_with_form() in the __init__ method of Form1 as follows:
Click on Form1 in the App Browser.
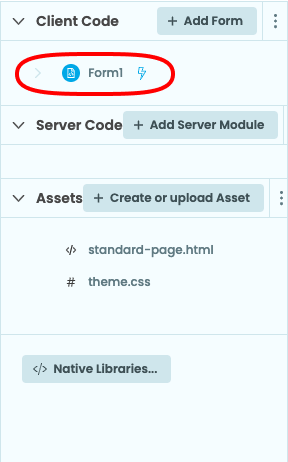
Go to the Code view to see the code for Form1.

In the __init__ method, add these lines:
    anvil.users.login_with_form()

    print(f"You are logged in as: {anvil.users.get_user()['email']}")
Run your app and log in
Now click the ‘Run’ button at the top of the screen.

Your app will run and display a dialog allowing you to authenticate with SAML. If you have not disabled email login, the email login dialog will also display in this form.

Click ‘Log In with SAML’ to authenticate. A new window will open, allowing you to log in with your chosen identity provider.
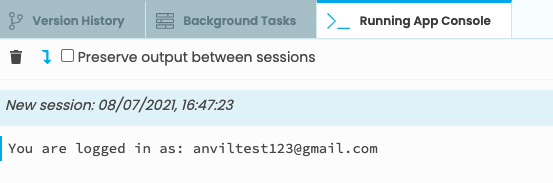
You are now logged into your app. The email address you logged in with is printed in the App Console.
Next Up
Want more depth on this subject?
SAML authentication has more options for configuration; see here for more details.
Want another quickstart?
Every quickstart is on the Quickstarts page.
Do you still have questions?
Our Community Forum is full of helpful information and Anvil experts.