Quickstart: Tableau Integration
This quickstart will guide you through the process of creating an Anvil app that can be used as a Tableau extension, and connecting it to a dashboard in Tableau.
Creating a new Anvil app for Tableau
Go to the Anvil IDE and click on Blank App. Select the Tableau Extension theme from the window that appears.
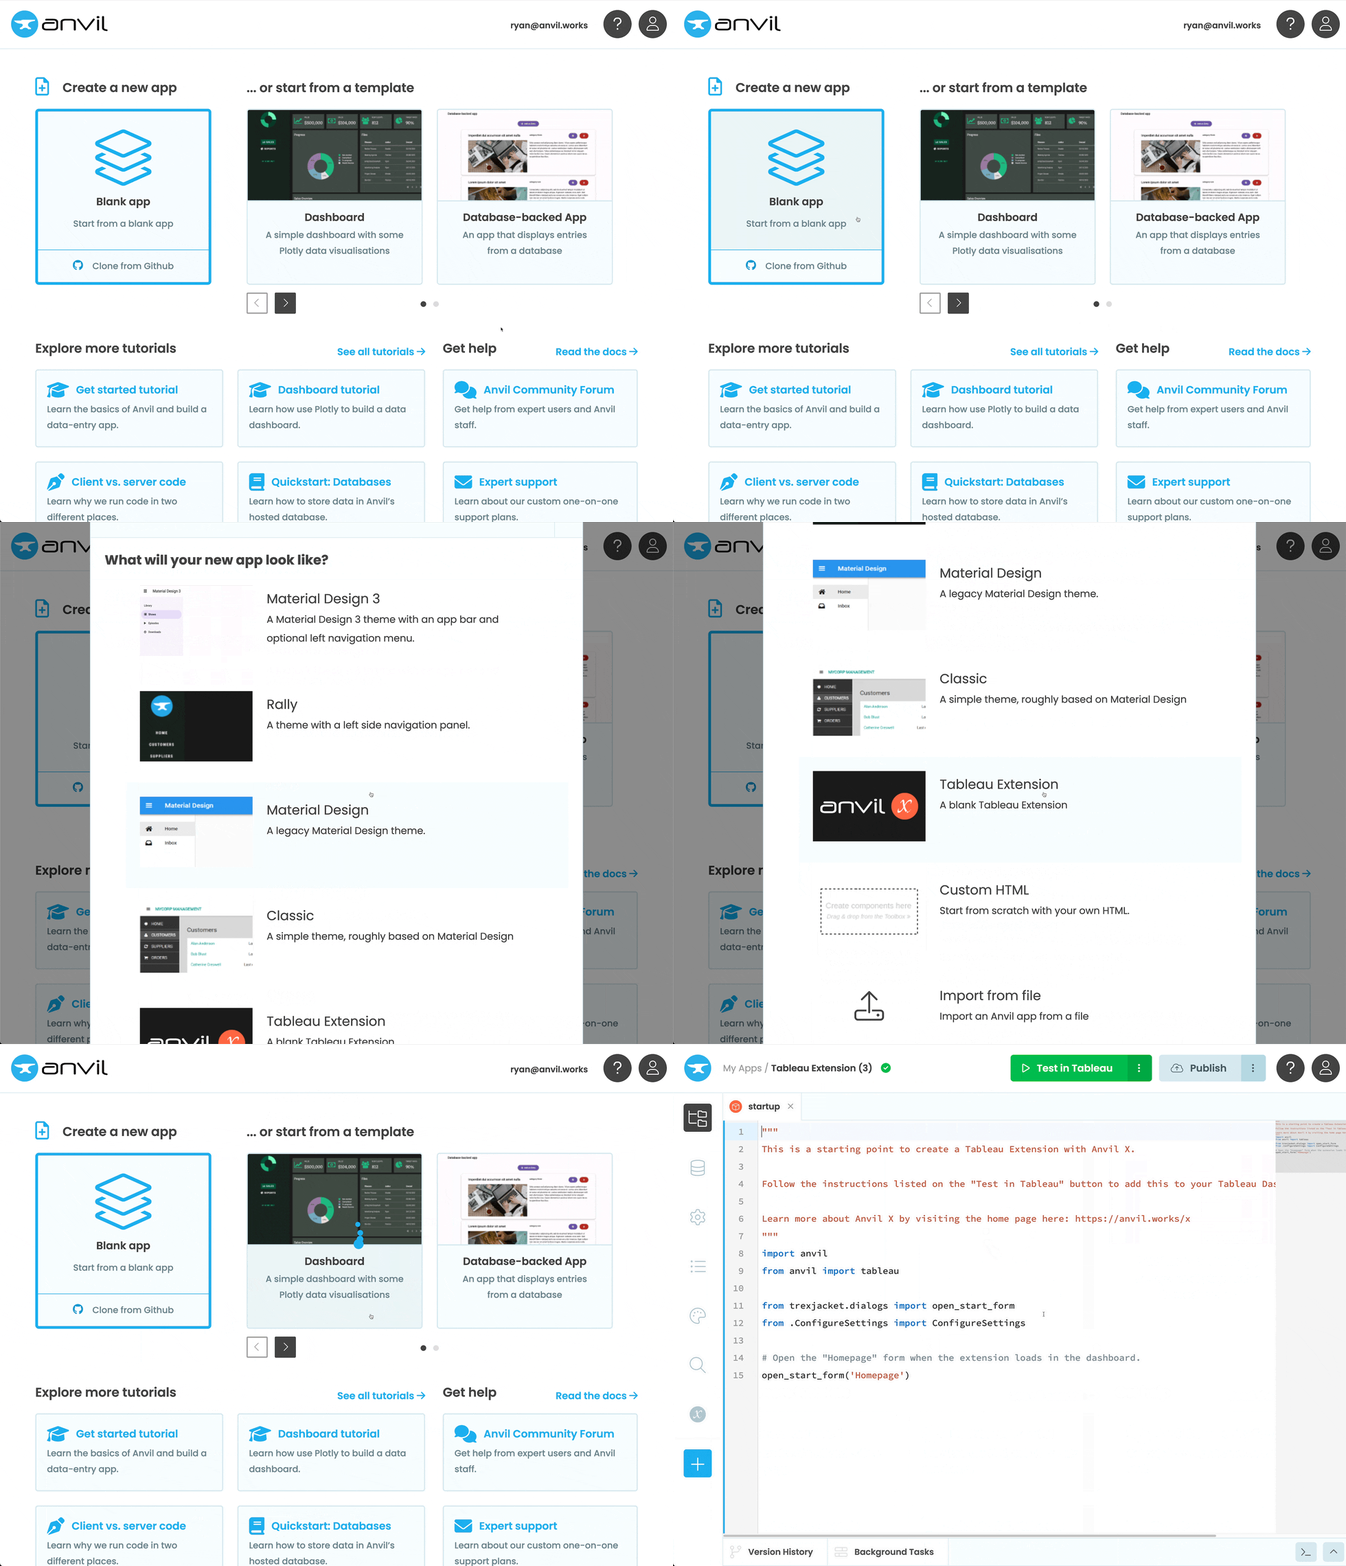
Creating a new Tableau extension app
In the top right of the Anvil Editor, there is a green button that says Test in Tableau.
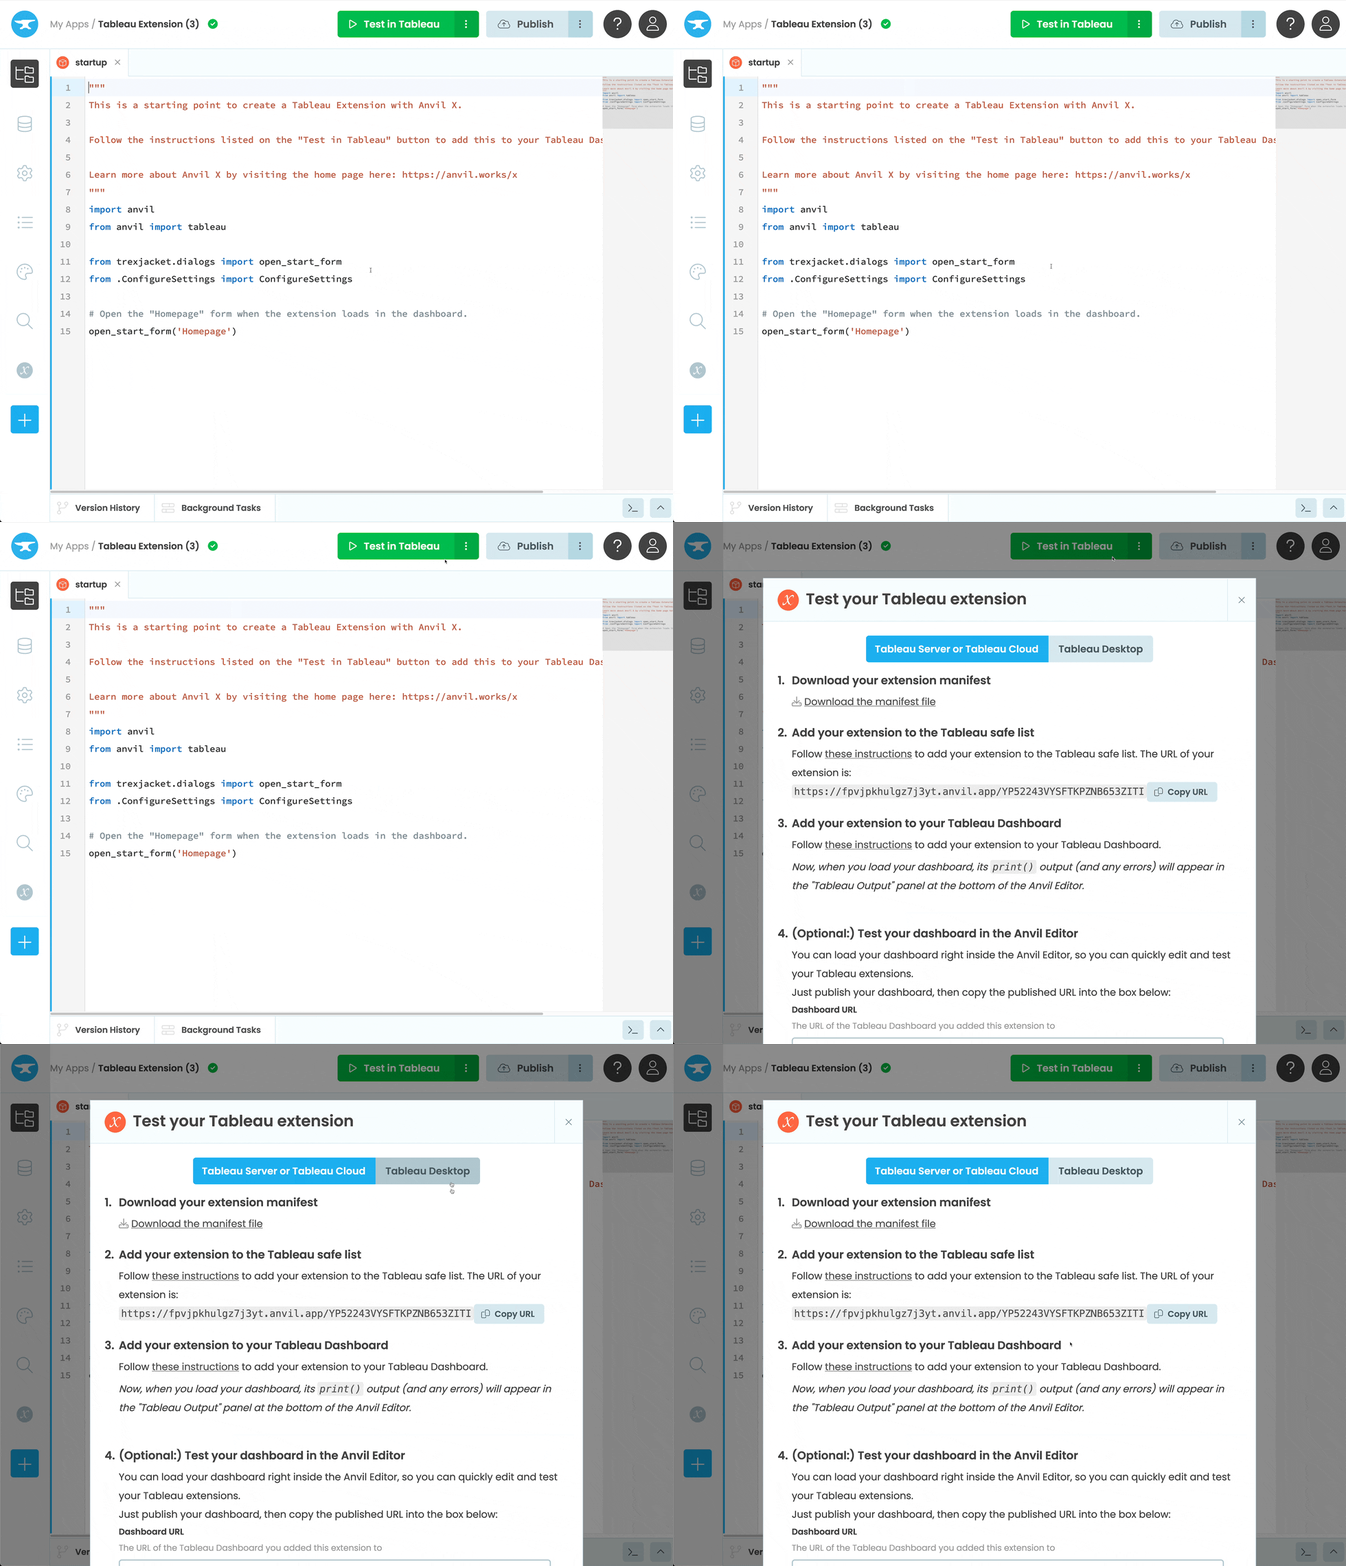
Selecting the Test in Tableau button
When the button is clicked, it brings up the following dialog box which explains the steps needed to connect your app to Tableau.

Tableau dialog box
The next sections of this guide explain those steps in more detail.
Downloading your app’s manifest file
In order to load local extensions, Tableau requires a manifest file in .trex format. This can be downloaded from Step 1 in the Test in Tableau dialog box.
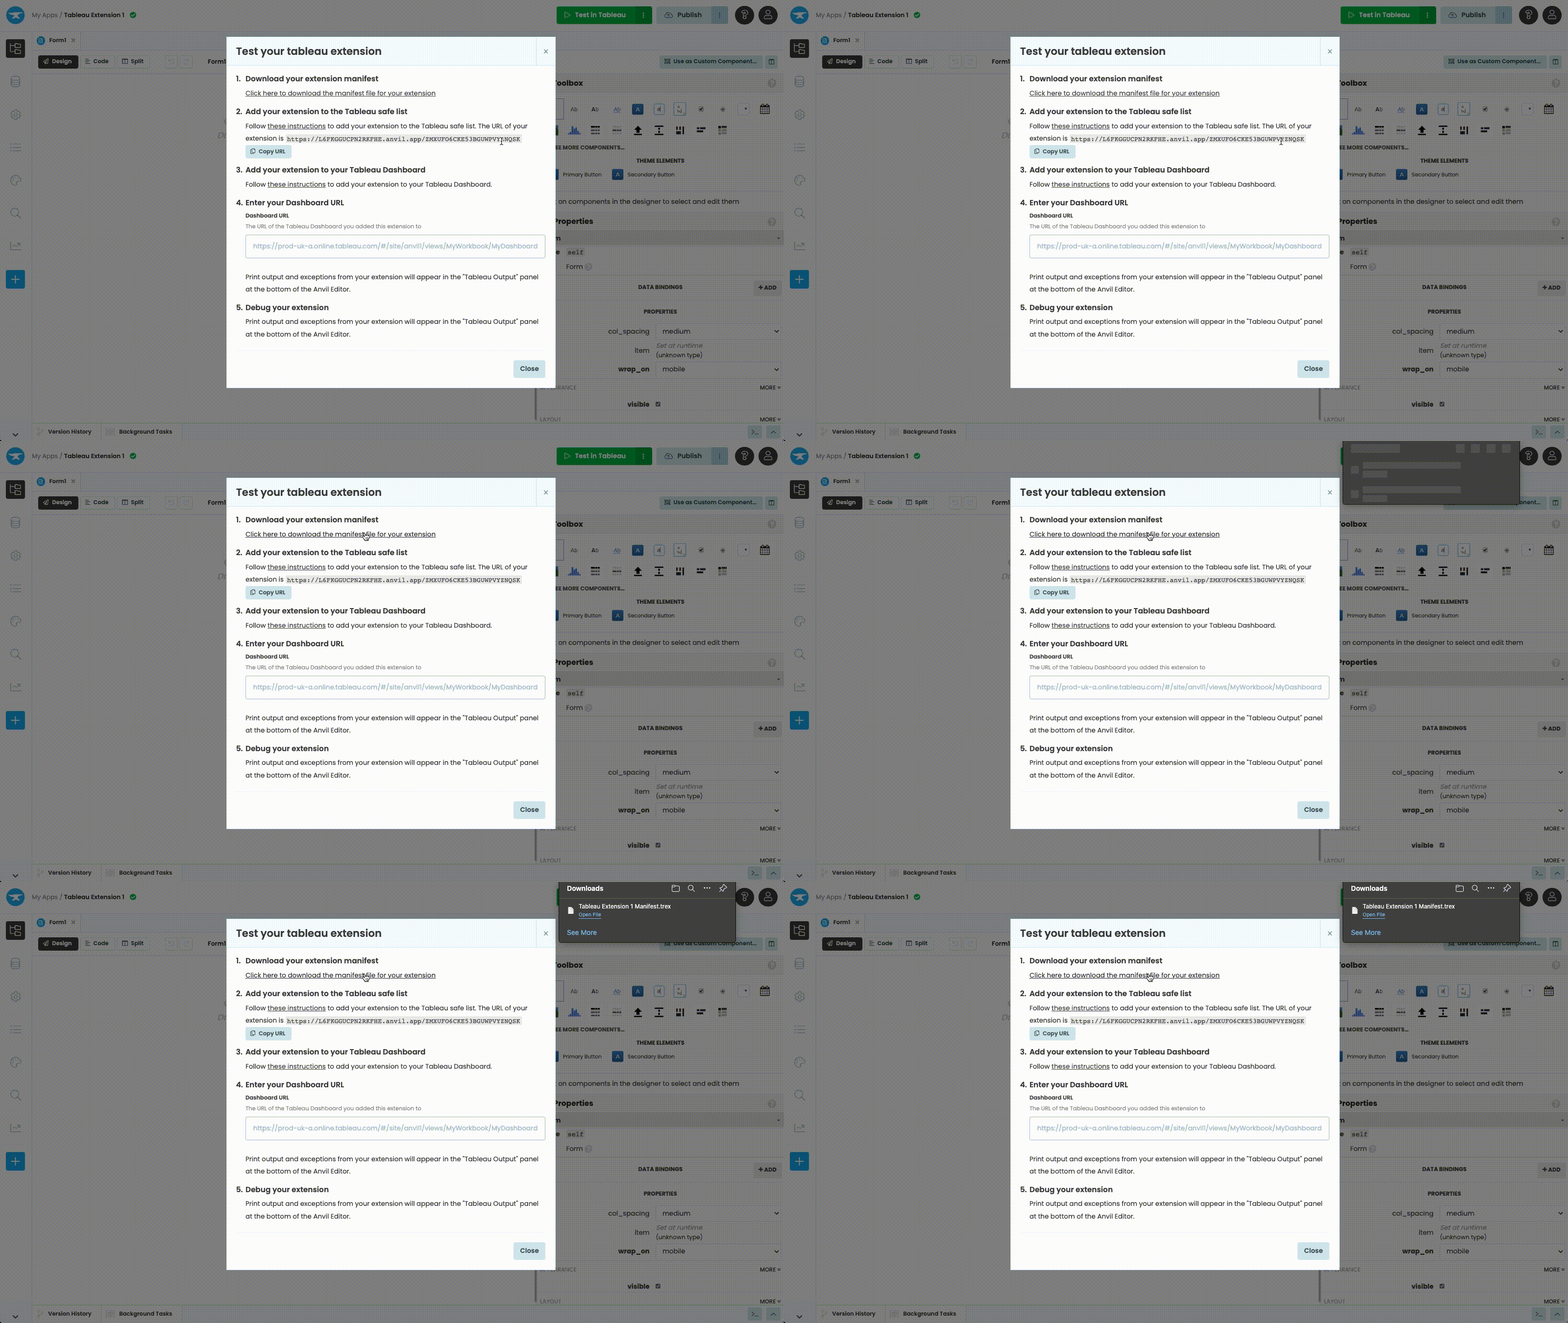
Downloading the manifest file
This file will be used later when adding your extension into a dashboard.
Adding your app to Tableau’s safe list
In Step 2 of the dialog box, a web link to your app is supplied. This link needs to be added to your Safe List in Tableau. Once added, change Full Data Access to Allow and User Prompts to Hide.
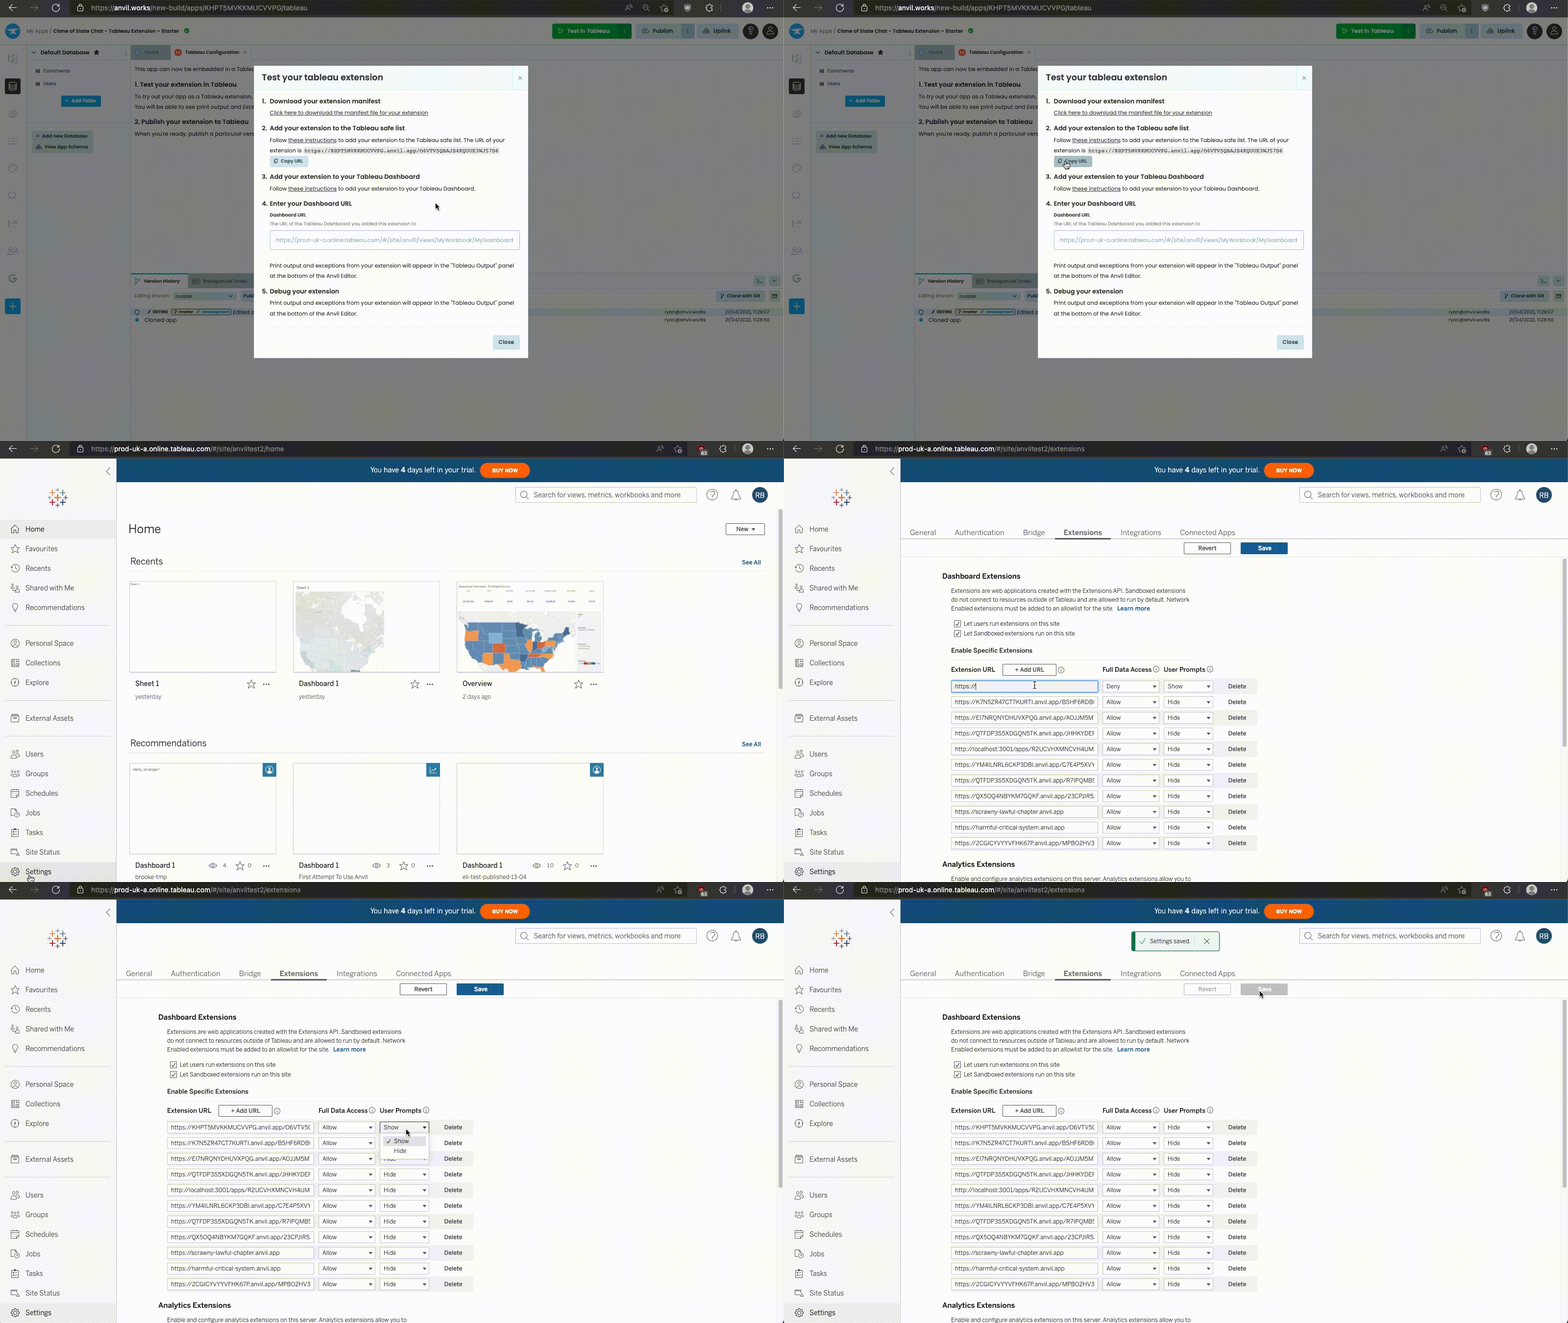
Opening settings in Tableau Online and adding URL of extension
Adding your app into your dashboard as an extension
In Tableau, navigate to the dashboard to which you’d like to add your Anvil app extension.
In the top navigation bar, select Edit. From the Objects section at the bottom left of the screen, drag Extension to the dashboard. In the Add an Extension dialog box, click Access Local Extensions, and select the extension manifest file we downloaded earlier.
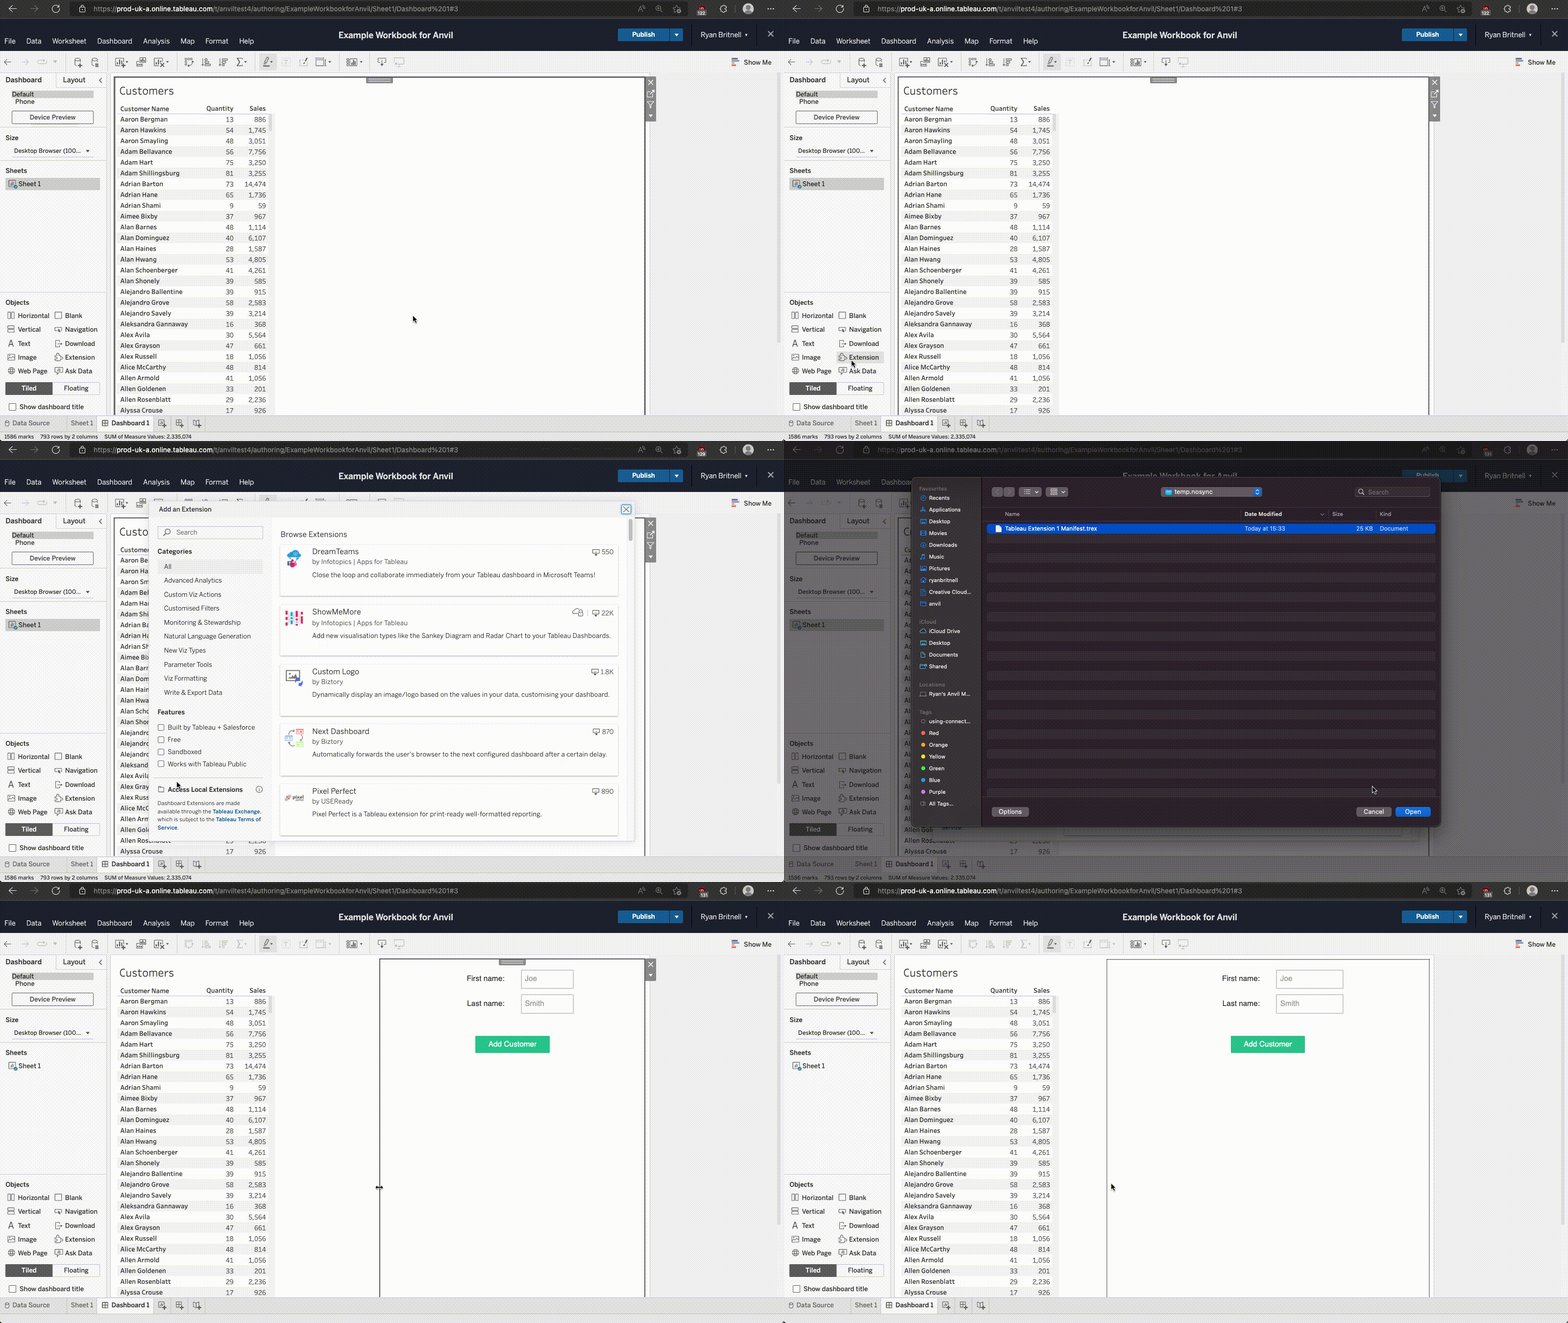
Adding an Anvil app to a Tableau Dashboard
Showing the Tableau dashboard in the Anvil Editor
To have your full Tableau dashboard show when you run your app in the Anvil Editor you need to add your Tableau dashboard’s URL to your Anvil app.
Select Publish from the navigation bar above of the Tableau Workbook. A notification will appear saying the notebook has been published. Click the Go to Workbook button in the notification. Copy the Workbook URL and paste it under Step 4 in the Test in Tableau dialog box.
The URL should look something like this:
https://prod-uk-a.online.tableau.com/#/site/anviltest2/views/superstore-anvil-extension-workbook/Overview
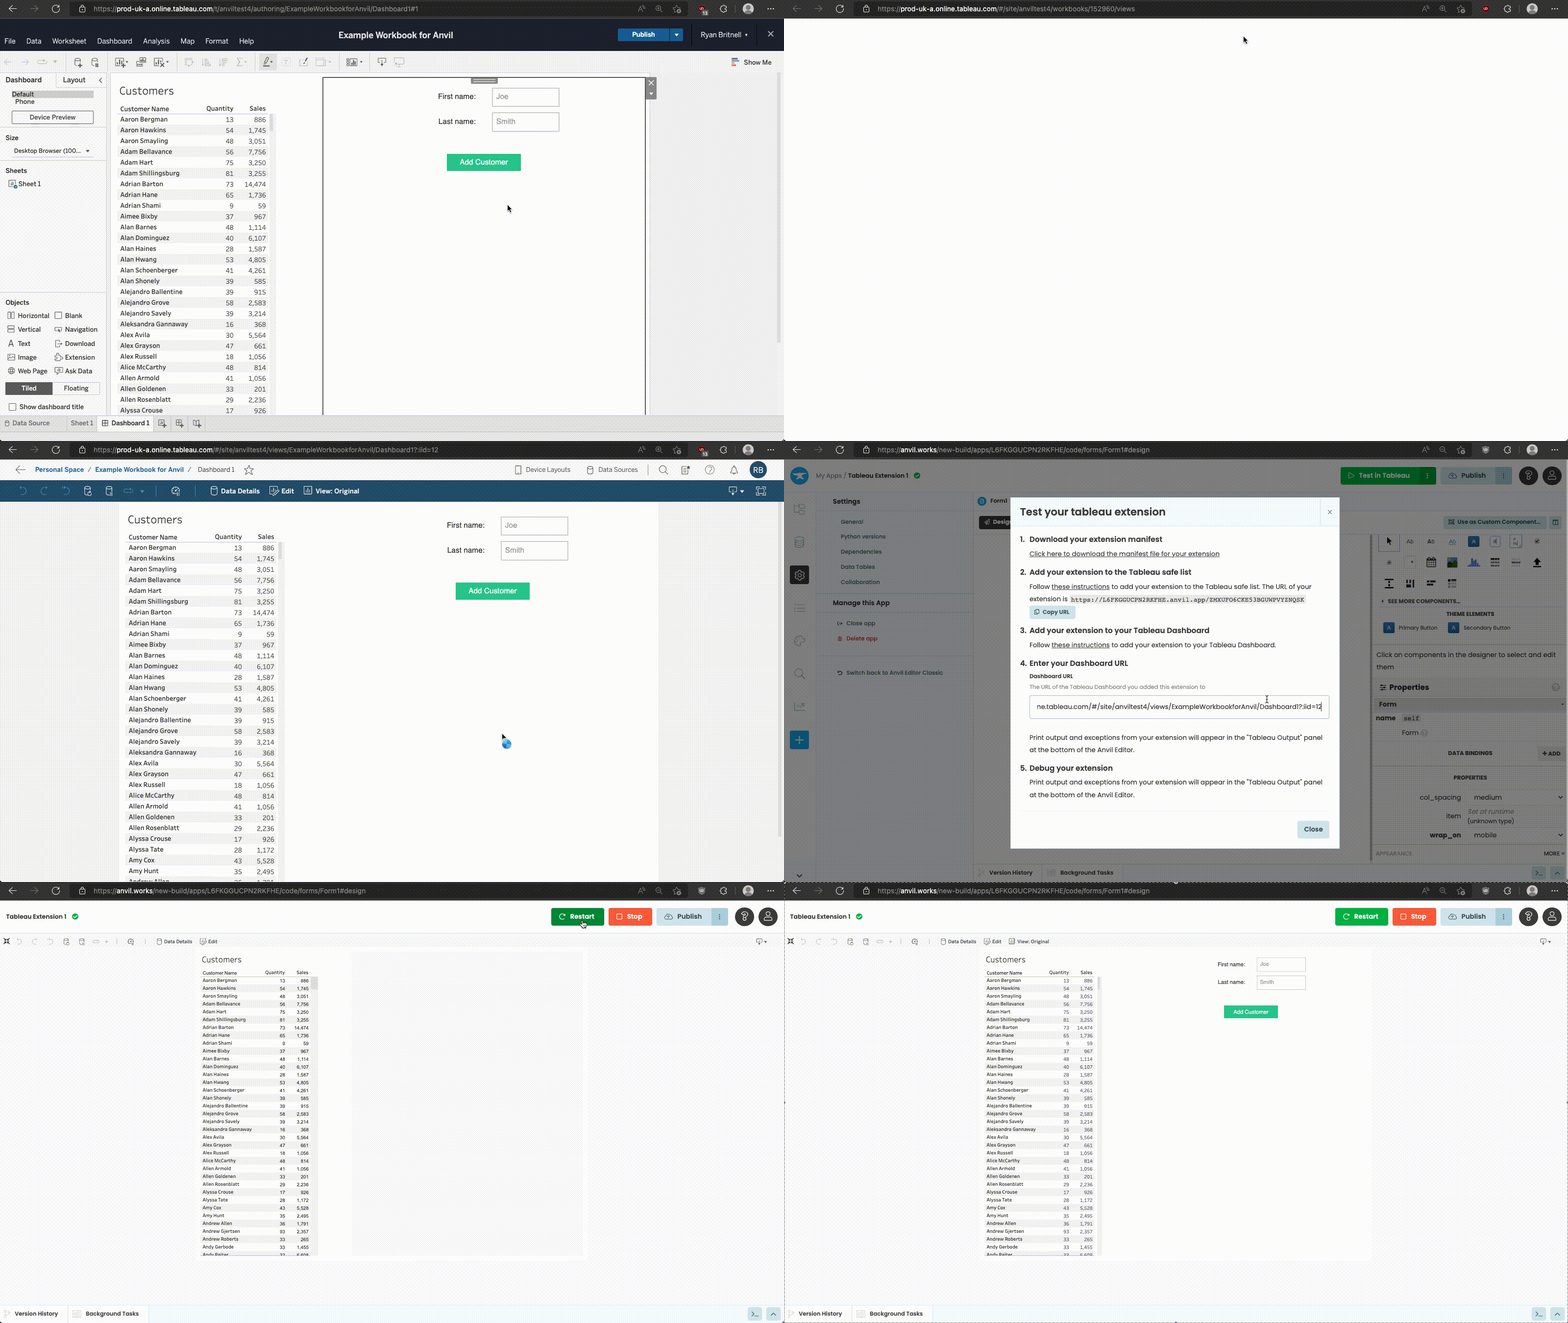
Getting the Workbook URL and adding it to Anvil
Once that’s done, simply hit Run at the top of the Anvil Editor to see the full dashboard and embedded Anvil app.
Using the Tableau API in code
Once the integration is set up, we can access data and worksheets within the Tableau dashboard through Tableau’s Extensions API.
To access elements within our dashboard, we access dashboardContent by following the Tableau Extensions API documentation. For example, to access all the worksheets in the current dashboard, we would write the following within our Anvil app’s client-side code:
my_worksheets = tableau.extensions.dashboardContent.dashboard.worksheetsFrom our worksheets we can access things like the worksheet’s name:
first_worksheet = tableau.extensions.dashboardContent.dashboard.worksheets[0].nameAnother useful thing to do via the Extensions API is add event listeners. Below we are adding a listener to our worksheet that will call our Form’s print_mark() function when a mark on our Tableau worksheet is selected.
first_worksheet.addEventListener("mark-selection-changed", self.print_mark)For full details of the Tableau API, including its namespace hierarchy, please see the Tableau’s API reference documentation. and/or Tableau Extensions API Basics page.
Do you still have questions?
Our Community Forum is full of helpful information and Anvil experts.
