Payments and Subscriptions
Add the Stripe service to your project to accept credit card payments through Stripe in your app.
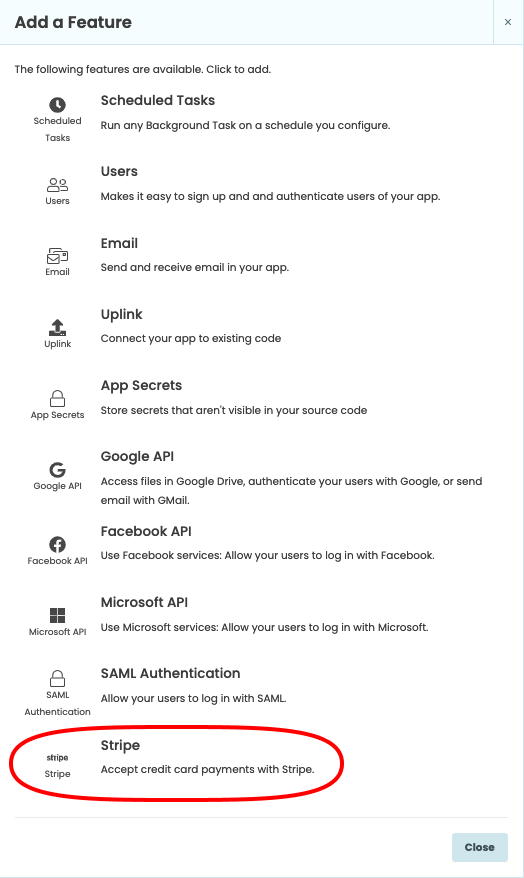
To add the service, click the blue plus button  in the Sidebar Menu, and choose Stripe in the popup menu.
In order to use the Stripe service, you must connect your Stripe account. If you don’t already have one, simply click “I need to create an account” on the Stripe service settings page. You can also sign up on the Stripe website, which asks for less information (just email, name and password).
Stripe apply a transaction fee to payments you receive through Stripe - see their pricing page for more information. This price is the same as if you use Stripe directly (Anvil do not take an extra fee).
Taking one-off payments
To take a credit card payment from your app, call stripe.checkout.charge, supplying your required
currency and the amount in pence (or equivalent). Make sure you import stripe.checkout first.
import stripe.checkout

# Take a payment of £9.99
charge = stripe.checkout.charge(currency="GBP", amount=999)
print(f"The result of the payment is: {charge["result"]}")stripe.checkout.charge in
a try...except block.If the payment succeeds, stripe.checkout.charge will return a dict containing useful information
about the charge, including an ID and URL that will allow you to look it up in your Stripe Dashboard.
If the payment fails, or the user cancels, stripe.checkout.charge will raise an exception.
You can specify extra, optional parameters to the charge function (see the example below).
Set zipcode to True if you wish to verify the zipcode (or other postal code) of the customer when taking
payment, and set billing_address to True in order to collect a billing address. If you need to collect a shipping address, set shipping_address to True. This will also collect a billing_address.
The stripe.checkout.charge function returns a dictionary containing useful information about the
transaction. The example on the right prints a link to the new transaction on your Stripe dashboard.
In practice, you would probably want to save this to a Data Table, Google Spreadsheet or similar.
charge = stripe.checkout.charge(currency="GBP",
amount=999,
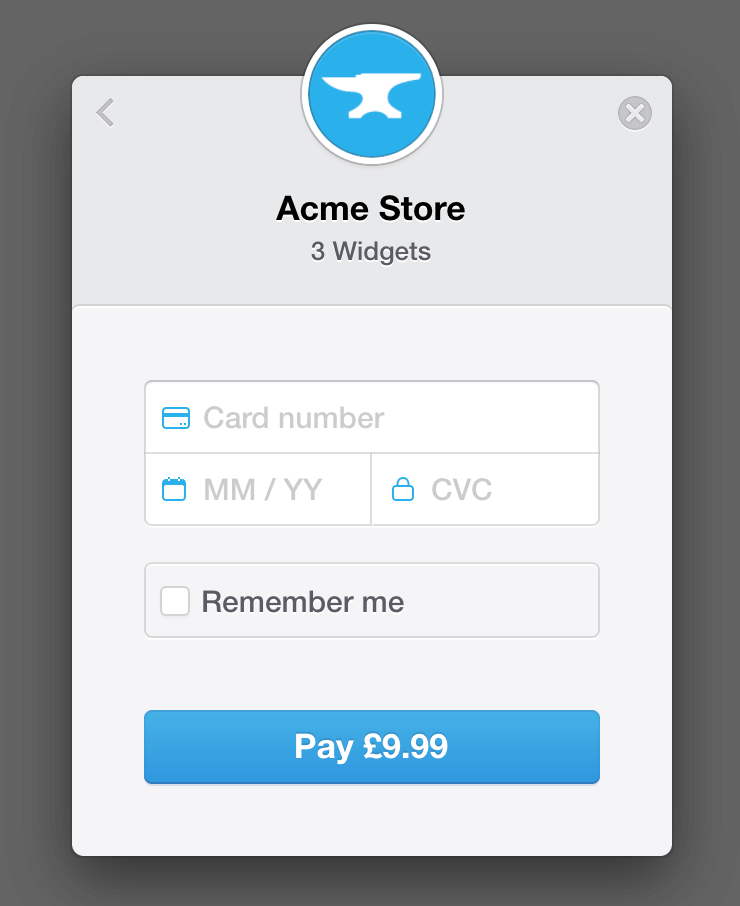
title="Acme Store",
description="3 Widgets",
zipcode=True,
icon_url=anvil.server.get_app_origin + "/_/theme/icon.png",
billing_address=True)
# Print a link to the transaction on the console:
print(charge["url"])Setting the title, description and icon_url parameters will allow you to customise the payment form:
Charging on the server
For greater security and control, you can collect card information in client code, and then make a charge or set up a subscription on the server. Because there are lots of regulatory issues with handling credit card details directly, Stripe turns card details into an opaque token.
# In a Form:
token, info = stripe.checkout.get_token(amount=999, currency="USD")
anvil.server.call('charge_user', token, info['email'])
You can then pass this token to the server and make charges there.
# In a Server Module:
@anvil.server.callable
def charge_user(token, email):
  stripe_customer = anvil.stripe.new_customer(email, token)
  stripe_customer.charge(amount=999, currency="USD")
Note that the get_token() function does not charge money, it only collects card information.
The “amount” and “currency” supplied are just for display while collecting card details.
get_token() takes the same arguments as charge().
To create a new “Customer” object in Stripe, use anvil.stripe.new_customer(). You can use square
brackets to look up attributes of the Customer object – most useful is the id by which you can
look them up again in future.
customer = anvil.stripe.new_customer(email, token)
user['stripe_id'] = customer['id']
You can add payment methods to an existing customer with add_token(). Here is an example that
creates a new customer, or retrieves an existing one, using a column in the Users table.
@anvil.server.callable
def add_card(token, email):
  user = anvil.users.get_user()

  if user['stripe_id'] is None:
    customer = anvil.stripe.new_customer(email, token)
    user['stripe_id'] = customer['id']
  else:
    customer = anvil.stripe.get_customer(user['stripe_id'])
    customer.add_token(token)
Recurring Subscriptions
You can create recurring subscriptions for your customers using the new_subscription() function.
Make sure you have created a plan ID in your Stripe Dashboard, then reference
it as in the example on the right. You can optionally specify a quantity= parameter to charge multiples
of a plan (e.g. if you want to charge per user). For more information, consult the Stripe API documentation.
subscription = customer.new_subscription("my-plan-id")You can check which subscription plans a user has by calling get_subscription_ids() to get a list of
IDs. By default, it will only return “live” subscriptions (currently active; this corresponds to the Stripe
states “live”, “active” and “past_due”). You can change this by passing live_only=False.
if "my-plan-id" in customer.get_subscription_ids():
  # ...the user is subscribed...
Once you have a subscription object, you can use square brackets to access its full Stripe attributes, or call one of these methods:
subscription.cancel()- Cancel the subscriptionsubscription.is_live()- ReturnsTrueif this subscription is active (i.e. paid and up to date)subscription.set_plan(plan_id)- Change which plan this subscription is for (e.g. if a user upgrades)
for subscription in customer.get_subscriptions():
  subscription.cancel()
Testing Stripe
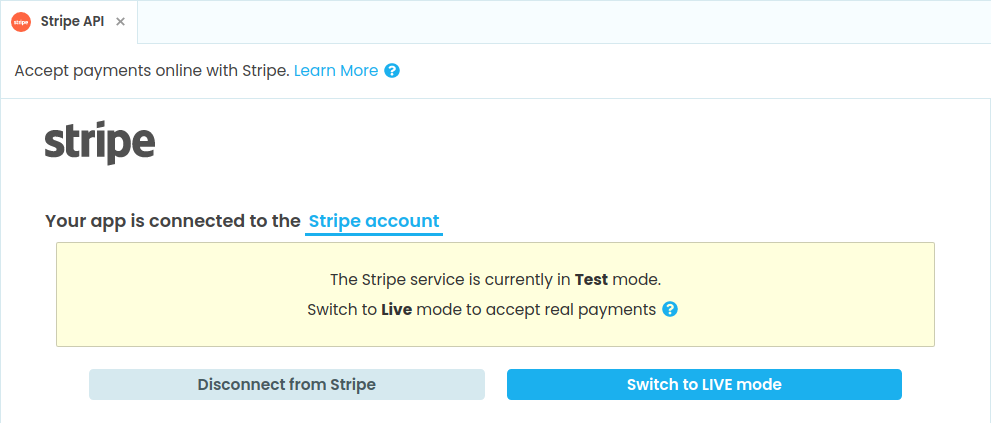
Stripe provides a simple way to test your app without making actual payments. When you first add the
Stripe service, it is in TEST mode. In this mode, you can take ‘dummy’ payments using special, fake
card details. These payments will show up in the test-mode dashboard on Stripe. See the
Stripe documentation for more details.
When you are ready to accept real payments, simply click “Switch to live mode” on the Stripe service settings page.
You can find out whether you are in live or test mode by calling stripe.checkout.is_live_mode() from client code.
Do you still have questions?
Our Community Forum is full of helpful information and Anvil experts.