Roles
Roles work by applying CSS classes to components. For example, a component with a role named foo
will get the .anvil-role-foo CSS class applied to it.
Creating Roles
You can add new roles by clicking “Theme” in the Sidebar Menu, then choosing “Roles”. This will bring up the Roles Editor in a new tab.
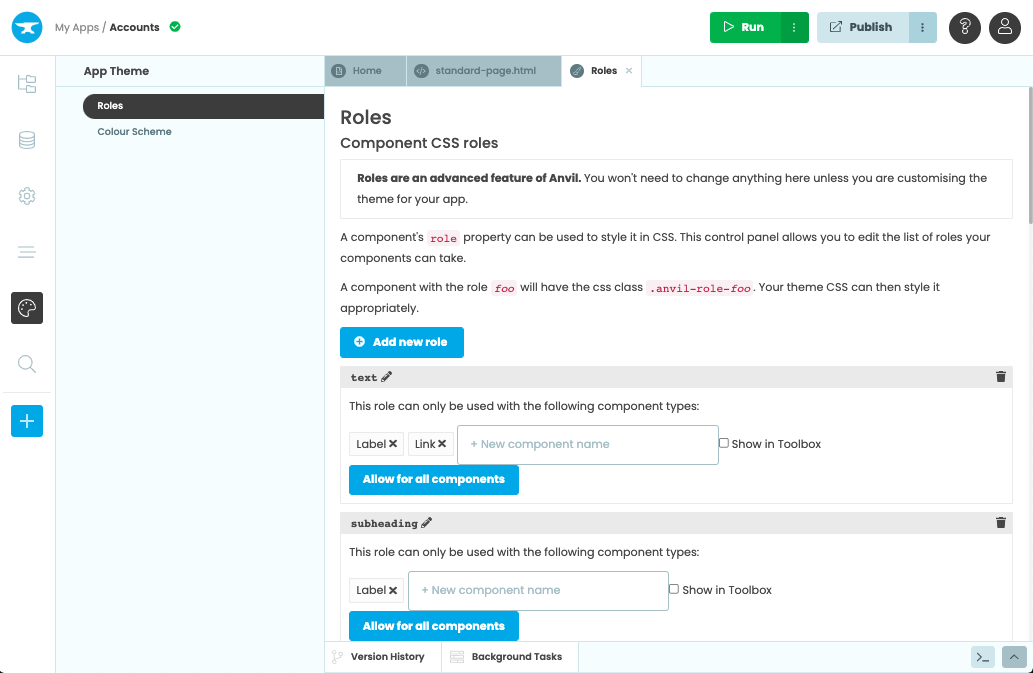
Roles modify the look and feel of components by applying CSS classes. Some Roles come pre-defined in Themes.
To add a new role, click on “+ Add a new role” button and choose a name for the role. Then, press enter.
Once added, you can change the roles name, restrict which component types a role can be added to (e.g. you can limit a role to only be available to Image Components) and delete the role entirely.
Create a new Anvil Role called submit and restrict it to Button components.
Setting a component’s role
When you set a component’s role property, Anvil will give the component a CSS class. The class name will be the Role name with the prefix anvil-role-. For example, a Role named "submit", would have the class name of .anvil-role-submit.
Setting a component’s role in the design view
To set the role of a component, select the desired component in the Form Editor and go to the Properties Panel. Scroll down in the Properties Panel to the appearance section and click on the role dropdown. This will display the list of available roles the component has.
Giving a button component the submit role.
Components can have multiple roles. To enable it for a selected component, use the toggle at the side of the role dropdown in the Properties Panel.

Toggle whether a component has multiple roles.
Setting a component’s role in code
You can set the role of a component in code. In the Form Editor, open the Code view and set the role property of your component to the desired role.
# Setting the role of a component in client-code
self.button_1.role = "submit"
If you want to add multiple roles to one component via code, add them as a list of strings:
# Setting multiple roles for a component in client-code
self.button_1.role = ["submit", "outlined"]
Changing the component’s style in CSS
You can write CSS rules in a CSS file uploaded under Assets to define how Roles affect components. In the Material Design theme, theme.css is the default CSS file that you can write CSS in.

The theme.css file in assets.
For example, to select the anvil-role-submit class and change the background color, the font color and the font size you could write something like:
.anvil-role-submit {
  background-color: lightblue;
  color: white;
  font-size: 22px;
}
Do you still have questions?
Our Community Forum is full of helpful information and Anvil experts.