Quickstart: Version Control
Track and merge changes to your app
Version Control allows you to track the changes you make to your app. You can also have multiple devlopers collaborate separately on the same app .
Follow this quickstart to create a new branch (version) of an app, make edits to the branch and merge those changes into the master branch.
Create an app
Log in to Anvil and click ‘New Blank App’. Choose the Material Design theme.
Create a new branch
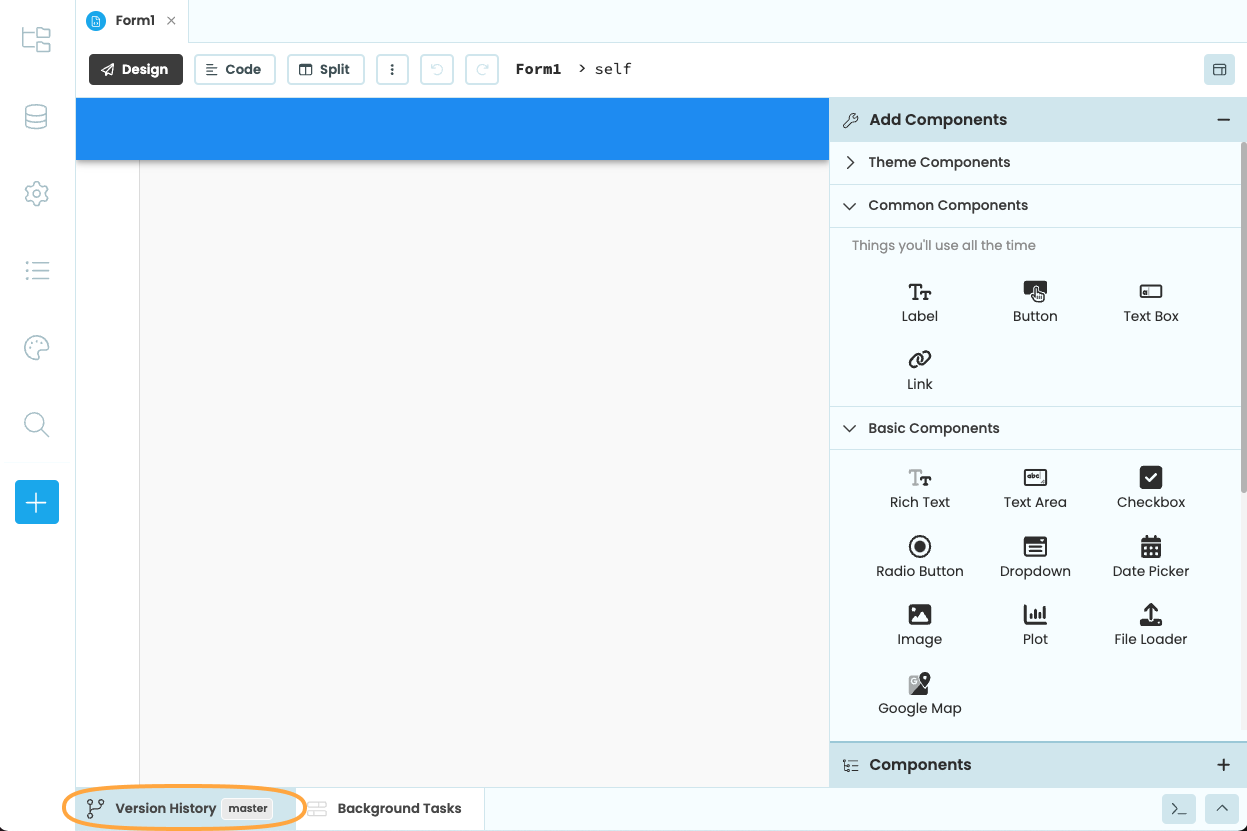
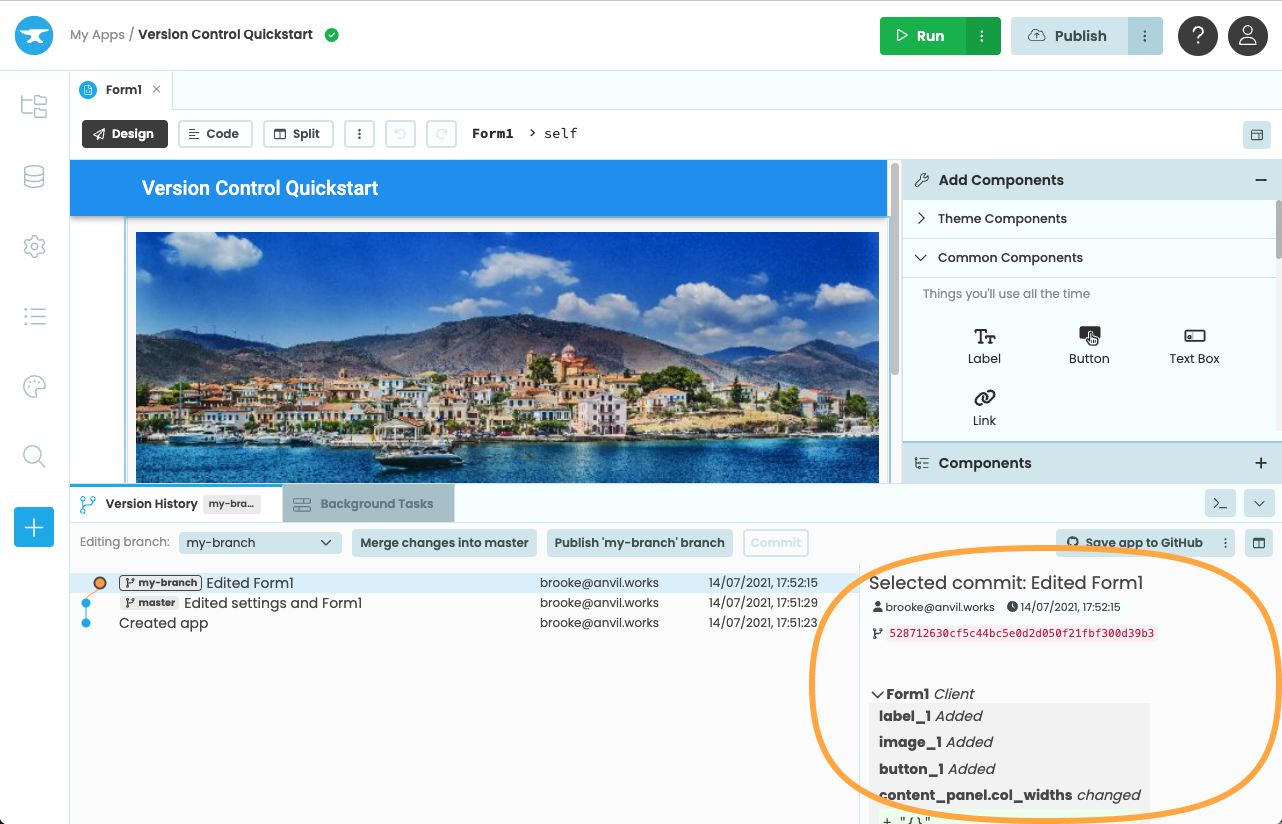
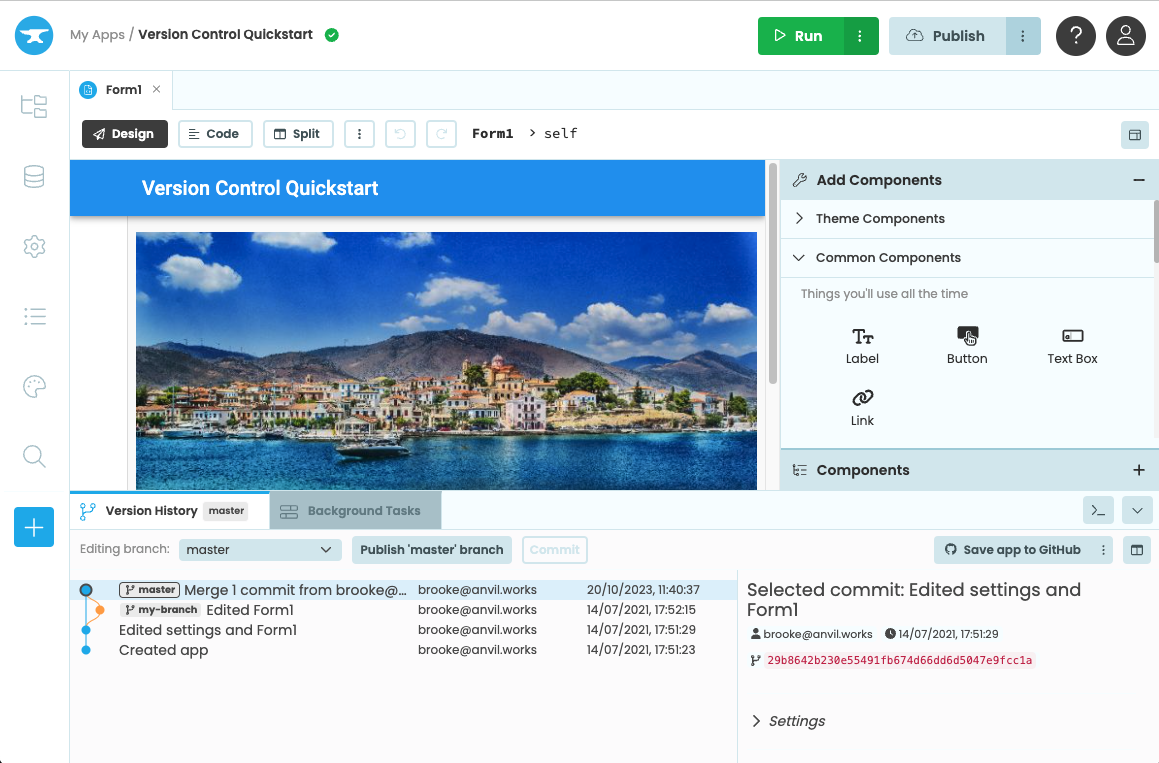
At the bottom of the app editor, click the “Version Control” tab in the Bottom Panel to expand it.
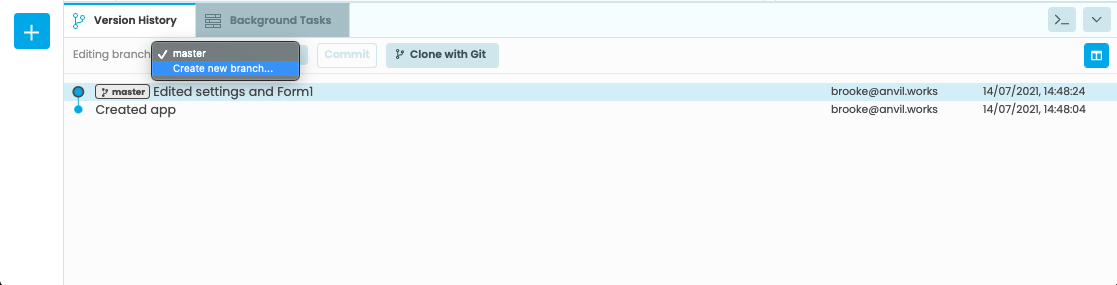
Your app will automatically have a master branch, and you should see a list of commits made to your app. These commits are snapshots of the changes made to your app. Learn more about branches and commits here.
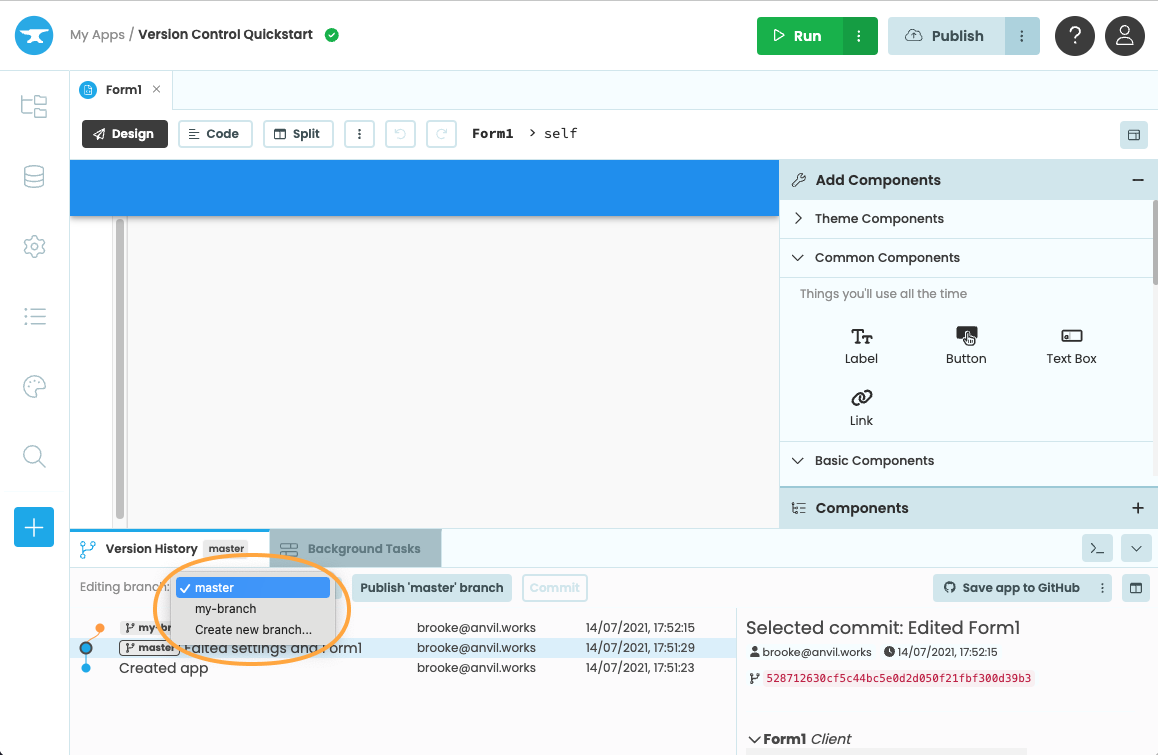
To create a new branch, click the dropdown menu that says master, then choose “Create new branch”.
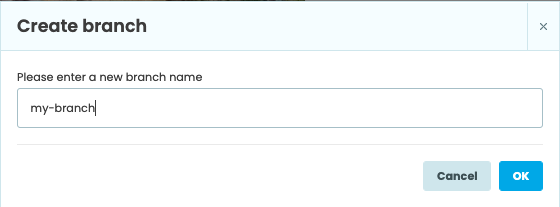
In the popup that appears, name the branch my-branch.
Make changes to the new branch
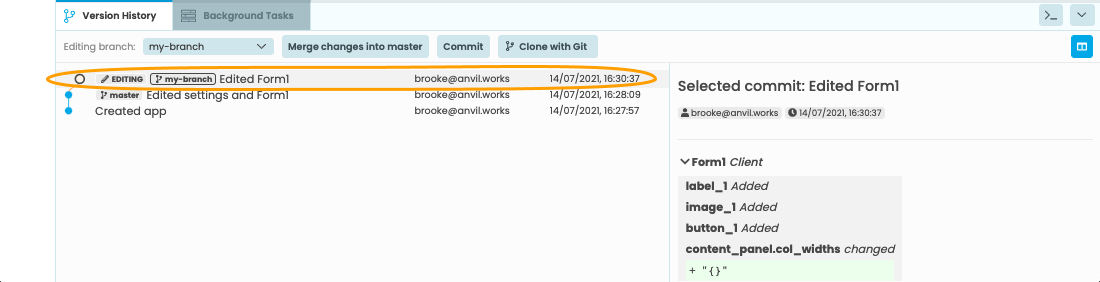
We can now work on my-branch without affecting the master branch. In the “Editing branch:” dropdown menu, chose my-branch. Then, drag and drop a few components onto Form1 to make changes to the app.
In the Bottom Panel, click on the top commit. This will open a panel on the right-hand side showing all the changes made to the app. Click on Form1 Client to see the changes that were made for that commit.
Switch back to master
Now switch back to the master branch. In the Bottom Panel, choose master in the “Editing branch:” dropdown menu. All the changes made on the my-branch version of the app will no longer appear in the editor.
Merge the changes into master
We can switch branches via the dropdown or by clicking on the commits in the bottom panel. Double-click on the most recent commit in my-branch to switch back to that branch.
In the Version Control tab, click the Merge changes into master button to add the changes from my-branch into master. A popup will appear allowing you to type a message. You can also view the changes that will be merged.
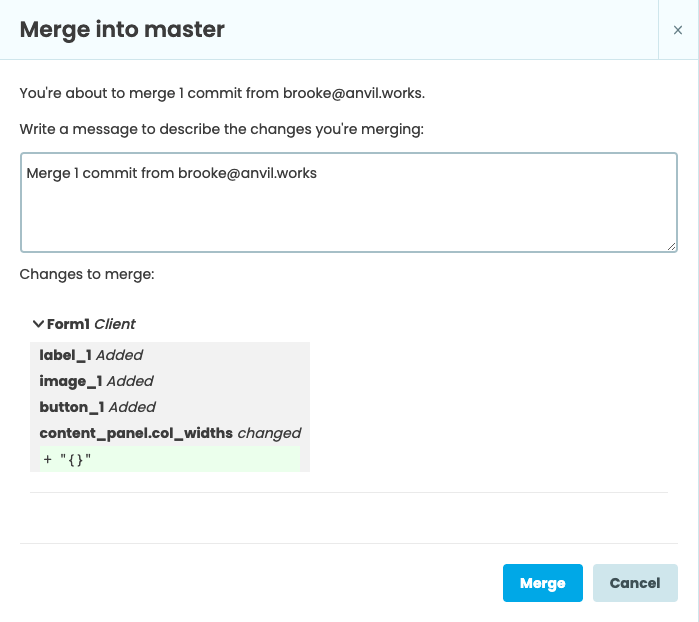
Click “Merge”. You will now be working on the master branch, but it will look like my-branch did.
Commence Collaboration
You can create multiple branches of your app at once, which works extrememly well for collaboration. Multiple developers can make changes to a single app without stepping on each other’s toes. You can read more about the recommended workflow for collaboration here.
Do you still have questions?
Our Community Forum is full of helpful information and Anvil experts.