Quickstart: Making PDFs
Build your UI visually and render it as a PDF
Anvil has built-in support for creating PDFs.
Follow this quickstart to create your visual design with drag-and-drop, accept user inputs and then render them in PDF format.
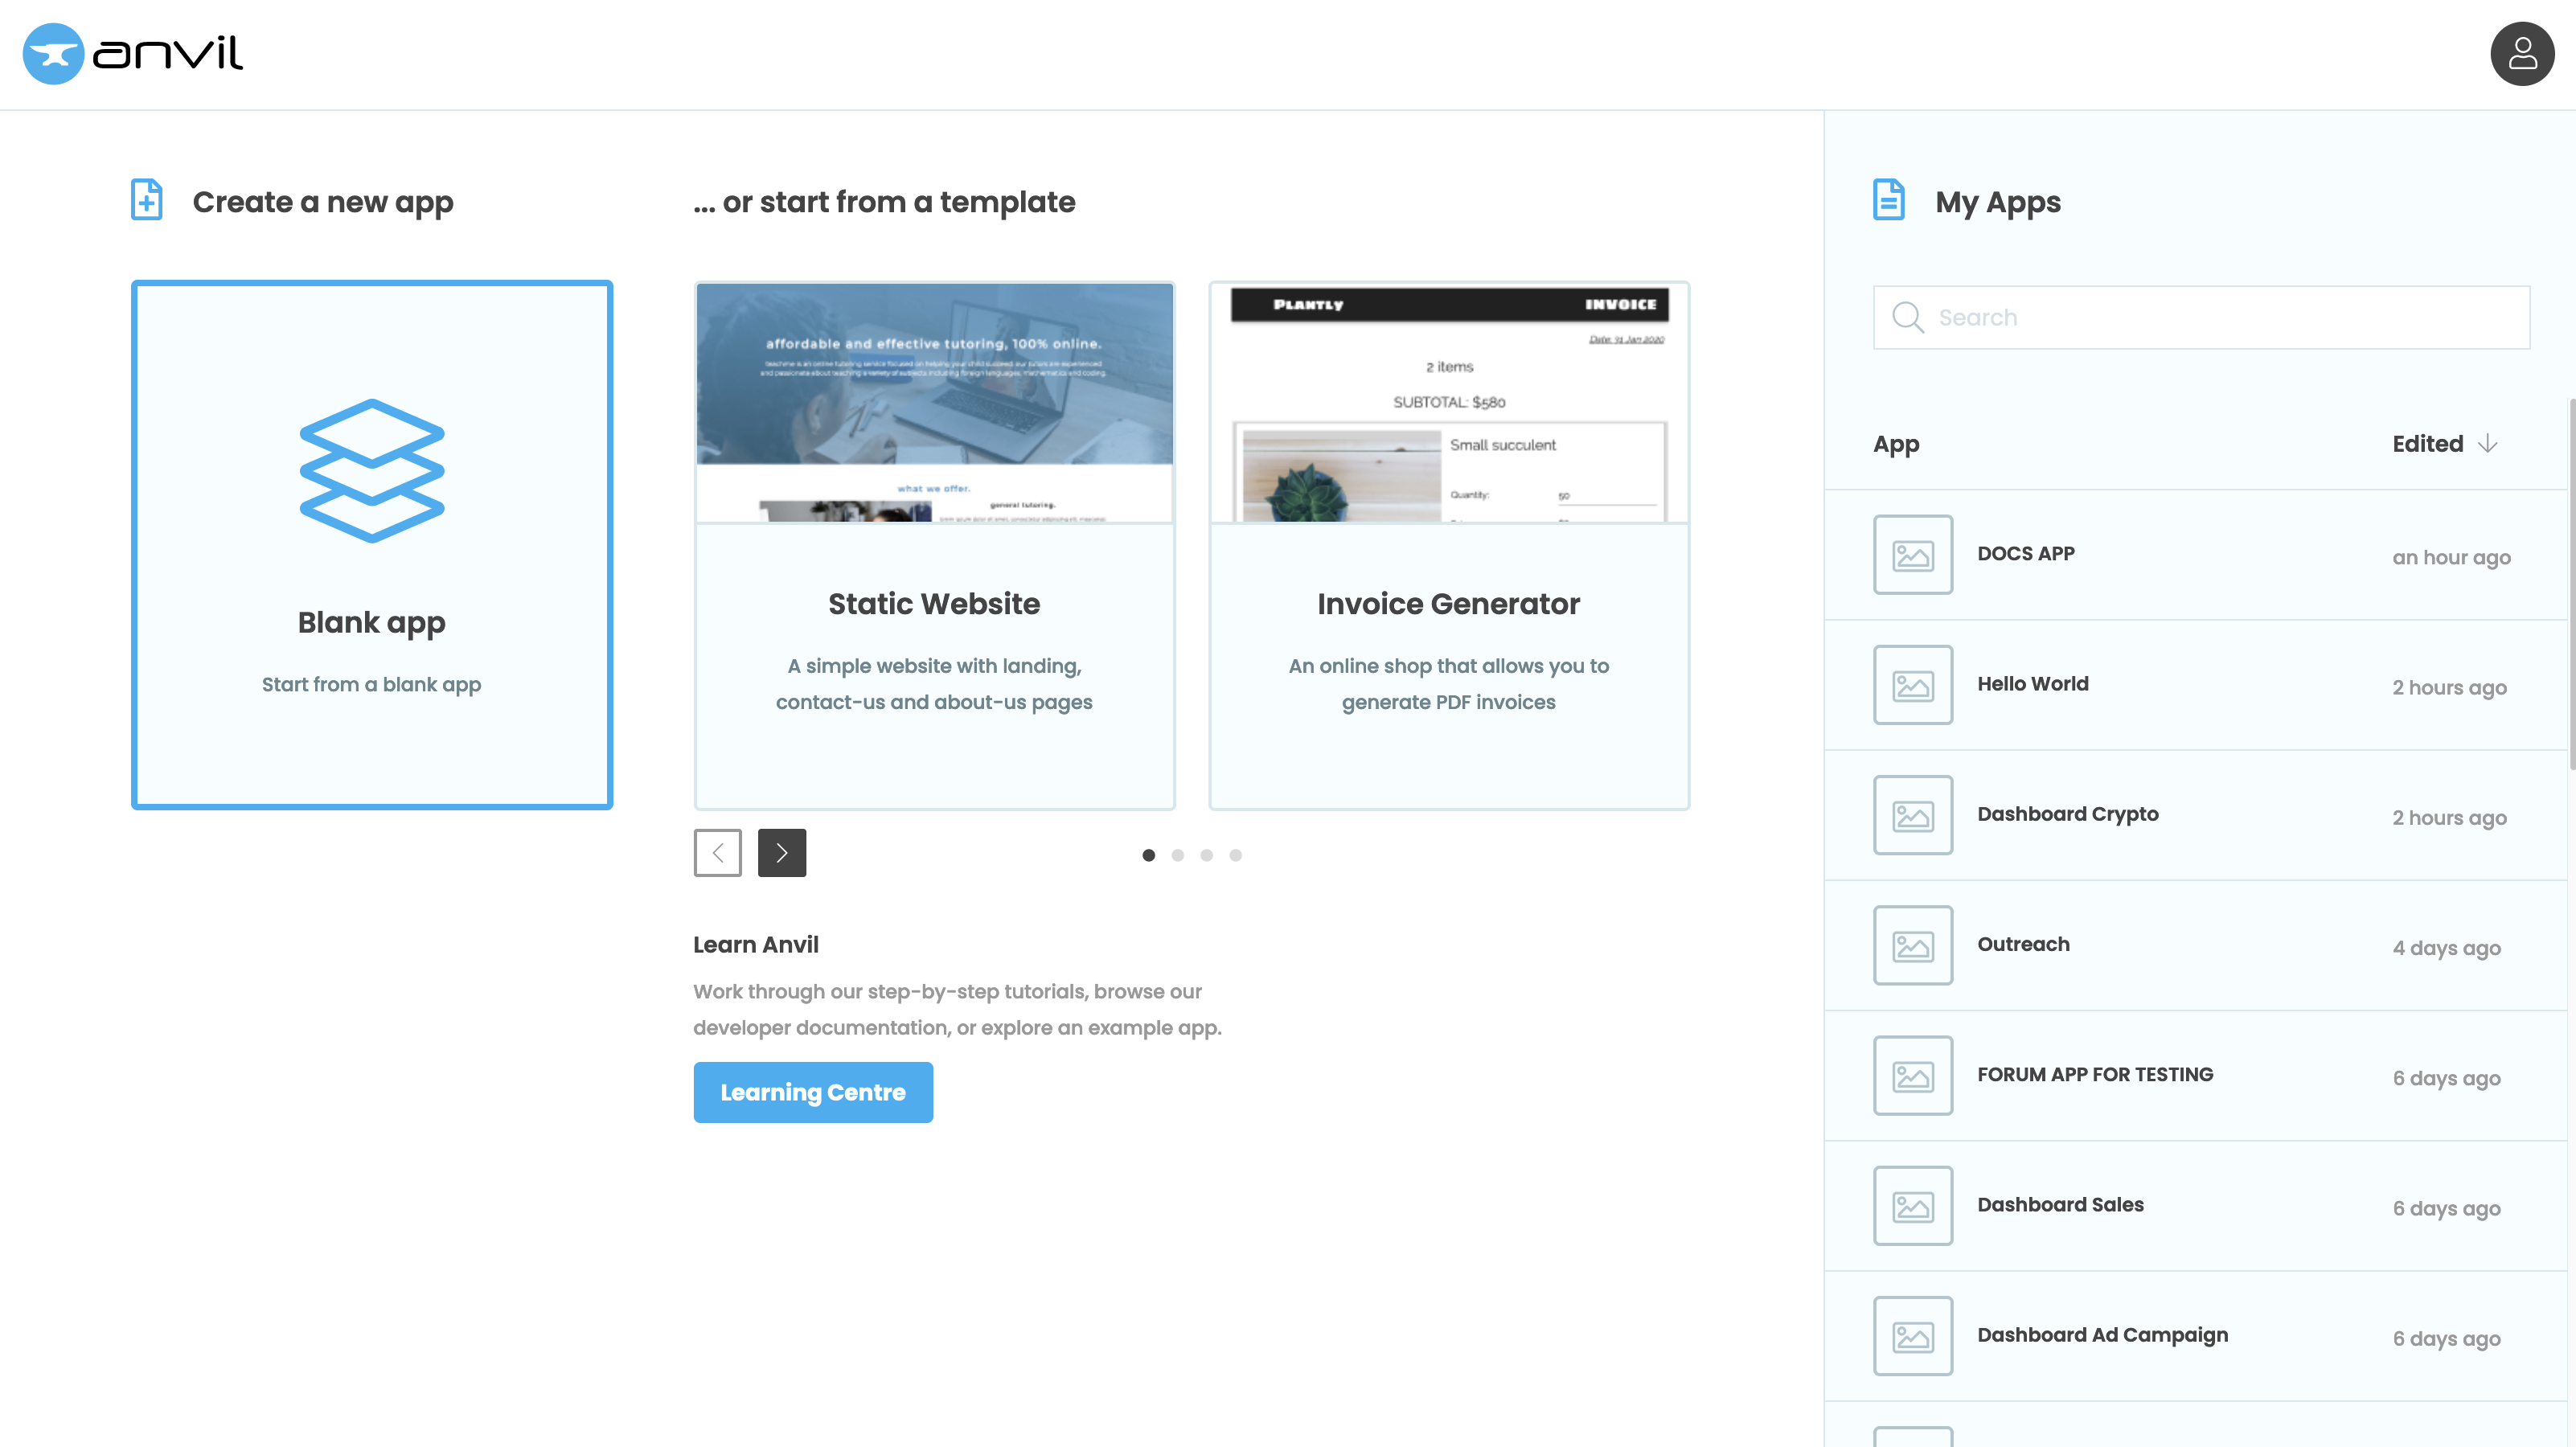
Create an app
Log in to Anvil and click ‘New Blank App’. Choose the Material Design theme.
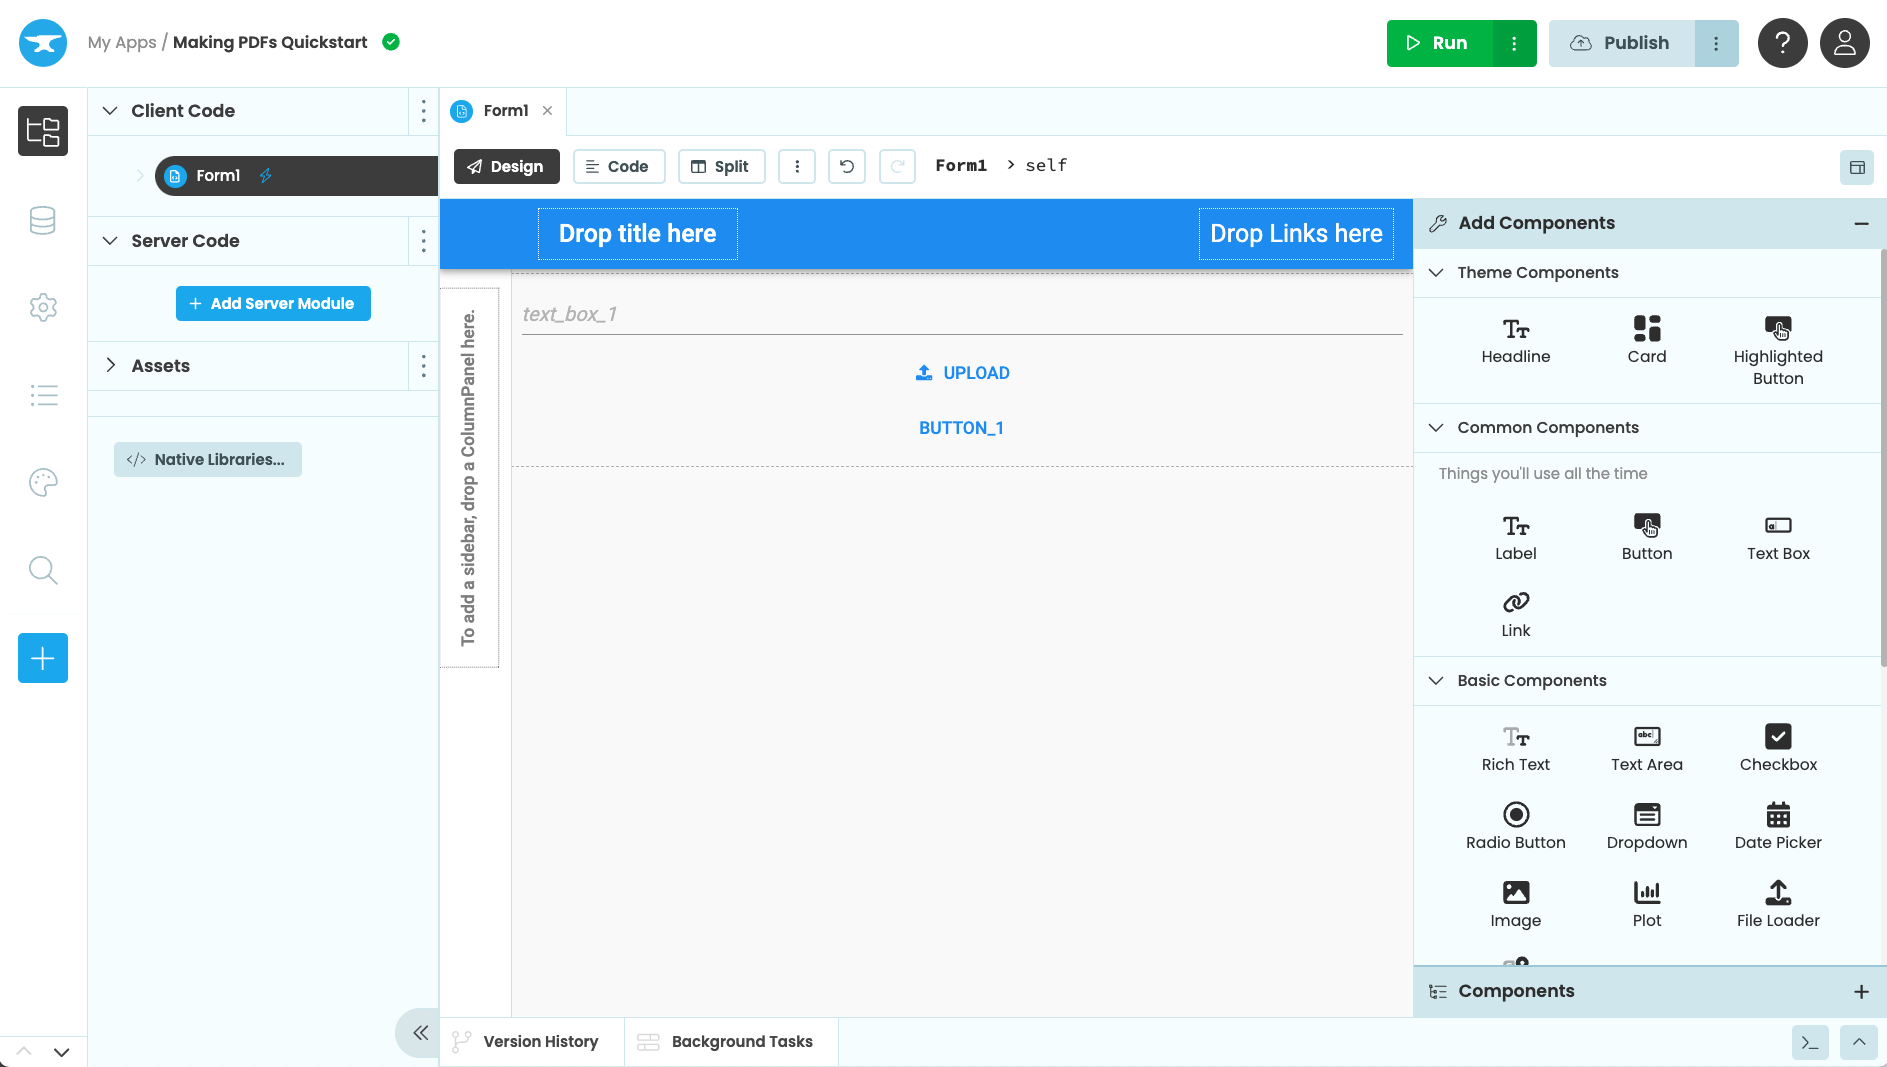
Add components
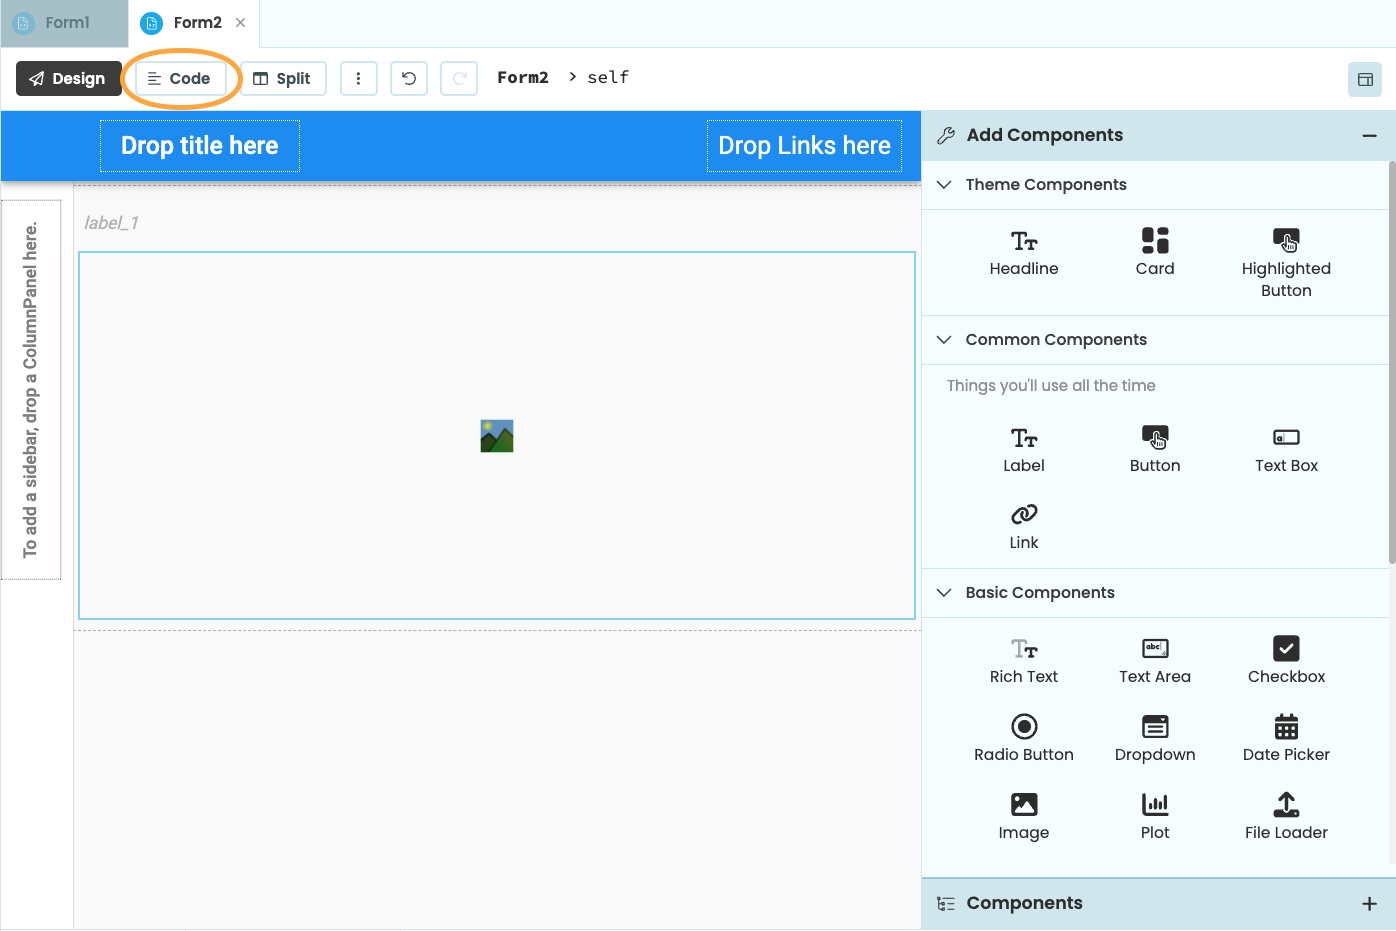
You will see your app in the centre of the screen. On the right is the Toolbox, which contains components to drag-and-drop.
Drop a TextBox ![]() , FileLoader
, FileLoader ![]() and Button
and Button ![]() into the page.
into the page.
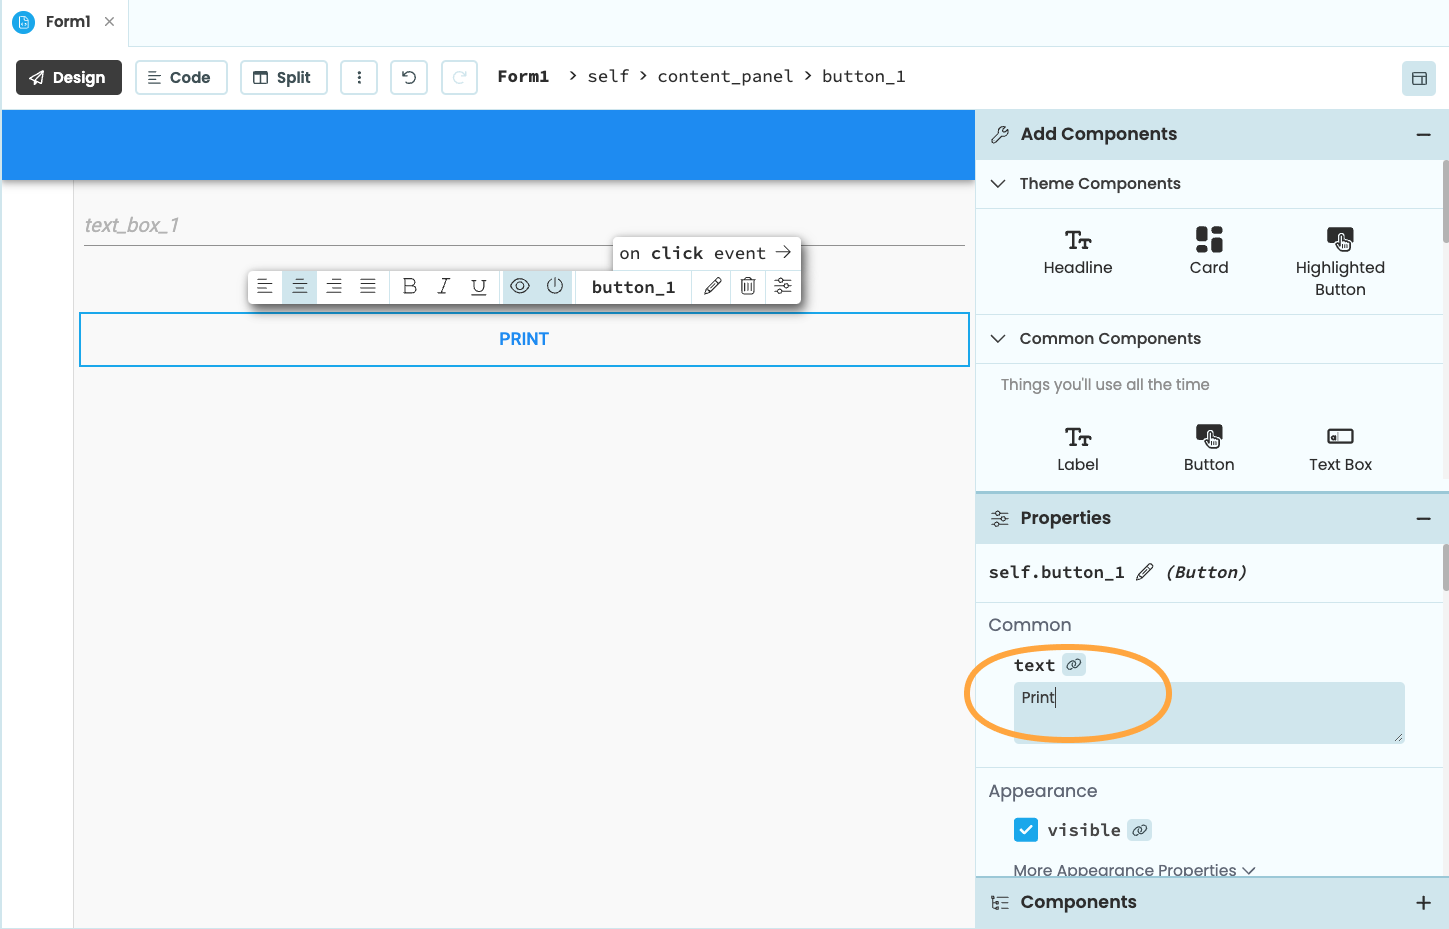
Change component properties
Select the Button you just added to the page. In the Object Palette floating above the Button, click the icon to change the Button’s text from ‘button_1’ to ‘Print’. You can also edit the text from the Properties Panel on the right.
Add another Form
In the App Browser, click the ‘+ Add Form’ next to ‘Client Code’,then select ‘Standard Page’. You’ll now have a second Form called ‘Form2’.

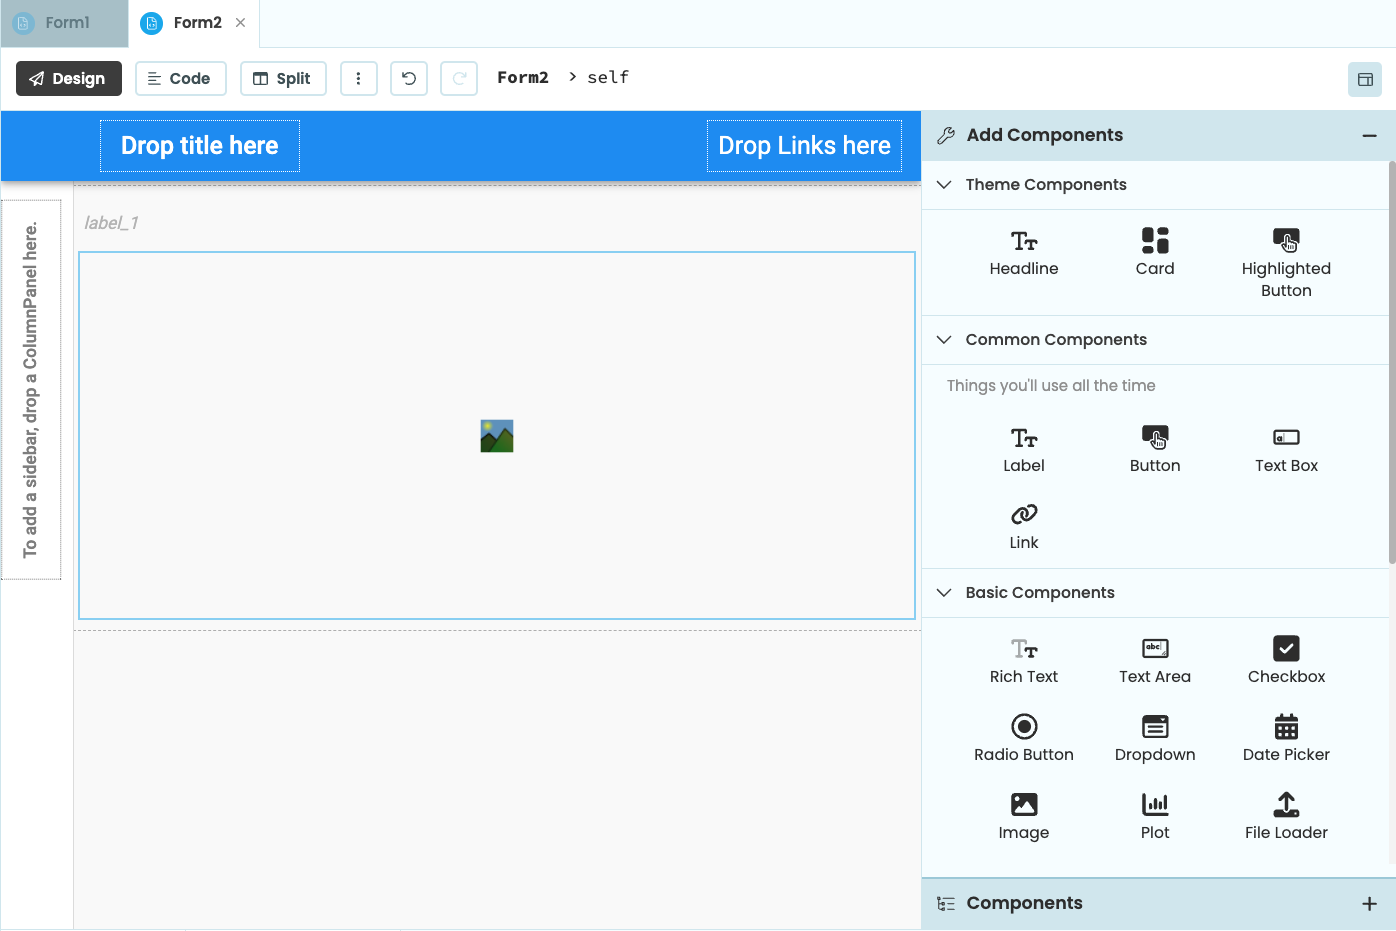
Design your PDF
Drop a Label ![]() and Image
and Image ![]() into the page. Form2 will be the template for our PDF. We’ll display a greeting in the Label and an Image uploaded by the user.
into the page. Form2 will be the template for our PDF. We’ll display a greeting in the Label and an Image uploaded by the user.
Write some Python
Go to Code View of Form2. This is Python that runs in the browser.
Edit the definition of the __init__ function to accept a name and image. It now looks like this:
  def __init__(self, name, img, **properties):
	# ... rest of code as before ...
We want to display a greeting in self.label_1, and an image in self.image_1. Edit our Form2’s __init__ method as follows:
    # Any code you write here will run before the form opens.
    self.label_1.text = f"Hello, {name}!"
    self.image_1.source = img
Add a Server Module
In the App Browser, click the ‘+ Add Server Module’ to add a new Server Module.
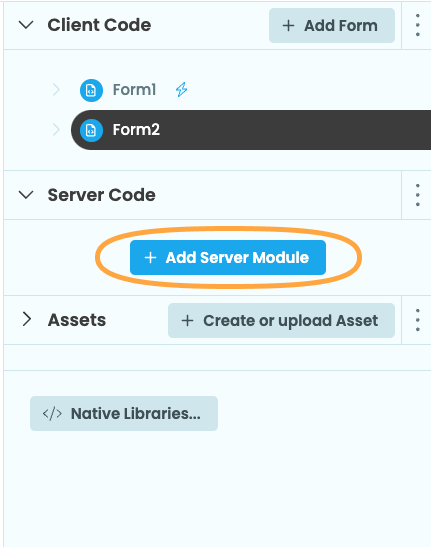
You will see a code editor with an orange background. This is a server-side Python environment for your app.
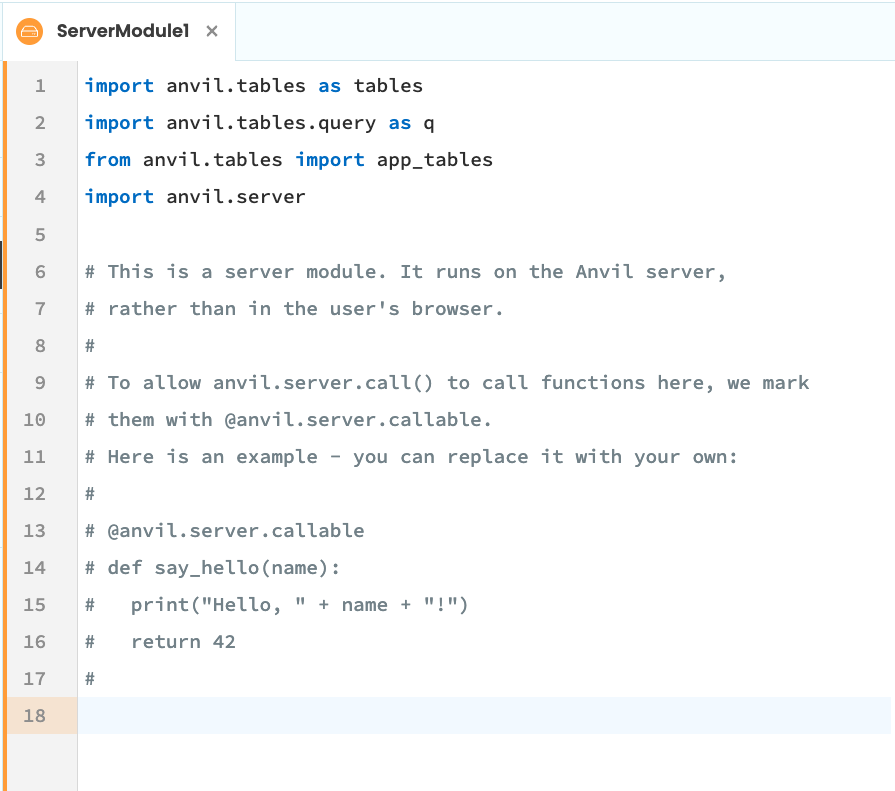
Write a server function
Add this line to the top of your Server Module:
import anvil.pdfWrite this function into the Server Module:
def create_pdf(name, img):
  # Create a pdf from 'Form2', and pass in 'name' and 'img' as its constructors
  pdf = anvil.pdf.render_form("Form2", name, img)
  return pdf
Make your function client-callable
Above your create_pdf function, add @anvil.server.callable. The function now looks like this:
@anvil.server.callable
def create_pdf(name, img):
  pdf = anvil.pdf.render_form("Form2", name, img)
  return pdf
That makes the create_pdf function callable from the client side.
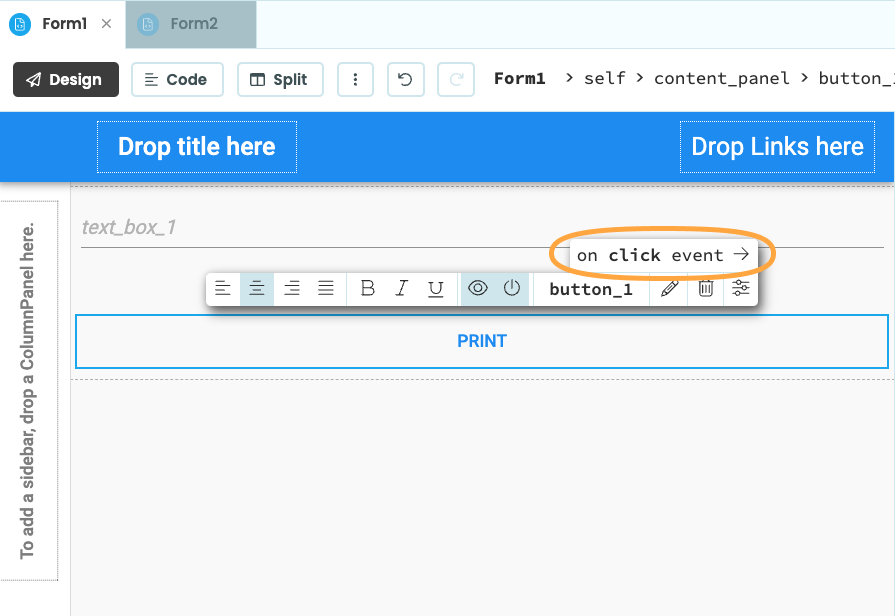
Set up an event handler
Under Forms in the App Browser, select Form1, then select the ‘Print’ Button. In the Object Palette floating above the Button, click on click event. This will create a function that will run when a user clicks the Button.
Write some more Python
You will be taken to the Code View. The button_1_click method runs when the Button is clicked.
Replace the pass with this code:
    import anvil.media

    pdf = anvil.server.call('create_pdf', self.text_box_1.text, self.file_loader_1.file)
    anvil.media.download(pdf)
Run your app
Now click the ‘Run’ button at the top of the screen.

You’ll see your app running. Enter your name in the TextBox, then click the ‘upload’ button - you will get a file selection dialog.
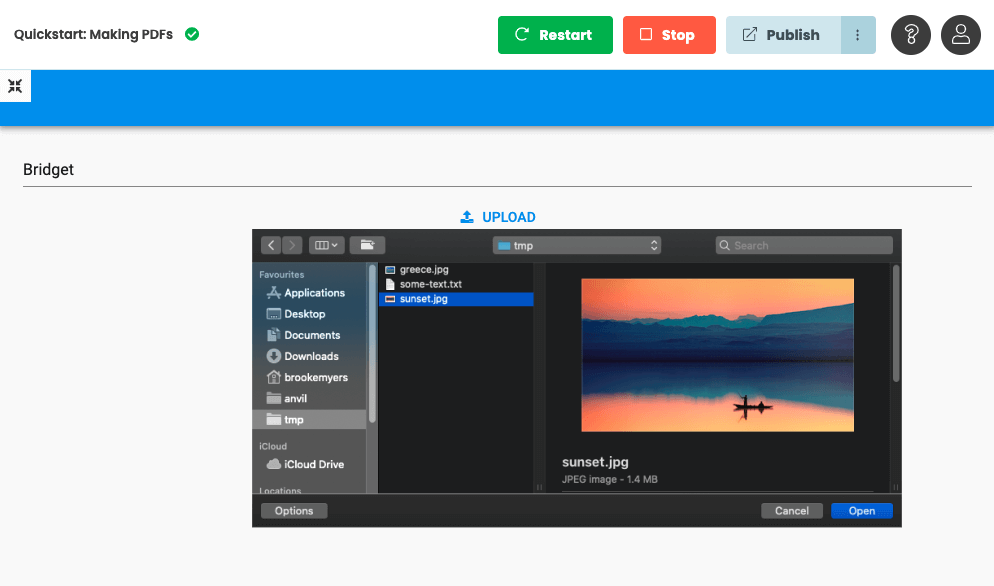
Choose an image to upload, then click the ‘Print’ button.
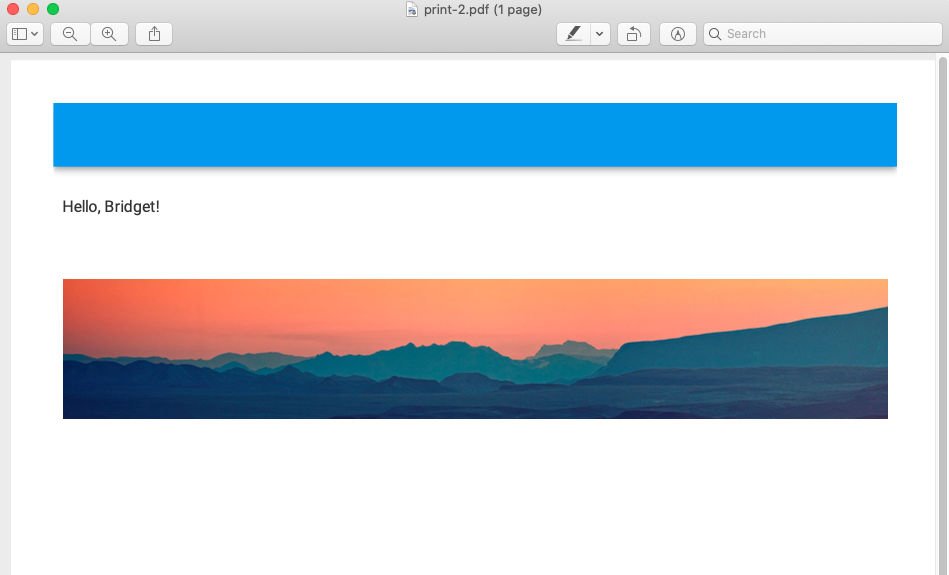
Your app will pop up a dialog for you to download your completed PDF!
Copy the example app
Click on the button below to clone a finished version of this app into your account.
Next up
Want more depth on this subject?
Read more about Creating PDF Files to see what else you can do with PDFs.
Want another quickstart?
Every quickstart is on the Quickstarts page.
Do you still have questions?
Our Community Forum is full of helpful information and Anvil experts.