Hi - question about CSS…
My app is a default, or no-style app, which I chose because I knew I’d eventually want to add CSS
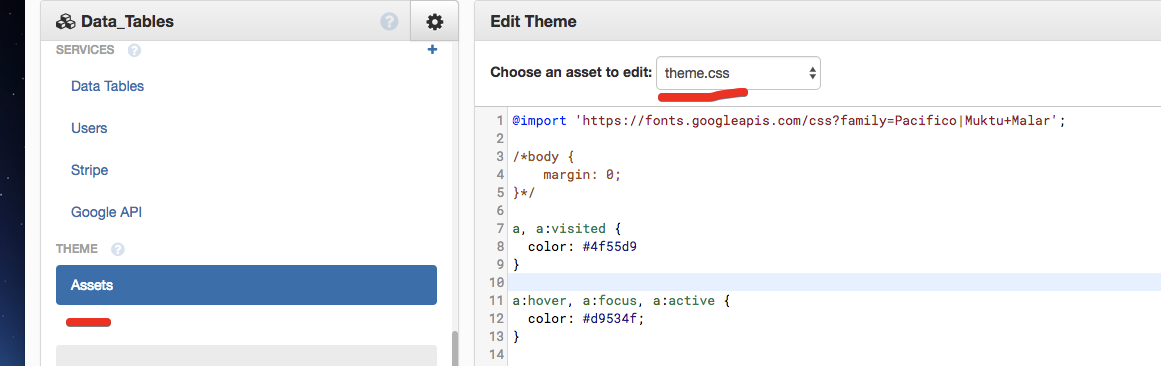
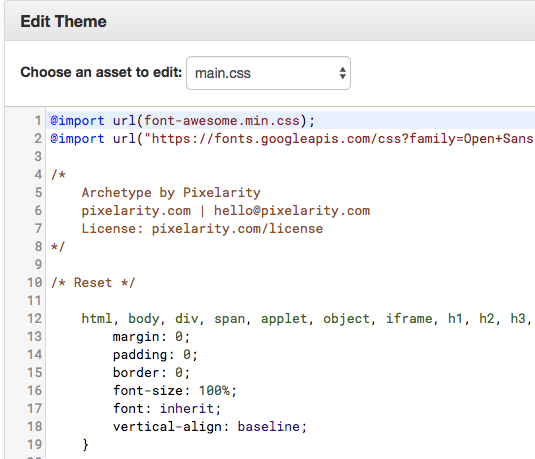
I can see my app is using this default theme.css file as I can play with the fonts and colors, although I don’t know how my app calls the stylesheet, I’m used to seeing it being called at the top of an HTML file
That said, I found a CSS that I like, and now I have 2 questions:
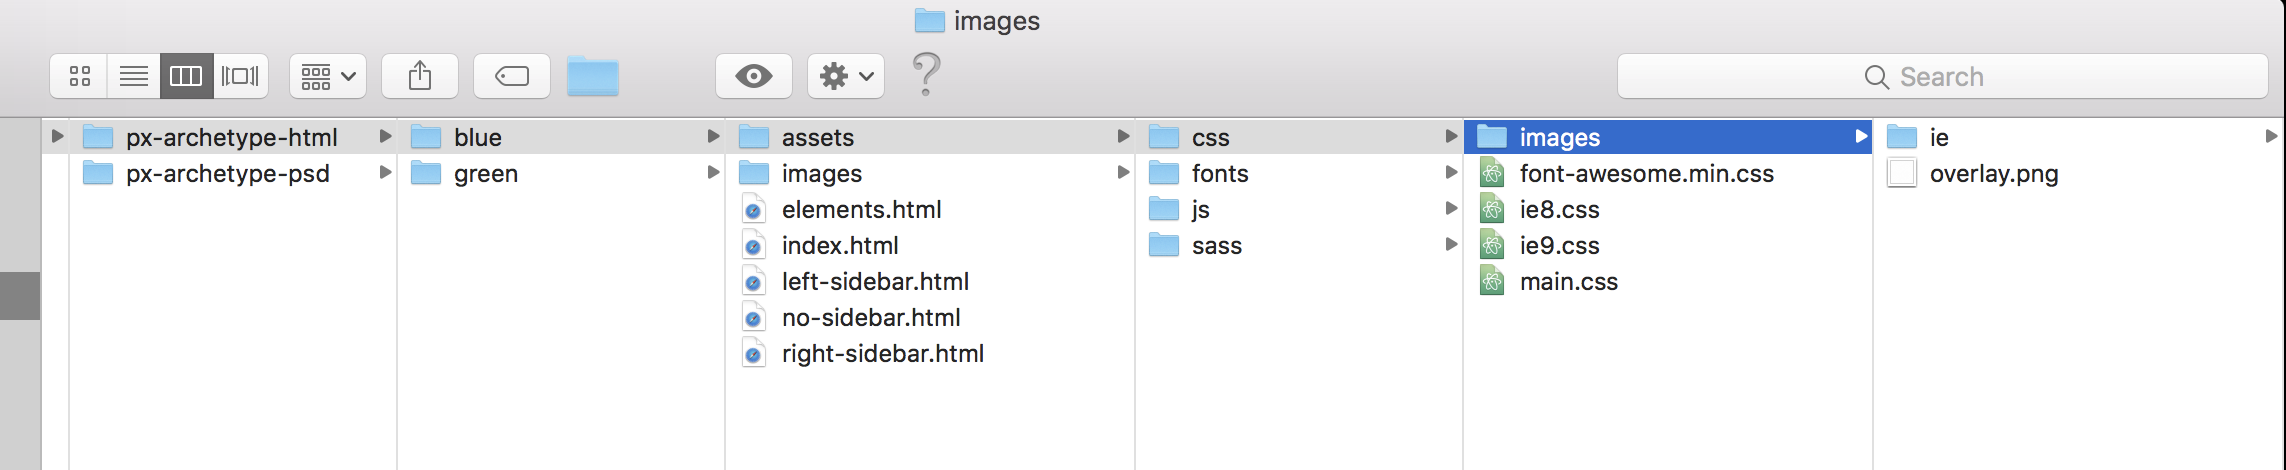
The CSS I found has many folder and files, how does it all get into Anvil? There’s tons of photoshop images, etc…
I uploaded the Main.CSS into Anvil’s Assets but how do I switch from theme.css to main.css?

thanks! -Ian
One way is to put this at the top of your HTML file :
<link href="_/theme/<yourfilenamehere>.css" rel="stylesheet">
The _/theme/ is the location of your custom assets within Anvil.
That will load any assets you upload/create through the IDE. You can put as many of those as you like in.
(note this is also how you would reference any JS assets you create)
With regards to images and the like - er, I’m not sure, sorry.
1 Like
standard-page.html is the only html page in my assets, so I pasted in your code, swapping in main.css that I uploaded
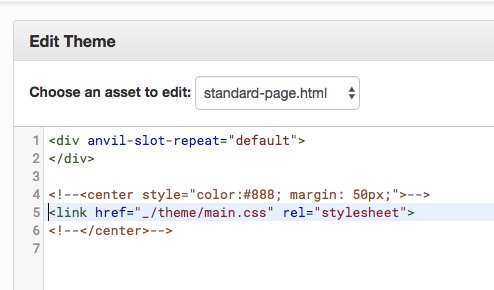
But the app still looks the same when it runs. Is there an additional step?
Also, is _/theme/ a virtual folder of sorts? Perhaps all the files in my css folders need to be uploaded there?
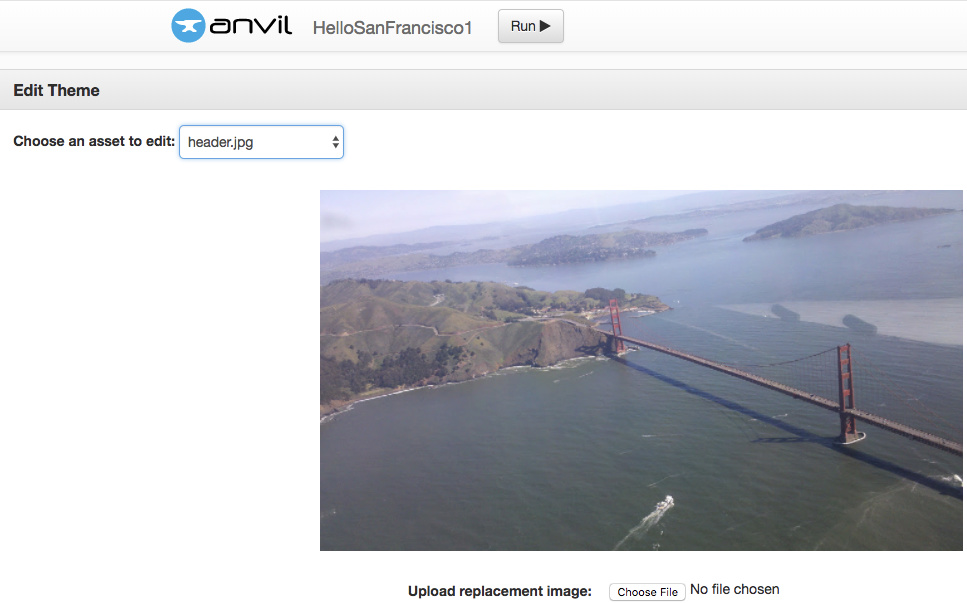
Edit: …per my sentence above…i notice the newer Anvil templates with the nicer HTML have .jpg files in _/theme/
One question - have you added the html file to the form?
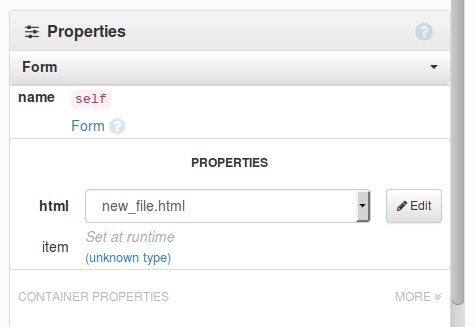
Also, might be nothing, but “main.css” might be a bad choice of names. Wondering if, as Anvil supply that, it might have some internal meaning. Probably not but I’d use a different name just in case…
No - I don’t have that html property option in any of my forms. (see below)
My app didn’t have ‘Theme’ either until Anvil pushed an update a few days ago

I can rename main.css (although I assume it will break something), main.css was just what the developer of the CSS template named it.
Ahhh… ok.
The form needs to be a Custom HTML form. I don’t think other types of form can be converted. You may have to recreate that form (ie create a new one then copy/paste the code/controls across).
So I did some testing, I uploaded every file in the CSS template I bought to Assets…
…and changed every file folder reference to _/theme/ in all the html and css pages

…and now the site looks nicely styled, pretty much like it’s supposed to…
…but now that the html files dictate how the app looks, how do my Anvil code, toolbox components, modules etc. interact with the html file?
I’m used to editing the Form directly, and now nothing happens visually when I’m in design view and add a component like a column panel. I still just see the styled html file, without the column panel added. Any advice is appreciated!
You need to add the “slots”.
Have a read of this : https://anvil.works/doc/index.html#-div-id-html_templating-custom-html-templates-div-
Have a look at the “dashboard.html” asset that ships with Anvil as well. That is an example of custom design which accepts Anvil components. They do it all in one file but the principle is the same.
It all works very well when you get the hang of it, but do keep in mind that you are tackling a slightly more advanced topic here.
Wow, so you have to build a slot for every component?
I’m still not seeing how the components get added or functions get called, every slot example I see is mostly just a text box.
No, the slots are drop points for the IDE GUI.
When you drop a component there it adds it to the form. You can then drop more there. It’s how the standard form builder works (you just cant see it), and that’s how you recreate it in your custom forms.
To see it in action, scroll down to the “Putting it all together” section from that help page. Create a new project with custom html and a custom html form. Create a new asset and paste that code from the help page into it. Attach it to Form1. You can see you can drag and drop just like the default pages.
You would need to put these zone DIVs into your custom designed pages. You might have a side bar and a main section (like the dashboard.html example, which is worth studying). So you would add drop zones to those places and then you can drag/drop components as normal into them. That’s just an example.
Thanks for the advice, the slots are interesting, if I could get them to work my app would look awesome.
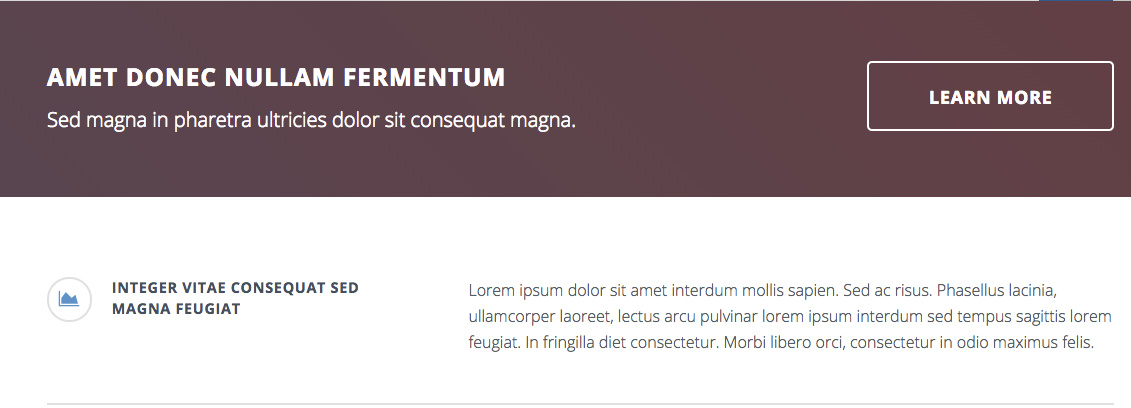
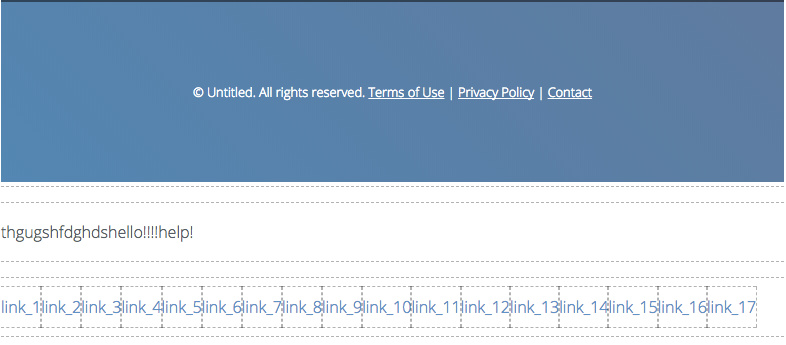
Here’s a banner in my app with the fancy CSS styling…
…here’s the html for this banner…
  <!-- Banner -->
  	<section id="banner">
  		<div class="content">
  			<div class="inner">
                    <header>
                      <h2>Amet donec nullam fermentum</h2>
                      <p>Sed magna in phareta ultricies dolor sit consequat magna.</p>
                  	</header>
                  	<ul class="actions">
  					<li><a href="#" class="button huge">Learn More</a></li>
  				</ul>
  			</div>
              </div>
  	</section>
…so I replace the text with a slot…
  <!-- Banner -->
  	<section id="banner">
  		<div class="content">
  			<div class="inner">
                   <div anvil-drop-slot="default"
                      	style="border: 2px solid red"
                       	class="anvil-designer-only">
                    	Drop Zone Here
              		</div>
                  	<ul class="actions">
  					<li><a href="#" class="button huge">Learn More</a></li>
  				</ul>
  			</div>
              </div>
  	</section>
…and I get a drop zone
…but I can’t get components to land in it when I drag them on for the life of me. The zone lights up too when I drag something on it, but nothing sticks. Everything gets placed on the bottom of the form in what I now call the ‘component graveyard’
I saw there were some ‘nearest drop zone’ and ‘default drop zone’ variations, but I couldn’t get these to work either, possible my syntax was bad, the html pages don’t give as many error hints as the forms, any ideas?
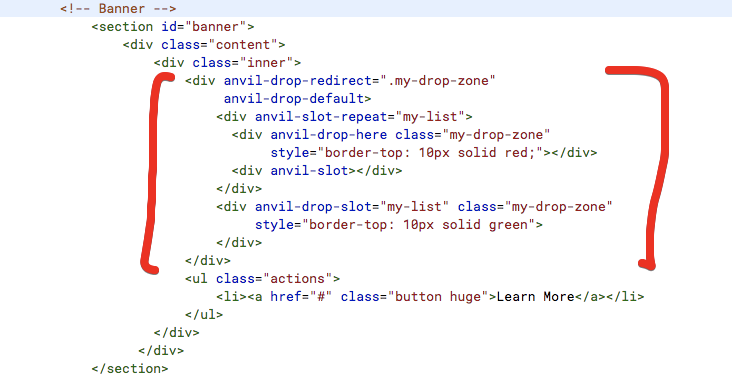
out of the office today, but as an experiment replace what you’ve done with this (leave the styling in so you can see where the zone is properly). This should snap it to the drop zone classed div (the redirect does this) :
<div anvil-drop-redirect=".my-drop-zone"
     anvil-drop-default>
    <div anvil-slot-repeat="my-list">
      <div anvil-drop-here class="my-drop-zone"
           style="border-top: 10px solid red;"></div>
      <div anvil-slot></div>
    </div>
    <div anvil-drop-slot="my-list" class="my-drop-zone"
         style="border-top: 10px solid green">
    </div>
</div>
When I get back later this evening - if it’s still not working - I’ll take a proper look.
…hmmm for some reason this isn’t working…
…the red or green borders are not displaying and everything being dropped is still falling to the bottom of the form
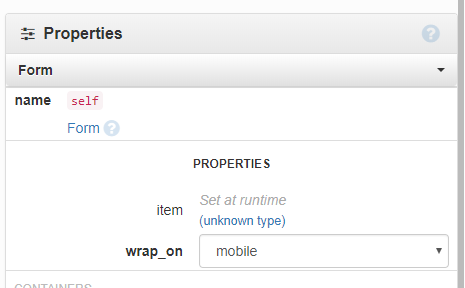
I got the components to actually sit where they are supposed to…

…with this one liner…
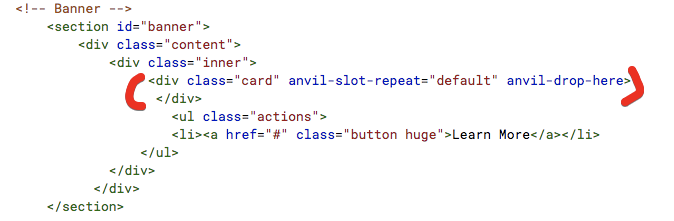
…but it’s a little clunky, they are hard to edit and make the IDE slow, difficult to tell whether this the best path to follow for the app