Resolving Conflicts
If you try to merge overlapping changes – for example, both sides have edited the same component, or the same line of code – then the changes will conflict, and you will have to resolve these conflicts by hand.
When an attempted merge fails with conflicts, Anvil will notify you with a dialog, and open the Conflicts tab in the bottom panel, which will show you which changes conflicted:
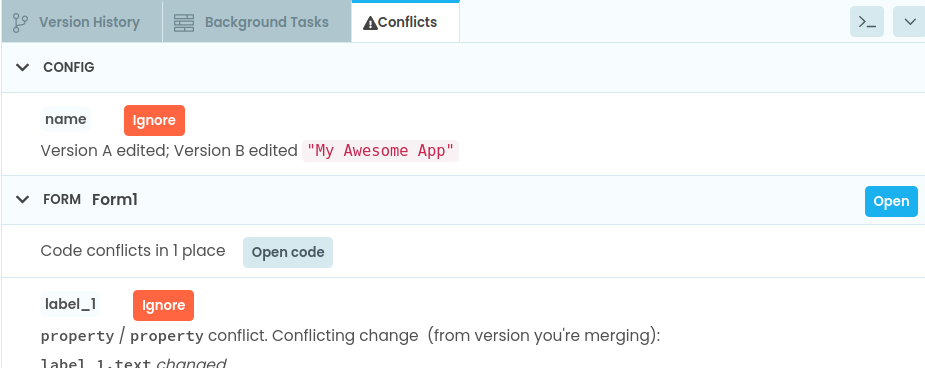
The Conflicts tab
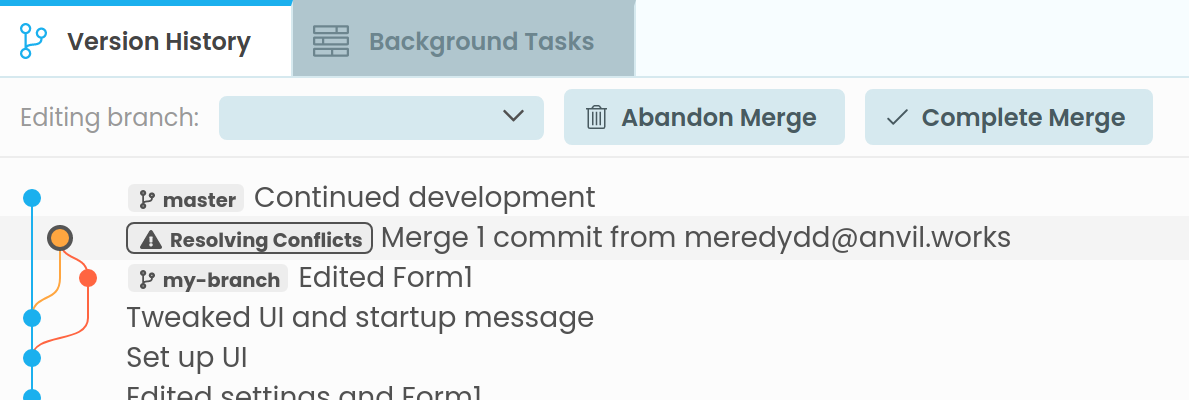
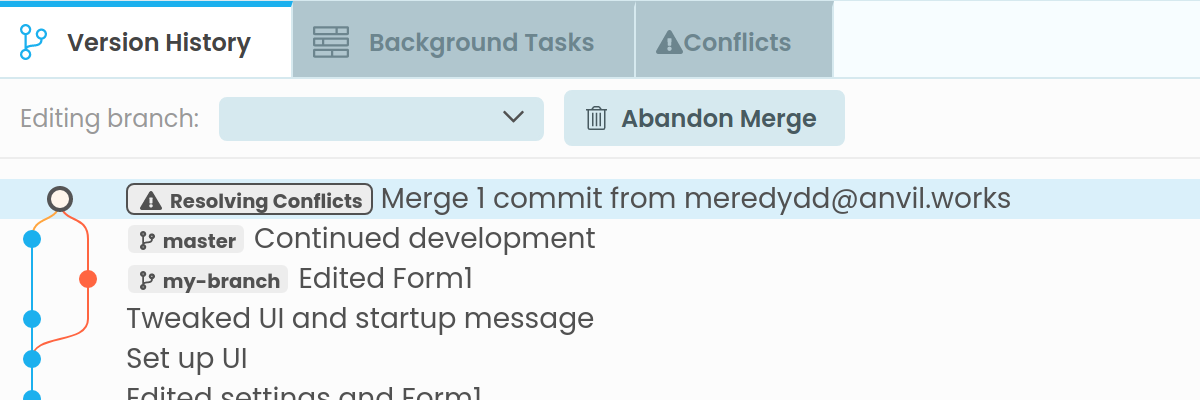
If you look at the Version History tab, you will see that you are resolving merge conflicts:
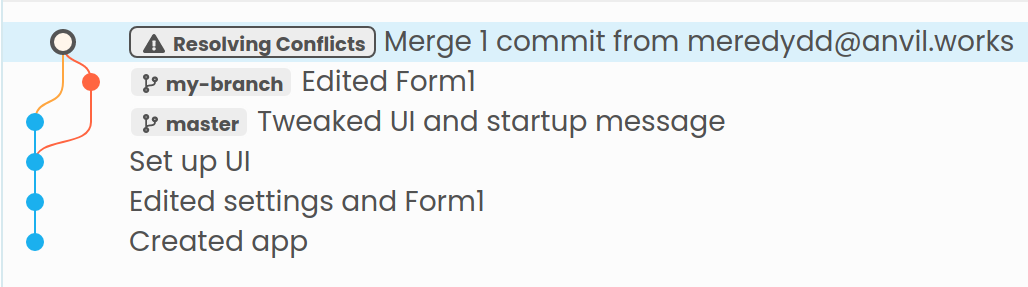
The Version History tab, showing a merge where we are resolving conflicts
You can switch away to other branches or versions, and pick up where you left off merging by double-clicking the merged version. While you are merging, every change amends the merge commit: you cannot “freeze” the commit until you have resolved all merge conflicts.
Code conflicts
If both sides of a merge have changed the same line(s) of code, you will see a code conflict:

The Conflicts tab, showing a code conflict
If you open the code in the editor, you will see markers identifying the conflicting lines, with different colours for each side of the merge:
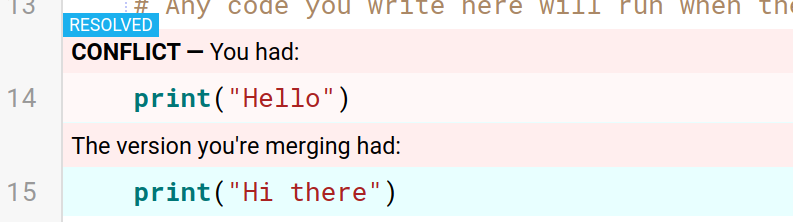
The Conflicts tab, showing a code conflict
You must now edit the text in this range to resolve the conflict. When you have done this, click the Resolved button on the conflict marker.
Component conflicts
If both sides of a merge have changed the same component(s) on a form, you will see a component conflict:
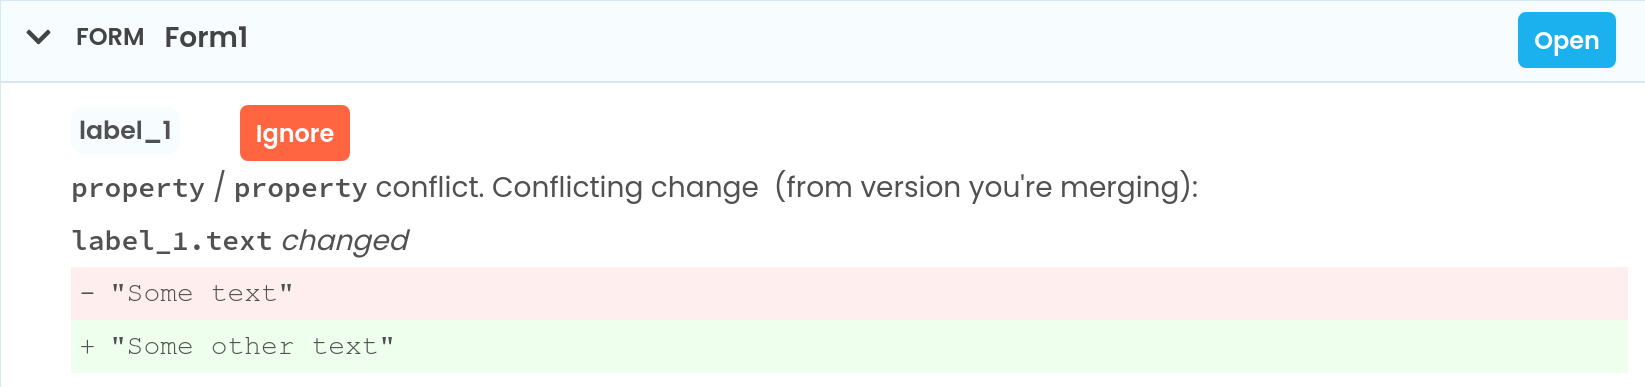
The Conflicts tab, showing a component conflict
When component conflicts occur, Anvil “picks one side” of the merge, and displays those in the Designer (usually the changes that are already on the branch you’re merging into), and displays the conflicting changes in the Conflicts tab.
You must now edit the components to resolve the conflict, by incorporating as much of the conflicting changes as you want. When you have done this, click the Ignore button on the conflict marker.
Config conflicts
If both sides of a merge have changed the same piece of an app’s configuration, you will see a configuration conflict:
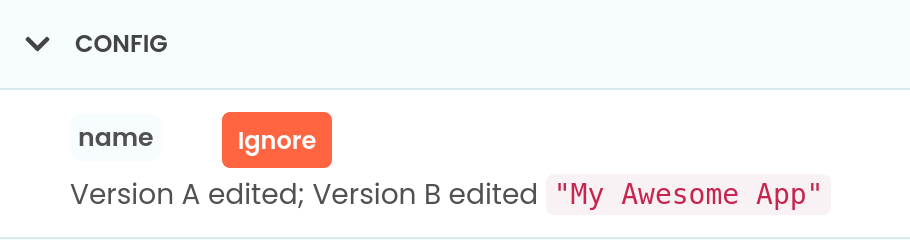
The Conflicts tab, showing a config conflict
As with component conflicts, in case of configuration conflicts Anvil will choose a side (usually the target branch) and leave those changes in your app’s source code, while displaying the conflicting changes in the Conflicts tab.
You must now edit the configuration of your app to resolve the conflict. When you have done this, click the Ignore button on the conflict marker.
Marking conflicts as resolved
Once you have resolved all the individual conflicts in a form, module, or your app’s configuration, you need to confirm that this item is fully resolved:
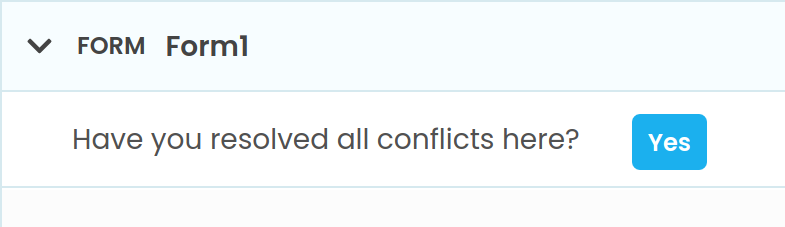
The Conflicts tab, prompting for confirmation
Once you have confirmed that all conflicts as resolved, you can click the Complete merge button in the Version History tab:

Completing the merge
When the target branch moves
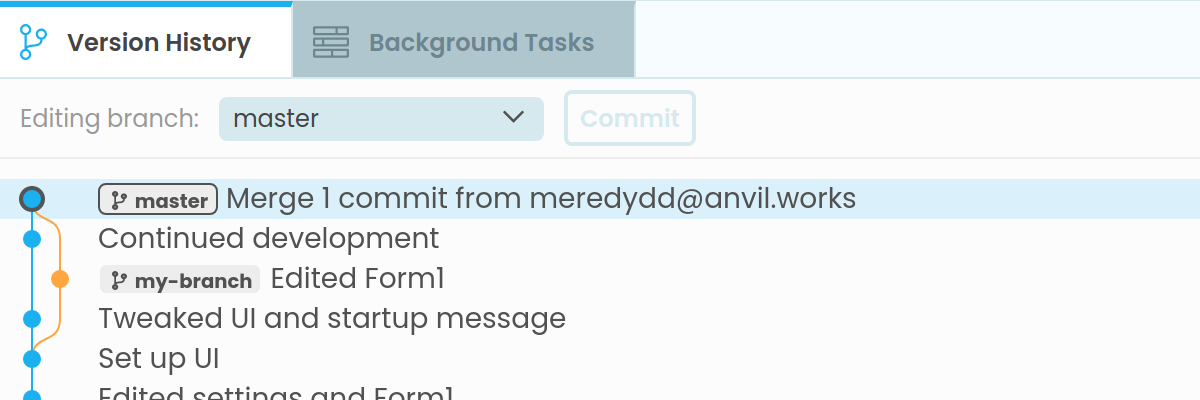
When you’re resolving merge conflicts, you or someone else might edit the target branch (that’s the branch you’re merging into) before you’re finished. For example:
The master branch has moved while we were resolving conflicts
If this has occurred, then you’ll see this dialog when you click Complete Merge.
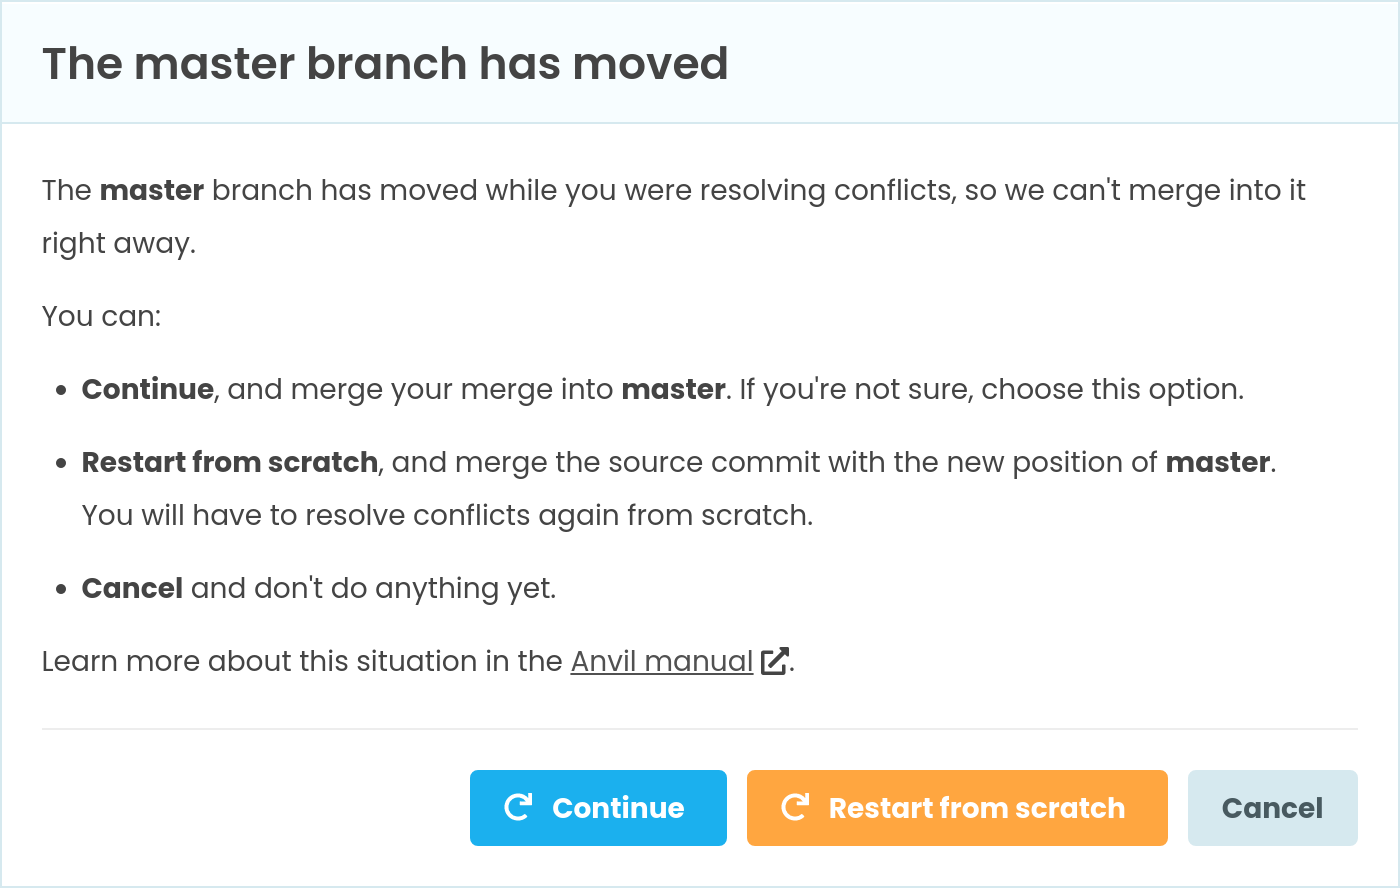
You now have three options:
1. Continue the merge
In this case, we take our merged, resolved changes, and merge those into the target branch. Because we’re keeping our resolved merge, we won’t have to resolve those conflicts again.
If we took this option in the example above, we would produce the following version history.
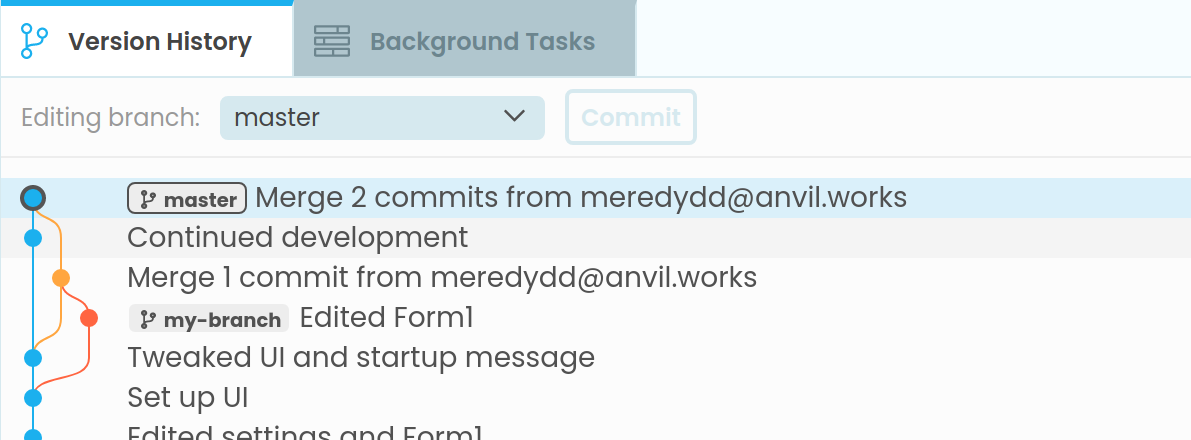
You can see what’s happened: We’ve done a merge from my-branch (which had conflicts), then we’ve done another merge to merge it with the latest changes in master.
2. Restart the merge from scratch
In this case, we try the merge again, merging the same source (in this case, my-branch) with the latest commit on the target branch. Because we’re restarting from scratch, you will have to resolve any merge conflicts again from scratch.
If we took this option in the example above, we would see the same set of conflicts we saw before, and we’d have to resolve them:
When we finished resolving and completed the merge, we would see the following end result:
As you can see, restarting the merge will leave you a cleaner version history, at the expense of resolving your conflicts all over again.
3. Cancel
This leaves the merge where it is, in an unresolved state. We can choose to abandon it, or to try again and choose one of the other two options.
Do you still have questions?
Our Community Forum is full of helpful information and Anvil experts.