Custom Styling
An Anvil theme provides a set of layouts, styles and components for an app. A theme is described with HTML and CSS, which can be modified.
Some themes also define Roles. These are particular styles you can add to components to modify them in ways that fit well with the theme. For example, the Material Design 3 theme defines an Elevated Card role that you can apply to ColumnPanels:

Styled components using Roles in the Material Design 3 theme.
You can also use CSS to define your own roles, see the documentation for more information.
Customising the theme
The theme is defined by HTML and CSS files that are available in the Assets Editor (under “Assets” in the App Browser).
You can add, remove and edit theme assets in the Assets Editor. Choose the asset you wish to edit from the drop-down box, and make any necessary changes. You can rename or delete the asset by clicking the buttons in the top-right.

You can edit the HTML and CSS that go into your app.
The theme is defined by HTML and CSS files that are available under “Assets” in the App Browser.
You can add, remove and edit theme assets from the App Browser. Choose the asset you wish to edit and a new tab will open in the Editor. You can rename or delete assets by clicking the dots menu next to the asset in the App Browser.

You can edit the HTML and CSS that go into your app.
Changing the HTML template of a Form
You can change the HTML template of a Form by modifying its html property.
If you set the html property of a Form to the name of an HTML file from Assets, the Form will use it as its template.
You do this in a drop-down box in the Properties Panel when the Form is open and no components are selected.
html property, they are simply ColumnPanels.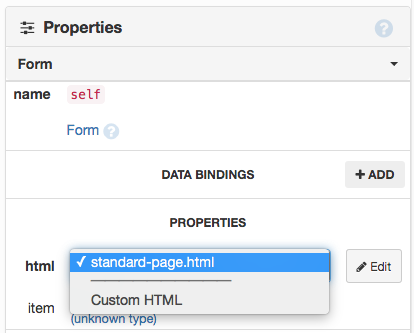
Selecting the HTML template of a Form
using the Form’s Properties Panel.
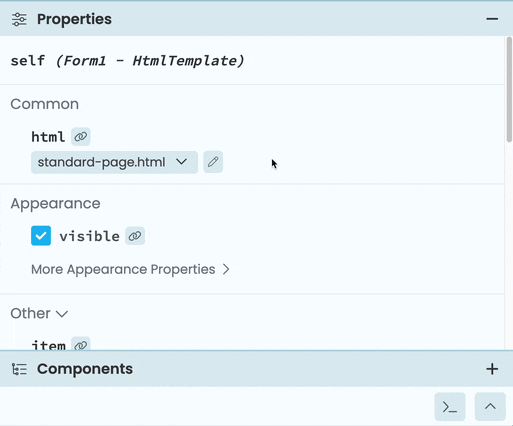
Selecting the HTML template of a Form
using the Form’s Properties Panel.
If you select ‘Custom HTML’, you can write HTML directly into the Form. This is useful if you want to tie the HTML template to this Form rather than making it a global Asset.
Adding your own asset files
You can add your own files to Assets. These could be additional HTML templates, CSS files, JavaScript files or images that you use in your Theme.
To upload or create a file, use ‘Create file’ or ‘Upload file’ in the dropdown box in the Assets Editor.

Creating a new Asset file

Uploading an Asset file
To upload or create a file, click on “Create or upload Asset” under “Assets” in the App Browser. This will bring up a menu for creating and uploading new Assets.


Most assets are lazily loaded when running the app, except for html files and the theme.css file, which are eagerly loaded.
Asset file URL
You can access Asset files from your app from _/theme/<filename>.
This allows you do things like setting your asset as the source property of an Image component:

Or call a custom script from an HTML file:
<script type="text/javascript" src="_/theme/custom.js"></script>You can also use the full URL of the Asset file – they are hosted at <your-app-url>/_/theme/<filename>. So if you have an asset named earthrise.jpg in an app published at myapp.anvil.app, your file is hosted at https://myapp.anvil.app/_/theme/earthrise.jpg.
Do you still have questions?
Our Community Forum is full of helpful information and Anvil experts.